

Base preparation failures account for the overwhelming majority of driveway paving stone problems — not the stone itself. Most installers who approach how to install paving stones driveway projects correctly already know their material; what trips them up is the compaction sequence, the edge restraint spec, or the bedding sand depth tolerance. Get those three variables right and you’re building something that lasts through decades of vehicle loads, seasonal ground movement, and storm-driven stress without shifting a single unit.
Why Base Depth Determines Everything
Your driveway carries a fundamentally different load profile than a patio or walkway. Passenger vehicles apply dynamic point loads of 2,000–3,500 lbs per wheel, and the repetitive nature of that loading creates cumulative fatigue in poorly compacted bases. The critical number is 8 inches of compacted aggregate base for residential driveways — not the 4–6 inches that works fine for pedestrian applications. That distinction alone separates installations that start failing at year five from ones that hold through year twenty-five.
The base aggregate itself matters too. You want clean, crushed angular stone — typically a 3/4-inch crushed limestone or granite — because angular particles interlock under compaction in a way that rounded gravel simply doesn’t. Rounded river stone bases look compacted but they’ll shift under load. The ASLA driveway paving material guidance consistently points to angular crushed aggregate as the performance baseline for vehicular applications, and field performance data backs that up completely.
Compact in two lifts maximum — never try to compact 8 inches in a single pass. Two 4-inch lifts, each with a minimum of two passes from a plate compactor, give you the density your pavers need underneath them. Renting a vibratory plate compactor weighing at least 200 lbs is non-negotiable here; a hand tamper simply won’t achieve the 95% Proctor density you’re targeting.
Choosing the Right Paving Stone for Driveways
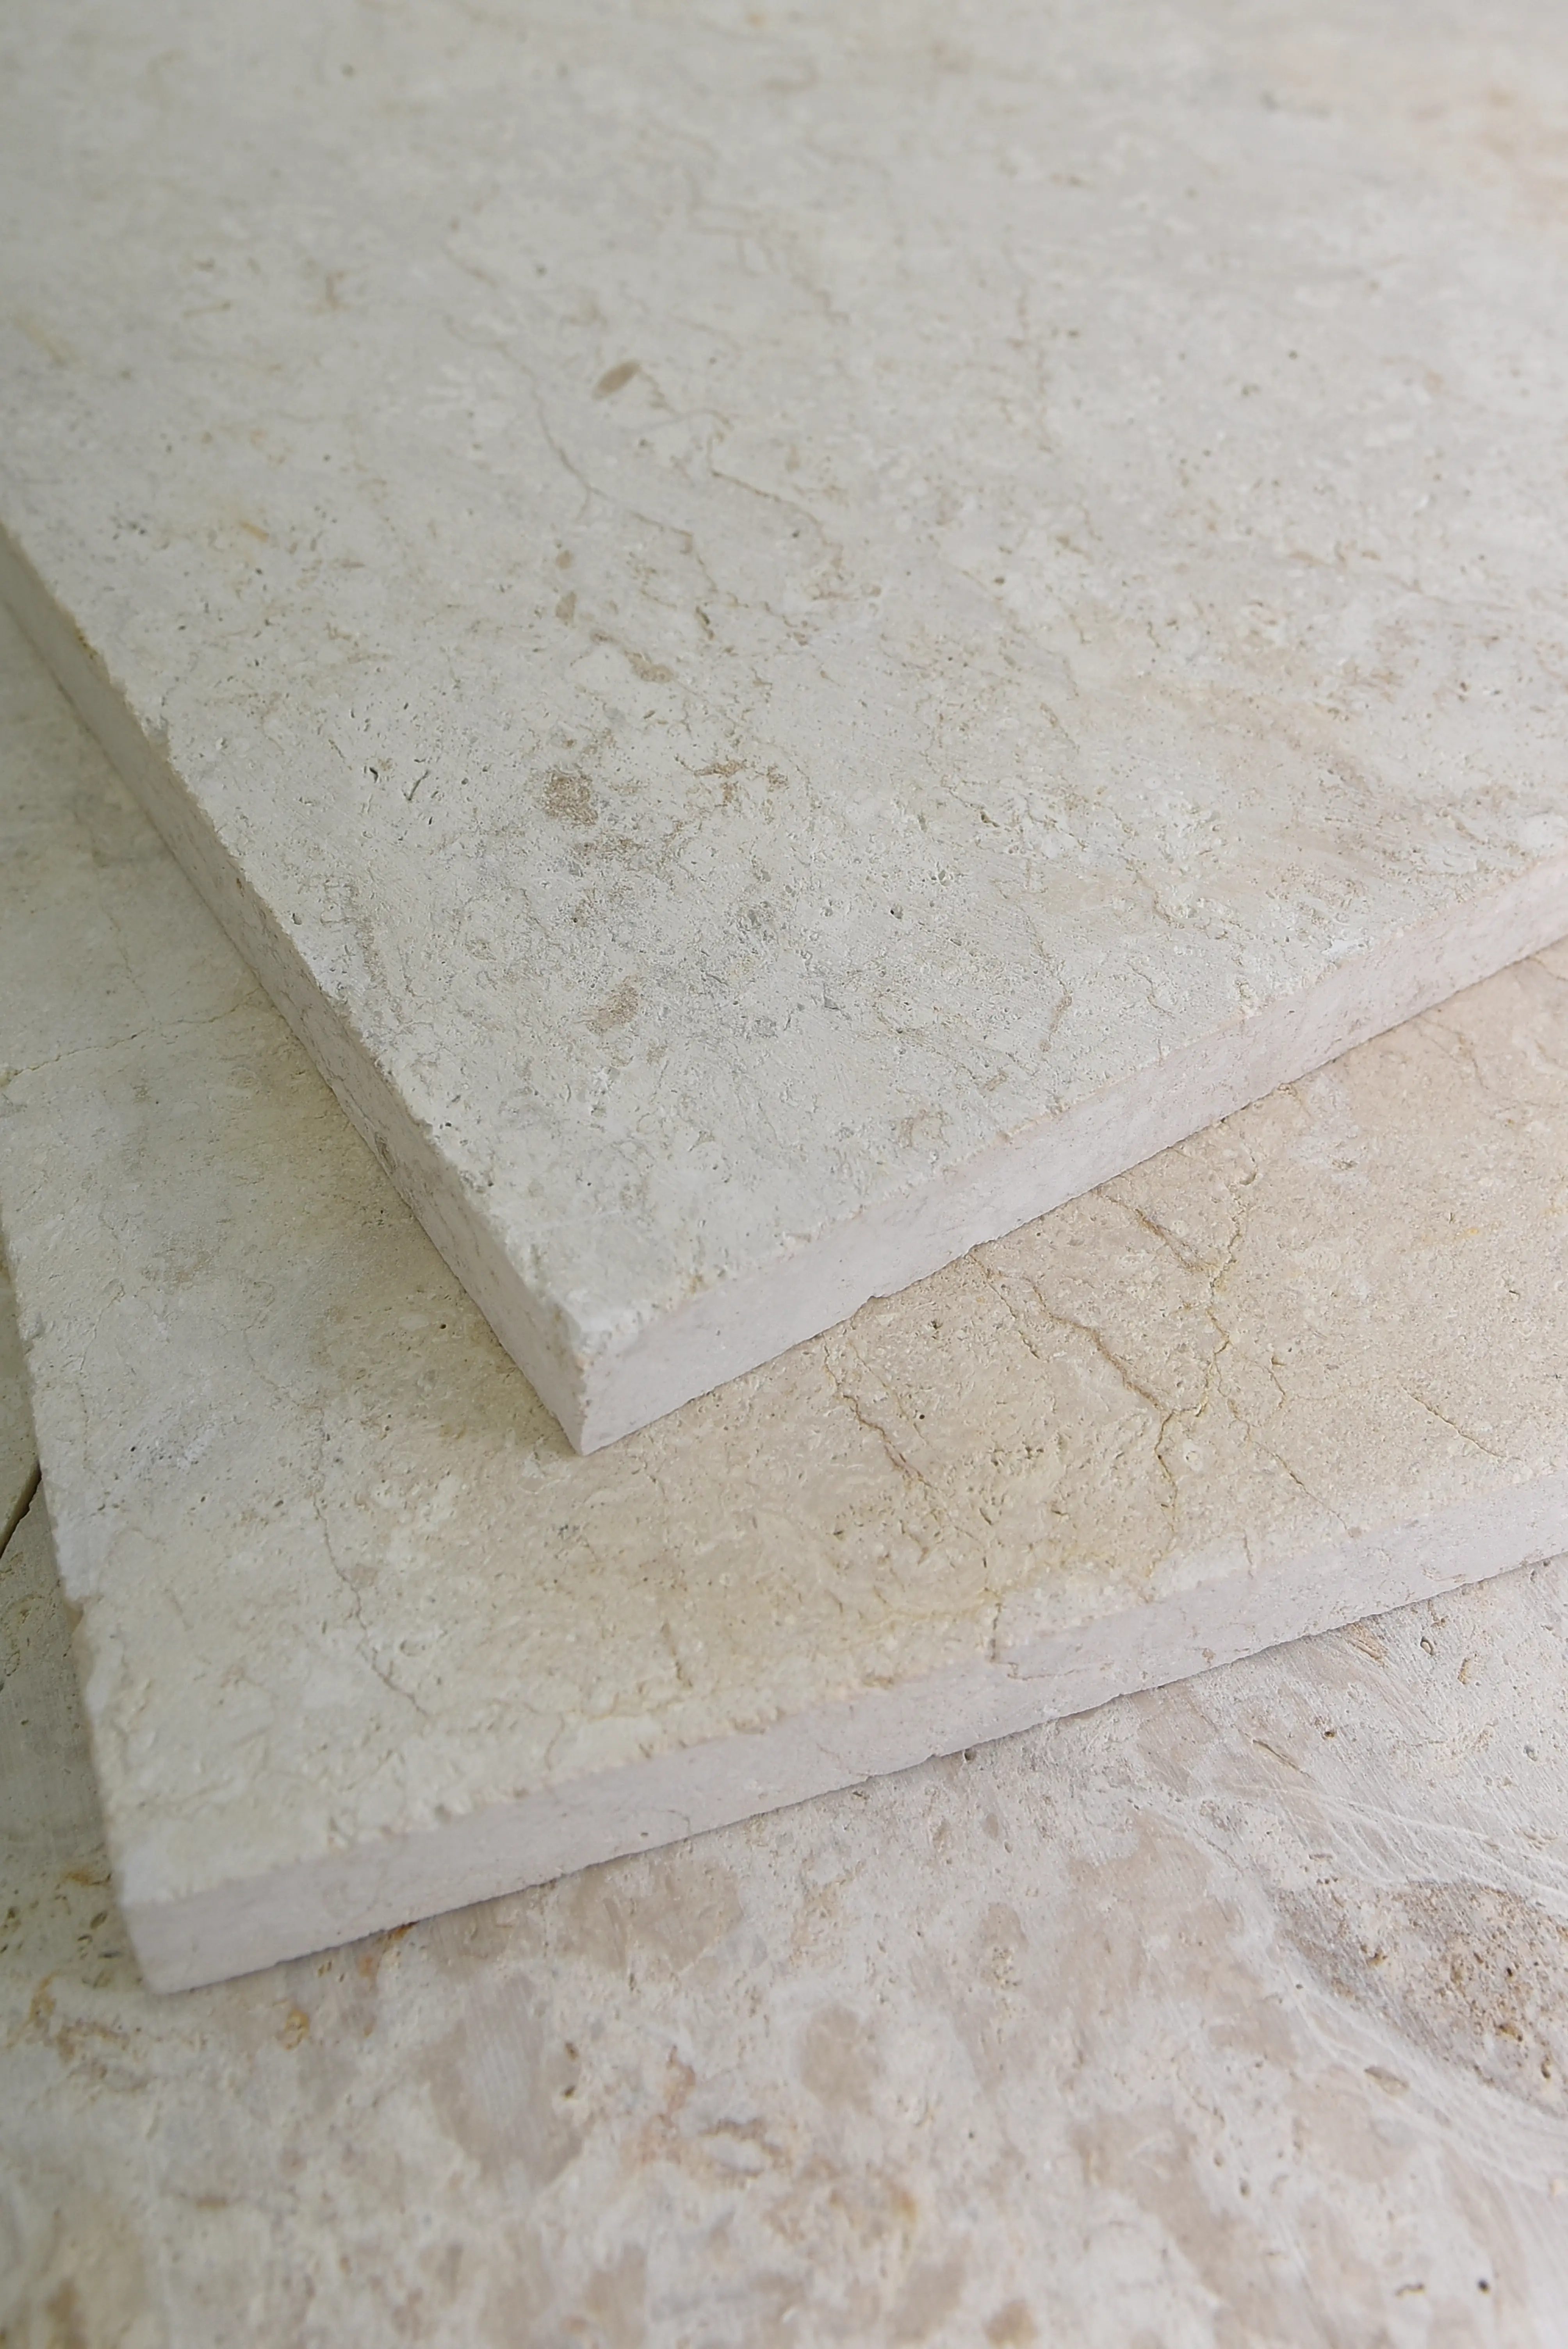
Not every natural stone handles driveway loads gracefully. Your selection needs to satisfy three criteria simultaneously: compressive strength above 8,000 PSI, a nominal thickness of 60mm or greater for vehicle-load applications, and an absorption rate low enough to resist freeze-thaw spalling. Interlocking driveway paving stones in basalt and dense limestone consistently hit all three thresholds, which is why they dominate high-performance driveway specs.
Thickness is the specification detail most homeowners overlook when comparing product options. A 40mm paver that looks identical to a 60mm paver in a showroom behaves completely differently under a 4,000-lb wheel load over 10,000 cycles. The thinner unit flexes, the bedding sand migrates, and you get joint widening and rocking within three to four seasons. Specify 60mm minimum for any area where vehicles will travel — that’s the number, not 50mm, not 2 inches nominal.
For interlocking driveway paving stones specifically, the unit shape affects long-term performance too. Rectangular or herringbone patterns distribute lateral forces more effectively than running-bond or stack patterns. Herringbone at 45 degrees to the primary load direction is the installation pattern that performs best under repeated vehicular stress — it’s not an aesthetic choice, it’s a structural one. According to ASTM compressive strength standards for driveway paving stone, the combination of unit thickness and pattern geometry both factor into how point loads distribute across the installation plane.
Excavation and Sub-Grade Preparation
Your excavation depth needs to account for all layers: the paving stone thickness, 1 inch of bedding sand, and 8 inches of compacted aggregate base. For a 60mm (approximately 2.4-inch) paver, that’s a minimum excavation depth of 11.5 inches below finished grade. Most residential projects need 12 inches of dig to give themselves working tolerance.
Assess the native soil before starting. Clay-heavy soils expand and contract significantly with moisture changes, and that movement telegraphs directly through a poorly designed base. On expansive clay, consider adding a geotextile fabric between the native soil and your aggregate base — it separates the layers, prevents aggregate migration downward, and extends base life significantly in wet climates. Sandy or well-draining native soil gives you more flexibility, but never skip compacting the sub-grade itself before placing any aggregate.
- Excavate to full depth plus 2 inches for safety tolerance before taking final grade measurements
- Compact the native sub-grade with a vibratory plate compactor — minimum two passes on all exposed soil
- Install geotextile fabric on clay, silt, or poorly draining soils — overlap seams by at least 12 inches
- Establish positive drainage slope of 1/8 inch per foot minimum, directed away from structures
- Never place aggregate base on frozen or saturated ground — allow complete thaw and drainage before proceeding
Bedding Sand: The Layer That Makes or Breaks Levelness
Your bedding sand layer is not a tolerance pad — it’s a precisely controlled 1-inch screed that must maintain exactly that depth across the entire installation area. The most common mistake in how to install paving stones driveway projects is using bedding sand as a leveling course to compensate for an imperfect base. That approach almost always results in soft spots, differential settlement, and paver rocking within two seasons.
Use coarse, washed concrete sand (ASTM C33 specification) rather than mason sand or fine screened sand. Coarse sand resists compaction under the initial placement but locks tight once the pavers are vibrated into it. The screed rails should be set at exactly 1 inch above your compacted aggregate base — use 1-inch steel conduit pipe as screed guides, then remove and fill those channels once screeding is complete.
- Coarse concrete sand (ASTM C33) — the correct specification for paver bedding
- 1-inch depth, maintained consistently — do not exceed 1.5 inches under any circumstance
- Do not pre-wet bedding sand — moisture causes inconsistent compaction during vibration
- Screed one working section at a time — do not screed more area than you can pave in one session
- Avoid walking on screeded sand before placing pavers — even foot traffic creates depressions
You can spec some of the most durable materials available for a driveway project — explore our interlocking driveway stone to see the thickness and unit configurations that meet 60mm vehicle-load requirements across the full product range.
Edge Restraints: The Structural Perimeter Your Driveway Depends On
Edge restraints are the component that fails most visibly and most preventably in driveway paving stone installations. Without rigid perimeter containment, the lateral forces generated by vehicle loading push pavers outward over time, widening joints and collapsing the installation from the edges inward. This process is gradual but irreversible once it starts — and it’s entirely avoidable with the right spec.
Plastic spike-and-flange restraints work adequately for pedestrian applications but underperform on driveways. Your driveway edge restraints need to be either concrete bedded (poured concrete haunching on both exterior sides of the perimeter paver course) or heavy-gauge aluminum edging spiked with 10-inch spikes at 12-inch centers. The spike frequency matters — 24-inch centers allow enough flex under vehicle loads to permit gradual migration. Go to 12-inch centers and the movement stops.
Storm and wind events add mechanical stress that most installation guides underestimate. Wind-driven rain infiltrates joints at significantly higher volume and velocity than normal precipitation, and that hydraulic pressure accelerates joint sand erosion. Perimeter edge restraints that hold their position during heavy storm events prevent the cascading failure where joint sand loss leads to paver rocking, which leads to further sand displacement under traffic loads. Specify your edge restraints with storm loading in mind — the perimeter is your first line of defense against weather-driven degradation.
- Concrete haunching: minimum 6-inch width, 4-inch depth, poured against the exterior face of perimeter pavers
- Aluminum edging: minimum 12-gauge thickness, 4 inches tall, spiked at 12-inch centers
- Never use wood as a permanent edge restraint — it degrades within 5–7 years in ground contact
- Continue edge restraints under any transition to concrete or asphalt surfaces
- On sloped driveways, add additional spikes at 8-inch centers on the downhill edge where lateral forces concentrate
Laying Pattern and Paver Placement Sequence
Placement sequence affects both finished aesthetics and structural performance. Always start from a fixed, straight reference point — typically the garage foundation or a chalk line established parallel to the primary axis of the driveway. Working outward from a controlled baseline prevents the angular drift that accumulates when installers work from multiple reference points simultaneously.
For interlocking driveway paving stones in herringbone pattern, establish your 45-degree axis first with a chalk line before placing a single unit. The temptation is to eyeball the angle and adjust as you go — that approach produces increasingly obvious misalignment by the time you reach the far edge of a wide driveway. A string line takes 15 minutes to set up and saves hours of correction work.
Pull pavers from multiple cubes or pallets simultaneously — never work from a single pallet sequentially. Natural stone has color variation by batch, and blending units from multiple pallets distributes that variation evenly across the surface. A driveway that shows obvious pallet-to-pallet color banding is a quality control problem that can’t be fixed after installation without complete removal.
- Work from a fixed reference line, never free-hand across an open area
- Blend from three or more pallets simultaneously for consistent color distribution
- Use a rubber mallet for individual unit adjustments — never a steel hammer directly on stone
- Check level and alignment every 10–15 square feet, not just at the end of a run
- Cut pavers with a masonry wet saw — angle grinders leave rough edges that accelerate edge chipping
Joint Sand, Compaction, and Sealing
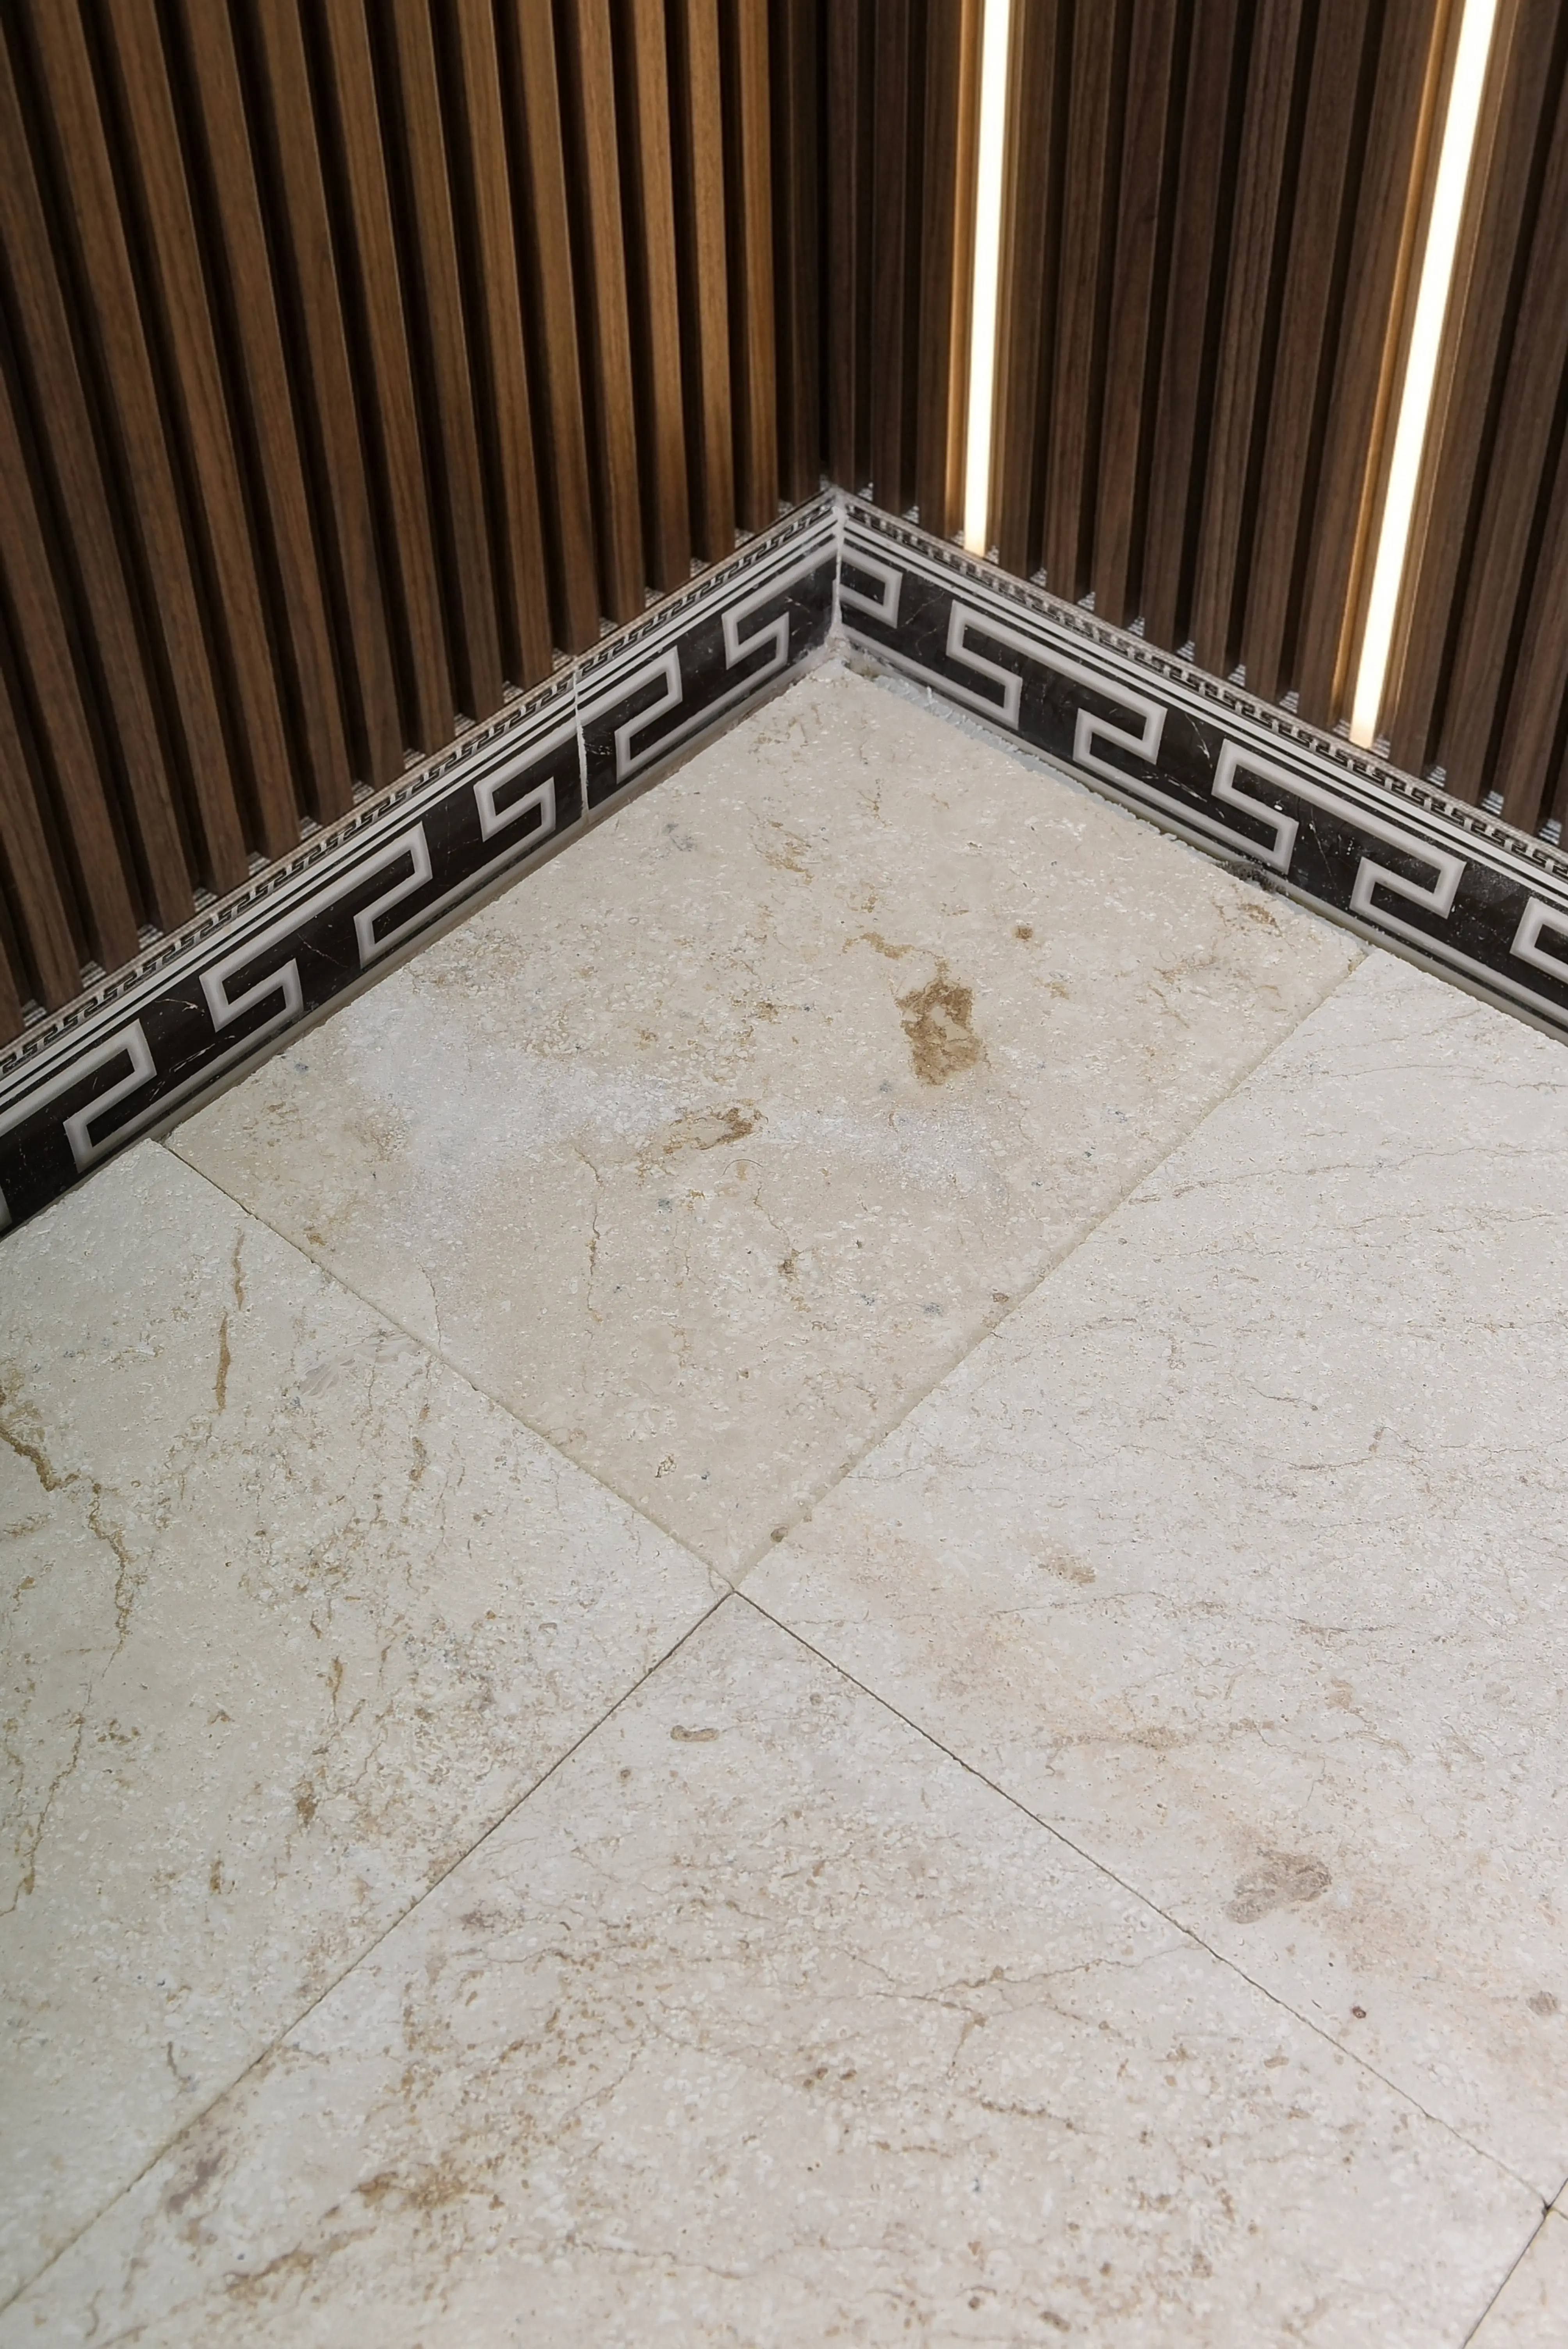
The compaction phase locks your installation into its final position, and joint sand choice determines how long that locked state persists. Polymeric sand has become the default joint fill for vehicle-load applications, and for good reason: it binds under moisture activation, resists ant and weed intrusion, and — critically for storm-prone installations — it resists washout under wind-driven rain at a level that conventional kiln-dried sand cannot match.
Apply joint sand in two stages. Sweep the first pass into all joints with a stiff push broom, then run the vibratory plate compactor across the entire surface with a rubber pad or geotextile protective layer between the compactor and the pavers. This first compaction seats the units fully into the bedding sand and opens joint capacity for a second sand application. Sweep the second pass, compact again, and then mist the surface for polymeric activation — the sequence matters and skipping the intermediate compaction step produces joints that settle visibly within the first month of use.
The Natural Stone Institute driveway paving stone durability and abrasion resistance guidance notes that joint integrity is a primary factor in long-term driveway performance — the stone itself is rarely the failure point; it’s the joint system that deteriorates first. Sealing with a penetrating impregnator (not a topical film sealer) after joint sand has fully cured — typically 30 days for polymeric sand — protects both the joint material and the stone surface from oil staining, freeze-thaw moisture penetration, and UV degradation.
- Polymeric sand: the specification baseline for any vehicle-load driveway application
- Two-stage application with intermediate compaction between passes
- Mist activation per manufacturer’s water volume specifications — over-wetting washes binders out of joints
- Allow 24-hour cure before vehicle traffic, 72 hours before heavy vehicle loads
- Penetrating impregnating sealer applied after 30-day cure — reapply every 3–5 years
Managing Drainage and Storm Water Performance
Drainage is the performance variable that determines how your driveway handles severe weather events over its lifetime. Correct slope — a consistent 1/8 inch per foot directed away from structures and toward designated drainage points — prevents the ponding that accelerates joint sand erosion and promotes freeze-thaw spalling in cold climates. Flat driveways fail faster than sloped ones, even with impeccable base preparation.
For installations prone to heavy storm events, the joint system becomes a critical water management interface. Wind-driven rain applies hydrostatic pressure to joints at angles that standard rainfall does not, and that lateral pressure can dislodge conventional joint sand within a single severe weather event. Polymeric sand rated for vehicular applications and wind-driven rain conditions — check manufacturer’s impact resistance data before specifying — maintains joint integrity through these mechanical stress cycles in a way that standard kiln-dried sand cannot. Hail impact resistance is a secondary concern for most installations since the stone itself handles impact loads well, but the joint material is more vulnerable and should be inspected after significant hail events.
Your drainage plan should also account for truck and heavy delivery vehicle access if your driveway serves a location where service vehicles arrive regularly. Loading from delivery vehicles can apply wheel loads well above standard passenger vehicle parameters — spec your base depth accordingly, and consider specifying the heaviest gauge edge restraint available if that load scenario applies to your project.
Getting Your Paving Stones Driveway Installation Right
The details that differentiate a 10-year installation from a 25-year one in a how to install paving stones driveway project don’t usually show up in simplified guides — they live in the compaction sequence, the edge restraint spec, the sand application protocol, and the drainage geometry. Every step builds on the one before it, and shortcuts at the base preparation phase create problems that no amount of quality stone can compensate for at the surface level. Plan your material delivery with lead times in mind — confirm warehouse stock availability before finalizing your project schedule, since some stone profiles and thicknesses move quickly and a gap in supply mid-installation forces work stoppages that compromise your sand bed.
Your project planning should also address the complete cost picture before breaking ground. Beyond the stone and installation labour, your budget needs to account for aggregate base material, polymeric sand, edge restraints, geotextile fabric, sealer, equipment rental, and potential drainage infrastructure. For a detailed breakdown of what each component costs and how to budget accurately for different driveway sizes, the full driveway cost breakdown covers those figures with the specificity your planning needs. Understanding total project cost before you start protects you from budget overruns that derail quality decisions at critical installation phases.
The installation itself is only as good as the specification decisions made before the first paver is placed. Choose your stone thickness correctly, design your base depth for your actual load conditions, and commit to the edge restraint and joint sand specifications that hold up through years of vehicle traffic and storm events — not just the first season. Stone for nationwide projects ships from Citadel Stone with driveway pavers cut to consistent 60mm depths for vehicle-load installs.
Related reading: how to cut paving stones · how to lay paving stones · preparing ground for paving stones.