What Pressure Actually Does to Natural Stone
Power washing paving stones at 3,000 PSI will lift joint sand, fracture soft limestone edges, and permanently etch polished travertine surfaces — and the machine does that damage faster than most homeowners realise. Understanding how to power wash paving stones correctly starts at the microscopic level, because the effects are cumulative: each aggressive wash strips a thin layer of surface integrity that never comes back.
Natural stone has an interconnected pore structure. Dense igneous materials like basalt resist pressure more stubbornly than sedimentary ones, but even hard stones are vulnerable at their weakest points — joints, edges, and any surface with an existing hairline crack. A pressure washer forces water into those pores at a rate the stone’s natural drainage cannot match, creating hydraulic pressure inside the material itself. That internal pressure is what causes spalling, edge chipping, and surface pitting that shows up days after the wash, not during it.
Choosing the Right Equipment Settings
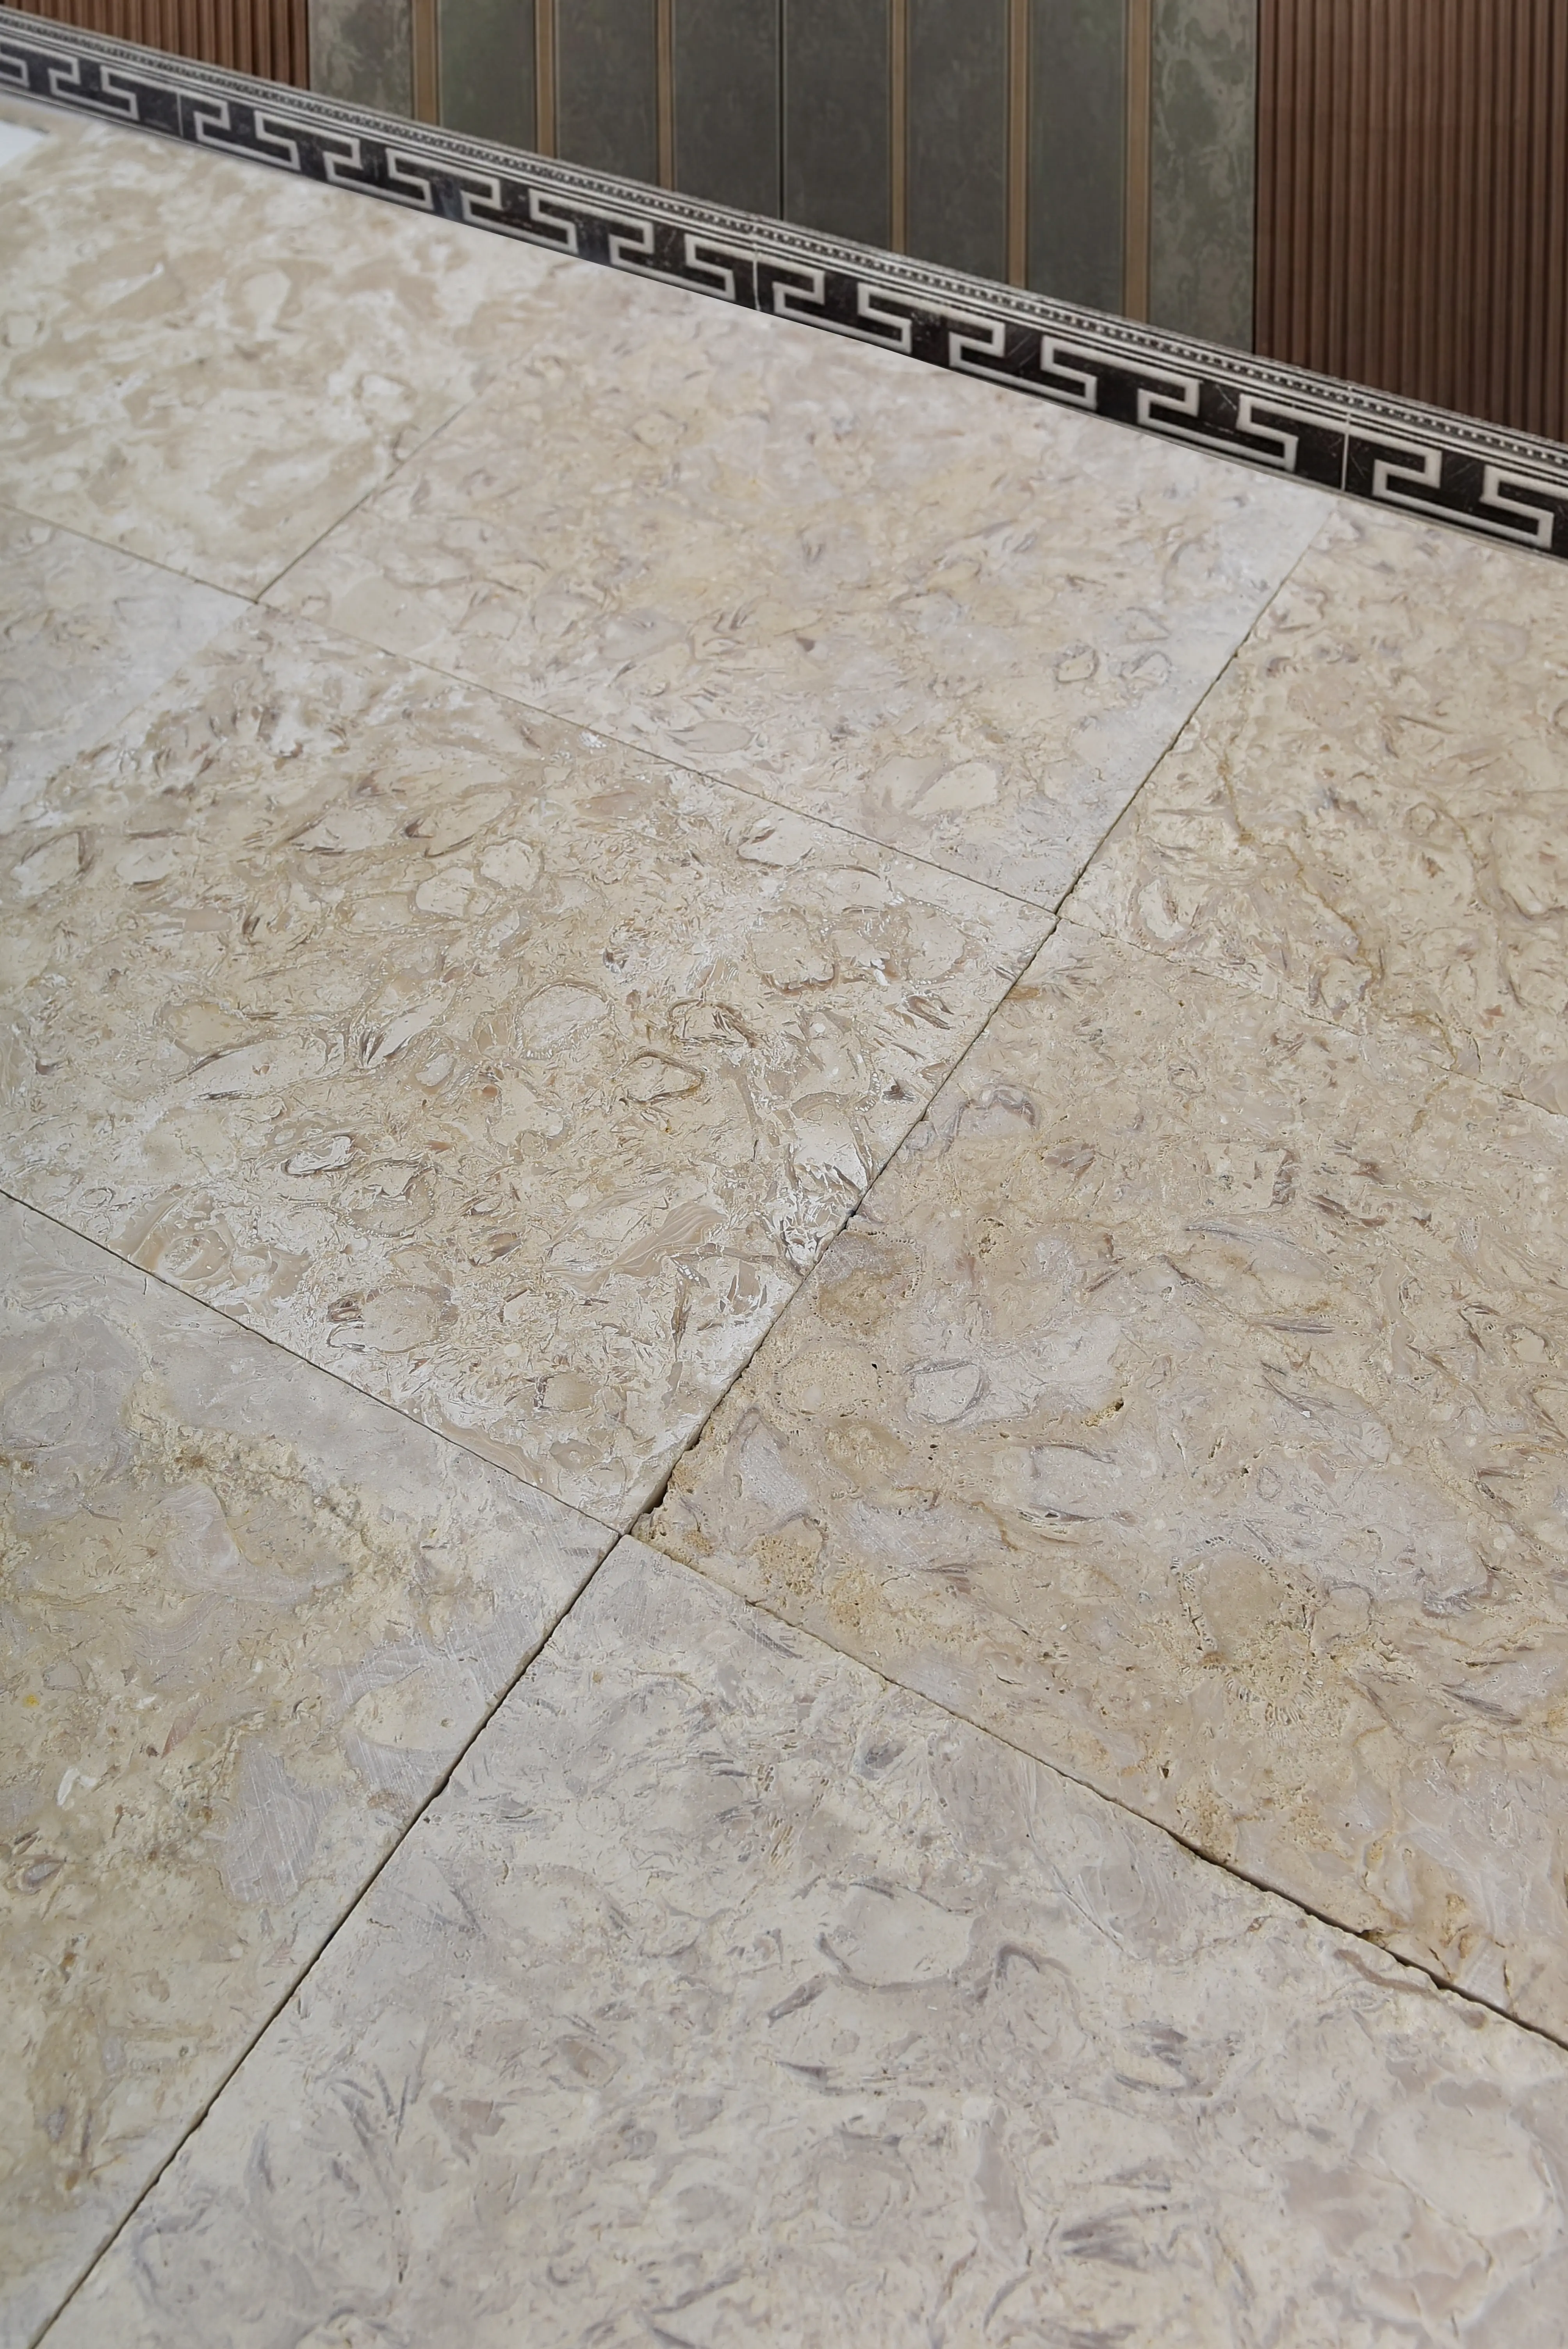
Your pressure washer’s PSI rating is only half the equation. The nozzle angle matters just as much — a 15-degree red nozzle concentrates force into a narrow stream that gouges stone, while a 40-degree white nozzle spreads the load across a wider area and dramatically reduces surface impact. For most natural stone paving, stay between 1,200 and 1,800 PSI with a 25- or 40-degree nozzle held at least 12 inches from the surface. Softer limestones from Middle East quarries, which are a common choice for large rectangular paving stones, should be treated at the lower end of that range.
GPM — gallons per minute — matters too. A low-PSI machine with high GPM still moves enough water volume to displace joint sand aggressively if you work too slowly. Keep the wand moving at a consistent pace; dwelling in one spot for more than two seconds at any PSI above 1,000 risks visible surface damage. According to Natural Stone Institute stone variety specifications, surface finish type significantly affects how a stone responds to cleaning pressure — honed and bush-hammered surfaces handle it better than polished finishes.
Preparation Steps Before You Start
- Sweep the entire surface thoroughly to remove loose debris, which becomes abrasive projectile material under pressure
- Pre-wet the stone with a garden hose — dry stone absorbs pressure water too aggressively, magnifying hydraulic internal pressure
- Check all joints for compromised sand or missing mortar; document these areas so you know where to reduce pressure
- Mask off nearby plant beds, timber edging, and painted surfaces — the overspray radius at 1,500 PSI reaches further than you expect
- Test your chosen nozzle on an inconspicuous corner first, making two passes and then examining the surface closely before proceeding
- Confirm the drain path is clear — you’ll be moving significant water volume, and pooling against the base undermines your sub-base over time
One thing that often gets overlooked is verifying what’s below the surface before adding water. If the installation has a sand-set base with minimal compaction, saturating it repeatedly accelerates settlement. This is especially relevant for paving stones 2×2 format — the larger the unit, the more dramatically an uneven base reveals itself after repeated wet-dry cycles.
Correct Technique During the Wash
The stroke direction matters more than most guides acknowledge. Always work parallel to the joints, not across them. Washing perpendicular to a joint line directs maximum pressure straight into the joint opening at its widest cross-section, which is exactly how joint sand is lost fastest. Working parallel means the water stream runs along the joint rather than into it, and the dwell time per linear inch of joint is far shorter.
Overlap each pass by about 20 percent. That eliminates the strip effect — the faint streaking pattern visible on stone that was washed in distinct, non-overlapping lanes. Maintain a consistent 12-to-14-inch standoff distance throughout. Arms naturally drop as fatigue sets in, bringing the nozzle closer to the surface — that’s when damage happens. When power washing paving stones that cover significant square footage, break the work into sections of no more than 200 square feet before pausing to re-evaluate surface condition.
For cleaning large rectangular paving stones that have biological growth — moss, algae, or lichen — don’t rely on pressure alone. Apply a diluted stone-safe biocide at least 30 minutes before washing. The pressure then removes dead material rather than trying to blast live, adhered growth off mechanically, which requires the kind of PSI that damages stone.
Timing Your Wash Around Seasonal Conditions
Scheduling matters more than most people account for. Stone that has been frozen overnight and hasn’t fully warmed through should never be power washed — the thermal shock of cold internal stone meeting warm pressurised water creates micro-fracturing at grain boundaries. In freeze-thaw regions, wait until daytime temperatures have been consistently above 45°F for at least 48 hours before starting. That ensures the stone has equalized through its full thickness, not just warmed at the surface.
Morning washes in warm months create a specific challenge: dew on stone surfaces creates a thin lubrication layer that can cause cleaning solution to bead rather than penetrate. A two-hour window after sunrise — once dew has evaporated but before surface temperatures spike — is the practical sweet spot. In high-summer conditions, washing in full afternoon heat drives rapid evaporation that pulls cleaning agents into the stone’s pores before they’ve done their surface work. Mid-morning to early afternoon is your workable window. If planning a wash as part of post-installation maintenance for a project laid in cooler months, confirm the base has fully settled and that joint sand has cured completely — typically 30 days minimum — before applying any pressure.
- Avoid washing within 24 hours of forecast rain — fresh joint sand needs time to compact and won’t survive an immediate rainfall event
- In freeze-thaw climates, complete your wash and re-sanding at least six weeks before the first expected hard freeze
- Early-morning washes in humid climates risk trapping moisture under partially dried joint sand
- In hot, dry conditions, lightly mist re-sanded joints for 2–3 days post-wash to help sand consolidate without cracking
Which Cleaners Are Safe on Natural Stone
pH is the critical variable. Acidic cleaners — including many generic driveway degreasers — attack the calcium carbonate matrix in limestone and travertine, causing surface etching that no amount of sealing will reverse. Always check pH before applying any cleaner to natural stone paving. A pH range of 7 to 10 is generally safe; anything below 6 puts sedimentary stone at serious risk. USGS data on limestone composition and construction applications confirms that calcium carbonate-rich stones react rapidly with acidic compounds even at moderate concentrations.
Stone-specific alkaline cleaners are the correct choice. They break down organic matter — the algae, moss, and oxidised oils that make pavers look tired — without attacking mineral structure. Apply them with a low-pressure garden sprayer, let them dwell for the manufacturer’s recommended time (typically 10–15 minutes), then follow with your pressure wash sequence. Significantly less pressure is needed when the cleaner has done its chemical work first. For sealing and care details on your specific material, our stone care guidance covers the chemical compatibility factors that differ across stone types.
Re-Jointing and Post-Wash Care
This is where most DIY power wash paving stones projects fall short — the work isn’t done when the surface is clean and dry. Joint sand is always displaced during washing, regardless of technique, and the question is only how much. Re-sand within 24 to 48 hours, before any rainfall, because exposed joints are the primary entry point for weed seed germination and insect activity.
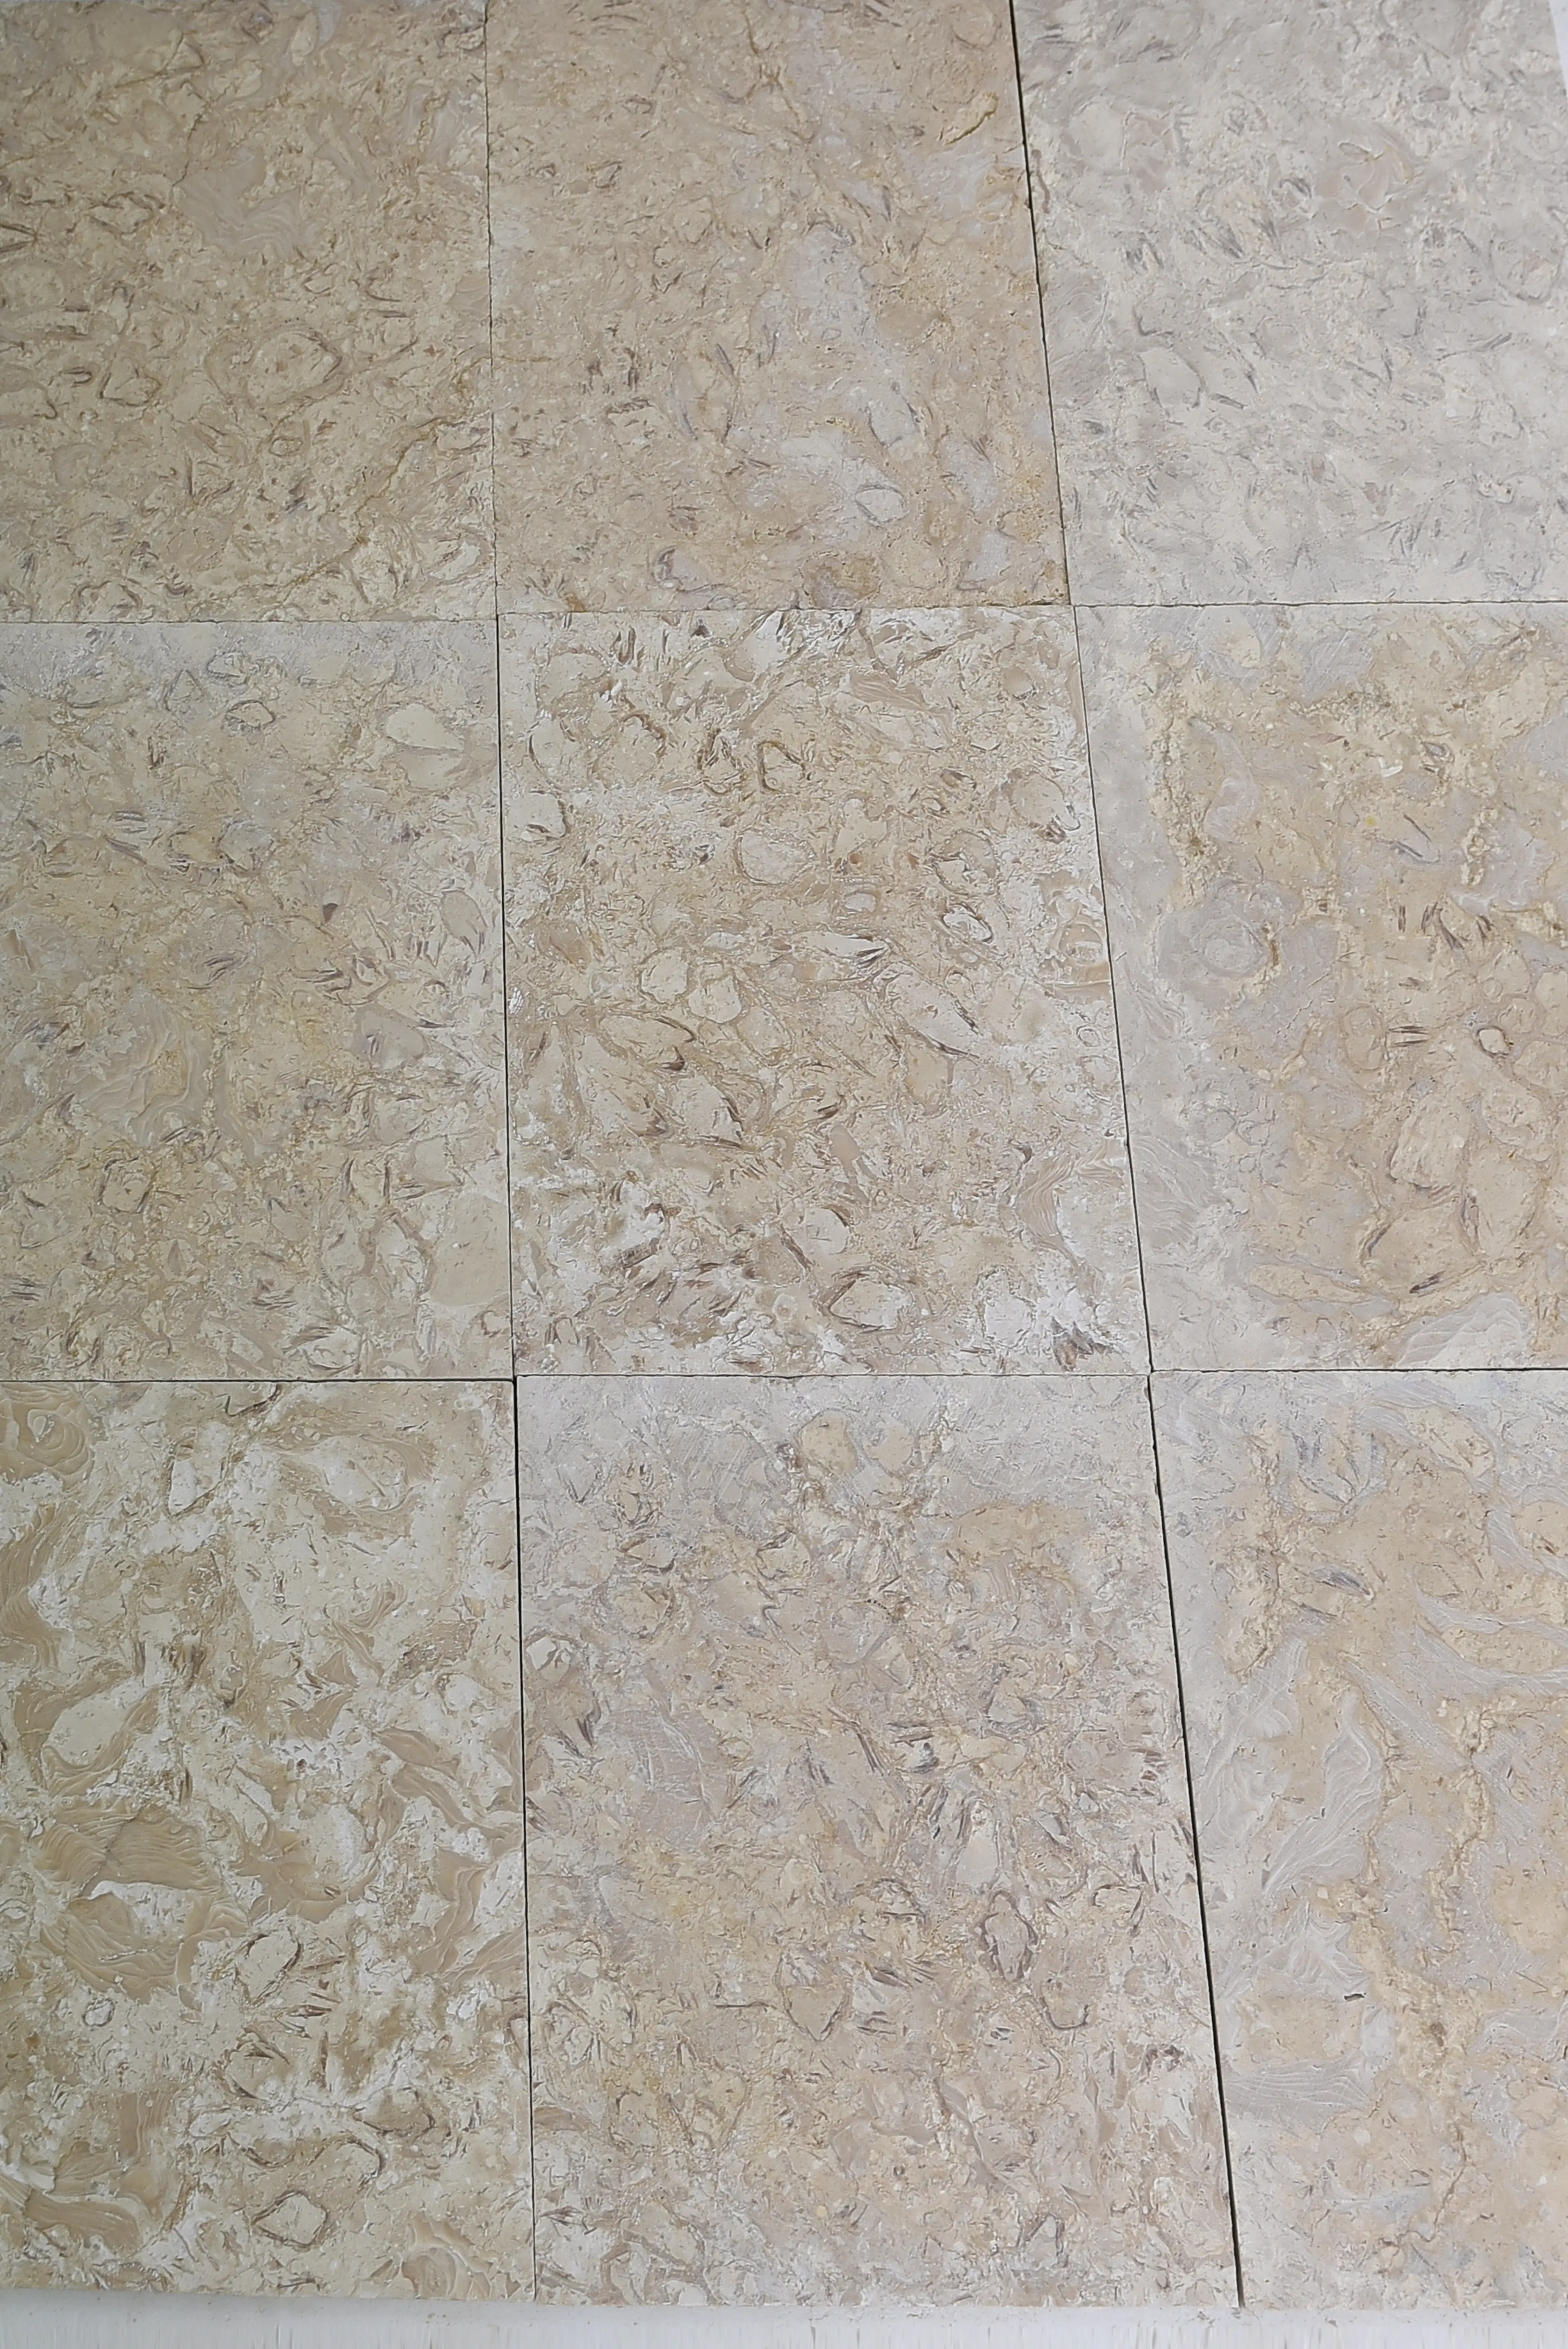
Polymeric sand is the right choice for re-jointing after a wash. Unlike standard kiln-dried sand, polymeric sand contains binders that activate with moisture and cure into a semi-flexible mass that resists both washout and weed penetration. Apply it dry, sweep it into joints, compact lightly with a plate compactor if the installation allows, then activate with a gentle mist — not a pressure wash. Allow 24 hours of cure time minimum before any foot traffic. ASTM dimension stone quality and testing standards provide the technical framework for understanding paver joint tolerance and how joint material performance affects long-term installation stability.
- Fill joints to within 3–4mm of the surface — overfilling causes polymeric sand to spread across the face and leave a residue haze
- Do not apply polymeric sand if rain is forecast within six hours of activation — premature moisture disrupts the binder cure cycle
- For large rectangular paving stones installations, consider professional joint sand blowing equipment rather than hand sweeping — it fills deep joints more completely
- Re-inspect joints 72 hours after cure to identify any voids that need a second pass before sealing
Sealing After the Wash
A freshly power washed surface is the ideal base for sealer application — but only after full drying. Natural stone that is moisture-trapped beneath sealer will cloud, blister, or delaminate the coating within a season. Your drying window depends on stone porosity and ambient conditions. Dense granite and basalt typically dry through in 24–48 hours. Porous limestones sourced from Middle East quarries may need 72 to 96 hours in humid conditions before they’re ready to accept sealer. At Citadel Stone, we recommend checking moisture levels with a simple moisture meter rather than guessing by surface feel — the surface can feel dry while the interior still holds significant moisture.
Penetrating sealers are correct for most natural stone paving; film-forming topcoat sealers trap moisture and are generally inappropriate for outdoor stone subject to freeze-thaw movement. Apply penetrating sealer in two thin coats rather than one heavy coat — the first coat feeds the stone, the second builds protection. Re-application timing varies by stone type and traffic load, but 18 to 24 months is a reasonable maintenance interval for most residential paving applications.
Decision Points for Power Washing Paving Stones
The variables that define a successful power wash come down to three decisions: PSI selection matched to your stone’s specific hardness and finish, nozzle choice that distributes force rather than concentrating it, and timing relative to both seasonal temperature windows and the post-wash jointing window. Get those three right and the process is straightforward. Miss any one of them and you’re either re-laying joints prematurely or watching edge spalling develop over the following season.
Citadel Stone maintains warehouse stock of polymeric joint sand, stone-safe cleaners, and penetrating sealers that ship nationally, which means everything needed can be on site before the wash rather than sourced afterward. For projects involving interlocking layouts or more complex installation patterns, how interlocking paving systems work adds useful context on joint geometry and why it matters for maintenance longevity — a natural complement to any paving stones 2×2 or large rectangular paving stones maintenance plan. Plan the full sequence — wash, joint, seal — as a single maintenance event and your paving will perform at the level the material was designed to deliver. After power washing any Citadel Stone installation, re-sanding joints promptly prevents ants, weeds, and water ingress from destabilizing the surrounding bed.
Related reading: preparing ground for paving stones · Natural Stone Paving Guide: Types, Finishes & Uses · paving stones for fire pit.