

The pattern you choose for patio designs with stones does more structural work than most homeowners realize — it directly influences how load distributes across the base, how water moves off the surface, and how visible any future settling will be. A running bond layout, for instance, locks individual units together through offset joints, which makes it far more forgiving over time than a grid pattern where continuous straight joints become cracking pathways. Before you commit to an aesthetic, it’s worth understanding the mechanical logic underneath it.
Pattern Fundamentals That Actually Matter
Your pattern selection isn’t just decorative — it determines joint alignment, drainage behavior, and how well the surface holds up to point loads like furniture legs or wheeled equipment. Herringbone patterns, for example, distribute load diagonally, which is why you’ll see them specified for higher-traffic commercial applications. Basketweave looks traditional but creates a surface with continuous linear joints in two directions, making it more vulnerable to differential settlement on unstable subgrades. According to ASLA outdoor patio stone material selection and design guidance, the interaction between paving pattern and drainage design significantly affects long-term surface performance.
- Running bond (brick pattern): strong lateral stability, ideal for rectangular patio designs with stones in a clean, modern layout
- Herringbone (45° or 90°): best load distribution, preferred for high-foot-traffic areas and commercial use
- Ashlar (random rectangular): natural, organic appearance with good structural integrity when joints are properly staggered
- Basketweave: visually appealing but requires a perfectly level, compacted base to avoid joint cracking over time
- Opus incertum (irregular polygonal): irregular shapes fill naturally but demand skilled cutting at borders and edges
Choosing the Right Stone for Your Patio Layout
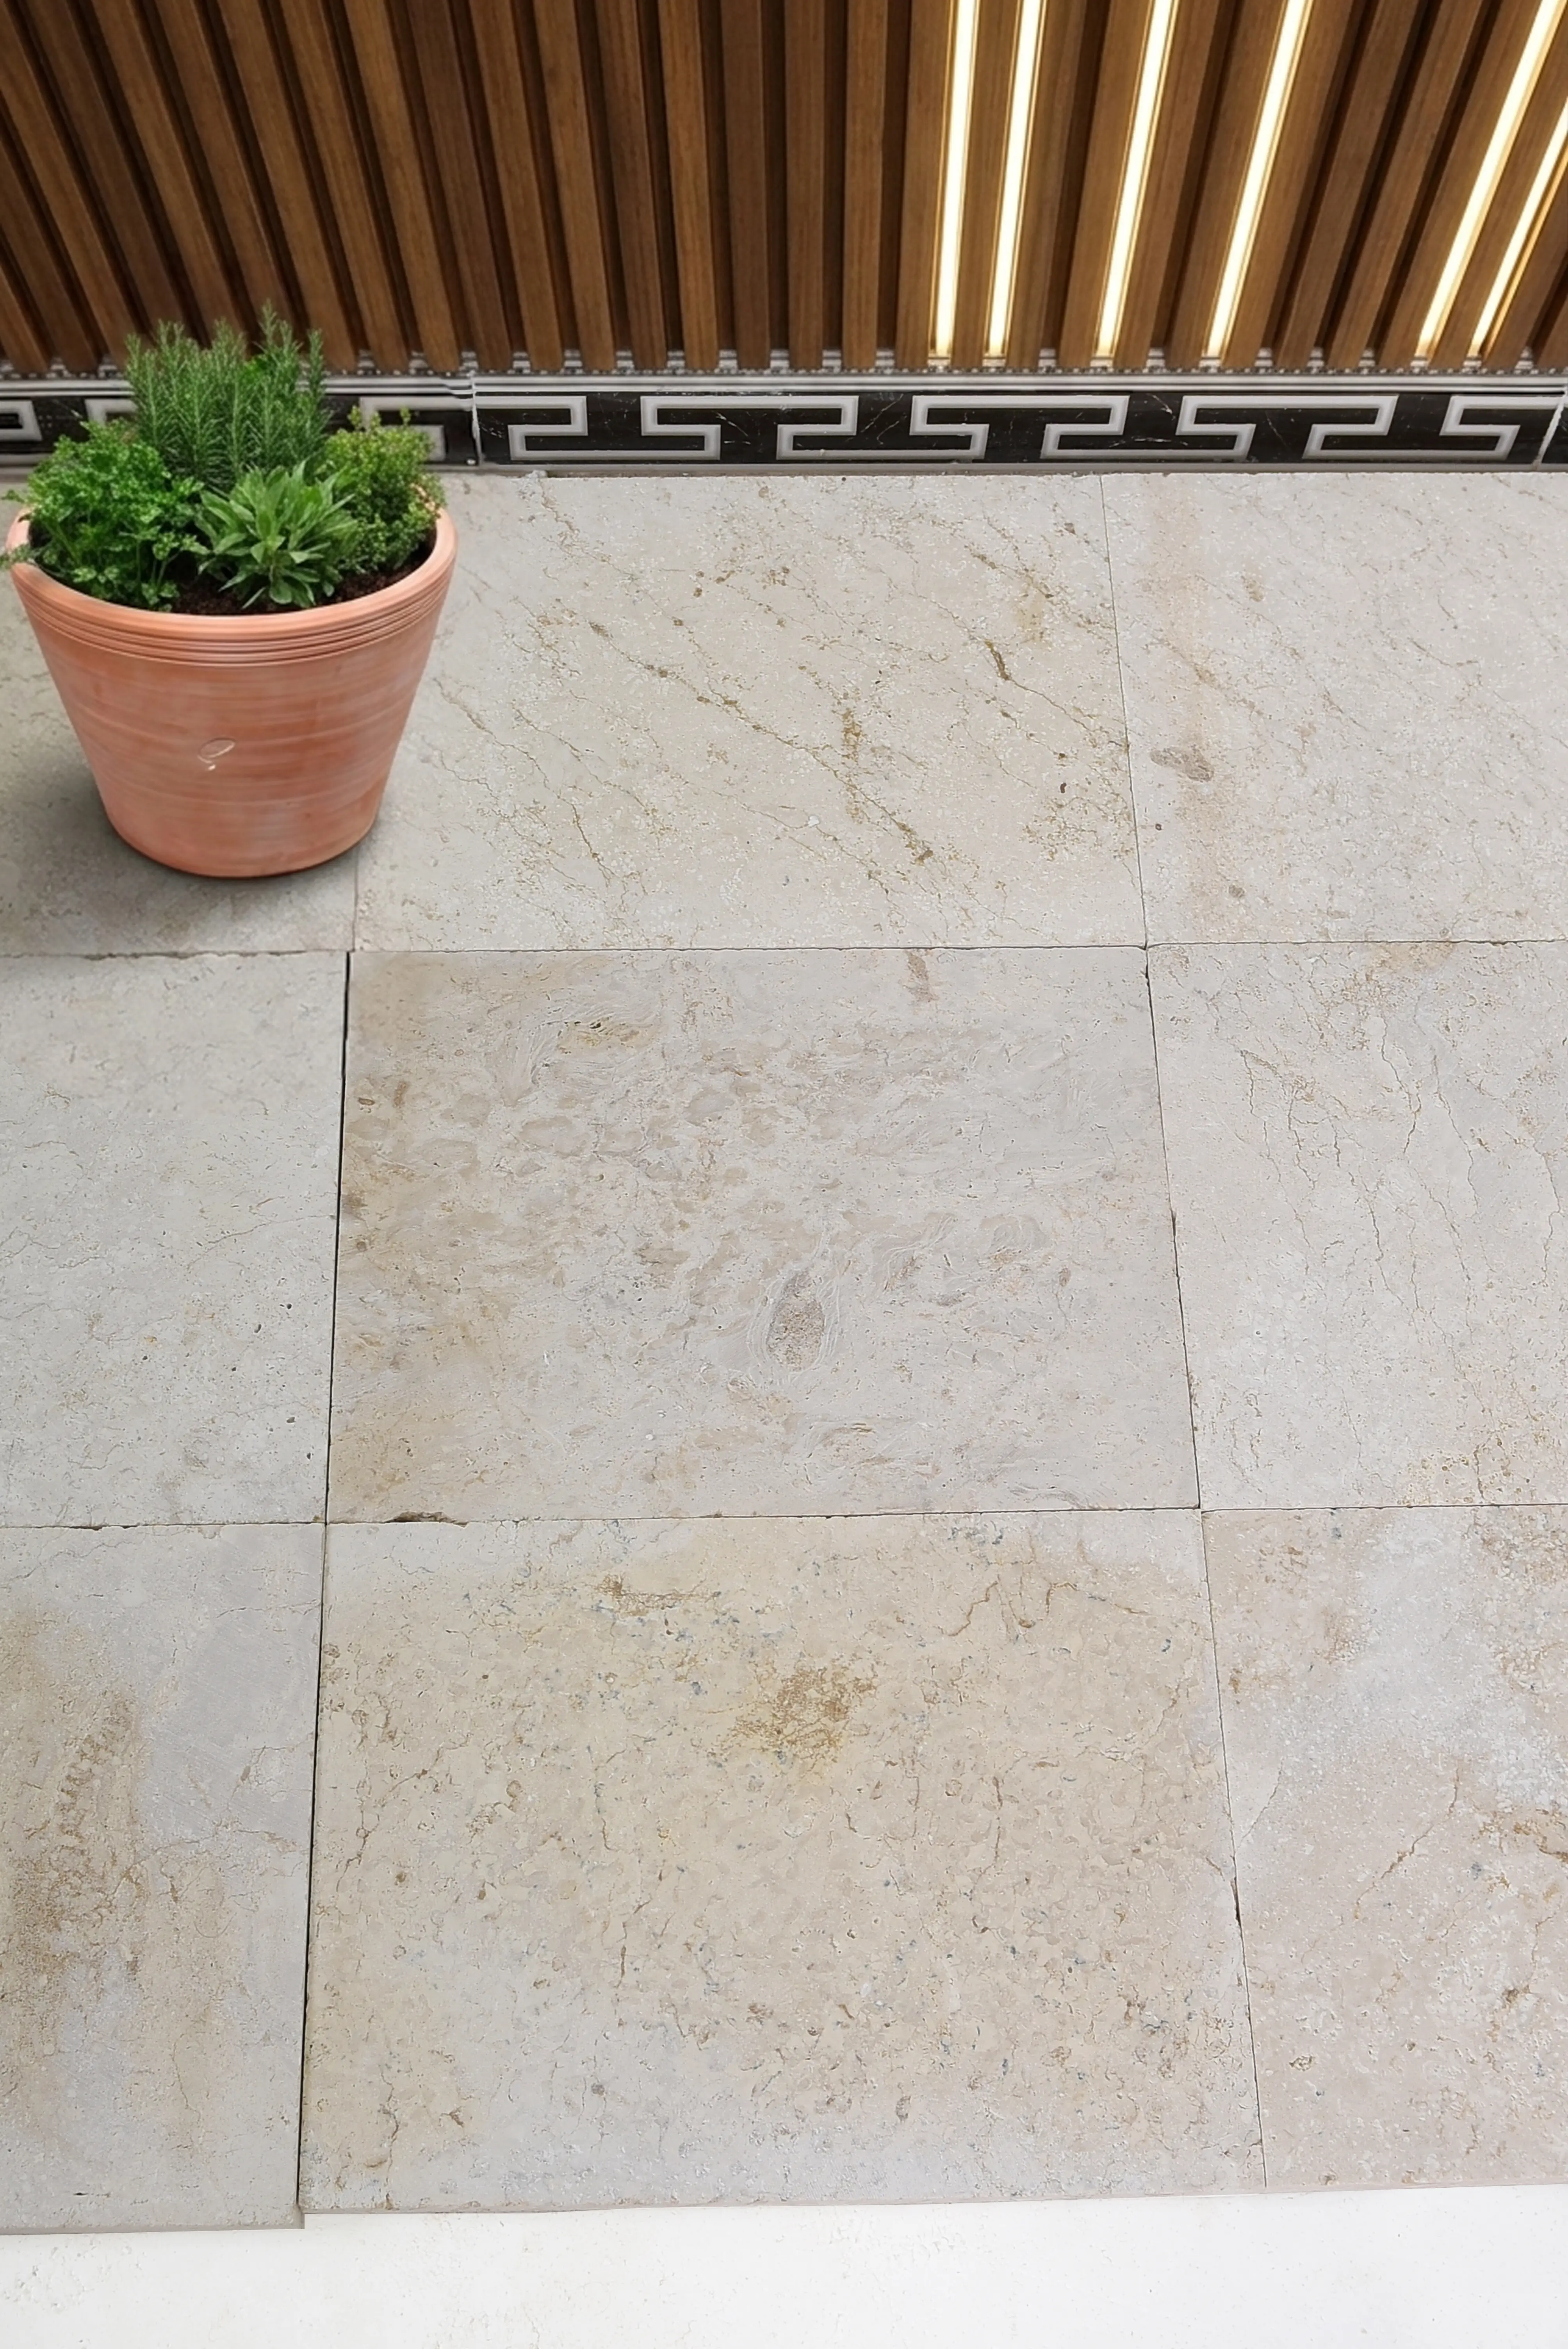
The material you spec should work with your chosen pattern, not against it. Irregular flagstone naturally suits organic, free-form layouts — trying to force it into a tight herringbone wastes material and adds significant cutting labor. Dimensional limestone or basalt pavers, cut to consistent sizes, give you the precision needed for geometric patterns like running bond or ashlar coursework. Natural Stone Institute outdoor patio stone selection guide confirms that material porosity, finish, and dimensional consistency should all inform layout decisions before the first stone is set.
Your ideas for patio stones should also account for finish — a rough-hewn natural split face creates shadows between courses that emphasize pattern geometry, while a honed or sawn face reads more as a flat plane where the overall layout shape carries the visual weight. These aren’t just aesthetic distinctions; they affect how joints are sized and how sand or mortar behaves at the interface.
- Limestone: consistent sizing supports tight geometric patterns; available in light neutrals that show layout lines clearly
- Basalt: dense, dark, works especially well in formal grid or running bond layouts
- Travertine: warm tones suit randomized ashlar and opus patterns; honed finish reduces joint depth variation
- Irregular flagstone: best for relaxed, organic designs with planted joints or crushed stone infill
- Slate: natural cleft surface adds texture depth to simple layouts; pairs well with straight-coursed patterns
Patio Stones Design Ideas for Residential Spaces
Paving stones patio ideas for residential use often hinge on scale — the size of the stone relative to the patio area changes the visual rhythm dramatically. A 24×24-inch limestone slab on a small patio reads as monolithic and modern. The same space covered in 6×9-inch tumbled limestone creates a traditional, textured feel with many more joints. Neither is wrong, but each choice makes a different spatial statement.
For outdoor living spaces, consider using a bordered layout — a field pattern in one material or color surrounded by a contrasting course at the perimeter. This technique defines the space architecturally without requiring any structural wall or raised edge. It also creates a natural reference line for installers, which improves precision across larger patio footprints. Explore Citadel Stone layout inspiration to see how different stone combinations perform in bordered field applications.
- Large-format slabs (18×18 or larger): clean, contemporary; minimizes joints for low-maintenance surfaces
- Mixed-size random coursework: natural appearance; requires more planning to avoid clustered small pieces
- Bordered field layouts: define outdoor rooms; contrasting stone at edges creates spatial hierarchy
- Diagonal grid: makes narrow spaces read wider; adds dynamism without changing material
- Stepping stone insets on gravel: cost-effective approach for informal garden zones; drainage is built in
Commercial Patio Applications: What Changes at Scale
Commercial patio designs with stones carry different performance requirements than residential work. You’re dealing with higher foot traffic volumes, ADA accessibility requirements, code-level drainage specifications, and the reality that resetting a failed section costs far more when it disrupts a business operation. Stone thickness spec changes immediately — where a residential patio might carry 1.25-inch pavers on a 4-inch compacted aggregate base, a commercial installation typically requires 2-inch or thicker units on a 6-inch minimum base with mechanically compacted layers.
Pattern choice at commercial scale also shifts toward herringbone or running bond because of structural performance data, not just aesthetics. USGS natural stone paving production and construction use data shows that dimensional natural stone continues to outperform manufactured alternatives in long-cycle commercial applications, particularly where surface character and longevity are both specified requirements.
- Minimum 2-inch paver thickness for commercial pedestrian zones
- 6-inch compacted aggregate base as a standard starting point, adjustable for soil conditions
- ADA-compliant surfaces require running slope below 1:20 and cross slope below 1:48 — verify your pattern choice supports these grades without pooling
- Herringbone orientation at 45° to primary traffic flow improves joint interlock under repeated directional loading
- Wide joints (3/8 inch or more) filled with polymeric sand handle slight movement better than tight mortar joints in high-traffic environments
Terrain, Elevation Changes, and Drainage Design
Sloped or uneven terrain adds a layer of complexity that patio designs with stones must address early in the planning phase — not during installation. A flat site allows you to focus entirely on pattern aesthetics and base depth. A site with grade changes, hillside exposure, or low-lying drainage issues requires you to engineer the base before specifying stone. Grade management determines whether water moves cleanly across and off the surface or pools at joints, works into the base, and eventually causes settlement.
On sloped sites, the most reliable approach is to establish a consistent 1–2% cross slope across the entire patio surface, regardless of the surrounding terrain’s natural grade. This controls drainage without making the surface feel noticeably tilted. For more pronounced elevation changes, terraced layouts with step-down sections create natural drainage breaks and actually highlight the patio design — turning a terrain challenge into a visual feature. Step risers become an opportunity to introduce a contrasting stone course or a different finish that separates each terrace level.
- On slopes exceeding 5%, design drainage channels or perimeter drains into the base plan before selecting stone
- Terraced layouts on hillside sites should have each level independently drained — don’t rely on cumulative slope across multiple levels
- Low-lying sites in flat terrain benefit from a raised base with 6–8 inches of aggregate, effectively lifting the patio above the surrounding grade
- Heavy clay subgrades require a geotextile separation layer between native soil and aggregate base to prevent migration under load
- Freeze-thaw regions add base depth requirements — consult local frost depth data and adjust accordingly
Base Preparation: Where Pattern Success Is Actually Determined
The most visually sophisticated patio stones design will fail within a few seasons if the base isn’t built to spec. Pattern selection and stone quality are downstream of base preparation — they’re irrelevant if the foundation beneath them is compromised. The most common field failure isn’t material degradation; it’s differential settlement caused by inadequate compaction or inconsistent base depth across the patio footprint.
Compaction should be verified with a plate compactor at minimum, and density testing on larger commercial projects. Each aggregate layer should be compacted individually — dumping 6 inches of gravel and running a compactor over the top once doesn’t produce the same result as compacting two 3-inch lifts separately. At Citadel Stone, we consistently see this shortcut in failed installations we’re asked to help troubleshoot, and it’s the variable that most determines how long a patio design holds its intended pattern geometry.
- Excavate to stable subgrade — typically 8–12 inches below finished surface for residential, 12–16 inches for commercial
- Compact subgrade before adding aggregate — a roller or plate compactor run over native soil first reduces long-term settling
- Use crushed angular aggregate (not round pea gravel) — angular material locks under compaction and resists migration
- 1-inch bedding sand layer on top of aggregate provides a final level course for setting stones
- Check level across the entire base with a long screed before setting the first stone
Joint Sizing, Infill Options, and Surface Finishing
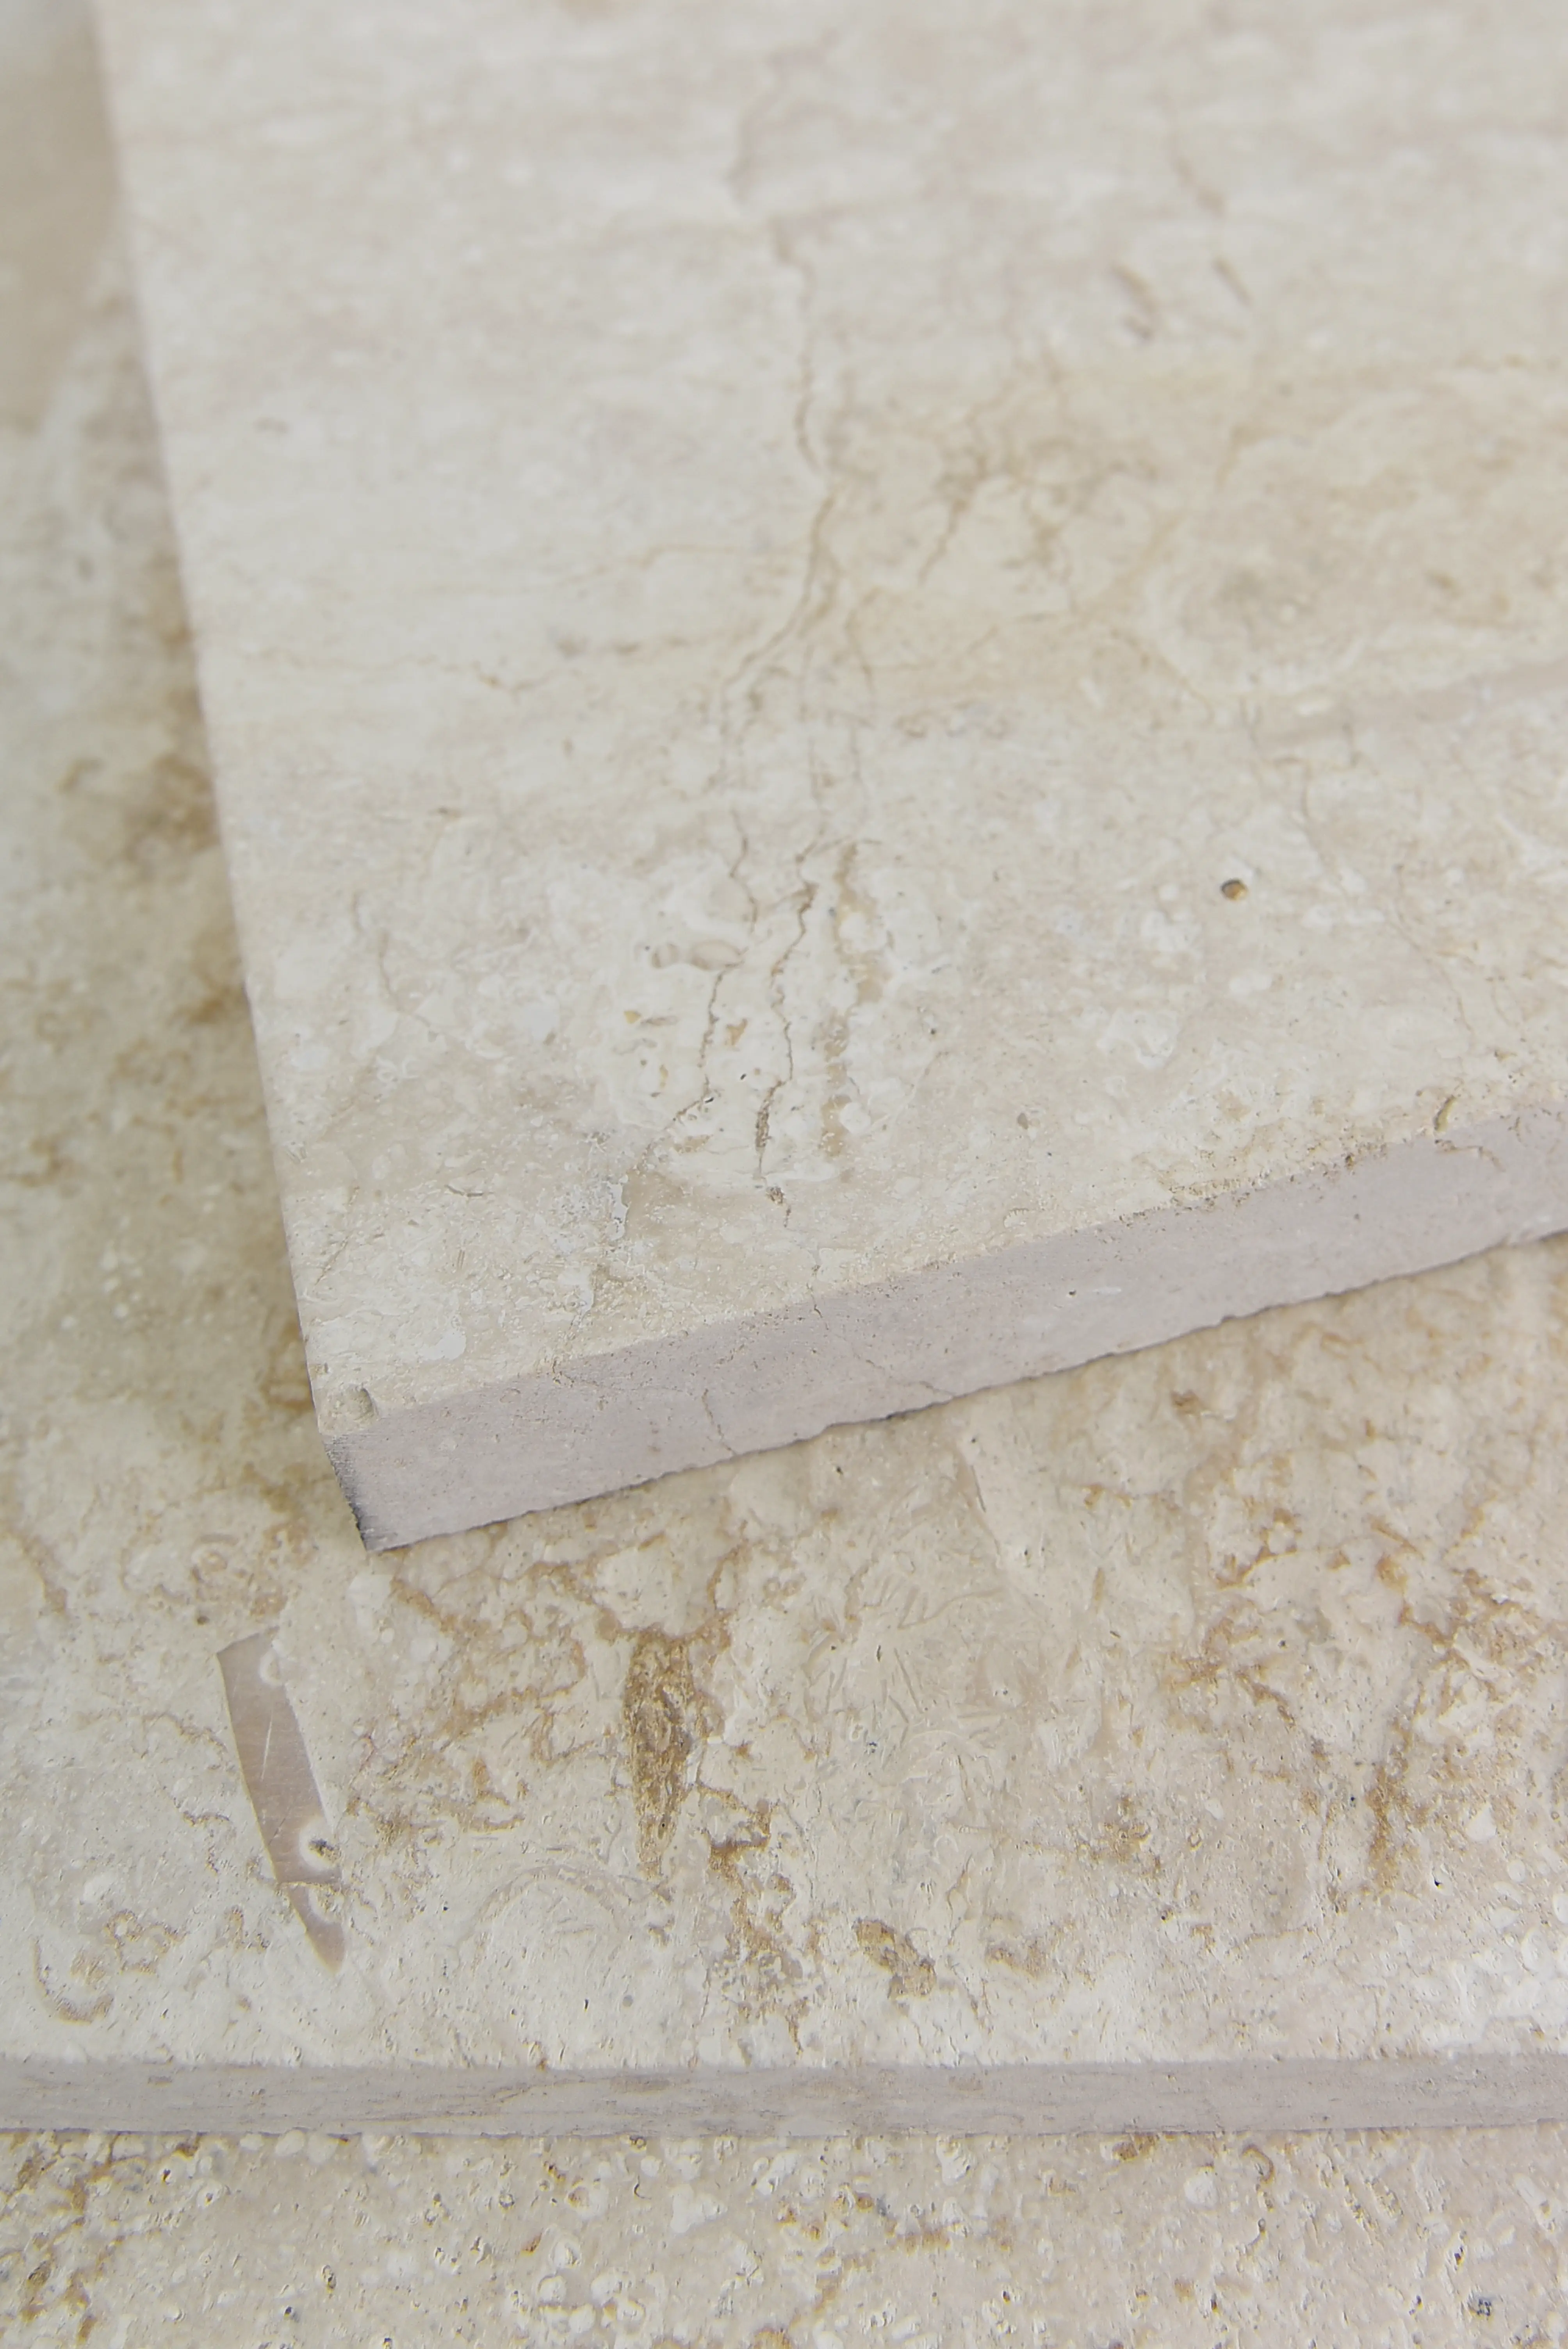
Joint width is a design decision that also carries functional consequences. Tight joints (under 3/8 inch) filled with fine sand work well on flat, stable sites with consistent stone thickness. Wider joints allow for slight dimensional variation in natural stone — which is inevitable — and provide more drainage capacity across the surface. Planted joints, where low-growing groundcovers or moss are encouraged between stones, require wider spacing (1–2 inches) and are best suited to lightly trafficked garden patios rather than main outdoor living areas.
Polymeric sand has become the standard infill for most natural stone patio designs because it activates with water to form a semi-rigid binder that resists ant intrusion, joint erosion, and weed growth. Worth noting: polymeric sand requires a dry installation window — the stone and base must be completely dry at application, and rainfall within 24 hours of activation causes surface staining that’s difficult to remove from porous materials like limestone or travertine.
- Tight joints (1/8–3/8 inch): clean appearance, best for dimensional stone with consistent thickness
- Standard joints (3/8–3/4 inch): accommodates natural variation in stone dimensions; works with polymeric sand
- Wide joints (1 inch+): planted groundcover infill; informal aesthetic; more drainage capacity
- Mortar joints: permanent and waterproof but require movement joints every 8–10 feet to prevent cracking
- Dry-laid joints on aggregate base: easiest to repair; individual stones can be reset without disturbing the whole surface
Planning Your Order: Quantities, Lead Times, and Delivery
Calculating stone quantity accurately prevents the two most common ordering mistakes — running short mid-installation or overbuying by 30%. The base calculation is straightforward: total square footage plus 10% for waste and cuts. On patterns with diagonal orientation or intricate borders, increase the waste factor to 15%. Irregular flagstone layouts with organic edges can run as high as 20% waste due to field cutting.
Citadel Stone maintains consistent warehouse inventory across natural stone patio categories, which typically brings lead times down to one to two weeks rather than the six to eight week import cycle you’ll face ordering direct from quarries. That matters for project scheduling — knowing your truck delivery window in advance lets you coordinate base preparation and crew scheduling so the stone arrives to a ready site, not a half-excavated one.
- Standard rectangular pattern: order total SF + 10% for waste
- Diagonal or herringbone: order total SF + 15%
- Irregular flagstone: order total SF + 20%
- Confirm warehouse stock availability before locking in your project start date
- Coordinate truck delivery timing with base completion — stone shouldn’t sit on wet subgrade or freshly compacted aggregate
Getting Your Patio Design with Stones Right the First Time
The decisions that define a successful patio design with stones compound on each other — pattern choice informs base requirements, stone material determines joint sizing, and terrain conditions shape drainage design before any of those variables come into play. Getting all of these right simultaneously is what separates a patio that performs for 20-plus years from one that looks good at installation and starts shifting within five. Your design intent should drive the spec, but the spec has to respect the site conditions you’re working with.
As you finalize your material choices and layout plan, related stone applications can inform how you approach edges, borders, and transitions within your outdoor space. For a different but complementary perspective on natural stone performance, slate patio stone performance and appearance covers how metamorphic stone behaves in demanding patio environments. Mixing two stone colors from Citadel Stone’s limestone collection is a straightforward way to achieve a bordered patio pattern without specialty cuts.
Related reading: patio stones for fire pit · types of patio stones · cost of patio stones.