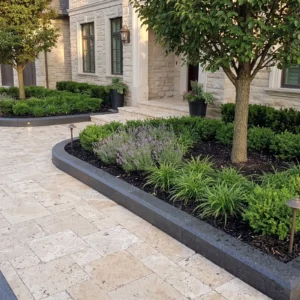
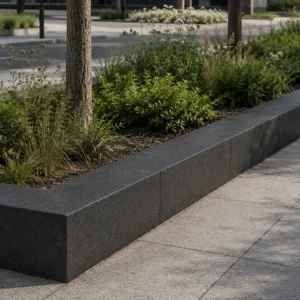
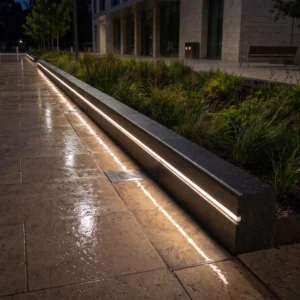
The detail that separates a garden bed edge that holds for fifteen years from one that creeps out by spring isn’t the paver you choose — it’s how that paver interfaces with the soil at grade. Pavers for garden beds fail almost exclusively at the lateral plane, where foot traffic, root pressure, and freeze-thaw cycling conspire to push material out of line. Understanding that failure mode before you spec anything is what this article is about.
Why Garden Bed Edging Moves — And What Actually Stops It
The mechanics are straightforward once you’ve pulled out enough failed edging to recognize the pattern. Pavers for garden beds shift because the soil beneath and beside them is not static — it swells, contracts, and migrates based on moisture and root activity. A paver sitting proud of grade catches foot traffic loading at its edge, creating a lever arm that tips it outward over time.
Setting depth matters more than most installation guides acknowledge. A paver installed with only its top face at grade, with compacted aggregate beneath and a tight soil shoulder on each side, has no lever arm to exploit. Remove that shoulder and you’ve built a rocking pivot point into every piece.
- Pavers placed at grade with flush soil contact on all sides resist lateral creep under foot loading
- A compacted gravel base of 4 inches minimum prevents differential settling between the paver and the surrounding bed soil
- Edge pavers butted tightly together — less than 3mm gaps — limit the rotational movement that starts the migration cascade
- Root barriers beneath the edging line protect base compaction from biological disruption over a 5–10 year horizon
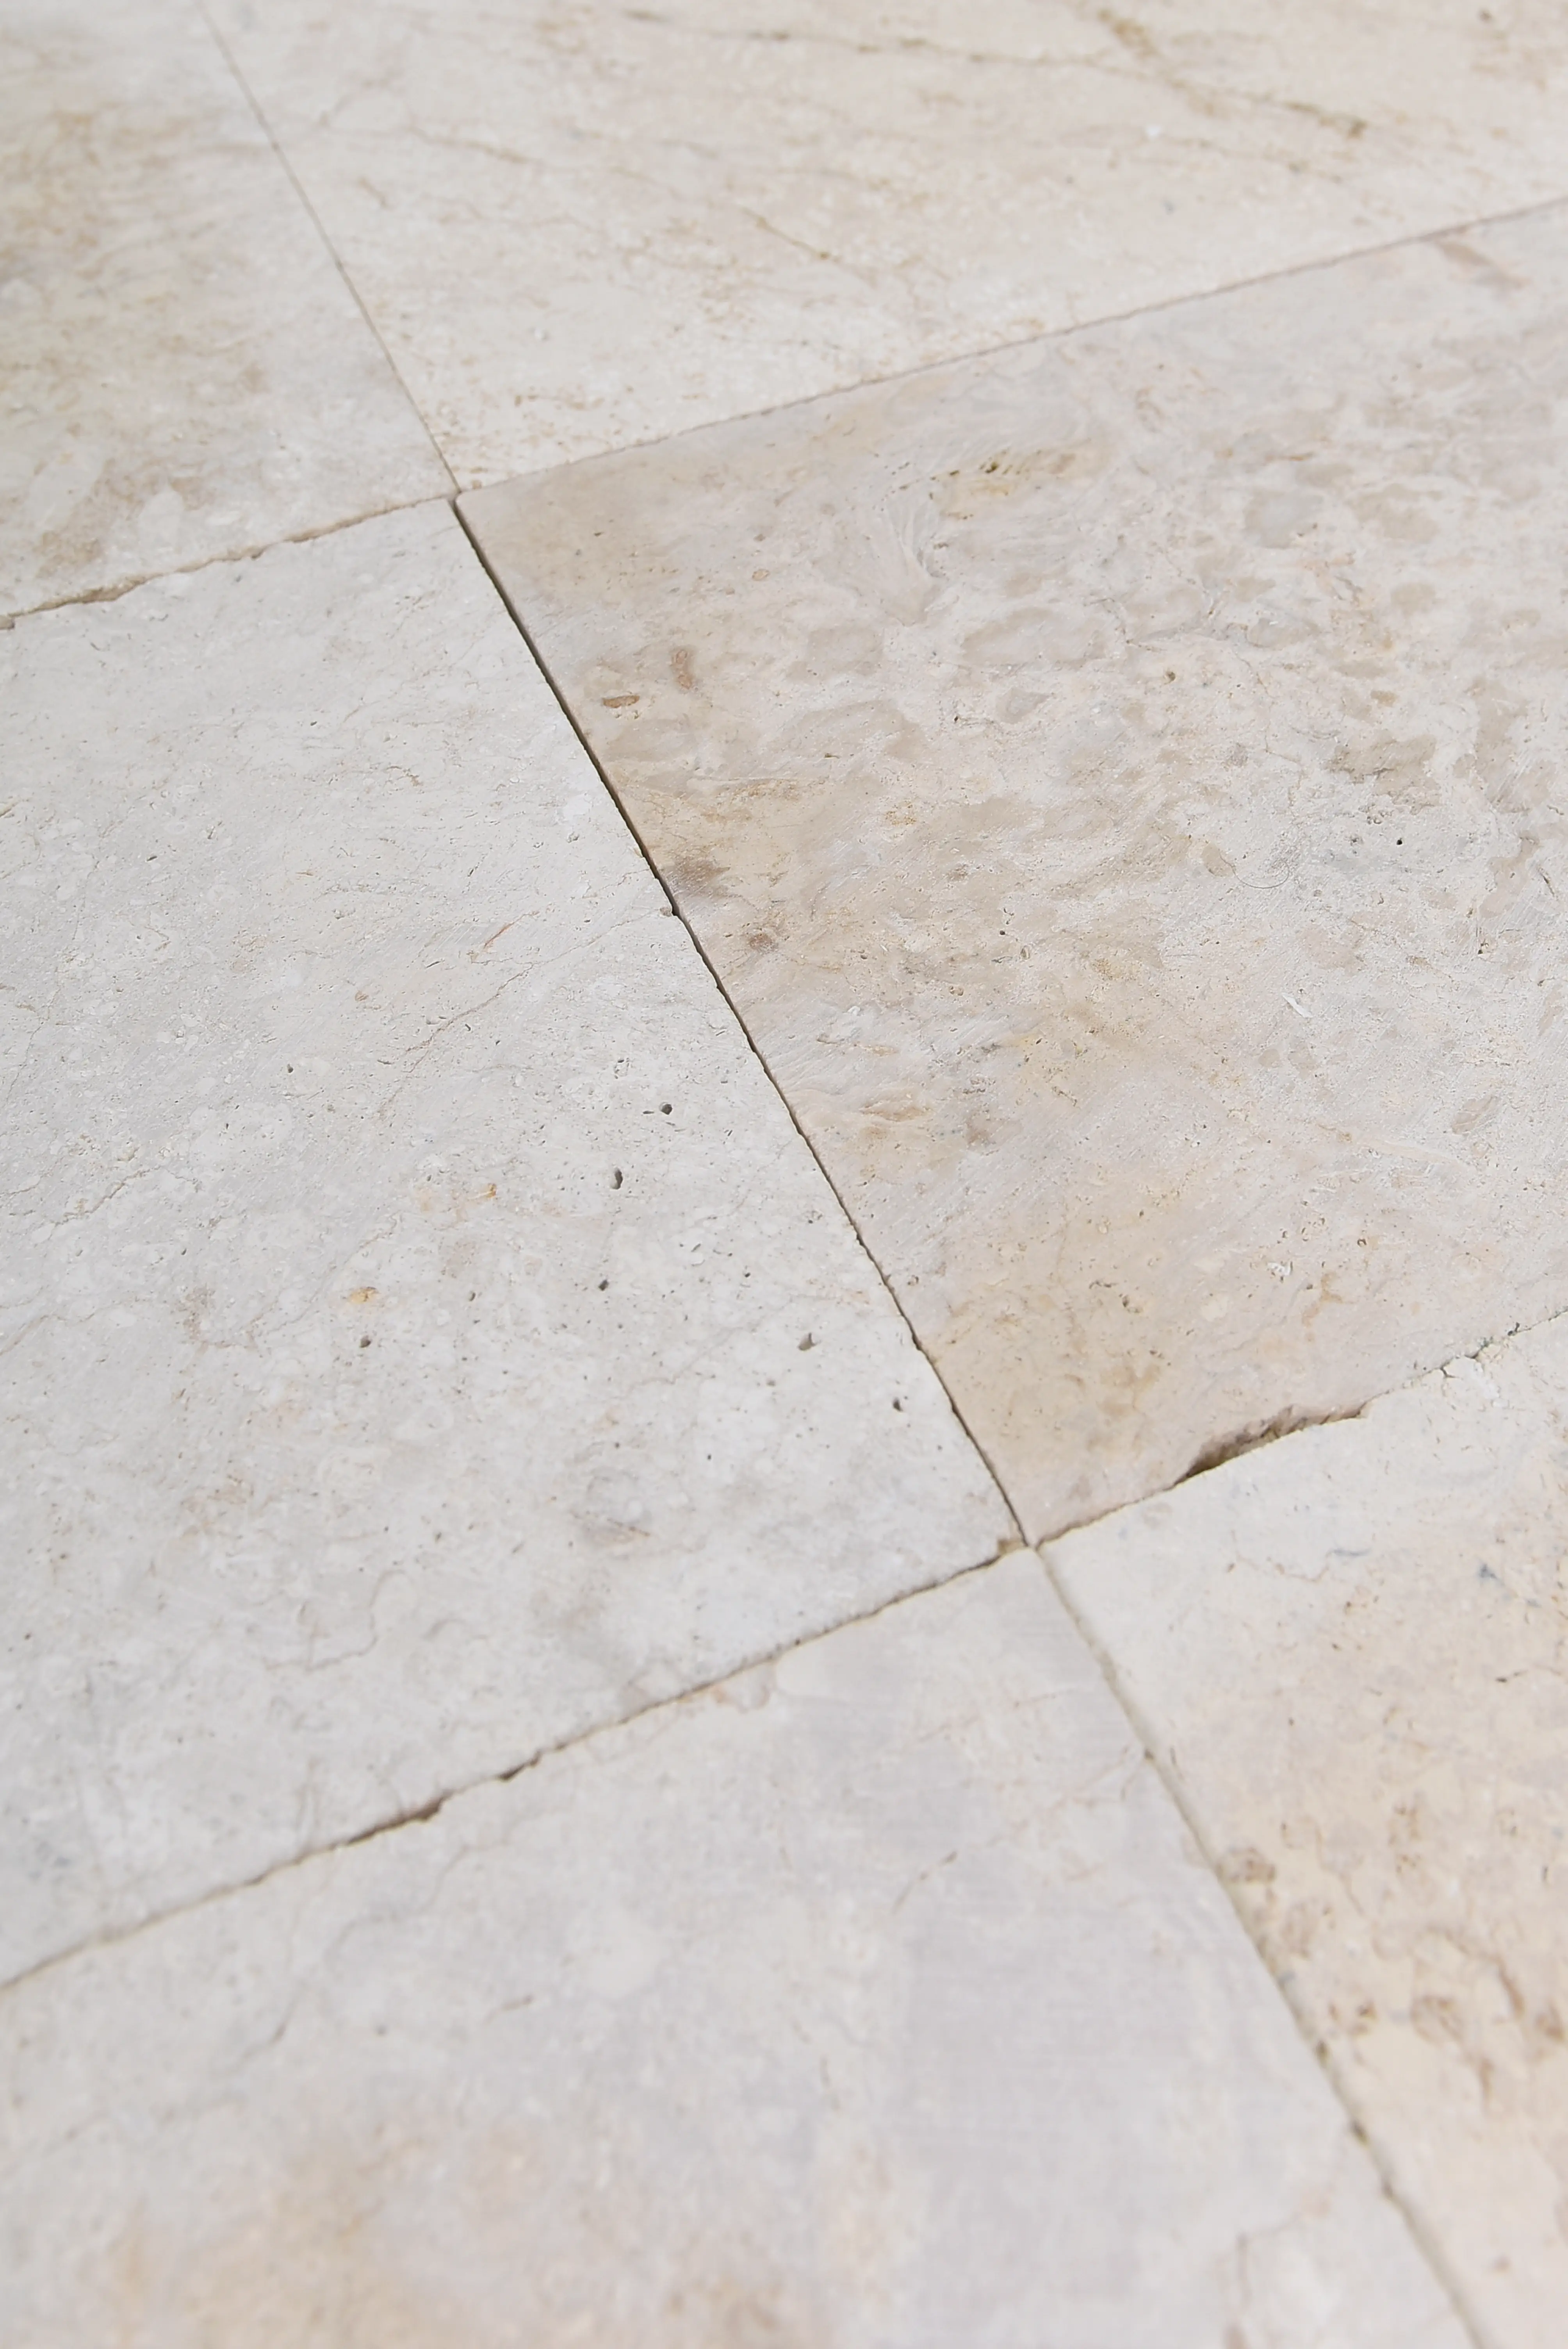
Choosing Stone Pavers for Garden Applications
Not every natural stone performs equally well at the soil interface. The choice of stone pavers for garden edging involves a genuine trade-off between density, absorption, and surface finish — and getting that balance wrong costs you a reinstall.
Dense, low-absorption stones like granite and basalt tolerate direct soil contact better than high-porosity alternatives. Travertine and certain softer limestones will wick moisture aggressively when buried partially in bed soil, accelerating surface spalling in freeze-thaw regions. According to Natural Stone Institute stone variety specifications, absorption rate is one of the primary durability indicators for exterior paving applications — a factor that becomes critical when the material sits at permanent soil contact.
- Granite: absorption rate below 0.4% — excellent for ground-contact edging in all climates
- Dense limestone: 1.5–3% absorption — suitable with proper base isolation, requires sealing in wet environments
- Basalt: absorption below 0.5%, high compressive strength — performs well in both wet and freeze-thaw conditions
- Travertine: 3–6% absorption — best reserved for above-grade decorative garden pavers, not buried applications
- Flagstone (sandstone-family): variable — test individual quarry batches before committing to buried edging use
Decorative garden pavers that also need to function as structural edging require a minimum thickness of 2.5 inches for individual pieces longer than 12 inches. Thinner pieces flex under point loads and crack at the joint — a failure mode that looks sudden but builds over two or three seasons of thermal cycling.
Base Preparation That Actually Works
Your base preparation is doing more work than the paver itself. The compacted aggregate layer beneath the stone is what absorbs differential settlement, manages drainage, and prevents frost heave from jacking individual pieces out of line. Cutting corners here is the single most common reason pavers for garden beds fail within the first three years.
The minimum compacted aggregate depth for garden bed edging in stable soil conditions is 4 inches of compacted crushed stone (3/4-inch clean). In clay-heavy soils or areas with pronounced seasonal moisture swings, extend that to 6 inches and add a 1-inch sand setting bed on top. The sand bed allows minor vertical adjustments and gives you a leveling medium that still drains freely.
- Excavate 6–8 inches below finished grade to accommodate aggregate base plus sand setting bed plus paver thickness
- Compact aggregate in 2-inch lifts — single-pour compaction leaves air voids that collapse under load
- Slope the base 1/4 inch per foot away from the bed to direct drainage away from the planting area
- Install landscape fabric beneath the aggregate layer in areas with aggressive weed pressure or fine-particle soils
- Backfill with native soil compacted to 95% Proctor density on the garden-side shoulder to prevent void formation
Code Considerations for Garden Paver Edging
Most residential garden edging projects don’t trigger permit requirements, but that doesn’t mean building standards are irrelevant to your specification. Jurisdictions that have adopted IBC provisions for hardscape or that enforce specific frost line depths will affect how deep your base needs to go — and in some cases, whether edge restraint systems are required by code rather than just best practice.
Frost line depth is the most consequential code variable for paver edging performance. In regions where the frost line sits at 24 inches or deeper, a 4-inch aggregate base offers minimal protection against heave. The practical specification response is to excavate below the frost depth where the edging is load-bearing or connects to a structure, and to use open-graded aggregate that drains freely rather than retaining ice-forming moisture. The ASLA guidance on permeable landscape surfaces addresses aggregate base design for exactly this scenario — free-draining base layers that manage both load and frost simultaneously.
Edge restraint requirements are another area where code context matters. Hardscape connected to a driveway, retaining wall, or public walkway in many jurisdictions requires a positive edge restraint system — not just compacted soil shoulders. Where that applies, plastic or aluminum edge restraint spiked into sub-base at 12-inch intervals is the minimum. For natural stone pavers for garden beds that meet a driveway apron, a mortared soldier course at the transition point satisfies most code interpretations and eliminates the differential movement that damages both surfaces.
- Check frost depth maps before finalizing aggregate base depth specifications
- Verify whether your jurisdiction classifies decorative edging connected to hardscape as a structural element
- In seismic zones, use flexible rather than mortared joints for freestanding garden edging — rigid mortar beds crack under ground movement
- Minimum paver thickness for code-compliant pedestrian hardscape is typically 2 inches — confirm with local authority
Paver Stones for Garden Edging: Layout and Pattern Decisions
Layout affects both aesthetics and structural performance in ways that aren’t obvious until you’ve watched a few installations age. A running bond pattern along a curved garden edge creates consistent weak points at the repeating transverse joint — those joints align with the direction of outward soil pressure, which means the pattern is actively encouraging the edging to open up along its most vulnerable plane.
For curved garden beds, a perpendicular soldier course — pavers set on their long axis running into the bed rather than along it — performs significantly better. The geometry means soil pressure from the bed side is working against the long dimension of each paver rather than the thin joint between them. You’ll see this detail used on high-end landscape projects precisely because it holds line through multiple freeze-thaw seasons without needing re-alignment.
You can explore our stone pavers for garden beds for material options that suit both straight and curved edging configurations — the product range includes the dense, low-absorption stones that perform best at grade.
- Soldier course (perpendicular) orientation: best for curved beds and high soil-pressure applications
- Running bond (parallel): visually traditional, adequate for straight low-pressure edging
- Staggered stack: structurally weak at corners — avoid for any load-bearing edging application
- Miter cuts at corners: maintain visual continuity and eliminate the open joint corner that collects debris and allows settlement
Joint Sand and Surface Finish for Garden Bed Pavers
Polymeric sand has become the default joint fill for most paver applications, but garden bed edging creates a specific challenge that standard polymeric sand handles poorly — moisture cycling from adjacent irrigation. Garden beds are regularly irrigated, which means the joint sand at the edging interface experiences wetting and drying cycles far more frequently than a driveway or patio surface. Standard polymeric sand that never fully cures between irrigation cycles will degrade within two seasons.
The better specification for garden-adjacent joints is a stabilized decomposed granite or a coarse angular sand compacted to fill the joint completely. Neither product requires curing time and both tolerate repeated wetting without structural breakdown. For paver stones for garden edging that sit in direct contact with mulched bed soil, leave the garden-side face of the joint unfilled — allow soil contact to brace that face naturally rather than trying to maintain a sand joint against active mulch and root pressure.
Surface finish choice also affects long-term maintenance. Honed or brushed finishes on decorative garden pavers resist algae better than split-face finishes in shaded bed environments, because the smoother surface doesn’t trap the organic material that feeds biological growth. A light annual pressure wash is sufficient maintenance for honed stone; split-face finishes may need a biennial application of stone-safe biocide to stay presentable.
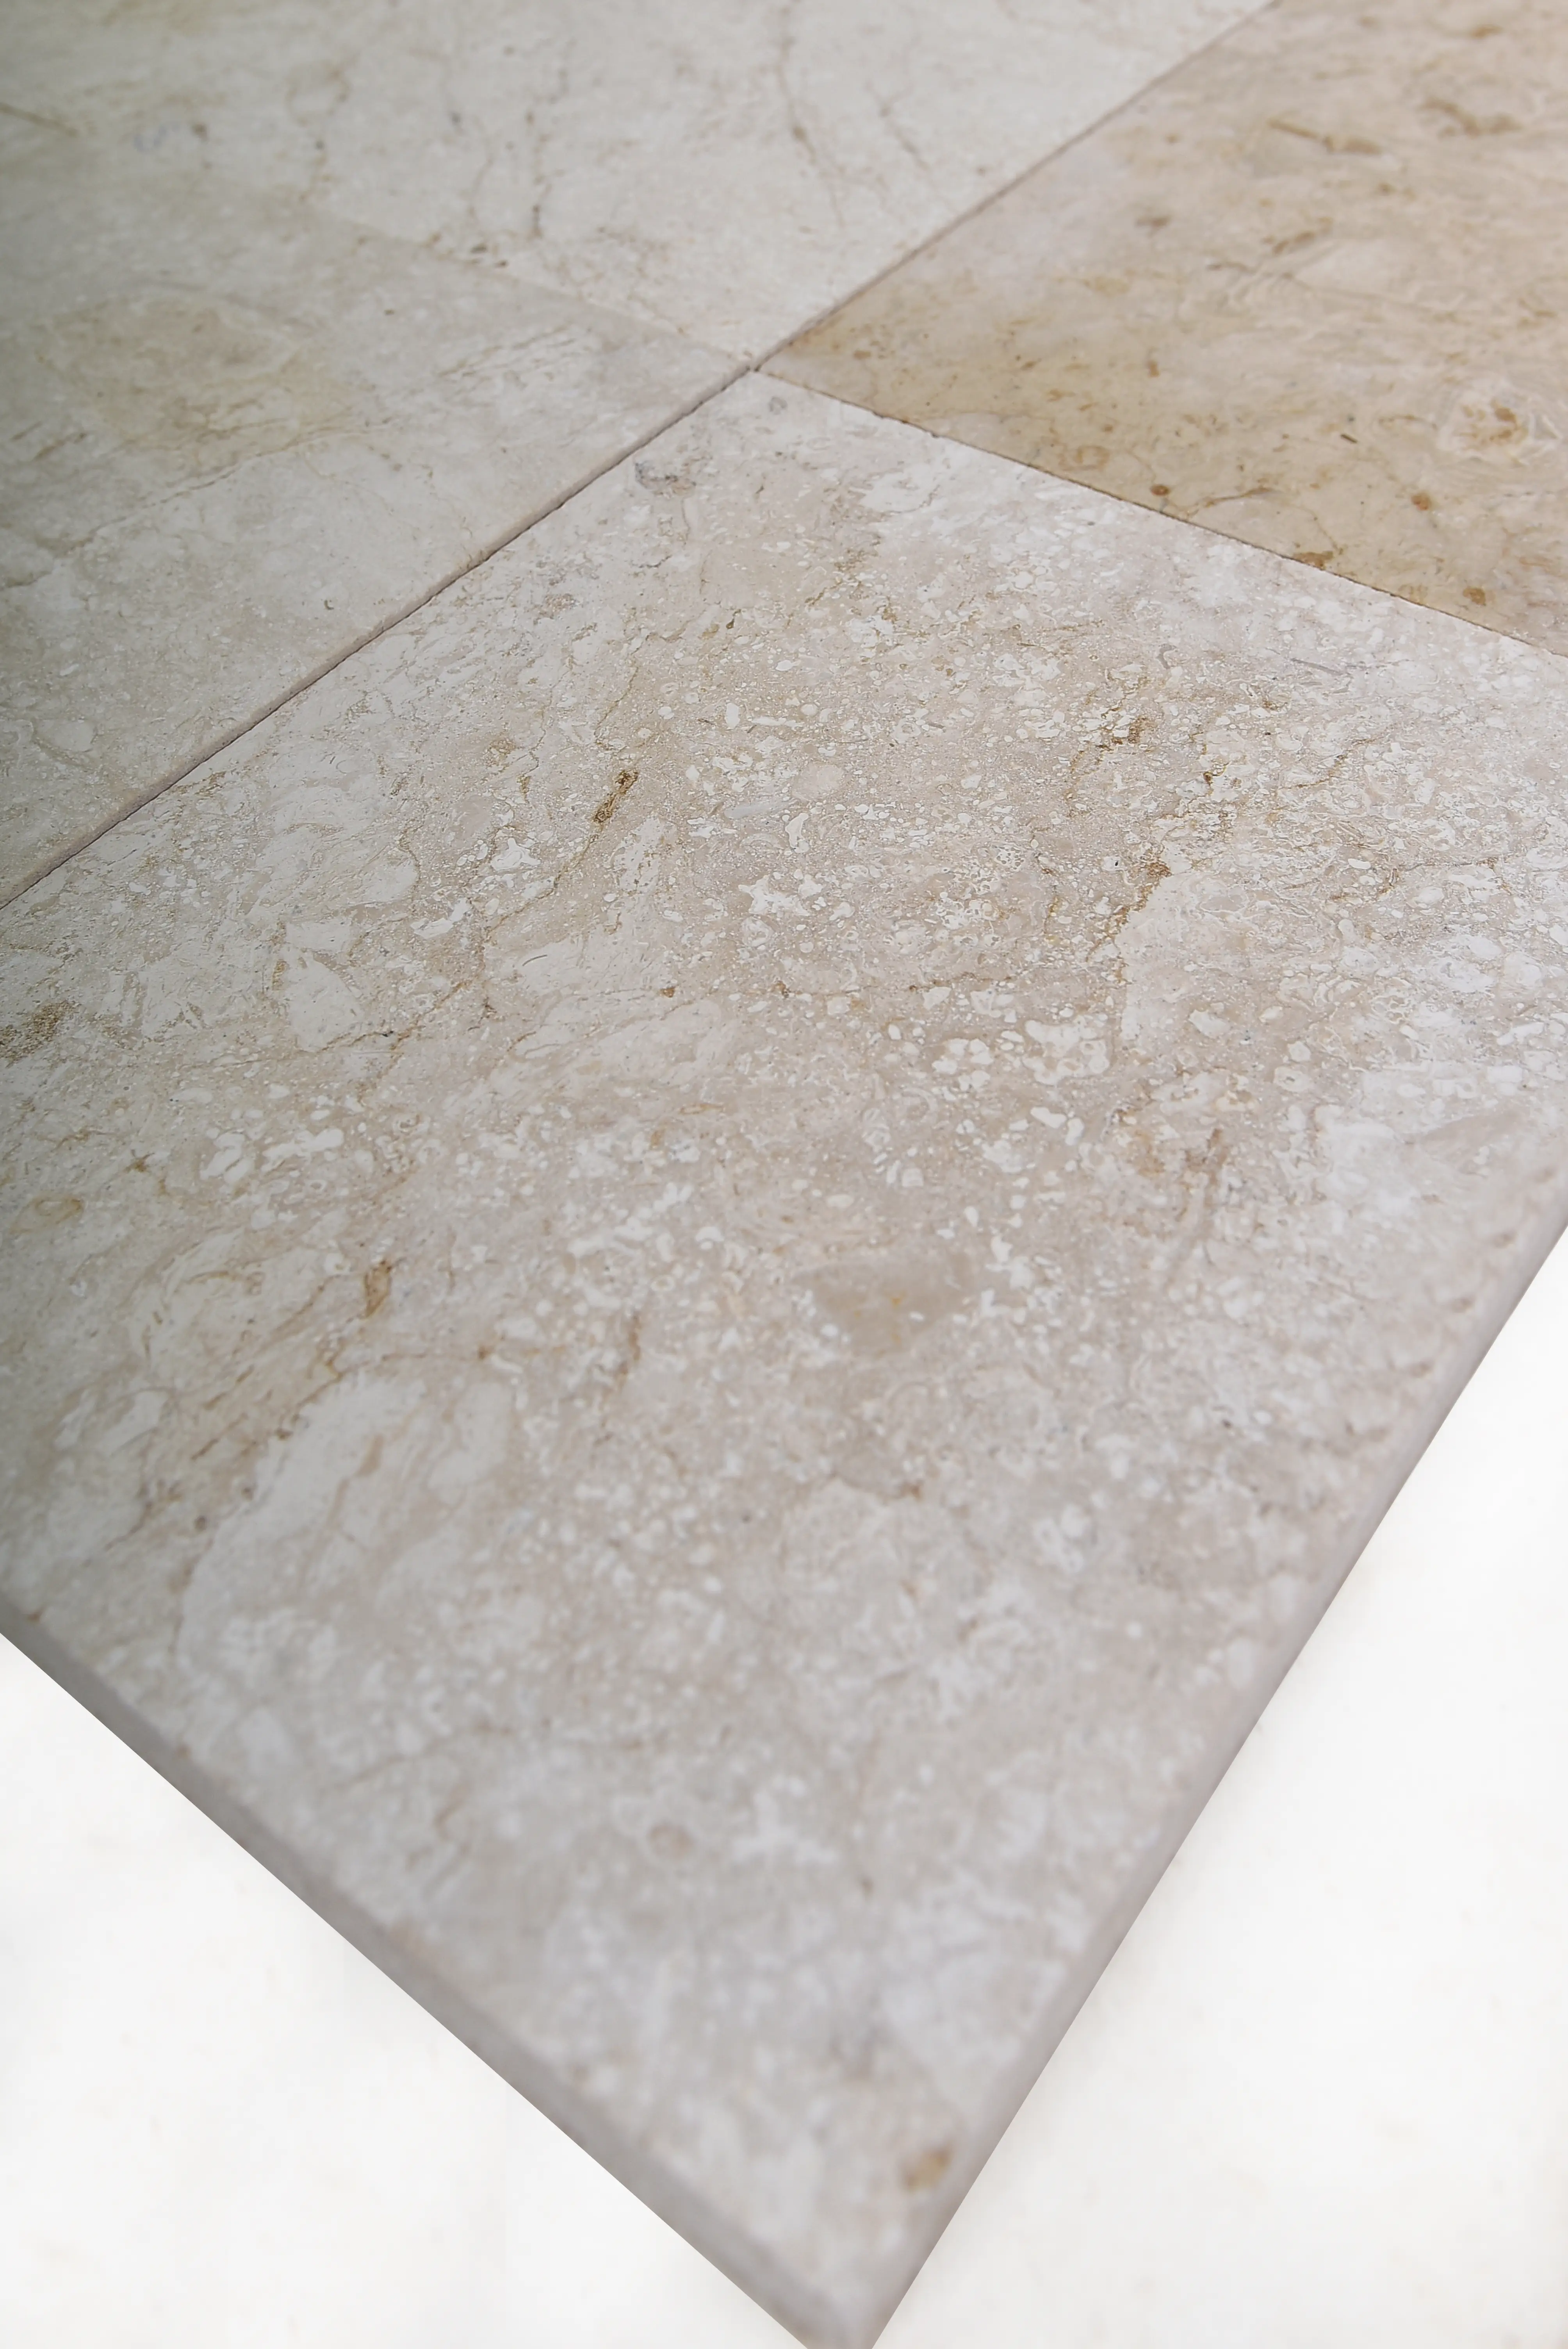
Ordering and Lead Times for Garden Paver Projects
Project timing is the detail that catches most homeowners and contractors off guard. Natural stone inventory for garden edging applications — particularly in the 2.5-inch thickness range that handles ground-contact use — turns over quickly during spring landscaping season. Your delivery window needs to account for both warehouse availability and site access, and those two constraints don’t always align with your installation schedule.
Citadel Stone maintains consistent warehouse stock across its garden stone range, with lead times typically running 5–10 business days for standard truck delivery. Ordering 15–20% more material than your calculated square footage accounts for cuts, breakage, and the color variation that’s inherent in natural stone — you want all your stone from the same quarry batch, and back-ordering to match a batch weeks later is rarely successful. According to USGS dimension stone production data, natural stone is a finite quarried resource with production variability that affects batch consistency — ordering sufficient quantity upfront is standard professional practice.
- Calculate total linear footage of edging, multiply by paver width and thickness to get volume, then add 15% overage
- Confirm truck access to your delivery point — oversized stone pallets require clear driveway or yard access
- Order early in the season — spring demand typically reduces warehouse availability by March in most supply chains
- Request a sample piece from your specific batch before committing to a full order — color and texture vary between quarry runs
Installation Mistakes That Cause Long-Term Failure
Field experience makes certain failure patterns unmistakable. The most common installation mistake with pavers for garden beds isn’t the base preparation — it’s the final backfill step. Installers compact the aggregate base correctly, set the pavers accurately, then backfill the garden-side shoulder with loose topsoil that hasn’t been compacted. That loose soil settles over the first wet season, pulling the soil shoulder away from the paver face and eliminating the lateral brace that keeps the edging in line.
The second most consistent failure is incorrect grade relationship. Pavers set even 1/4 inch proud of the surrounding lawn or path surface catch mower blades and foot traffic at the edge, creating the lever loading that tips them outward. Set the top face flush to 1/8 inch below surrounding grade — it looks slightly recessed but eliminates the load path that causes migration.
- Never backfill with uncompacted topsoil — use compacted native soil or crushed aggregate on the shoulder
- Check grade with a straightedge across the edging surface and adjacent lawn or path before considering the job complete
- Avoid dry-laying pavers on undisturbed soil without a prepared base — soil settles differentially and produces an irregular surface within one season
- Don’t mortar edging pavers into rigid beds adjacent to tree root zones — roots will heave mortared sections that flexible-set pavers would accommodate
- Resist the urge to cut corners on base depth at transitions — the joint between edging and an adjacent path is where differential settlement always shows first
At Citadel Stone, our technical team advises on base specification for specific soil conditions before orders ship — a conversation that takes five minutes and prevents the reinstall that costs ten times the phone call.
Final Recommendations for Garden Bed Paver Success
The performance of pavers for garden beds comes down to three decisions made before a single stone is placed: material density relative to soil moisture exposure, base depth relative to frost and load conditions, and grade relationship between the paver face and surrounding surfaces. Get those three variables right and the edging holds. Miss any one of them and you’re troubleshooting in year two.
Dense natural stone — granite, basalt, or dense limestone — at 2.5-inch minimum thickness, set on a 4–6-inch compacted aggregate base, with the top face flush to grade and a compacted soil shoulder on both sides, is a specification that holds across the broadest range of conditions and installation competency levels. It’s not the only specification that works, but it’s the one that tolerates the most variation in execution without failing early. For further context on how natural stone performs across different border and edging configurations, choosing stone for garden borders covers the material selection factors in greater depth. Setting pavers at grade with a tight soil shoulder on each side is the key detail that keeps garden bed edging from migrating, a point Citadel Stone installation guides cover in full.
Related reading: how to build dry stone wall · raised garden stone wall · retaining wall with garden stones.