What Your Base Determines Before the First Stone Goes Down
A raised garden stone wall build lives or dies by what happens below grade — not above it. The most common failure pattern isn’t cracked stone or poor mortar; it’s inadequate drainage paired with an undersized base that allows frost heave or soil saturation to push the lower course out of alignment within two to three seasons. Understanding this before you source material changes every decision that follows, from stone thickness to backfill composition to the height-to-base-width ratio you’ll need to maintain.
Your foundation trench should be a minimum of 6 inches deep for walls under 24 inches tall, and that depth increases by roughly 2 inches for every additional 6 inches of wall height beyond that. Compact a 4-inch layer of crushed angular aggregate — not rounded gravel — before you set your first course. Angular aggregate interlocks under load; rounded stone shifts. That distinction matters more than almost any other base decision you’ll make.
Choosing the Right Stone for a Natural Stone Garden Bed
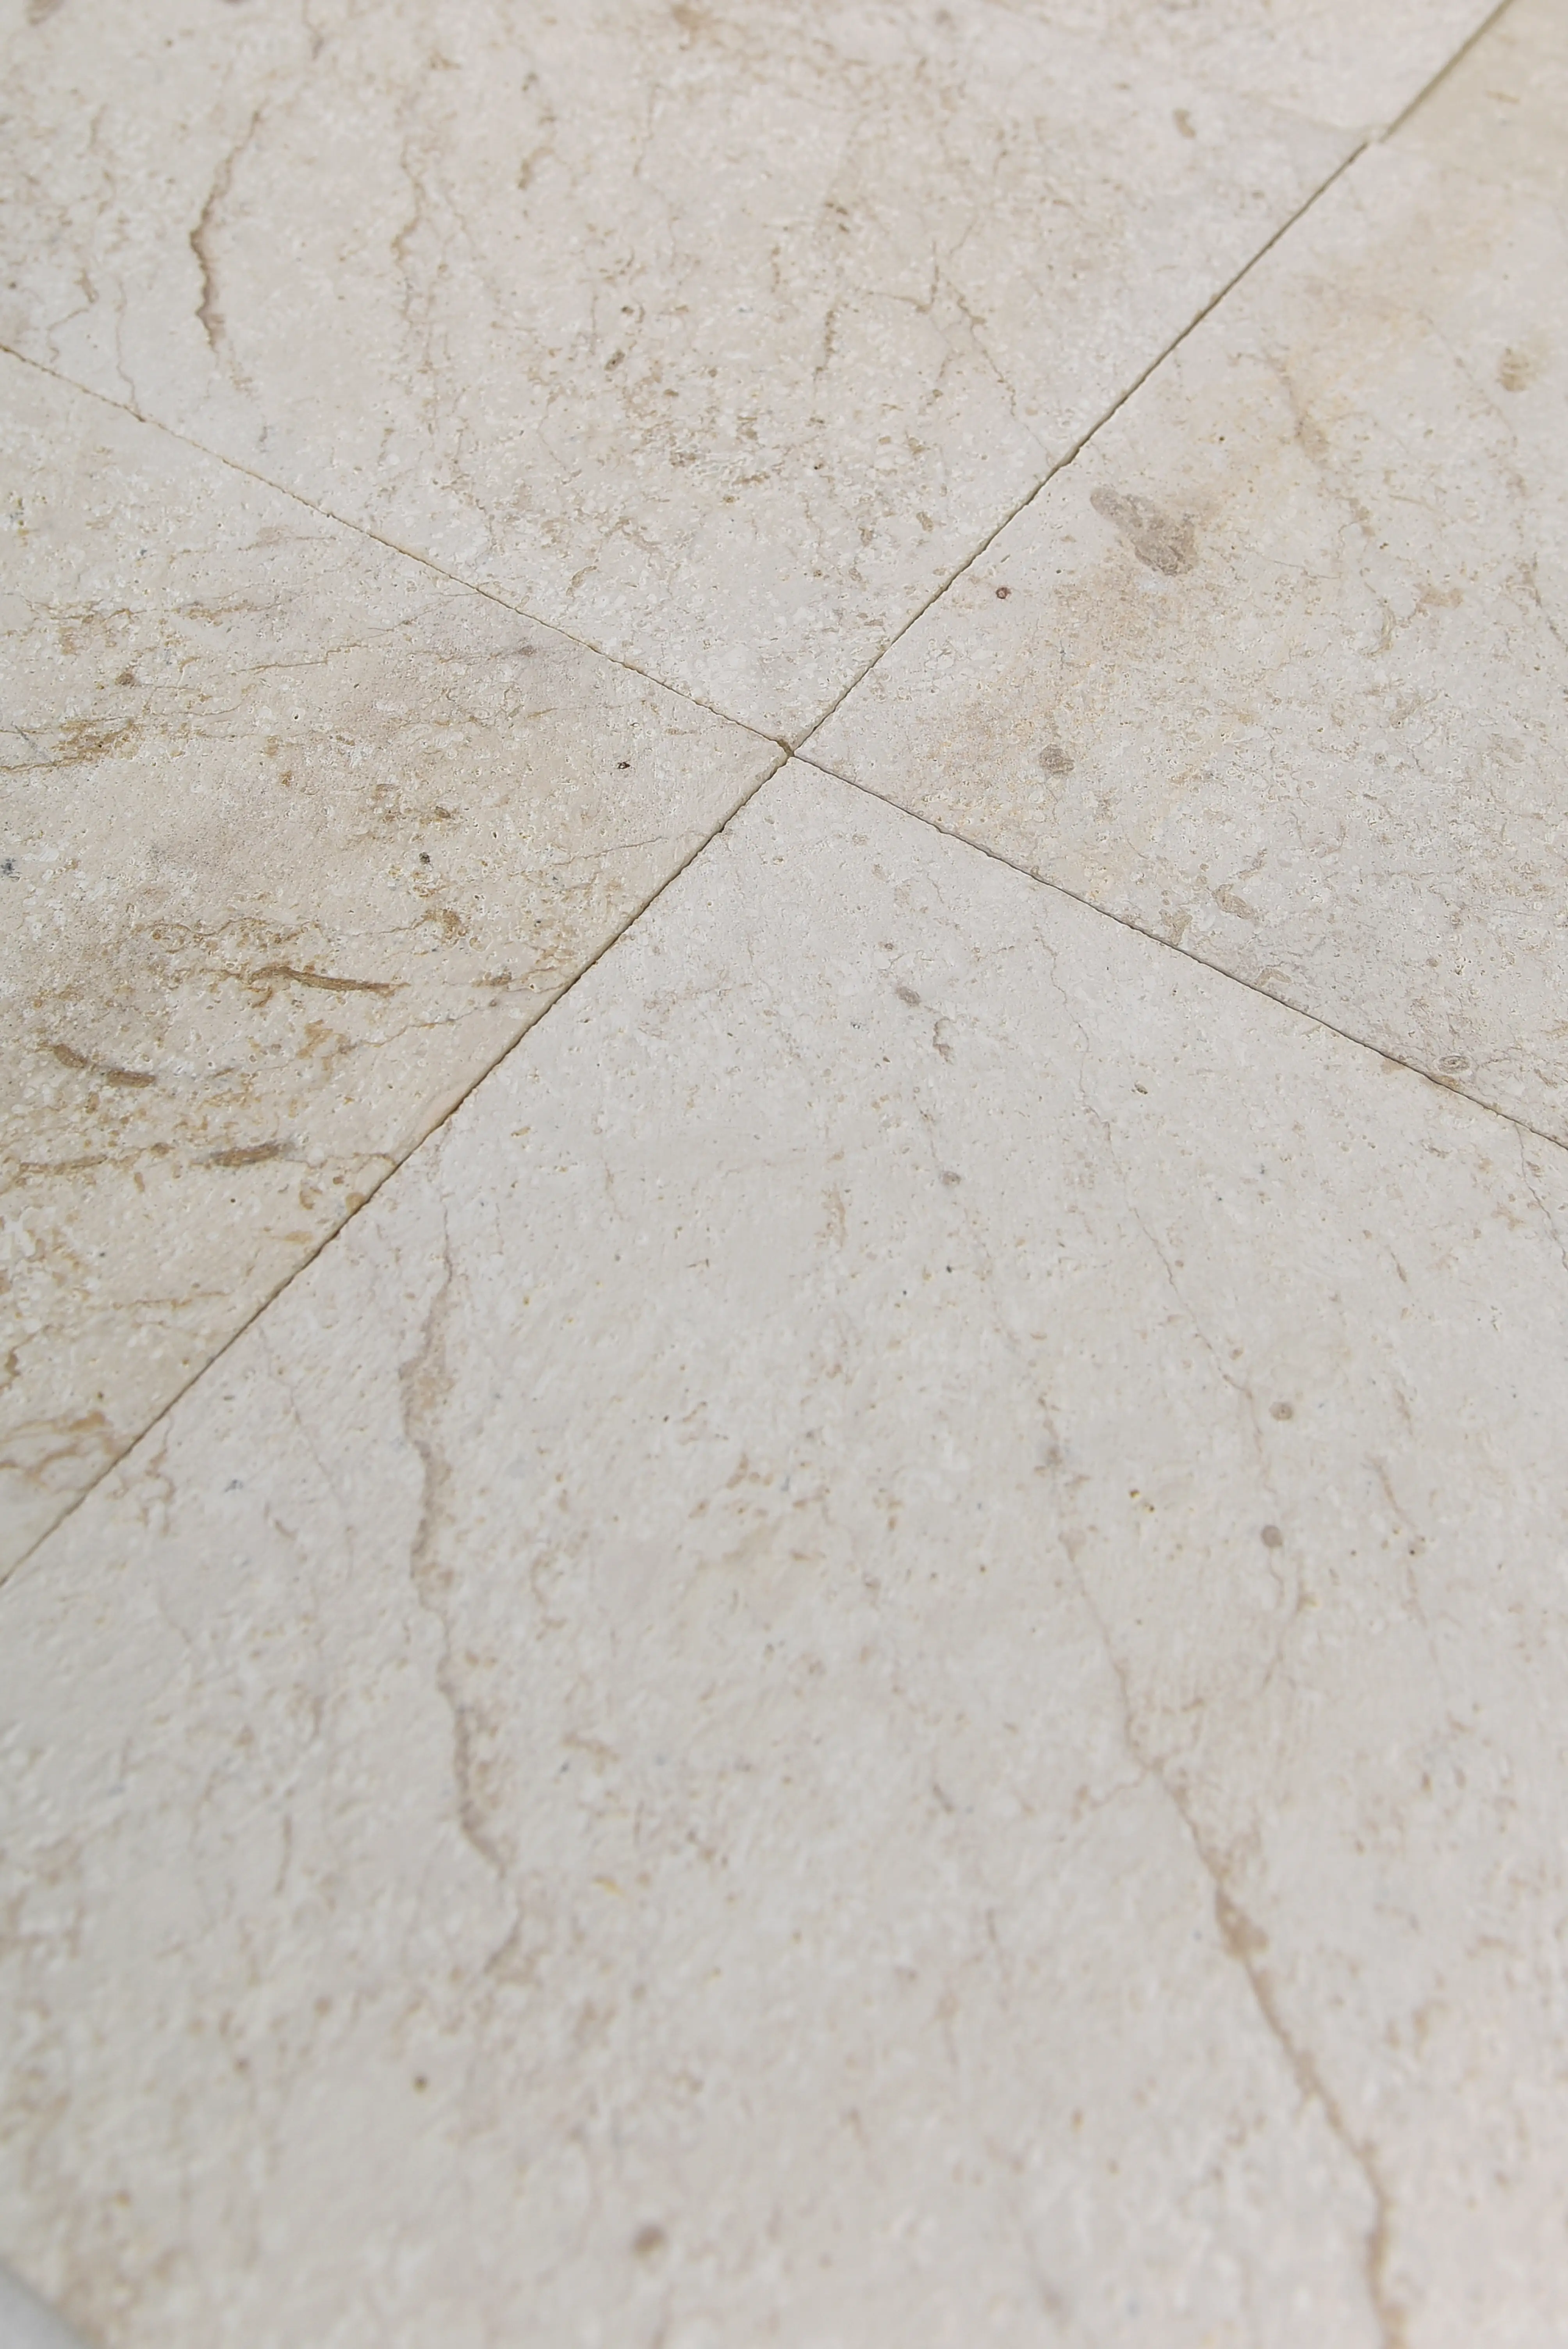
For a natural stone garden bed wall, your material choice governs long-term performance more than technique. Dense, low-porosity stones — fieldstone, limestone, basalt, and sandstone — all perform well in walling applications, but each has trade-offs worth understanding before you commit to a full order.
- Limestone offers excellent compressive strength and a consistent bed face, but in regions with repeated freeze-thaw cycles, specify a variety with absorption below 3% — higher absorption rates accelerate spalling along exposed faces
- Basalt delivers exceptional density and near-zero water absorption, making it one of the most durable options for garden wall applications where soil moisture is constant
- Sandstone has a natural split face that integrates well visually, but softer grades (under 6,000 PSI compressive strength) shouldn’t be used in courses below grade where ground moisture is persistent
- Fieldstone and irregular rubble work beautifully for dry-stack builds, but you’ll need 10–15% more material by volume to account for fitting and waste
The Natural Stone Institute stone variety specifications provide detailed absorption and compressive strength data by stone type — worth cross-referencing when you’re finalizing your specification for taller or load-bearing garden walls. At Citadel Stone, we stock multiple walling stone varieties and can advise on which grades are best matched to your wall height and drainage conditions before your order ships.
Dry-Stack vs. Mortared Walls: Which Technique Fits Your Project
The technique decision shapes everything from material quantity to long-term maintenance, and it’s where a lot of raised garden stone wall builds go sideways because the builder chooses based on aesthetics rather than site conditions.
Dry-stack construction — no mortar, stones stacked with careful fitting — is genuinely forgiving of minor base movement. The wall can shift slightly and resettle without cracking. That makes it the better choice for any site with expansive clay soils or variable moisture. The trade-off is that dry-stack requires more skill in stone selection and placement; every course needs a consistent bed with no rocking stones, and your batter angle (the slight inward lean of the wall face) needs to be 1 inch per foot of height to maintain stability without mortar.
Mortared walls are more rigid and deliver a cleaner face profile, but they demand a better base because they can’t accommodate movement. According to The Masonry Society’s natural stone wall construction standards, mortared garden walls over 18 inches tall should include weep holes every 4 linear feet to prevent hydrostatic pressure buildup behind the wall — a detail that’s routinely skipped and routinely causes failures within five years.
- Dry-stack walls under 36 inches: 1:1 base width to height ratio minimum
- Mortared walls under 24 inches: 0.75:1 base width to height ratio acceptable with proper drainage
- Any wall over 36 inches: consult a structural engineer regardless of technique — soil pressure at that height exceeds what most garden wall builds account for
- Weep holes in mortared walls: 1-inch diameter, every 4 feet, placed in the first or second course above grade
Integrating Garden Path Stone With Your Wall Design
Your raised garden stone wall doesn’t read well in isolation — it connects visually and functionally to any adjacent garden path stone surfaces. Coordinating these two elements from the start saves you the frustration of a wall that looks built at a different time than the path, even when they weren’t.
Match the dominant stone family if not the exact product. A limestone wall pairs naturally with limestone stepping surfaces or a tumbled flagstone path in similar tones. Basalt walling works with dark basalt or bluestone paths. The visual weight of the material should be consistent — don’t pair a heavy, rough-textured rubble wall with a precision-cut smooth path; the tonal disconnect reads as a planning oversight even to untrained eyes.
For the transition zone where a garden path stone meets a garden bed wall, plan a defined edge detail. A single course of flat capstones extending 2–3 inches beyond the wall face creates a clear line and protects the base of the wall from foot traffic and mower contact. This detail is often overlooked in initial plans but adds significant longevity to the base course by reducing direct impact.
Stone Sizing and Course Planning for Structural Integrity
A raised garden stone wall build requires you to think in courses before you start moving stone. Randomly sized material stacked without a course plan creates weak points at vertical joints that stack on top of each other — the classic “running bond” failure pattern where a vertical crack can propagate from top to bottom through a wall.
- Alternate long and short stones within each course to break vertical joints — no two adjacent courses should have vertical joints within 4 inches of each other horizontally
- Use your largest, most stable stones for the base course — base stones should be at least 1.5 times the height of your average walling stone
- Tie stones (stones that span the full width of the wall) should be incorporated every 4–5 square feet of wall face — they lock the inner and outer faces together
- Cap stones should be your flattest material, a minimum of 3 inches thick, and set with a slight outward pitch to shed water away from the wall face
- For corners, alternate the direction stones run at each course — this interlocking corner bond is what keeps corners from separating under soil pressure
For a wall 24 inches tall and 20 linear feet long in dry-stack construction, plan for approximately 1.5 to 2 tons of stone per linear foot of wall at a 12-inch base width — a rough starting figure that your supplier should refine based on the actual stone dimensions in their inventory. Citadel Stone’s team can calculate precise tonnage once wall height and base width are confirmed, which prevents the over-ordering or mid-project shortfalls that delay timelines.
Budgeting and Sourcing: How Material and Freight Costs Shape Your Project
Material cost for a raised garden stone wall build varies more than most budgets account for, and the largest variable isn’t stone type — it’s freight distance. Natural stone is heavy, and truck delivery costs from a regional warehouse to your project site can represent 15–30% of total material cost depending on how far the stone travels. That freight reality makes sourcing decisions a genuine financial consideration, not just a preference.
The material-to-labor cost ratio for garden wall builds typically runs 40:60 in favor of labor for dry-stack work (fitting and placing takes time) and closer to 50:50 for mortared walls where material cost rises with mortar, pigment, and weep hole hardware. Understanding this ratio helps you value-engineer the project — you can often reduce total cost more effectively by simplifying wall geometry (fewer corners, consistent height) than by switching to a lower-cost stone, because geometric complexity drives labor hours more than material price.
For projects where natural stone sourcing from a local yard isn’t available, ordering from a national supplier with warehouse inventory typically reduces lead times significantly compared to special-order import stone. Confirm warehouse stock before committing to a construction schedule — material arriving in two shipments with a gap between them can stall a wall build at an inconvenient course height, especially in dry-stack work where partially built walls are vulnerable to weather.
Explore the full range of Citadel Stone garden bed material options to match your wall design and confirm stock availability before scheduling your installation crew.
Backfill and Drainage Behind the Wall
Drainage behind a raised garden stone wall is the technical detail that most residential builds get wrong — and it’s the one that determines whether your wall holds its line for twenty years or starts bowing within five. Soil that retains water exerts hydrostatic pressure against the wall’s inner face. A wall that looks perfectly built can fail from behind because the backfill was packed clay rather than free-draining aggregate.
- Backfill directly against the wall’s inner face with a minimum 6-inch layer of crushed aggregate or drainage gravel — this is your pressure-relief zone
- Install a geotextile filter fabric between the aggregate drainage layer and the garden soil beyond it — this prevents fine soil particles from migrating into the drainage layer over time and clogging it
- For walls over 18 inches tall, a perforated drainage pipe at the base of the backfill layer (sloped to daylight at the wall ends) provides active drainage during heavy rainfall events
- Never backfill with garden soil directly against the stone — organic soil retains moisture, expands, and generates lateral pressure the wall wasn’t designed to resist
- Compact backfill in 4-inch lifts, not all at once — compacting a full backfill depth in one pass creates uneven pressure profiles that can displace freshly set courses
Natural stone walling materials used in garden and landscape applications perform best when installation details — especially drainage — match the material’s structural role. Stone is strong in compression; it’s the lateral and hydrostatic loading that causes failures, and drainage management is what controls those forces.
Finishing Details and Long-Term Care
The raised garden stone wall build isn’t finished when the last capstone goes down. The first six months after construction are when most issues surface — settlement, joint opening, and minor course shifts that need early correction before they become structural problems.
For dry-stack walls, check joint tightness after the first full wet season. Freeze-thaw movement, even minor, can open gaps in the lower courses. Repack displaced stones before the gap widens further; a stone shifted 0.5 inches is a 10-minute fix, and the same stone shifted 2 inches may require removing and resetting two full courses.
Mortared walls benefit from a penetrating sealer applied 28 days after construction, once the mortar has fully cured. Use a breathable silane-siloxane sealer rather than a film-forming product — the wall needs to release moisture vapor from the soil side, and a film sealer traps it and accelerates joint deterioration. Reapply every 5–7 years depending on exposure. According to IBC Chapter 21 masonry requirements, natural stone masonry in exterior garden applications should be assessed for structural adequacy when wall heights exceed code thresholds — worth reviewing if your build approaches 48 inches in finished height.
- Inspect capstones annually — they take the most weather exposure and are the first to show movement or cracking
- Clear debris from the cap surface and adjacent drainage areas in autumn before freeze cycles begin
- Repoint any open mortar joints promptly — open joints allow water penetration that accelerates freeze-thaw damage from the inside of the joint outward
- For dry-stack walls, periodic re-leveling of the base course every 10–15 years is normal maintenance, not a failure sign
Before You Specify Your Raised Garden Stone Wall Build
A raised garden stone wall build that performs well over decades comes down to decisions made before a single stone is placed — base depth, drainage strategy, stone selection, and course planning all need to be locked in before delivery day. Rushing the specification phase to get to the physical build is the single most reliable way to create a wall that requires repair within a few years.
Total project cost will be shaped by how far material travels, how complex your wall geometry is, and how much labor your technique requires. Simplifying geometry where you can and sourcing from suppliers with confirmed warehouse stock reduces both cost and scheduling risk meaningfully. As you plan complementary hardscape details around your natural stone garden bed project, stone sill installation guidance covers another dimension of working with natural stone in detailed applications. When drainage and backfill are set correctly, raised beds built with Citadel Stone walling tend to hold their shape through repeated wet and dry cycles.
Related reading: how to build dry stone wall · faux vs natural stone garden wall.