Why Level Transitions Define Step Performance
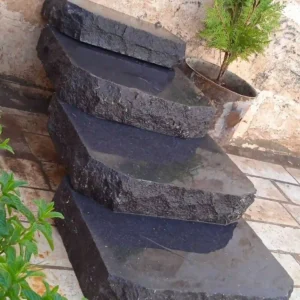
Stone steps for patio projects carry more structural responsibility than most homeowners realize — the riser-to-tread ratio you specify determines not just comfort underfoot but the long-term integrity of the entire transition. A 7-inch riser paired with an 11-inch tread depth is the field-proven sweet spot for outdoor natural stone; deviate from that ratio and you’re either creating a tripping hazard or forcing an awkward gate that accelerates surface wear at the leading edge. The way each step meets the patio field below it also controls drainage, and drainage controls longevity.
The compressive strength of your chosen stone matters enormously here. According to Natural Stone Institute stone steps and treads design specifications, dimensional stone used for steps should be evaluated against flexural strength as much as compressive strength — because a tread spanning more than 18 inches unsupported is subject to bending loads, not just point loads. That distinction reshapes how you select material thickness and nosing profile for your project.
Choosing the Right Stone Material for Patio Steps
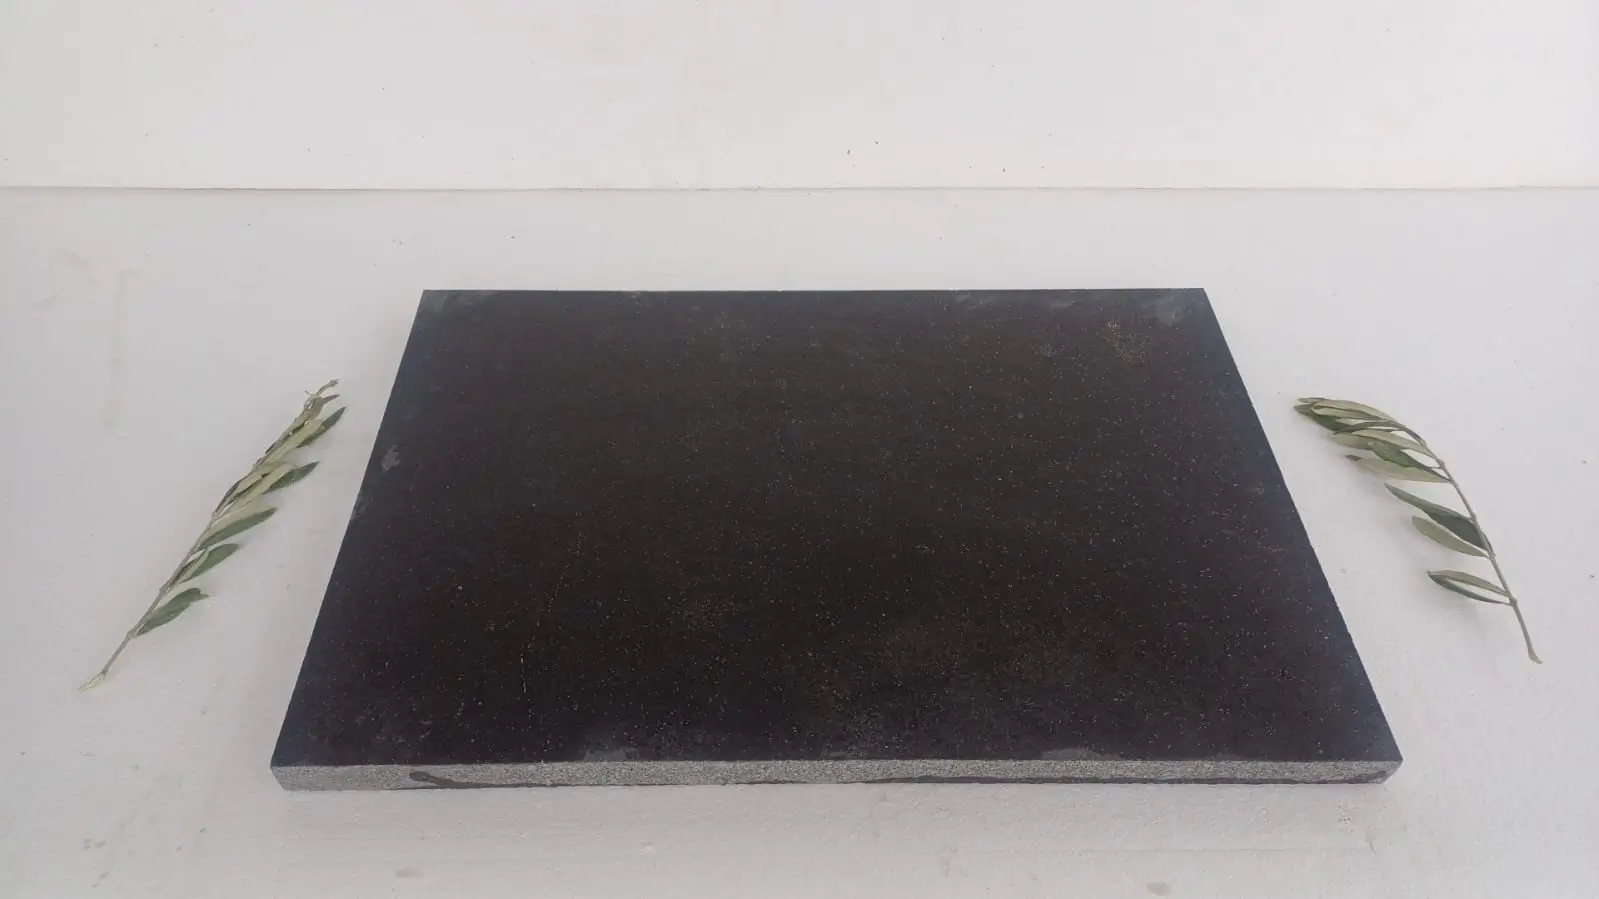
Your material decision for a stone patio with steps hinges on three overlapping criteria: surface texture for slip resistance, dimensional consistency for tight coursing, and density for freeze-thaw resilience in colder regions. Granite checks all three boxes reliably — its Mohs hardness of 6 to 7 means the tread face resists abrasion even under heavy foot traffic, and its low absorption rate (typically below 0.4%) limits water infiltration that would otherwise compromise the step body over repeated freeze-thaw cycles.
- Limestone offers a warmer aesthetic and a naturally textured surface that improves wet traction, though its absorption rate (1.5–3.5% depending on density) requires sealing every two to three years in exposed installations
- Bluestone delivers excellent slip resistance in its thermal-finish form and coordinates visually with a broad range of patio paver palettes
- Sandstone and flagstone variants work well aesthetically but demand careful thickness specification — 2.5 inches minimum for steps carrying regular foot traffic, 3 inches where occasional wheeled loads are expected
- Travertine is best reserved for covered or sheltered step applications; its open-pore structure makes it vulnerable to surface spalling in freeze-thaw regions without aggressive filling and sealing protocols
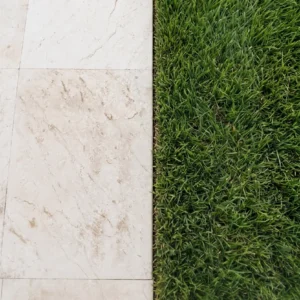
Matching your step stone to the patio field stone is worth the extra specification effort. Visual continuity reads as intentional design, not afterthought, and matching material families simplifies maintenance regimes down the road.
Base Preparation and Structural Substrate
The substrate beneath your patio stone steps carries as much responsibility as the stone itself. A minimum 6-inch compacted aggregate base — crushed stone graded to ¾-inch minus — is the starting point for residential step installations. For commercial applications or where soil bearing capacity is questionable, an 8-inch base with a concrete bond beam adds the structural continuity that keeps steps from settling independently of the adjoining patio field.
Here’s what most installers miss on sloped sites: the base needs to be stepped, not ramped. Running a continuous ramped base under stepped treads creates a shear plane between each riser block and its substrate, which leads to lateral creep over time — especially in clay-heavy soils that swell and contract seasonally. Cutting your base into level pads at each tread elevation eliminates that shear plane entirely and keeps each stone step stable as an independent structural unit.
- Compact aggregate base to 95% Proctor density before setting any stone — a plate compactor makes two passes in opposite directions
- Use a mortar setting bed (1-inch nominal, Type S mortar) for steps that will see concentrated loads or edge-mount conditions
- For dry-set patio stone steps, maintain ½-inch open joints to allow drainage — clogged joints are the primary cause of frost heave damage
- Allow the base to cure under load for 48–72 hours before final stone placement if you’ve used any Portland cement stabilization
Building Steps with Stone: Riser and Tread Details
Building steps with stone requires you to think about the riser and tread as a paired system, not two separate components. The riser face — whether you use the same stone as the tread or a complementary material — needs a clean, plumb face that sits flush with the tread nosing above it. A nosing overhang of ¾ inch to 1 inch is standard; go beyond 1.5 inches and you create a shadow line that looks dramatic in photographs but catches toe strikes in real use.
Tread thickness drives your riser height calculation. If you’re using 2-inch nominal step stone, factor in your setting bed and you’re looking at a finished riser of approximately 6.5 to 7 inches — right in the comfort zone. Thicker material (3-inch nominal) lets you create a more monolithic, architectural look, but your riser geometry has to be recalculated accordingly. These details coordinate directly with adjacent paving courses; check out our matching patio slabs to see how step stone thickness aligns with field paver dimensions for a seamless transition.
The ADA accessibility framework is also worth reviewing here even for residential projects. ADA accessibility surface and slip resistance requirements for stone steps specify that outdoor step surfaces should achieve a static coefficient of friction of 0.6 or higher on level surfaces and 0.8 on ramps — a standard that most thermal-finish granite and honed bluestone meet comfortably, but that polished stone surfaces do not.
Slip Resistance and Surface Finish Selection
Your finish selection on patio stone steps is a safety specification, not just an aesthetic one. Thermal or flamed finishes on granite open the surface texture enough to achieve friction coefficients well above the 0.6 threshold in wet conditions. Sandblasted finishes on limestone perform similarly. The finishes that get installers in trouble are honed and polished — they look beautiful on sample boards but drop friction coefficients dramatically when wet.
- Thermal finish: coefficient of friction 0.7–0.85 wet — safest for exposed outdoor steps
- Sandblasted finish: coefficient 0.65–0.75 wet — good performance, slight texture variation between stones
- Sawn (natural cleft): varies by stone type, typically 0.55–0.70 wet — verify per species
- Honed finish: 0.35–0.55 wet — borderline for steps without anti-slip treatment
- Polished finish: 0.2–0.4 wet — unsuitable for outdoor steps without added anti-slip strips or treatments
The nosing edge finish deserves separate attention. A machine-cut eased edge (¼-inch radius) is the right call for most residential stone patio with steps installations — it softens the edge enough to prevent chipping under foot traffic without rounding so much that the visual definition of the step edge disappears. Bullnose edges look refined but sacrifice the visual step-edge definition that walkers unconsciously rely on for depth perception.
Drainage Geometry and Joint Design
Drainage through and around patio stone steps is the variable that most directly separates durable installations from problematic ones. Each tread should pitch forward at 1.5–2% — just enough to shed water off the front edge without creating an obvious slope underfoot. Less than 1% and water pools on the tread surface; more than 2.5% and the step starts to feel uncomfortable and can cause toe-stub on descent.
The joint between the back of the tread and the riser face above it is a common failure point. In wet climates or freeze-thaw regions, this joint collects debris and holds moisture against the stone face — prime conditions for surface spalling and riser displacement over time. Pointing this joint with a flexible, sanded urethane or epoxy grout rather than rigid Portland mortar gives it room to accommodate minor thermal movement without cracking open and admitting water.
- Pitch each tread 1.5–2% toward the front nosing edge — confirm with a digital level during installation, not by eye
- Leave lateral drainage gaps at step ends where the step meets a wall or planter — minimum ½-inch gap, gravel-filled
- Point riser-to-tread joints with flexible grout rated for freeze-thaw applications in exposed outdoor settings
- Avoid back-mortaring the tread-to-riser interface solid; a continuous mortar bed traps water and eliminates the drainage relief the joint would otherwise provide
Cost Factors and Budgeting for Patio Stone Steps
The total cost of a patio stone steps project breaks down roughly 40% material, 60% labor in most markets — but that ratio shifts depending on your sourcing strategy and freight distance. Natural stone steps are heavy and dense, which means truck freight costs accumulate quickly when you’re sourcing from a distant quarry or distributor. Consolidating your step stone order with your patio field stone order into a single truck shipment eliminates one full freight cycle and typically saves 8–15% on delivered material cost for the combined project.
Citadel Stone maintains warehouse inventory of step and tread stone sized for standard residential and commercial applications, which typically reduces lead times to 1–2 weeks rather than the 6–8 week cycle common with direct-import orders. That difference matters when your project has a concrete base cure window and a contractor schedule to coordinate. Labor market conditions also affect your cost planning — in high-demand markets, mason availability tightens and step installation rates rise; in slower markets, the labor rate advantage can partially offset higher freight costs from distant suppliers.
- Value-engineer the riser material separately from the tread — using a complementary but less expensive stone for riser faces reduces material cost without compromising the visible tread surface
- Order 10–12% overage on step stone to account for cuts, rejections, and future repairs — patio stone steps are a long-horizon asset and matching material years later is difficult
- Factor in base preparation materials (aggregate, concrete, form work) as a separate line — these costs are consistent regardless of stone selection and are easy to underestimate
- Confirm warehouse availability before locking in a project start date — split deliveries from two truck runs cost more than a single coordinated load
Sealing and Long-Term Maintenance
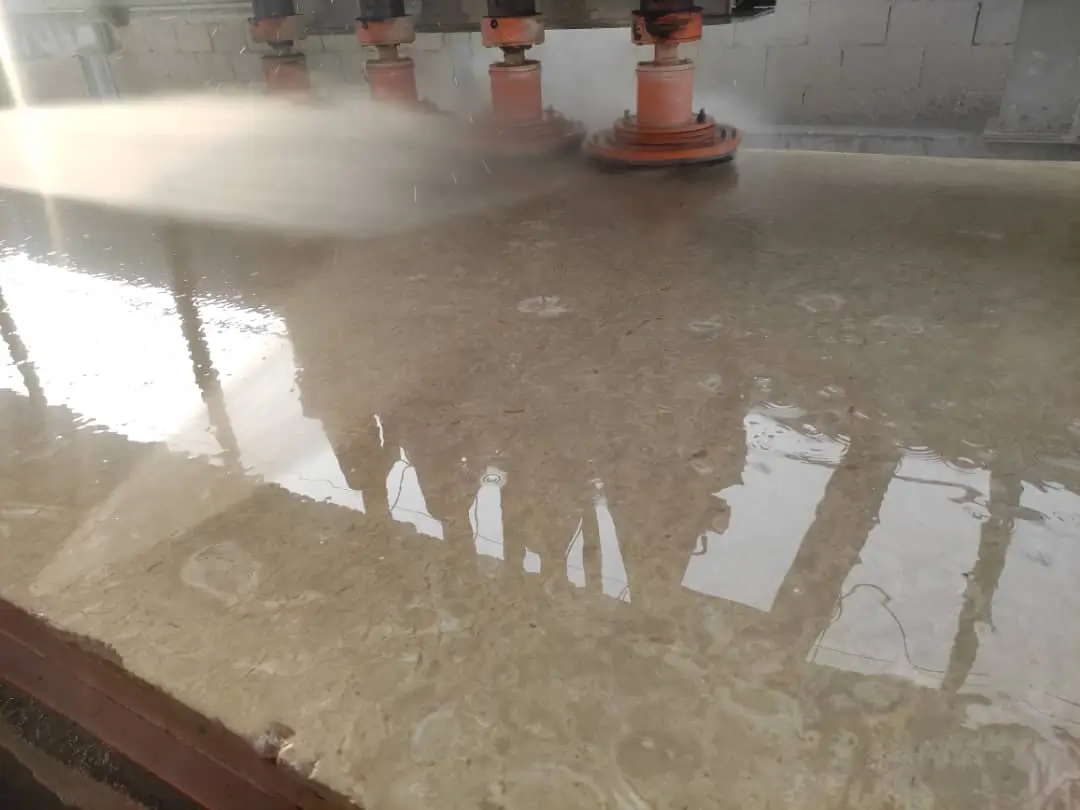
Sealing stone patio steps isn’t optional in exposed outdoor environments — it’s a performance specification. A penetrating silane-siloxane sealer applied to clean, dry stone within 30 days of installation reduces absorption by 85–95%, which directly limits the freeze-thaw damage mechanism and slows efflorescence migration through the riser faces. Plan to reapply every two to three years depending on traffic volume and UV exposure intensity.
The maintenance rhythm for patio stone steps is simpler than most clients expect. Annual inspection of joint integrity, a biennial sealer application, and periodic cleaning with a pH-neutral stone cleaner are the three pillars. What damages step stone most consistently isn’t traffic — it’s deferred maintenance on joint failures that allow water infiltration to undermine the setting bed. A failed joint that costs $15 to repair in year two becomes a reset step that costs $400 in year eight. ASTM natural stone compressive strength and flexural standards for steps provide the baseline testing criteria that inform how sealing and maintenance protocols are matched to specific stone species.
Getting Patio Stone Step Specifications Right
Specifying and building stone steps for patio applications rewards precision in the details — riser-tread ratios, base geometry, finish selection, joint design, and drainage pitch all work as an interdependent system. Get any one of those wrong and you’ll see it in the performance of the installation within two to three seasons. Get them right and you have a transition that outlasts the decade with minimal intervention. As you think through the full scope of your hardscape project, it’s worth exploring how stair stone and landing stone compare across material types — granite step and tread options offer a useful reference point for understanding how igneous stone specifications differ from sedimentary alternatives in step applications. Stone for nationwide projects ships via Citadel Stone with patio steps sized to align cleanly with adjoining paver courses.
Related reading: stone veneer for steps · stone for outdoor steps · stone steps in grass.