The most common railing failure on stone steps isn’t a loose post — it’s a cracked tread caused by the wrong anchoring method. Railings for stone steps demand a fundamentally different installation approach than wood or concrete stairs, because the anchoring force transfers directly into a material that has high compressive strength but limited tensile tolerance. Get the method wrong and you’ll see hairline fractures radiating from the base plate within two freeze-thaw seasons.
Why Stone Anchoring Fails More Often Than It Should
Natural stone treads are deceptively strong in compression but surprisingly vulnerable when you apply lateral or tensile stress — exactly the kind of stress a railing post generates with every hand load. The problem compounds when installers treat stone like concrete and reach for standard expansion anchors. Standard expansion anchors work by wedging outward against the surrounding material. In dense concrete that’s fine, but in a natural stone tread — even a hard granite or dense limestone — that outward wedge force creates micro-fractures that propagate slowly until the tread splits along a natural cleavage plane.
You’ll also encounter problems when base plates are undersized. A post with a 3-inch base plate concentrates the railing’s load into a very small footprint. Stone doesn’t redistribute that stress the way a concrete slab does. Specifying a base plate of at least 6 inches by 6 inches — ideally 8 by 8 for posts handling heavy lateral loads — distributes force across a larger bearing area and reduces peak stress at the anchor point dramatically.
Anchor Types That Actually Work in Natural Stone
For railings for stone steps, the two anchoring systems that perform reliably are epoxy-set threaded rod anchors and surface-mount sleeve anchors rated for natural stone. Epoxy-set systems are the professional’s choice for high-traffic or code-critical installations. You drill a clean hole using a diamond-tipped core bit — never a percussion hammer bit — fill the hole with a two-part epoxy system, set the threaded rod, and let it cure fully before applying any load. Cure time matters: most structural epoxies need a minimum of 24 hours at above 50°F before you can torque down the base plate. Rush this step and the bond hasn’t fully developed.
- Diamond core bits sized to the threaded rod diameter — typically 5/8-inch rod in a 7/8-inch hole — leave enough annular space for epoxy without removing excess material
- Epoxy brands certified to ICC AC308 provide the load data you need for permit submissions
- Hole depth should be a minimum of 10 rod diameters — so a 5/8-inch rod requires a 6.25-inch embedment depth minimum
- Surface-mount sleeve anchors in 304 or 316 stainless steel perform well for lighter residential railings where full embedment depth isn’t achievable
- Through-bolt anchoring — drilling completely through the tread and securing with a nut and washer below — is the strongest option mechanically but requires access to the underside of the step
According to Natural Stone Institute stone steps and treads design specifications, the anchorage system must account for the stone’s specific modulus of rupture, not just its compressive strength. This distinction is critical: a stone that handles 8,000 PSI in compression may only tolerate 800 PSI in flexure — a ratio that changes your anchor spacing and embedment calculations entirely.
Drilling Into Stone Treads Without Causing Damage
The drilling phase is where most field damage occurs. You need a rotary-only diamond core bit on a low-speed drill — typically 300 to 600 RPM depending on bit diameter. Percussion mode on any drill will cause micro-fracturing in the stone around the bore hole, which undermines the epoxy bond and weakens the tread structurally. Keep the bit wet: water cooling prevents heat buildup that can cause thermal cracking in certain stone types, particularly dense limestone and some granites.
Mark and pre-measure your hole locations relative to the tread’s centerline. A minimum of 2.5 inches of stone material between the bore hole edge and any tread edge is required. Closer than that and you’re risking a spall — a chunk of stone breaking away from the edge — especially in freeze-thaw regions where any existing micro-fracture will widen with seasonal cycling. For front porch stone steps with a decorative nosing profile, this edge distance becomes even more critical because the nosing is the thinnest part of the tread cross-section.
At Citadel Stone, we evaluate every tread material in our range for drill-tolerance and anchor pull-out performance, so when you’re specifying stone steps, our technical team can confirm which materials accept anchoring without compromising structural integrity. That’s not information you’ll find on a standard product sheet.
Building Codes and Railing Load Requirements You Can’t Ignore
Railings for stone steps aren’t just a design element — they’re a life-safety system, and most jurisdictions enforce specific load requirements. The International Building Code requires handrails and guards to resist a concentrated load of 200 pounds applied in any direction at any point, and a uniform load of 50 pounds per linear foot applied horizontally. Residential projects under IRC typically call for 200-pound point load resistance at the top of the rail. Your anchor system and stone tread must handle these loads together — not separately.
- IBC Section 1607.8 governs handrail and guard loading — verify your jurisdiction has adopted IBC or a modified version
- Frost line depth affects post footing requirements for freestanding railing systems — in freeze-thaw regions, footings must extend below the frost depth to prevent heave that transmits into the stone anchors
- ADA requirements for accessible routes mandate rail height between 34 and 38 inches, with specific graspability requirements for rail profiles
- Some jurisdictions require a licensed engineer to stamp railing anchor calculations for commercial or high-occupancy residential installations
The permit requirement catches many homeowners and contractors off guard on front porch stone steps specifically. Because a front porch railing is visible from the street and serves a public-facing entry, inspectors often apply the same scrutiny they’d give a commercial installation. Pulling the permit before you drill is the move that protects both the installer and the property owner. According to ADA accessibility surface and slip resistance requirements for stone steps, accessible route continuity starts at the landing — which means your railing height and mounting detail are part of a broader compliance picture, not an isolated specification decision.
Base Plate Design and Waterproofing the Anchor Zone
Here’s what most railing installers skip entirely: the base plate needs a waterproofing strategy. Water infiltrating the gap between the base plate and the stone surface will sit against the epoxy, freeze in cold weather, and apply expanding pressure directly to the bore hole walls. Over several seasons, this cycle widens the hole and loosens the anchor — even a chemically sound epoxy bond can fail through physical wedging from ice expansion.
The fix is straightforward. Bed the base plate in a flexible sealant — a polyurethane or silicone formulation rated for stone contact — before torquing it down. The sealant fills the gap, prevents water infiltration, and allows minor thermal movement without cracking. For our stone treads for railing anchors, we recommend reviewing the surface finish before selecting your sealant: a honed surface gives the sealant better mechanical adhesion than a polished face, which can require a primer coat first.
Galvanic corrosion also demands attention if your railing system is steel or aluminum. Dissimilar metals in contact with moisture create a galvanic cell that accelerates corrosion at the anchor point. Use stainless steel hardware throughout the anchor assembly — 316 grade in coastal or high-humidity environments — and specify non-conductive isolation pads between the base plate and the stone surface if you’re mixing metals.
Material Selection for Stone Steps That Will Receive Railings
Not every stone makes an equally good candidate for railing anchors. The material’s density, grain structure, and any pre-existing bedding planes all affect how it responds to drilling and sustained anchor loads. Dense, fine-grained stones generally perform best. Outdoor railings for stone steps depend heavily on this material decision — a poor stone choice creates structural risk that no anchoring system can fully compensate for. Here’s how common tread materials compare in anchor performance:
- Granite: Excellent anchor performance across the board — high modulus of rupture, minimal porosity, accepts epoxy bonding reliably, and tolerates the drilling process well at correct speeds
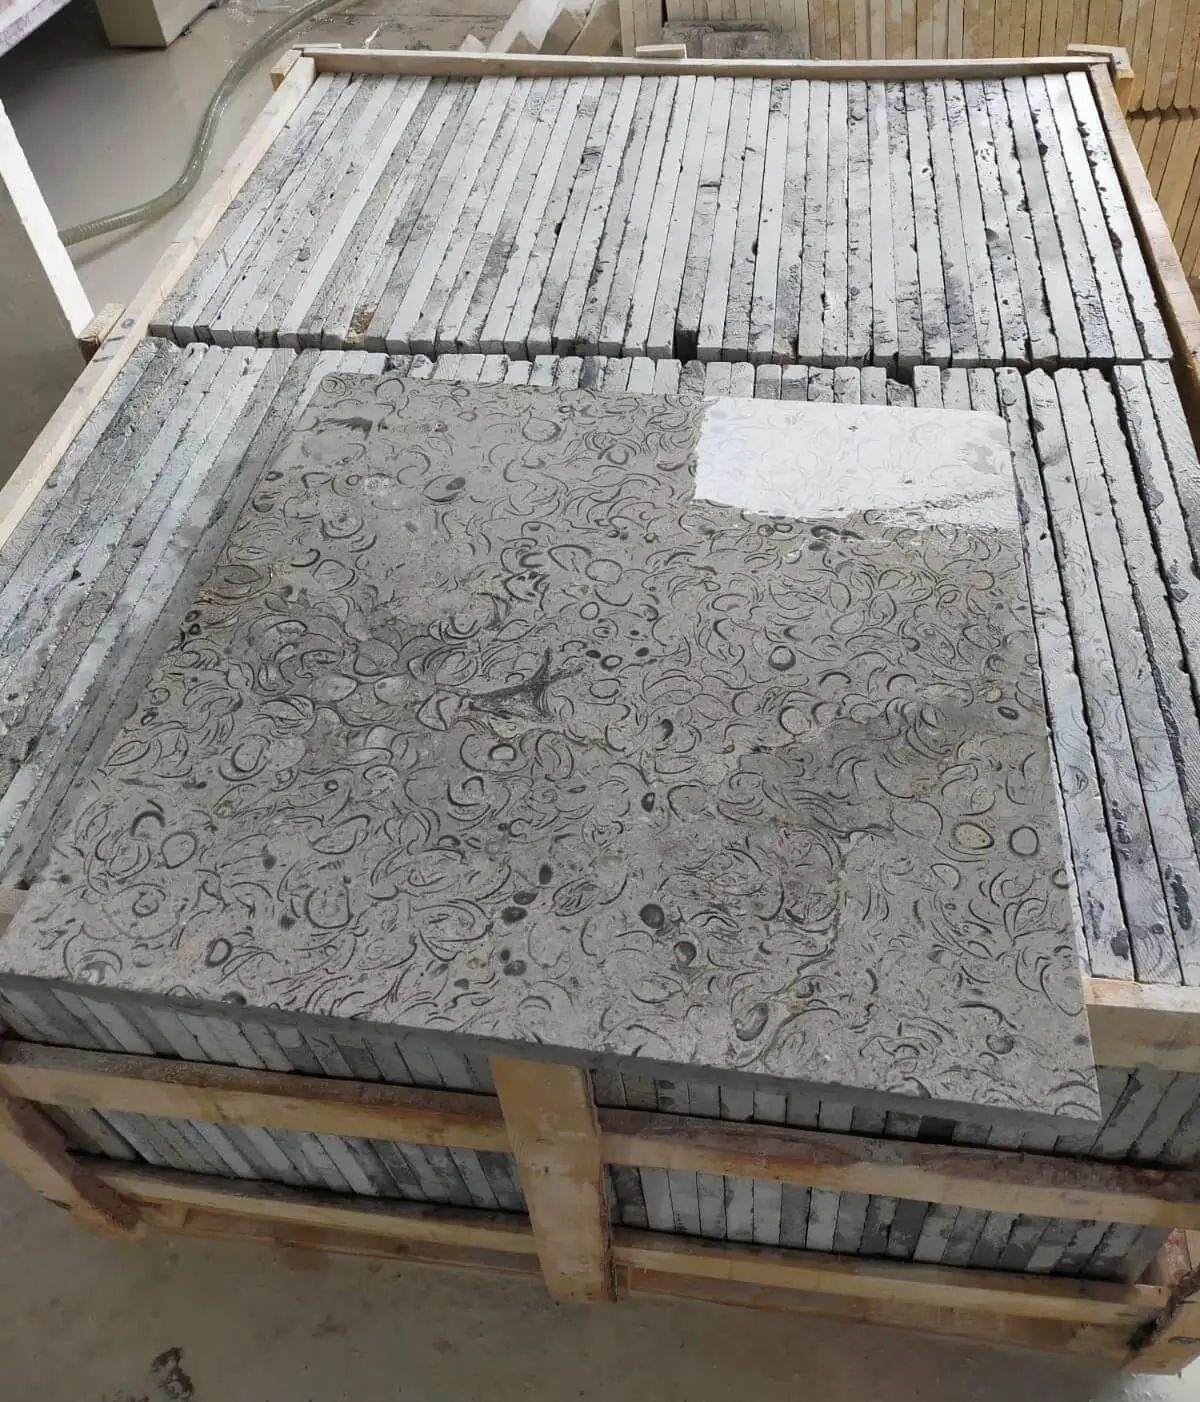
- Dense limestone: Good performance when the material is tight-grained and low-absorption; avoid highly porous or fossil-rich varieties where drill paths may intersect voids
- Bluestone: Performs well but has pronounced natural cleavage planes — your bore hole must run perpendicular to these planes, never parallel, to avoid splitting along the grain
- Sandstone: Generally not recommended for railing anchors — the granular cementation matrix doesn’t provide adequate epoxy bond strength for code-level loads
- Travertine: Use only the densest, filled-and-honed grades; open-pore travertine can have voids directly in the anchor zone that compromise bond area
According to USGS dimension stone production and use data, granite remains the dominant choice for structural applications precisely because its interlocking crystalline structure resists the tensile stresses that anchor systems impose — a pattern that aligns with its superior mechanical performance under anchored loading.

Installation Sequencing for Outdoor Railings on Stone Steps
Sequencing matters more than most installers appreciate. The right order protects the stone, produces cleaner results, and reduces rework. For outdoor railings for stone steps, work in this sequence every time:
- Complete all tread installation and base preparation before any drilling — drilling into an unstabilised tread transmits vibration through a loose assembly and can crack adjacent steps
- Allow mortar beds or adhesive setting beds to cure fully — minimum 72 hours before drilling for most Portland-based mortars
- Mark all anchor hole locations simultaneously so you can verify spacing symmetry before committing to a single hole
- Drill all holes in one session using consistent technique — stopping mid-project and resuming introduces variation in hole geometry
- Clean holes with compressed air and a nylon brush before epoxy injection — dust contamination reduces epoxy bond strength by as much as 40%
- Set rods and allow full cure before fitting the railing sections — partial cure is the leading cause of anchor pullout on first load application
- Seal the base plate perimeter as the final step, not an intermediate one
Stone steps for front porch installations get more daily contact load than almost any other exterior hardscape element. A front door entry sees family, visitors, delivery personnel, and seasonal furniture movement — all of it transferring through the railing and into those anchors. The installation sequence isn’t bureaucratic box-ticking; it’s the difference between a railing that tests at 250 pounds and one that fails at 180.
Sourcing and Lead Time Planning for Stone Step Projects
Coordinate your stone tread delivery with your railing fabrication schedule — these two timelines converge at installation and a mismatch causes costly delays. Custom-cut stone treads, particularly in granite or thick-format limestone, often require 2 to 4 weeks of fabrication time depending on the stone source and cut complexity. Citadel Stone maintains warehouse stock of standard tread dimensions nationally, which typically brings lead time down to 1 to 2 weeks for common sizes — significantly faster than sourcing through an import pipeline that can run 6 to 8 weeks.
Truck access to the site affects delivery planning more than most project managers account for. Heavy stone treads — a 6-foot granite tread in 2-inch thickness can weigh 180 to 220 pounds — require liftgate delivery or a site crew with mechanical assistance. Confirm the delivery truck can reach the drop point before scheduling. A tread that has to be hand-carried 200 feet from the curb introduces handling risks that can chip nosings or cause back-face cracking from flex during the carry.
Getting Railing Anchor Specifications Right From the Start
Railing anchors for stone steps reward careful specification and punish improvisation. The decisions that matter most — anchor type, hole geometry, base plate sizing, and material selection — need to be locked in before the first drill touches the tread surface, not adjusted on the fly when a problem appears. Stone is unforgiving of shortcuts, but it’s also extraordinarily durable when the details are handled correctly. A well-anchored railing on a properly specified stone step will outlast multiple generations of the building it serves.
Specifying railings for stone steps correctly starts well before any hardware is ordered — it begins with the slab itself. For planning the broader step structure alongside your railing specification, choosing stone slabs for your steps walks through the slab selection decisions that set up a successful anchor installation from the start. Post core drilling into natural stone requires specific bit types and slow speeds — Citadel Stone’s team can identify which tread materials tolerate anchoring best.
Related reading: Stone Veneer for Steps: How to Apply It Right · outdoor stone steps ideas · stone steps in grass.