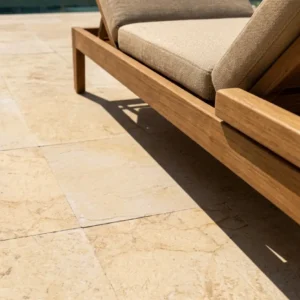
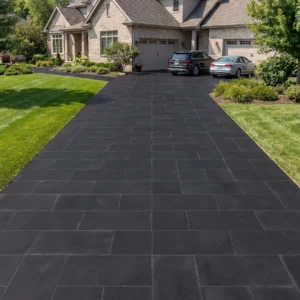
Stone on masonry work separates cleanly into two performance categories — installations that hold for decades and ones that begin failing within five years — and the difference almost always traces back to decisions made before the first piece of facing stone goes up. The substrate preparation, the mortar specification, and the mechanical anchoring approach you choose in the planning stage will determine whether your finished wall looks as good in year twenty as it does at handover. Understanding how these variables interact is what this guide covers, from the structural logic behind stone on masonry application to the finish and design choices that define the final result.
What Facing Stone Actually Does on a Masonry Wall
Facing stone is non-structural by definition. Its role is to carry aesthetic load, not structural load — a distinction that changes every specification decision downstream. The backing wythe, whether concrete block, brick, or poured concrete, carries the building loads. The facing stone transfers only its own dead weight and any applied lateral wind force back into that substrate through bond or mechanical ties.
That weight adds up faster than most specifiers expect. A single square foot of 2-inch nominal limestone facing stone weighs approximately 13 to 15 pounds. Across a 400-square-foot exterior wall, you’re looking at 5,200 to 6,000 pounds of cladding that relies entirely on mortar bond and anchor ties to stay in place. Underestimating that dead load — particularly on tall walls — is where many stone on masonry projects get into trouble.
- Facing stone transfers wind load laterally into the backup structure through the mortar bed and mechanical ties
- Thermal cycling causes differential movement between facing stone and backup — expansion joints absorb this without cracking
- Moisture management is a primary performance function — the facing layer must direct water outward, not inward toward the backup wall
- Structural redundancy comes from the backup wythe, not the facing; never spec facing stone as load-bearing unless explicitly designed for it
Substrate Preparation: The Step That Decides Everything
Your substrate condition is the single biggest variable in how long a stone on masonry installation performs. A perfectly specified facing stone applied to a compromised or incorrectly prepared backup will fail — usually within three to seven years as differential movement opens joints and moisture infiltration accelerates bond deterioration. The substrate preparation phase deserves as much specification attention as material selection.
For concrete masonry unit (CMU) backup, verify that the block has cured for a minimum of 28 days before applying any stone cladding. Fresh CMU is still shrinking as it cures, and applying facing stone too early means your mortar bond is established on a substrate that will move away from it. That early movement is often too small to see but large enough to break the bond microscopically — and once that bond plane is compromised, water finds it.
- CMU backup: minimum 28-day cure, surface must be clean of efflorescence, laitance, and release agents
- Concrete backup: mechanically prepare the surface to a minimum CSP-3 profile per ICRI standards to ensure adequate mortar bond
- Brick backup: rake existing mortar joints to a minimum 3/4-inch depth to provide a mechanical key for the scratch coat
- All backup surfaces must be structurally sound — stone on masonry over spalled or cracked substrate transfers the problem to the facing layer within two to three seasons
- Check for plumb and plane variance before setting stone — facing stone can compensate for minor irregularities in the backup but not for walls that are out of plumb by more than 1/4 inch per 10 feet
For exterior applications, a waterproofing membrane or weather-resistant barrier behind the stone layer is not optional in most commercial specifications. The Masonry Society natural stone wall construction standards treat this as a baseline requirement for cavity wall assemblies precisely because no mortar joint is permanently waterproof over its service life.
Mortar Selection and Mix Proportions for Stone on Masonry
Mortar selection is where many stone on masonry specifications go wrong — usually in one direction: the mortar is too hard. The instinct is that a stronger mortar means a stronger installation, but that logic inverts once you introduce natural stone. Natural stone moves with temperature and moisture changes; portland cement-rich mortars do not. The result is that the mortar becomes the rigid element and the stone joints become the relief path — which means the joints crack and the mortar doesn’t, which is the opposite of what you want.
Type S mortar (1 part portland, 0.5 part lime, 4.5 parts sand) is the standard specification for exterior stone on masonry applications exposed to wind load and weather. The lime component is critical — it gives the mortar enough flexibility to accommodate minor differential movement without fracturing. Dropping the lime and going to a straight portland-sand mix might feel like a conservative structural choice, but it shortens joint life significantly in applications where the stone sees thermal cycling.
- Type S mortar: compressive strength around 1,800 PSI — sufficient for dead load transfer without being rigidly brittle
- Type N mortar: acceptable for interior stone on masonry applications or sheltered exterior conditions with minimal wind exposure
- Never use Type M mortar (very high portland content) for natural stone — the hardness mismatch concentrates stress at the stone face, not the joint
- Pre-mixed mortar bags are convenient but check the lime content — many pre-mixes omit lime entirely, which affects long-term joint performance
- Water-to-cement ratio matters: mortar mixed too wet loses compressive strength; too dry reduces workability and produces voids at the bond line
Mechanical Anchoring for Taller and Heavier Applications
Mortar bond alone is adequate for stone on masonry at low heights — typically up to 10 feet for 2-inch nominal facing stone. Above that threshold, or for stone pieces exceeding 2.5 square feet in face area, mechanical anchoring becomes a structural requirement in most building codes, not an optional enhancement. The IBC Chapter 21 natural stone masonry and veneer building code requirements sets out anchor spacing requirements tied to stone weight per square foot and wall height — review these early in the specification process because they affect both material cost and installation sequencing.
Stainless steel wall ties are the baseline anchor specification for exterior stone on masonry work. Specify 304 or 316 stainless steel in marine or high-humidity environments — not galvanized, which will begin corroding in coastal conditions within ten to fifteen years, creating rust staining that migrates through mortar joints and onto the face of the stone. Even inland, the galvanic interaction between galvanized anchors and some limestone types can produce staining that’s nearly impossible to remediate without repointing.
- Anchor ties at maximum 16-inch horizontal spacing and 24-inch vertical spacing for standard 2-inch facing stone
- Each tie should embed a minimum of 1.5 inches into the backup wall and 1 inch into the mortar joint of the stone layer
- Dovetail slots cast into concrete backup walls allow adjustable anchor placement — incorporate these into concrete formwork design before pouring
- Heavier dimensional stone pieces (over 10 pounds each) should be supported at the base on a stone ledge or shelf angle rather than relying entirely on mortar and tie suspension
Expansion Joints: The Spec Detail Most Often Skipped
Expansion joint placement in stone on masonry applications follows a pattern that experienced specifiers know well: they’re almost always under-specified on first drafts and then added reactively after the first thermal season produces cracking. Getting joint layout right before installation starts is significantly less expensive than repointing cracked joints or replacing spalled stone pieces after the fact.
The general rule for exterior stone on masonry in climates with meaningful temperature swings is a vertical expansion joint every 20 to 25 feet of run and a horizontal expansion joint at every floor line or shelf angle — wherever there’s a structural transition that could generate differential movement. In freeze-thaw regions, reduce that horizontal spacing to every 15 to 18 feet. The joints must be filled with a flexible backer rod and sealant, not mortar — mortar in expansion joints defeats their purpose entirely.
- Backer rod diameter should be 25% larger than the joint width to ensure a proper compression fit
- Sealant selection: polyurethane or silicone sealants rated for movement up to 25-35% of joint width
- Color-match sealant to mortar — off-the-shelf gray sealant against buff limestone mortar creates a visible grid pattern that dominates the finished wall appearance
- Never bridge an expansion joint with stone — the joint must be continuous from the face of the stone back to the backup wall
- In tall building applications, accommodate building drift in the expansion joint design — horizontal joints at floor lines need to be sized for inter-story drift, not just thermal movement
Reviewing Natural Stone Institute stone veneer installation and wall stone guidance before finalizing your joint layout gives you a technically grounded starting point rather than relying on rule-of-thumb spacing that may not suit your specific stone thickness and backup material combination.
Stone Selection for Masonry Facing Applications
Not every natural stone performs equally well as facing stone on masonry. The material needs to meet a specific performance profile: dimensional stability, low enough absorption to resist freeze-thaw damage in exposed applications, adequate flexural strength to span between mortar beds without cracking under wind load, and surface hardness that resists abrasion at accessible heights. Some stone types excel at this; others require additional detailing to compensate for material limitations.
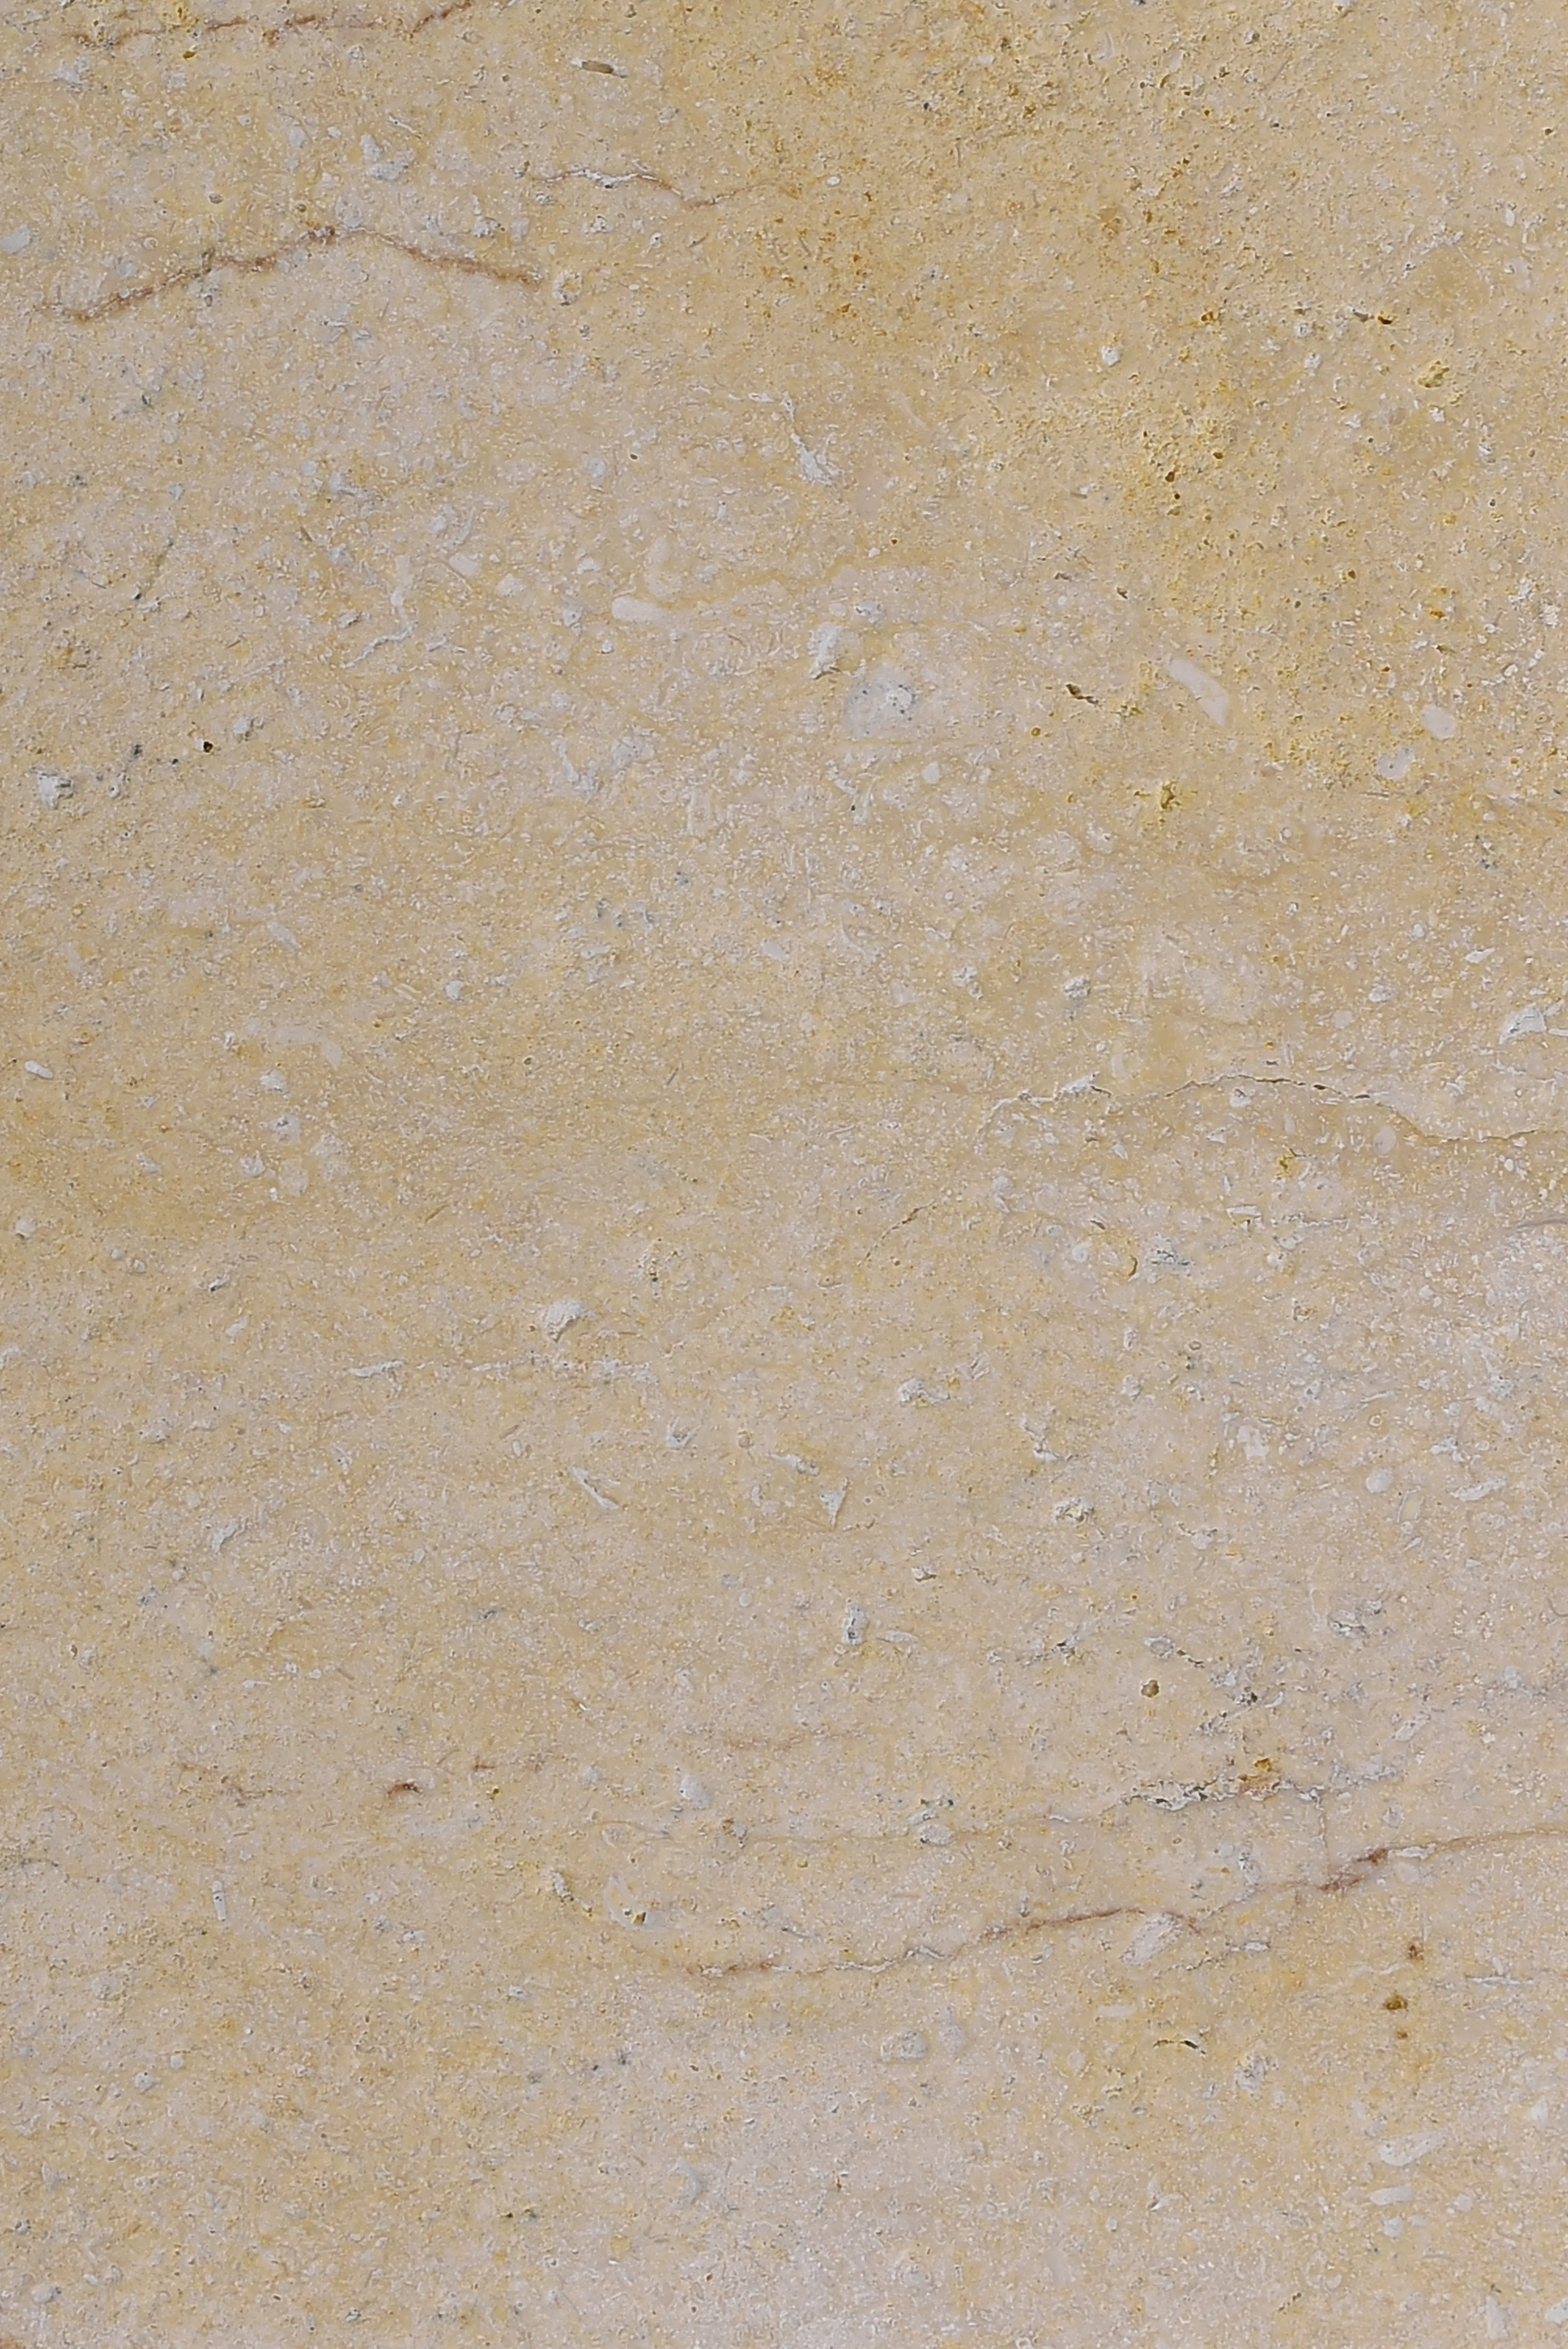
Limestone is the most commonly specified masonry facing stone for good reason — its density range (130 to 160 pounds per cubic foot) keeps piece weights manageable, its absorption characteristics sit in a range that allows mortar bond without excessive suction pulling moisture from the mortar before it sets, and it holds dimensional tolerances well during fabrication. Stone masonry building construction that covers limestone in multiple finishes — honed, split-face, bush-hammered — gives specifiers the visual range to match or complement virtually any architectural language.
- Limestone: excellent mortar bond characteristics, available in honed and split-face finishes, works well in both contemporary and traditional architectural contexts
- Granite: exceptional durability and hardness, lower absorption than limestone, but heavier piece weights that increase mechanical anchoring requirements
- Sandstone: traditional masonry facing material with good workability, but absorption rates must be verified — high-absorption sandstone in freeze-thaw regions requires careful joint detailing to prevent spalling
- Basalt: dense, low-absorption, extremely durable — well-suited to high-traffic base courses where abrasion resistance matters, though the darker palette limits design flexibility
- Travertine: striking visual appeal but the open-pore structure requires filling and sealing for exterior masonry applications — unfilled travertine traps water in its voids, which accelerates surface deterioration in exposed conditions
For projects where you need to verify availability before committing to a specification, checking with our natural stone masonry supply early in the design process helps confirm lead times and confirm that your selected material is in stock — rather than discovering a six-week import delay after the project schedule is locked.
Stone Thickness and Coursing Patterns
Thickness specification for stone on masonry facing is a function of both structural demand and visual intent. Thinner panels — 3/4 inch to 1.25 inches — are common in interior applications and low-height exterior cladding where wind load is minimal and the visual goal is a refined, planar surface. Exterior masonry facing on exposed walls above 15 feet generally warrants 1.5-inch to 2-inch nominal thickness to provide adequate flexural strength against wind pressure and to give mechanical anchors sufficient embedment depth.
Coursing pattern decisions — ashlar, random, horizontal courses, or stacked — have a direct effect on mortar joint continuity and, by extension, on water management. Stacked bond patterns (where all vertical joints align) look clean and modern but create continuous vertical water paths from top to bottom of the wall. Ashlar and running bond patterns break those vertical joints, which distributes moisture infiltration and reduces the risk of a single failed joint creating a direct path to the backup wall. Sound stone masonry building construction practice favors running bond or ashlar layouts on exposed exterior faces precisely for this reason.
Design Integration and Landscape Context
Stone on masonry work doesn’t exist in isolation — the wall ties visually and spatially into the broader landscape and architectural context surrounding it. Specifiers and designers who treat stone selection purely as a technical exercise and ignore the aesthetic dimension often produce installations that perform well structurally but read as disconnected from their setting. The material’s color, texture, and coursing pattern all interact with the landscape palette around the building.
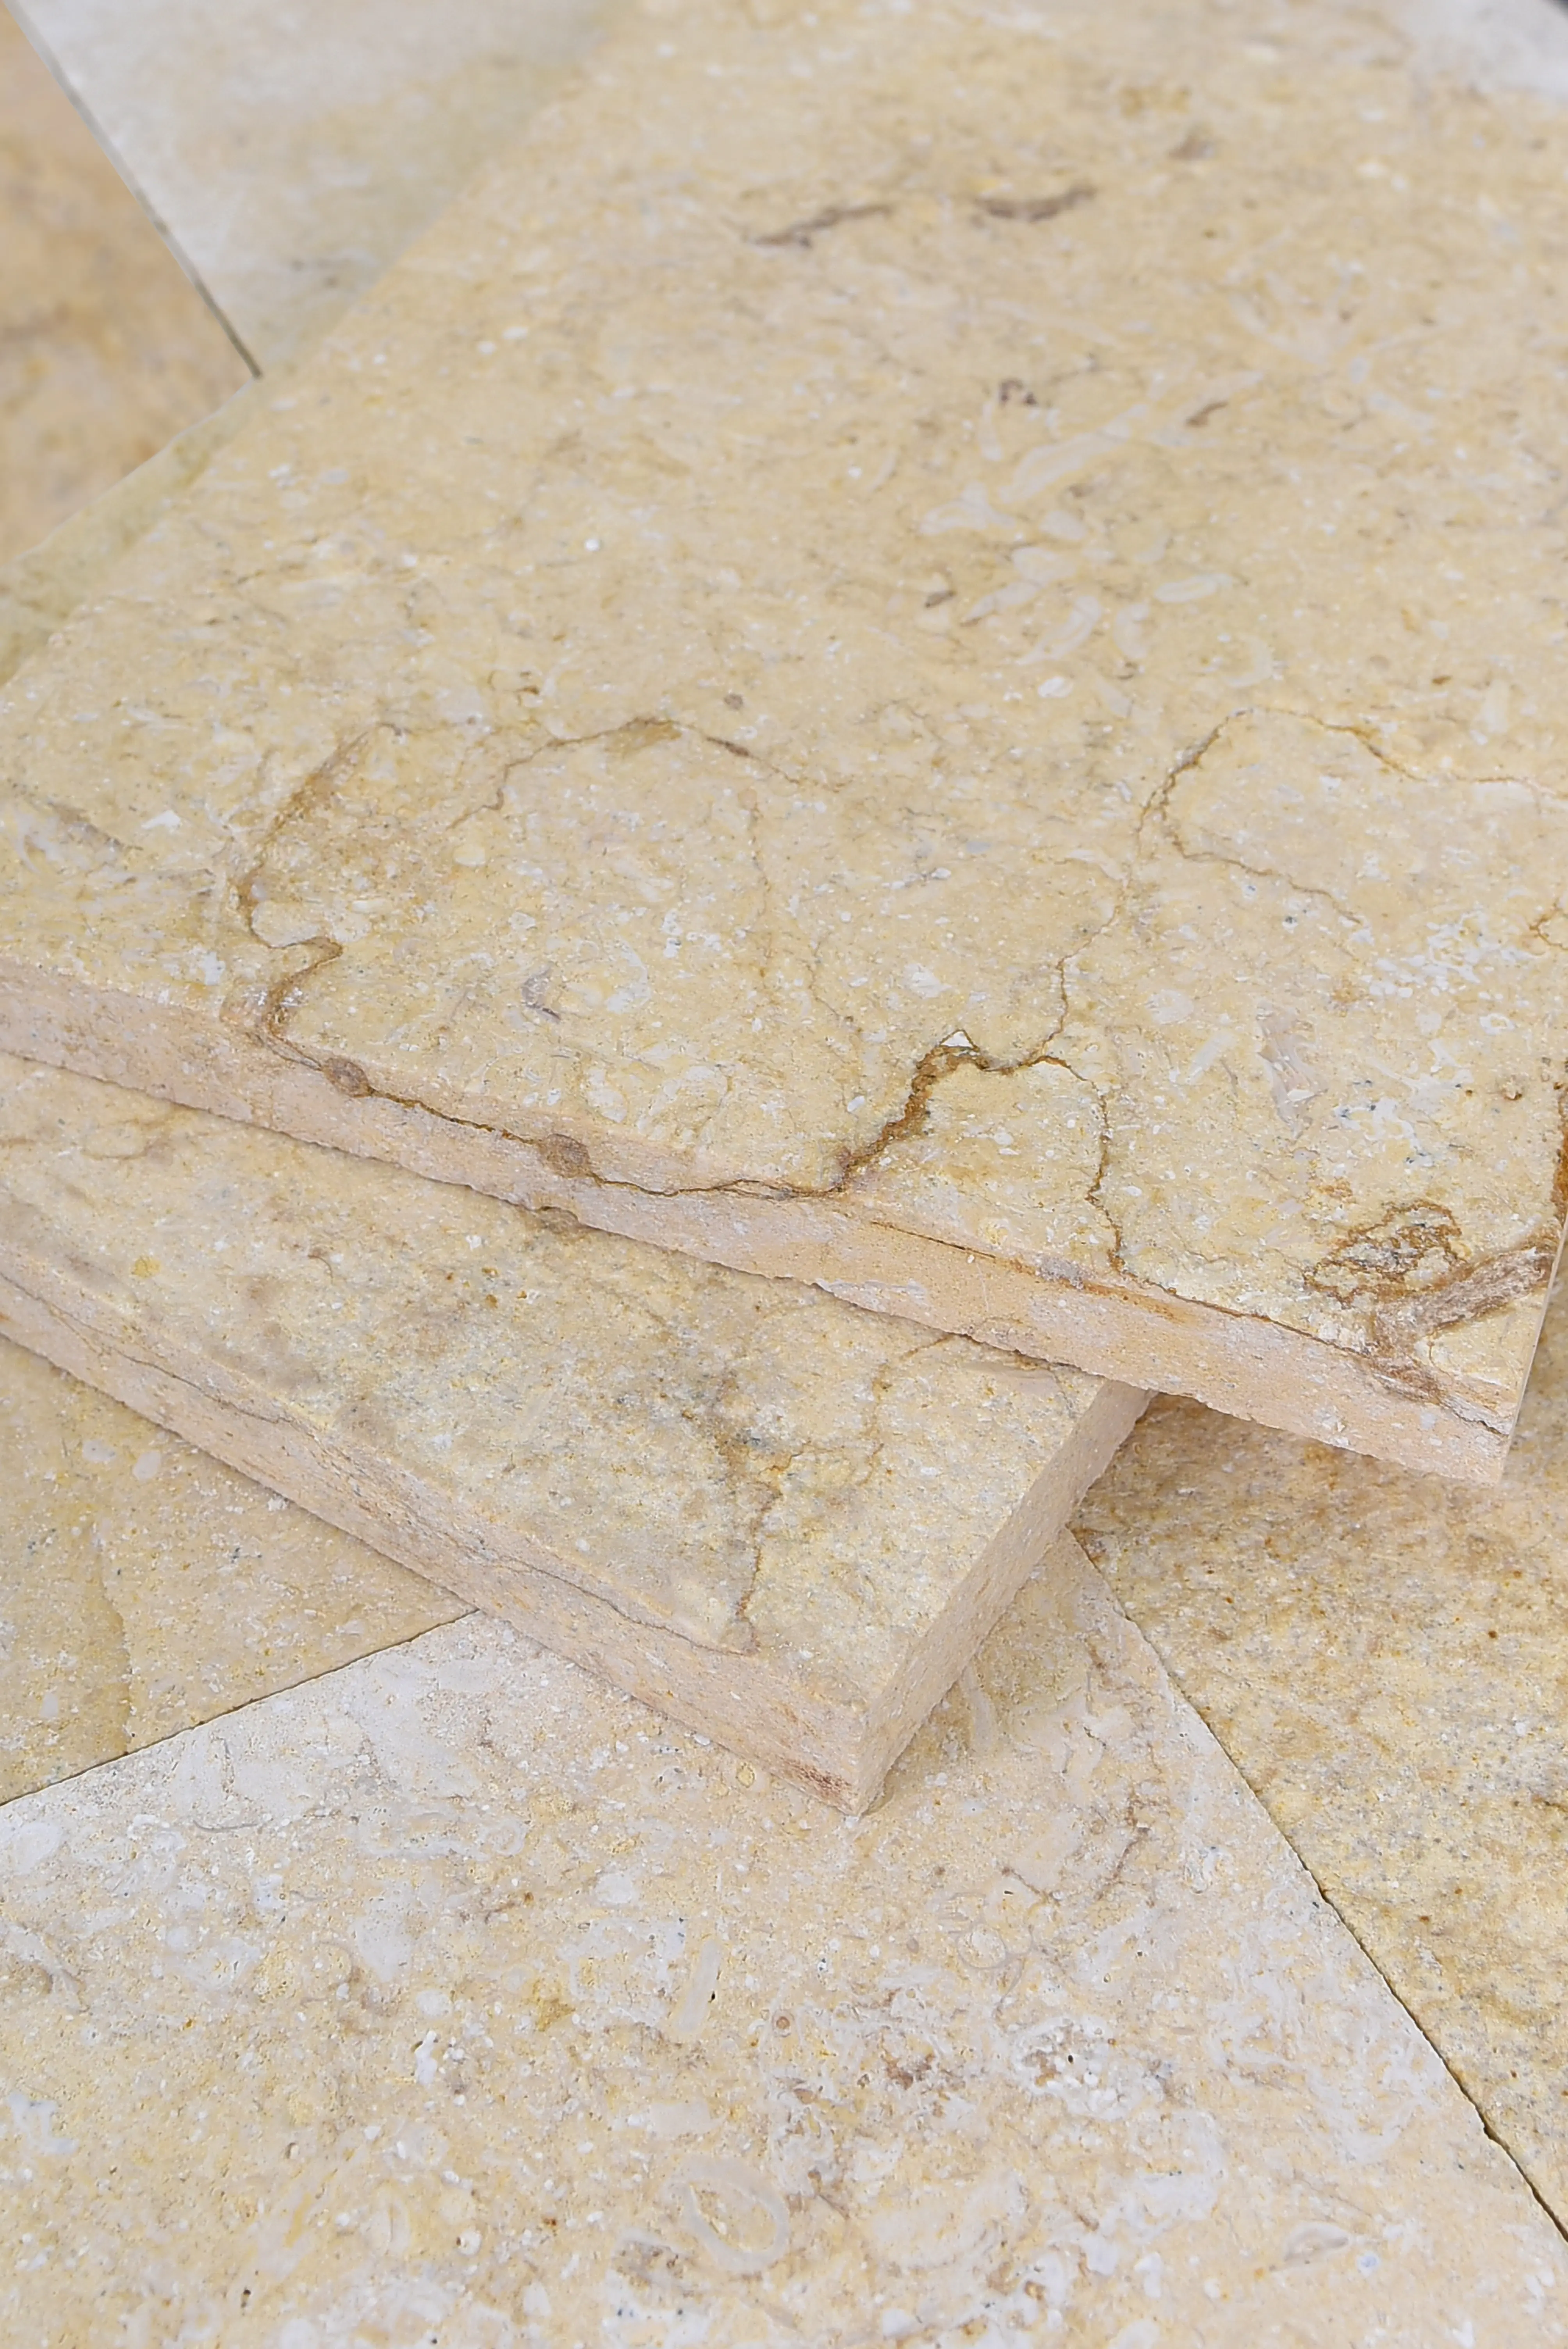
In projects with formal garden landscapes or traditional colonial architecture, tightly coursed ashlar limestone in a warm buff or cream palette reinforces the visual order of the setting. The stone masonry building construction reads as intentional and period-appropriate — a complement to clipped hedges, symmetrical plantings, and formal hardscape geometry. By contrast, a modern minimalist landscape — sparse planting, clean horizontal lines, neutral planting palettes — calls for facing stone with a honed or bush-hammered surface in a cooler gray or charcoal register, where the texture is subtle and the joints are tight and consistent.
- Warm-toned limestone and sandstone facing reads naturally in landscapes with terracotta, ochre, and bronze planting palettes
- Cool gray basalt and granite facing complements steel, glass, and concrete architectural elements — well-suited to contemporary landscape design
- Split-face stone adds depth and shadow to a wall plane — particularly effective in projects where the wall is a primary visual feature rather than a background element
- In xeriscaping contexts where the landscape is dry-rock and low-water planting, rough-textured facing stone that echoes natural outcrop formation creates visual continuity between the built wall and its surroundings
- Tropical and lush planting landscapes can support more dramatic contrasting stone tones — pale limestone against deep green planting creates strong contrast that works at garden scale
Installation Sequencing and Field Considerations
The sequence in which stone on masonry work is executed matters more than most installation guides acknowledge. Starting at corners and establishing plumb control points before filling field panels is the professional approach — corners take longer to set correctly because they require precise alignment in two planes simultaneously, and any error established at a corner propagates into the field panels as the work proceeds. Reversing that sequence — filling panels first — makes corner work harder and produces misalignments that are visible from any oblique viewing angle.
Temperature and humidity at the time of installation directly affect mortar set characteristics. In hot, dry conditions, mortar loses water to evaporation and substrate absorption faster than the hydration chemistry requires — dampen the substrate and potentially the stone backs before setting to slow that moisture loss. In cold conditions, mortar hydration slows and bond strength development is delayed — protect fresh work from temperatures below 40°F for at least 72 hours. These aren’t recommendations you’ll always find on the mortar bag; they come from watching what actually happens on job sites across varied weather conditions.
- Wet the backs of highly absorbent stone (particularly some limestones) before setting — a dry stone back draws water from the mortar too quickly and reduces bond strength
- Maintain consistent joint width using plastic spacers — the eye reads mortar joint inconsistency from distance even when the variation is only 1/8 inch
- Don’t tool joints until the mortar has reached thumb-print hardness — too early smears mortar across the stone face; too late makes tooling difficult and tears the joint surface
- Clean mortar smears from the stone face immediately — dried mortar is significantly harder to remove without damaging the stone surface, particularly on honed finishes
- Schedule truck deliveries to align with installation progress — overstocking stone on a scaffold or elevated work platform creates point loads and safety risks; coordinate warehouse releases to match daily installation rates
Surface Finishing, Sealing, and Maintenance
The maintenance protocol you establish for stone on masonry work determines how the installation ages. Natural stone is not a zero-maintenance material — particularly in exterior masonry applications where it’s exposed to airborne pollutants, biological growth, and the continuous cycling of wet and dry conditions. Building in a realistic maintenance schedule from the outset prevents the kind of deferred-maintenance deterioration that turns a manageable repointing job into a full-scale reclad.
Penetrating sealers are the appropriate sealer type for most exterior masonry facing stone — they protect against moisture infiltration and staining without altering the surface appearance or creating a coating that traps moisture beneath it. Topical sealers on exterior stone trap moisture and fail in freeze-thaw conditions, often producing unsightly delamination. Apply sealer after the mortar has fully cured — at least 28 days — and reapply every three to five years depending on exposure severity and stone porosity.
- Efflorescence in the first year is common and does not indicate a specification failure — it’s soluble salts migrating out of curing mortar and can be removed with a mild acid wash
- Biological growth (lichen, moss) on stone surfaces in shaded or damp locations should be treated with a biocide before mechanical cleaning — scrubbing growth into open joints embeds biological material deeper into the mortar
- Inspect mortar joints every five years at minimum — hairline cracks allow water infiltration that accelerates joint deterioration exponentially once it begins
- Repointing should use mortar of the same or softer specification than the original — repointing with harder mortar accelerates stone face spalling because the stress concentrates at the stone face rather than the joint
Getting Stone on Masonry Specifications Right
Stone on masonry work rewards specifiers who treat substrate preparation, mortar selection, and joint detailing as equally important as material choice — because each of those variables interacts with the others in ways that aren’t always visible until the first major thermal season reveals where the specification was incomplete. Get the expansion joint layout right before installation starts, specify mortar flexibility to match your stone type, and sequence the installation from corners outward. Those decisions will define whether your stone on masonry installation looks better at year fifteen than it did at year one, or whether you’re managing progressive deterioration that was baked in at the specification stage.
As you work through the full project scope, related stone applications can sharpen your understanding of how masonry detailing decisions propagate across different elements. Corner details deserve particular attention in any stone masonry building construction project — corner stone masonry remediation and design covers how stress concentrations at masonry corners develop and what remediation looks like, insight that’s directly useful when you’re designing corner details on a new installation. Sourced from quarries across the Mediterranean and Middle East, Citadel Stone facing stone gives real texture without structural load.
Related reading: stone masonry pointing repair · slipform stone masonry · masonry stone contractor.