Stone Selection Fundamentals for Rock Gardens
Rock garden landscaping ideas succeed or fail at the material selection stage — long before a single stone is placed. The trap most designers fall into is choosing stone purely for color, then discovering the scale, texture, and silhouette don’t read as naturalistic once everything is assembled on site. Your selection needs to account for three simultaneous variables: geological character (how the stone fractures and weathers), tonal range within the same batch, and the size distribution that mimics a real outcropping. A garden built from uniform, same-size stones always reads as purchased and arranged, regardless of how well it’s planted.
Design Principles That Separate Naturalistic from Assembled
The single most underused principle in rock garden design is stratification — the idea that real outcroppings show a consistent angle of bedding planes. Tilt all your stones at roughly the same angle (typically 10–20 degrees backward into the slope), which mimics how sedimentary and metamorphic rock actually emerges from the earth. Deviation from this by even a few stones destroys the illusion immediately. According to ASLA hardscape design guidance, naturalistic stone placement relies on consistent directional cues to achieve visual coherence across a landscape composition.
Here’s what most specifiers miss when approaching rock landscaping ideas: the negative space between stones is as important as the stones themselves. Tight, interlocking placement looks like a dry-stack wall. Generous pockets — wide enough for a fist, deep enough for 6–8 inches of growing medium — give planting zones that look like natural soil pockets in a cliff face. Plan those pockets before you set a single anchor stone.
- Set your largest anchor stones first, partially buried to one-third their depth, to establish the outcrop’s visual mass
- Maintain a consistent bedding-plane tilt across all stones in the same tier
- Vary stone size across at least three distinct size classes — thumb-sized, head-sized, and torso-sized — within each grouping
- Leave intentional planting pockets rather than filling every gap with smaller stones
- Use stones from the same geological family to maintain tonal coherence under different lighting conditions
Rock Landscaping Ideas by Garden Style
Your site’s topography should dictate which design language you adopt — not the other way around. Flat sites call for a different approach than sloped ones, and the stone types that work in each context differ meaningfully.
Alpine and Scree Gardens
Alpine-style rock garden landscaping works best with angular, fractured stone — limestone, quartzite, or basalt — that echoes high-elevation geology. The planting palette stays low and tight: sedums, sempervivums, thyme. Your drainage layer matters as much as the stone itself; a 4–6 inch crushed stone base beneath the growing medium prevents the root rot that kills alpine plantings in lower elevations. The Natural Stone Institute’s stone variety specifications provide useful technical context on how different stone types weather in exposed, dry conditions.
Woodland and Moss Rock Features
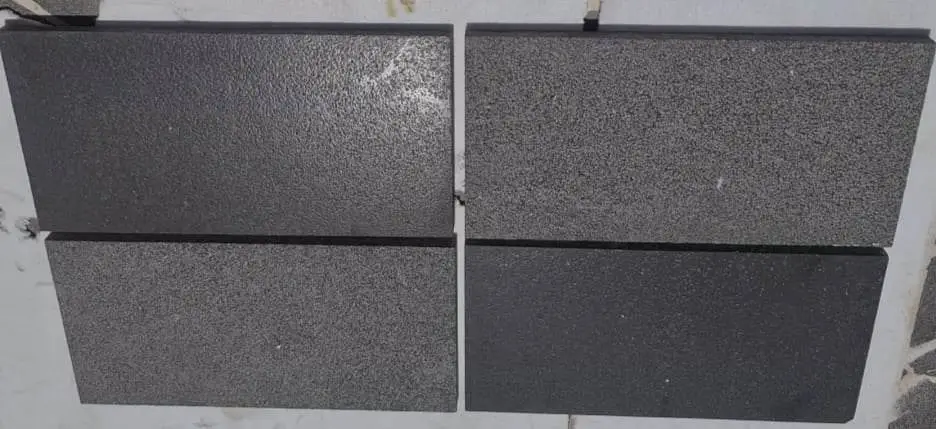
Shaded rock gardens demand a fundamentally different stone character. Smooth, rounded fieldstone or weathered limestone reads better in woodland settings than angular material — the softness of the stone shape mirrors the organic forms of the planting. Stones with naturally pitted or rough surface texture retain moisture and encourage moss colonization. Avoid polished or honed finishes entirely in naturalistic woodland contexts.
Dry River Bed and Gravel Garden Designs
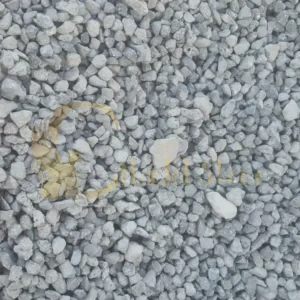
Dry river bed designs layer three stone sizes: large anchor boulders defining the channel’s edge, mid-size cobbles filling the interior flow line, and fine gravel or decomposed granite as the infill medium. The visual logic here mirrors actual hydrology — larger material on the outside of bends, finer material in the center channel. This approach to landscaping with rocks is one of the most effective rock landscaping ideas for managing surface water on sloped sites, directing runoff without hardscaping.
Budgeting and Sourcing Considerations
Material-to-labor cost ratios in rock garden projects differ sharply from paving projects. Because boulder placement is slow, skilled work — each large stone may take 30–60 minutes to set correctly — labor often runs 60–70% of total project cost on feature-boulder installations. That ratio inverts for gravel and smaller cobble work, where material tonnage dominates the budget. Understanding this split helps you allocate resources intelligently: spend on premium anchor boulders where they anchor your visual composition, and use cost-effective fill material for secondary layers.
Freight distance is the variable most buyers underestimate. Natural stone is heavy — boulders in the 200–500 lb range ship at freight rates that can add 15–30% to the unit cost depending on distance from the source quarry. You can explore our natural rock garden stone to review inventory and get accurate freight estimates before committing to a specification. Planning your truck delivery logistics early — particularly confirming site access for flatbed or crane-equipped vehicles — prevents costly re-delivery fees that compress project margins significantly. Confirm site access dimensions before your truck delivery is scheduled: low overhead clearance, soft ground conditions, or narrow gate widths can all add unexpected cost.
- Freight adds $0.05–$0.15 per pound on average for long-haul stone delivery — factor this into boulder pricing early
- Warehouse stock availability affects lead time; confirm inventory levels before finalizing your project schedule
- Value engineering works best when you substitute fill-zone material rather than anchor stones — protect your feature pieces
- Labor market conditions affect installation cost; highly specialized boulder placement crews command premium rates in competitive markets
- Buying excess material (10–15% overage) costs less than a second freight run for a partial load
Natural Stone Types for Rock Garden Landscaping
Choosing the right stone material for landscaping with rocks goes beyond aesthetics — geological character determines how stone weathers, how it interacts with root systems, and how stable it remains under freeze-thaw cycling. Each major stone type has a performance profile you need to match to your site conditions.
Limestone in Rock Garden Settings
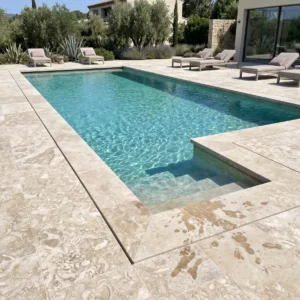
Limestone is the classic rock garden stone for good reason. Its natural bedding planes create predictable fracture patterns that make it easy to set with consistent stratification angles. Over time, limestone weathers to a warm grey-cream that integrates beautifully with most planting palettes. In freeze-thaw regions, specify limestone with absorption rates below 3% (ASTM C97) to reduce spalling risk — higher-absorption limestone can deteriorate within a few seasons of repeated hard freezes. According to USGS dimension stone production data, limestone remains one of the most widely used natural stones in landscape applications across the country, valued for its workability and visual compatibility with planted settings.
Basalt and Igneous Stone Options
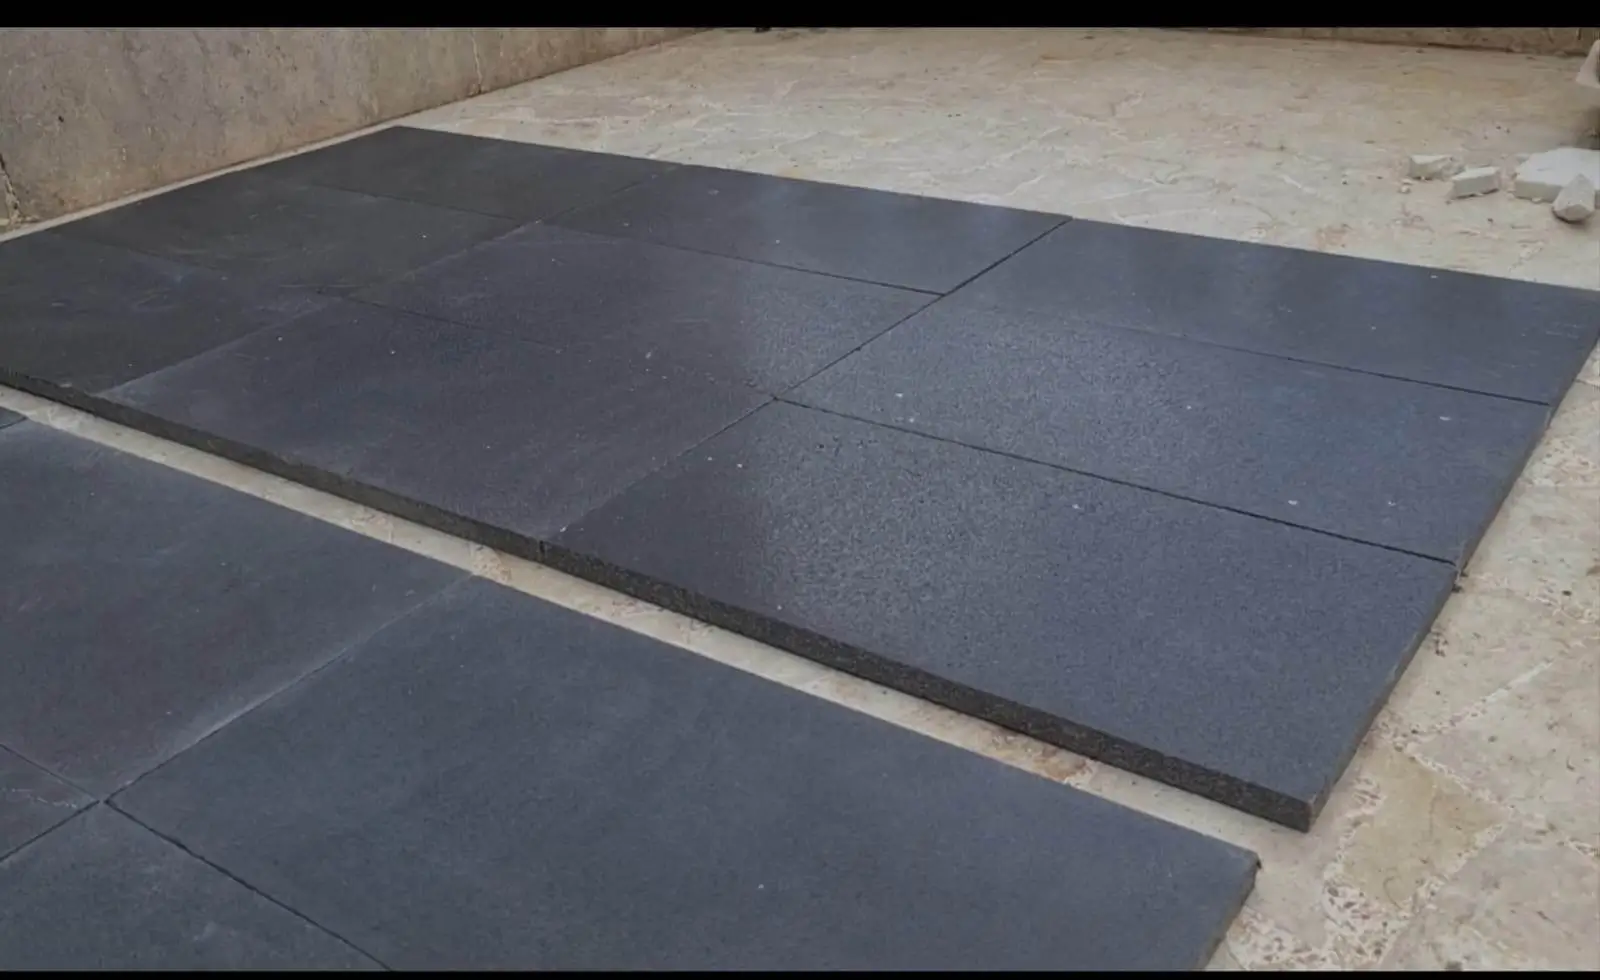
Basalt brings a completely different visual weight to rock garden landscaping — its dense, dark character anchors modern and minimalist designs where limestone might feel too traditional. Basalt’s high compressive strength (typically 25,000–45,000 PSI) means it holds sharp edges and corners longer than sedimentary alternatives, making it useful for feature boulders in high-visibility positions. The trade-off is weight: basalt runs 185–195 lbs per cubic foot, versus limestone’s 160–170 lbs, which affects both freight cost and placement logistics.
Grading and Drainage: The Invisible Foundation
Your rock garden’s longevity depends almost entirely on decisions made before any stone goes in the ground. Poor drainage is the leading cause of rock garden failure — not the wrong stone choice, not the wrong plants, but water sitting against stone and root systems through wet seasons. The minimum slope for positive drainage away from planted pockets is 2%, and steeper is better for feature areas.
- Excavate 8–12 inches below finished grade for a drainage layer of crushed stone or gravel before adding growing medium
- Install a geotextile fabric between the drainage layer and growing medium to prevent migration without blocking water movement
- Grade perimeter areas to direct surface water away from the garden’s center mass
- For larger installations, consider perforated drain pipe at the base of the drainage layer to handle high-volume rain events
- Test drainage by saturating the area before stone placement — standing water after 30 minutes signals inadequate grade or compaction issues
The growing medium for a rock garden differs from standard garden soil. A mix that drains fast, holds minimal moisture at depth, and resists compaction performs consistently well. A 60% mineral (coarse grit, decomposed granite, or crushed stone) to 40% organic blend suits most site types. Heavier organic content may feel more familiar but creates the waterlogged conditions that damage stone-contact root systems over time.
Working with Scale and Proportion
Scale mistakes are the most common error in rock garden landscaping, and they’re nearly impossible to correct once stone is in the ground. The guiding rule: your largest feature boulder should be at least 18–24 inches in its longest dimension to read as a genuine outcrop element at typical viewing distances of 10–15 feet. Stones smaller than this tend to read as gravel at a distance, regardless of how carefully they’re placed.
Proportion between stone and planting is equally critical. Rock garden landscaping ideas that feature large stone masses need bold, contrasting plant texture to create visual dialogue — fine-textured alpines against rough-faced boulders, or low spreading ground covers that flow around larger stones. Matching textures (fine stone with fine plants, or chunky boulders with big-leafed plants) tends to flatten the composition visually. The contrast is what creates depth.
- At garden scale (under 200 sq ft), keep your largest stones under 36 inches to maintain proportion
- For larger feature installations (500+ sq ft), anchors of 36–60 inches in the longest dimension read correctly
- The ratio of stone to planted area should lean toward 60% stone, 40% planting in an alpine style — closer to 40/60 in a woodland setting
- Avoid symmetry: paired boulders flanking a path read as designed, not natural
Installation Sequencing and Field Logistics
The order of operations in a rock garden build matters more than most project managers anticipate. Placing boulders after planting pockets are filled creates access problems — you’ll compact your growing medium trying to maneuver heavy stone. The correct sequence: establish final grade, install drainage layer, set all anchor boulders, backfill around boulders, then add growing medium in planted pockets last.
Citadel Stone’s national warehouse network means most customers can coordinate deliveries without the 6–8 week lead times common with import-only suppliers — a practical advantage when your installation schedule is locked to a contractor’s availability window. Confirm your truck delivery date at least two weeks before the installation crew mobilizes; stone and labor arriving on the same day without prior staging creates avoidable site chaos. At Citadel Stone, we recommend staging larger boulder deliveries in two phases when site access is limited — anchor stones first, fill material in a second lighter run.
Parting Guidance
Rock garden landscaping ideas that hold up over time share a common discipline: the decisions made in the design and sourcing phase — stone type, size distribution, drainage design, and stratification logic — define the installation’s quality ceiling. No amount of skilled planting compensates for the wrong stone at the wrong scale set without regard to bedding plane direction. Your investment in getting those upstream decisions right pays dividends for decades, while shortcuts in that phase create maintenance problems that compound season by season. As you think through complementary stone applications beyond the garden itself, flat stone landscaping options covers how flagstone, slate, and similar materials extend the natural stone palette into paths, terraces, and other hardscape elements adjacent to your rock garden. Selecting stone with varied surface texture from Citadel Stone helps rock gardens read as natural outcroppings rather than assembled displays.
Related reading: colorful rocks for landscaping · landscaping rock bulk cost · Front Yard Rock Landscaping Ideas That Stay Tidy.