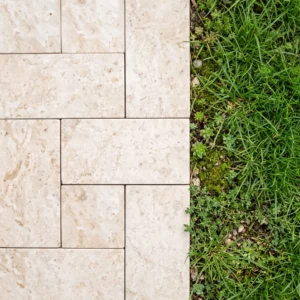
Why Base Preparation Determines Everything
Learning how to build stone steps correctly starts below grade, not at the surface — the single variable separating steps that hold up for thirty years from ones that shift, crack, and heave within a decade isn’t the stone you choose, it’s what sits underneath it. A minimum 6 inches of compacted crushed stone aggregate beneath your footing is non-negotiable, and in freeze-thaw regions, extending that base to 12 inches is the difference between a stable installation and an annual reset job.
Your subbase must drain aggressively. Standing water beneath a stone footing expands on freeze cycles and works against every pound of stone above it. Slope your excavated bed a minimum of 2% away from any structure before you place a single inch of aggregate. Compact in 3-inch lifts — not one big pour — and verify firmness with a steel probe rod before moving to the next layer.
Selecting the Right Stone for Your Steps
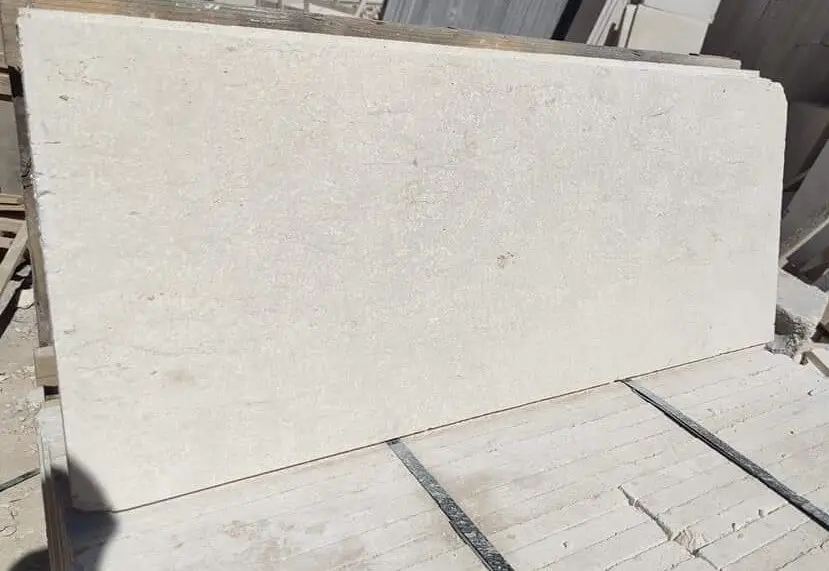
Natural stone step treads come in a wide range of materials, and each performs differently under foot traffic, moisture cycling, and load. Bluestone, limestone, granite, and sandstone are the most common tread stocks — and the right call depends on your specific project conditions, not just aesthetics. Granite delivers compressive strength above 19,000 PSI, which makes it the right call for high-traffic commercial applications. Limestone, sitting closer to 8,000–12,000 PSI, suits residential installations well and offers a warmer visual character that integrates beautifully with naturalistic landscape designs.
Tread thickness matters as much as material strength. Specify a minimum 2-inch nominal thickness for any cantilevered or partially supported tread condition. For treads bearing full bottom support across a riser or compacted base, 1.5 inches is workable for lighter foot traffic, but 2 inches remains the safer standard. Thinner cuts might look elegant in a catalog, but they introduce flex under point loads that eventually causes cracking at the front edge — the highest-stress zone of any tread.
- Granite: 19,000+ PSI compressive strength, low absorption, ideal for high-traffic or exposed conditions
- Limestone: 8,000–12,000 PSI, moderate absorption, excellent for residential and garden step applications
- Bluestone: dense, cleaves naturally into flat slabs, consistent slip resistance when thermal-finished
- Sandstone: warm aesthetic, higher porosity — requires sealing in wet or shaded environments
- Travertine: beautiful surface character but requires filled-finish selection to avoid hollow pockets at tread edges
Dimensional Layout and Riser-Tread Ratios
Step geometry directly affects safety and comfort — and there’s a proven formula that applies whether you’re designing a two-riser garden entry or a twelve-step front approach. The classic outdoor stair rule states that 2R + T = 26 inches, where R is riser height and T is tread depth. For outdoor stone stair steps, a 6-inch riser with a 14-inch tread depth satisfies this formula and produces a comfortable, natural stride.
Riser height should stay between 4 and 7 inches for outdoor applications. Below 4 inches, you create a tripping hazard because the eye doesn’t register the step change clearly. Above 7 inches, the climb becomes fatiguing and increases fall risk, particularly for older users. The ADA accessibility surface and slip resistance requirements for stone steps reinforce maximum riser limits and minimum tread depths for accessible route design — specifications worth reviewing even on private residential projects where accessibility is a consideration.
- Standard outdoor riser range: 4–7 inches
- Minimum tread depth: 12 inches (14 inches preferred for comfortable stride)
- Use the 2R + T = 26 rule as your base calculation
- Maintain consistent riser heights across the entire run — even a 3/8-inch variation creates a stumble hazard
- Plan tread overhang (nosing) at 1–1.5 inches beyond the riser face for visual definition
How to Build Stone Steps: Footing and Riser Construction
Your first course sets the entire geometry of the stair run, so it demands the most precision. Excavate to undisturbed soil, then build your compacted aggregate base as described above. Pour a concrete footing pad sized to extend at least 6 inches beyond the front face of your bottom riser and 4 inches beyond each side. Standard footing depth is 8–10 inches for residential stone steps. Allow the concrete to cure a minimum of 48 hours before loading stone onto it.
Riser stones can be set in a mortar bed using a Type S mortar mix — a 1:1/2:4.5 ratio of portland cement, hydrated lime, and sand by volume. Type S provides adequate bond strength for outdoor vertical applications without the brittleness of pure portland mixes. Set each riser plumb and check level across its face before the mortar stiffens. You have a roughly 30-minute working window in moderate temperatures, shorter in heat above 85°F.
For projects sourcing pre-cut tread stock, stone steps from Citadel Stone are available in consistent slab dimensions sized for standard outdoor stair runs, which saves you the field-trimming time that adds up fast on multi-riser projects.
Setting Stone Treads Correctly
Tread setting is where most install stone steps projects either succeed or develop long-term problems. The mortar bed beneath your tread must be a full-coverage application — no spot-setting or five-dot patterns. Voids beneath stone treads concentrate stress at unsupported points and eventually cause surface cracking under repeated foot impact. Spread a consistent 3/4-inch to 1-inch mortar bed across the full tread footprint and set the stone into it with firm hand pressure.
Slope each tread 1–2% toward its leading edge. This is non-negotiable for drainage. Water that pools on a tread surface accelerates freeze-thaw spalling and creates slip hazards in wet weather. The Natural Stone Institute stone steps and treads design specifications address tread slope and surface finish requirements that directly affect long-term durability and pedestrian safety. Set your level on every tread, confirm the cross-slope, and don’t let mortar convenience override geometry.
- Apply full-coverage mortar bed — no spot-setting
- Mortar bed thickness: 3/4 to 1 inch, consistently applied
- Tread slope: 1–2% toward the front edge for positive drainage
- Check cross-slope and front-to-back slope before mortar stiffens
- Allow 24 hours minimum cure before foot traffic; 72 hours before heavy use
Natural Stone Steps DIY: Cutting and Fitting Treads
Field cutting natural stone requires a wet-saw with a diamond blade rated for the material you’re working with. Granite demands a harder bond blade than limestone or sandstone. Always cut from the face side down to prevent edge chipping on the visible surface. For long tread cuts, score the cut line first with a single pass at reduced depth, then make your full-depth cut on the second pass — this reduces blade deflection and produces a cleaner edge.
Rough-cut edges on riser stones can be dressed with an angle grinder fitted with a segmented diamond cup wheel. Keep the tool moving and maintain consistent pressure to avoid grinding depressions. A hand-chiseled edge finish is worth the time if your design calls for a more rustic character — particularly on limestone and sandstone, which split relatively cleanly with a hammer and cold chisel along the bedding plane. For a natural stone steps diy project, understanding how your specific stone breaks is as important as any power tool technique.
Landscape Integration and Design Continuity
Stone stair steps don’t exist in isolation — they connect grade changes and serve as a visual anchor in the broader landscape composition. Selecting a tread material that harmonizes with your surrounding hardscape and planting design significantly affects the finished result. For naturalistic or cottage-style landscapes, tumbled limestone and rough-split sandstone treads blend into planted borders and casual pathways. Modern minimalist designs typically call for sawn-face bluestone or granite with tight, consistent jointing and clean linear geometry.
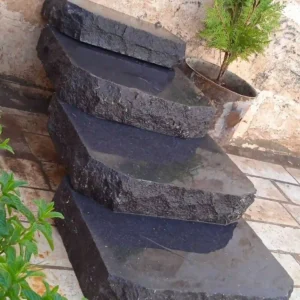
Hot, dry climate settings benefit from warm-toned, buff or honey-colored limestone that complements gravel mulch and low-water plantings without visual competition. Tropical or lush planting environments often pair well with darker basalt or charcoal-toned bluestone, where the stone reads as a defined structural element against dense greenery. The key principle, regardless of aesthetic direction, is material continuity — your step stone should share at least one characteristic (tone, texture, or origin) with the surrounding paving or wall material. Mixing too many stone types in a confined landscape zone creates visual noise that no amount of planting softens.
According to ASLA landscape design and permeable surface guidance, integrating natural stone into the broader site plan — including pathway connections, water management, and planting bed transitions — produces more cohesive and long-performing hardscape systems than treating individual elements in isolation.
Jointing, Sealing, and Long-Term Maintenance
Joint width on stone steps depends on the finish character you want and the setting conditions. Tight joints at 1/8 inch suit sawn-face stone in formal or contemporary settings. Wider joints at 1/2 to 3/4 inch work well for irregular treads or rustic applications where you may want to plant ground cover into the joints. For mortared joints, point with a matching mortar after initial cure using a grout bag or pointing tool — not a trowel smear, which leaves surface staining that’s difficult to remove from porous stone.
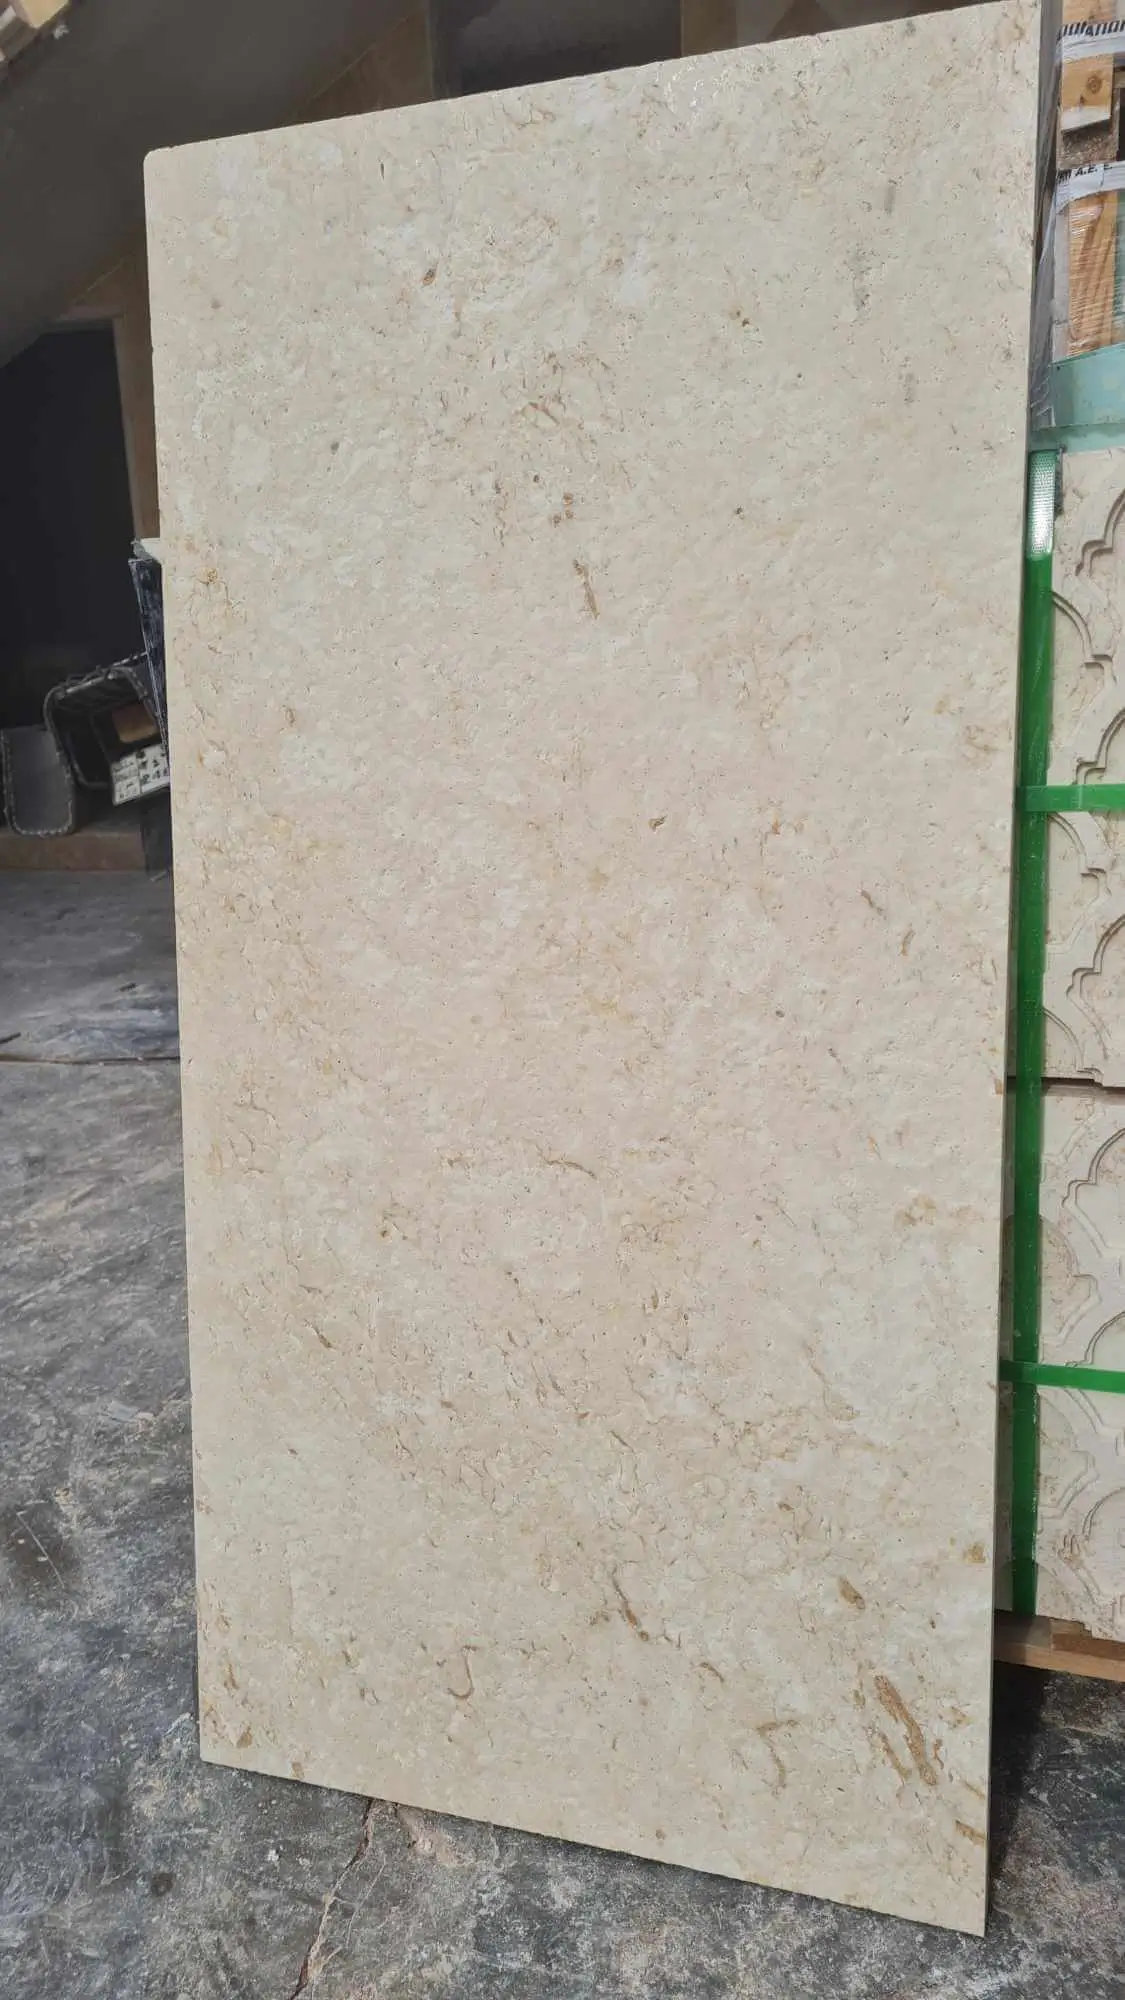
Sealing is project-specific. Dense granite and bluestone often perform well unsealed, developing a natural patina over time. Limestone and sandstone benefit from a penetrating impregnator sealer applied within the first month of installation and renewed every two to three years. Citadel Stone’s technical team recommends a solvent-based penetrating silane/siloxane formulation for outdoor tread applications — it doesn’t alter surface appearance, resists moisture intrusion, and doesn’t trap efflorescence salts the way surface film sealers can. Confirm your warehouse has the sealer in stock and plan application for a dry window of at least 48 hours after installation.
- Dense stone (granite, bluestone): sealing optional — allow weathering or apply impregnator for stain resistance
- Porous stone (limestone, sandstone, travertine): penetrating silane/siloxane sealer required
- Reapplication interval: every 2–3 years for residential outdoor treads
- Joint maintenance: inspect and repoint cracked mortar joints every 5–7 years
- Moss and biological growth: treat with a pH-neutral stone cleaner — avoid acid-based products on limestone or marble
Ordering, Logistics, and Project Planning
Tread stone typically ships on pallets freight, and your site access affects delivery planning more than most specifiers anticipate. Confirm your truck access clearance — standard flatbed delivery requires a minimum 14-foot clearance height and a turning radius that many residential sites constrain. If your site can’t accommodate a full-size delivery truck, request a smaller vehicle option from your supplier early. Last-minute logistics changes add lead time and cost.
Order 10–15% more material than your calculated quantity. Tread stone cuts produce waste, and matching a second order from warehouse stock weeks later introduces the risk of shade variation between production batches — particularly with limestone and sandstone where quarry face color can shift. Citadel Stone maintains consistent warehouse inventory across tread stock sizes, which typically shortens lead times compared to the 6–8 week import cycle you’d face ordering direct from an overseas source. Factor your delivery window into your project schedule and confirm warehouse availability before you finalize your installation date.
Professional Summary
Knowing how to build stone steps that perform over the long term comes down to disciplined execution at every layer — accurate base preparation, correct mortar selection, precise dimensional geometry, full-coverage tread setting, and a sealing protocol matched to your stone type. No single step in that sequence is optional. Cutting corners on base depth because the soil looks firm, or spot-setting treads to save mortar, creates the failure modes that generate replacement calls five years into what should have been a 25-year installation.
Your stone selection should serve both structural requirements and the visual logic of your broader landscape design — whether that’s sawn bluestone in a clean contemporary setting or rough-split limestone in a naturalistic garden approach. The two goals reinforce each other when you plan them together from the outset. As you round out your natural stone project planning, related finishing details matter just as much as the structural work — explore what drives natural stone sill pricing to understand how material selection and fabrication affect costs across different stone applications. For DIYers and contractors sourcing tread stock, Citadel Stone carries slab-cut stone sized for standard outdoor stair runs.