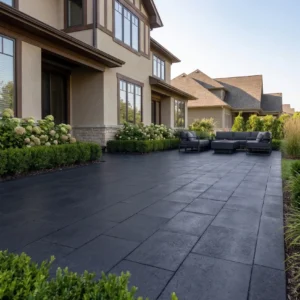
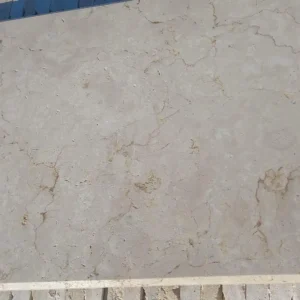
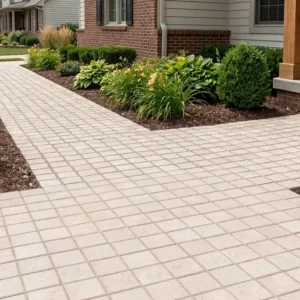
Nailing the ivory travertine French pattern layout comes down to one decision most installers make too late — cutting strategy. The four-piece repeat that defines this pattern isn’t forgiving when your tile sizes drift even a few millimetres from nominal, and if you don’t establish your cutting sequence before you pull the first stone off the pallet, you’ll end up with awkward slivers at your borders that no amount of grout can hide. Getting the sequence right from the start separates a tight, professional result from one that looks rushed.
Understanding the French Pattern Tile Mix
The French pattern combines four tile sizes — 16×16, 16×8, 8×8, and 8×16 inches — into a repeating module that measures 24×24 inches overall. Your ivory travertine French pattern layout pieces need to be precisely calibrated before you begin, because a 3mm variation in the 16-inch dimension will cascade into a visible misalignment by the third or fourth repeat. Dry-lay a full module before you commit to mortar, and measure the actual delivered dimensions rather than trusting the nominal spec sheet.
The ratio within each module is fixed: one 16×16, two 16×8, two 8×16, and one 8×8. That calculates to roughly 44% large tiles, 44% medium tiles, and 12% small tiles by area. Ordering to those percentages saves you from running short on 16×16s mid-project, which is the most common ordering mistake on French pattern jobs. According to Natural Stone Institute travertine properties and outdoor suitability, consistent thickness tolerances across all four tile sizes are critical for achieving flush surfaces in multi-size layouts — travertine’s natural porosity creates slight thickness variability between pieces, so calibration is not optional.
Your layout also needs a clear module origin point. Set your first full module at the most visually prominent corner — typically the far end from the entry point — so any cut tiles land at the perimeter where they’re less visible. Snapping two perpendicular control lines through the centre of that first module gives you a reference grid you can trust as you work outward.
Base Preparation and Subgrade Considerations
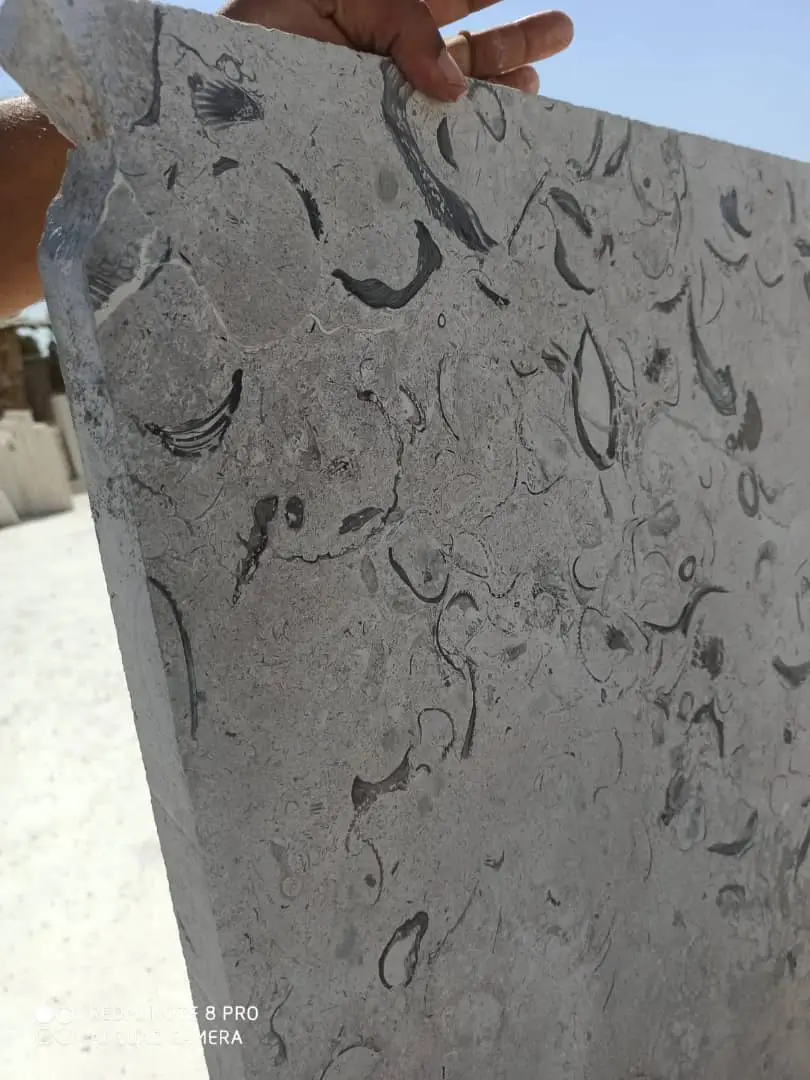
The ivory travertine French pattern layout performs only as well as the base beneath it, and base failures almost always trace back to subgrade conditions that weren’t assessed before work started. Expansive clay soils are the most common culprit — they swell with moisture and shrink in dry periods, and that cyclic movement will displace grout joints and eventually crack tiles in a multi-size pattern faster than it would in a single-size layout, because the longer spans of the 16×16 tiles amplify any differential settlement.
Sandy soils present a different challenge: they drain well but lack the compaction stability that a French pattern’s varied tile weights demand. A deeper compacted aggregate base — typically 6 to 8 inches of crushed stone compacted in 2-inch lifts — is needed to achieve the 98% Proctor density that prevents long-term settling. In areas with caliche or rocky subgrade, verify there are no voids beneath the hardpan layer; water can pool in subsurface cavities and migrate upward through the travertine’s open pore network over time.
- Expansive clay requires a geotextile separation layer between native soil and aggregate base to prevent clay migration into the base course
- Sandy soils need a minimum 6-inch compacted aggregate base with a binder course to resist lateral displacement under point loads
- Rocky or caliche subgrade should be tested for subsurface voids before pouring any concrete substrate
- Organic soils must be fully excavated — never lay travertine over fill that includes topsoil, roots, or decomposing material
- All subgrades should achieve a minimum bearing capacity of 1,500 psf before base aggregate is placed
Freeze-thaw regions add another layer of complexity. The depth of your base aggregate needs to account for frost penetration depths, which vary across different climate zones. In areas with significant freeze-thaw cycling, a minimum 8-inch compacted base is the practical floor for any ivory travertine French pattern layout intended to last beyond a decade without joint failure.
Mortar Bed and Setting Method
The setting method you choose carries more weight than most installation guides acknowledge. Travertine is a sedimentary stone with an interconnected pore structure and an absorption rate typically between 3% and 7% by weight — this means a standard thin-set mortar needs to be applied with a back-butter technique on every piece, not just buttered from the trowel side. Failing to back-butter results in hollow spots beneath the tile that you won’t detect until a piece cracks under load six months later.
For exterior applications, a polymer-modified thin-set mortar with a minimum compressive strength of 3,000 psi is the correct specification. The extended open time formulas — those rated for 30-minute working windows — are worth the added cost on French pattern work because the four different tile sizes require constant repositioning to maintain your joint alignment. A standard 20-minute mortar penalises you every time you need to fine-tune a 16×16 tile that’s pulling the pattern slightly off-square.
- Back-butter every tile regardless of size — the large 16×16 pieces are the most prone to hollow spots if back-buttering is skipped
- Trowel ridges should run perpendicular to the longest tile dimension for maximum coverage
- Minimum 95% mortar contact coverage is required for exterior-grade travertine installations per TCNA standards
- Allow 24 hours of curing before walking on the surface and 72 hours before applying grout
- Never use rapid-set mortar on travertine — the exothermic curing reaction can cause thermal stress cracking in larger tiles
Joint Spacing and Grout Selection
Joint spacing in an ivory travertine French pattern layout needs to be consistent across all four tile sizes — and that’s harder than it sounds. The 16×16 tiles set the dominant visual rhythm, so their joints establish the reference. Most professionals work with a 3/16-inch joint for honed or filled travertine and a 1/4-inch joint for tumbled ivory travertine pavers, because the tumbled edge profile creates a slightly wider apparent joint even at the same nominal spacing.
Grout selection matters more for travertine than for most natural stones because the open-pore surface texture creates a grout haze risk that’s difficult to clean from unfilled voids. For most exterior ivory travertine French pattern layouts, an unsanded or fine-sanded grout matched to the natural ivory tone of the stone produces the cleanest result. Avoid dark grout colours on ivory travertine — they create a stark contrast that visually fragments the pattern and accentuates any joint width inconsistencies that are inevitable across a multi-size layout.
Expansion joints are non-negotiable. Plan them at no more than 12-foot intervals in both directions, and always at any change of plane, column base, or wall abutment. Travertine’s thermal expansion coefficient is approximately 4.4 × 10⁻⁶ per °F — lower than porcelain but still significant over a large installation. Skipping expansion joints is a reliable way to turn a 20-year installation into a 7-year replacement.
Filling and Finishing Travertine Voids
One of the most misunderstood aspects of working with travertine ivory French pattern tile is the decision between filled and unfilled stone. Filled travertine arrives from the factory with its natural voids pre-filled with grout or epoxy — it installs faster and produces a smoother surface. Unfilled travertine retains its natural pitted texture, which improves slip resistance and gives the surface more character, but it demands that you grout-fill the voids during installation before the final clean.
The ASTM C1527 travertine dimension stone standard identifies travertine classifications that affect fill performance — understanding these classifications helps you specify the correct material grade for your project’s end use. For outdoor patios, Type III or IV travertine with higher density and lower absorption performs better than softer Type I material, particularly in climates with regular rainfall or temperature swings. Your supplier should be able to confirm the travertine type from their quarry documentation.
Filling unfilled travertine on-site requires you to apply grout diagonally across the surface with a rubber float, forcing material into the voids, then clean within the grout’s working window before it skins over. Miss that window and you’re spending the next morning chiselling hardened grout out of voids — not a fun situation on a 500-square-foot patio. At Citadel Stone, we recommend pre-filled travertine for most outdoor French pattern projects unless the client specifically requests the natural texture of unfilled stone.
Laying Sequence for Ivory Travertine French Pattern
The sequence you follow when placing tiles in an ivory travertine French pattern layout determines whether your joints stay tight and your pattern repeats cleanly. Starting from the centre of the field and working outward in quadrants is the standard approach for large open areas. For rectangular patios or pool decks, snap your control lines at the true centre — not the approximate centre — and dry-lay the first full module before you mix any mortar.
Place all your 16×16 tiles first within each module. These are the visual anchors, and getting them square and level sets the tolerance for everything else. The two 16×8 tiles that flank the large piece need to be checked against your control line with each placement — travertine’s slight dimensional variability means you’ll occasionally need to float a tile 1-2mm to maintain joint consistency. Your 8×8 and 8×16 pieces fill the remaining spaces in each module; they’re the last to go down and the easiest to adjust because they’re bordered on multiple sides by already-placed tiles.
- Always set 16×16 tiles first — they’re the pattern anchor and the hardest to adjust once surrounding tiles are in place
- Check your module diagonal measurement after every third complete repeat to catch any creeping misalignment early
- Use tile spacers at all four corners of each joint intersection, not just at two corners — a common shortcut that creates uneven joint widths across a multi-size layout
- Keep a rubber mallet and a straight level within reach at all times — you’ll be tapping and checking constantly on a French pattern installation
- Work from the set material back toward yourself, never stepping on freshly laid ivory tumbled travertine pavers or recently mortared field tiles
For projects ordering Citadel Stone paver travertine tile, confirming your tile sizes against the actual delivered pieces before you begin laying is the single most time-saving step in the process. Warehouse stock can occasionally include tiles from different production batches with slight dimensional variations — catching that before installation, not during, is the difference between a smooth project and a frustrating one.
Cutting Travertine for Borders and Perimeter Fills
Perimeter cuts on an ivory travertine French pattern layout require planning before the first full tile goes down. Calculate your border cuts from the control line to the finished edge — you want border pieces that are at least half the width of the smallest tile in your pattern, which means no sliver cuts narrower than 4 inches. If your field measurement doesn’t achieve that, shift your module origin point by half a tile dimension in the problematic direction before you start laying.
Cutting ivory travertine cleanly requires a wet saw with a continuous-rim diamond blade rated for natural stone. The stone’s calcium carbonate composition is softer than granite but harder than ceramic — it cuts cleanly under water cooling, but a dry blade will produce edge chipping that telegraphs through your grout joint. Keep your blade speed consistent and let the saw do the work; forcing the cut increases the risk of micro-fractures that may not be visible until the installed tile experiences foot traffic or thermal cycling.
The Tile Council of North America installation standards provide detailed guidance on natural stone cutting tolerances and substrate preparation requirements that should inform your specification documents. Following industry-standard cutting and installation procedures matters particularly for travertine, where the material’s natural variability requires compensating techniques that differ from ceramic or porcelain workflows.
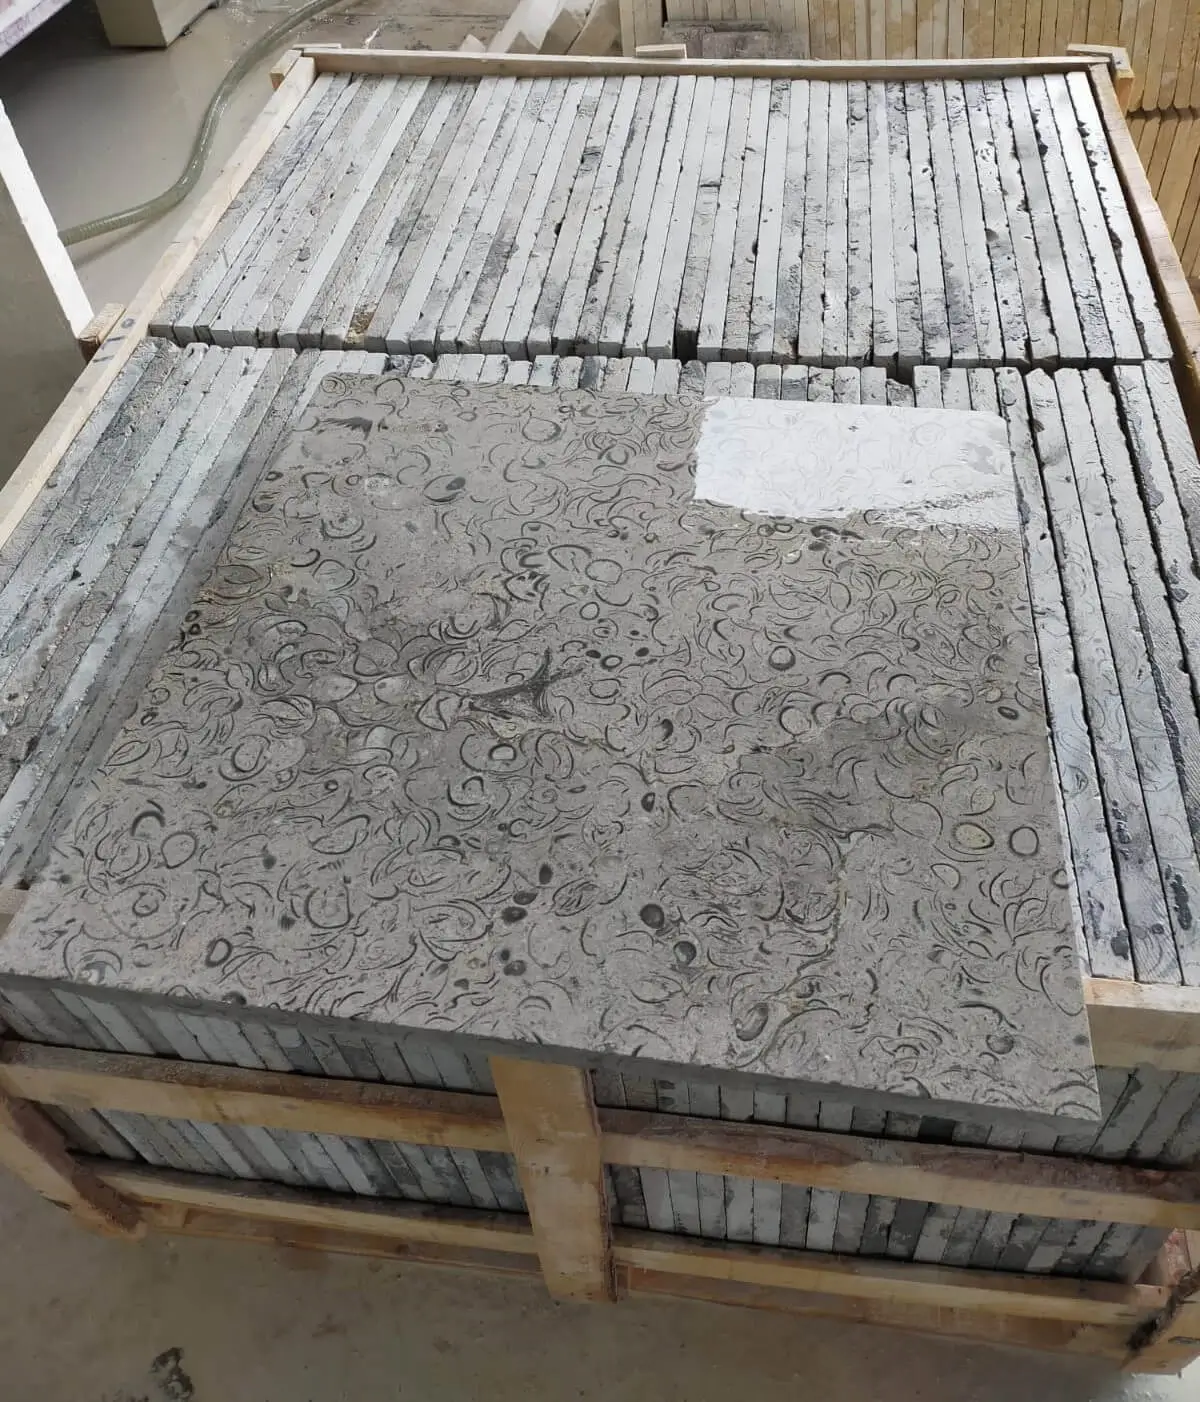
Sealing Your Travertine French Pattern Installation
Sealing is not optional on an exterior ivory travertine French pattern layout — it’s a specification requirement that determines the installation’s stain resistance and long-term surface integrity. Travertine’s absorption rate means unsealed stone will absorb cooking oil, organic tannins from leaves, and mineral deposits from hard water within hours of exposure. The first sealing application should go on before the final grout clean, because the sealer protects the tile surface from grout haze and makes cleanup significantly faster.
Use a penetrating impregnator sealer — not a topical coating. Penetrating sealers work within the pore structure without altering the stone’s natural texture or slip characteristics. For outdoor ivory travertine, a silane-siloxane blend rated for calcium carbonate stone provides the best balance of water repellency and breathability. Topical sealers trap moisture beneath the surface and create spalling risk in freeze-thaw conditions.
Apply two coats of sealer before grouting, allowing full penetration between coats — typically 15 to 20 minutes in normal conditions. A third coat applied after grouting and final cleanup brings your protection level up to what a high-traffic patio or pool deck requires. Plan for resealing every two to three years depending on UV exposure and foot traffic intensity; the travertine ivory French pattern tile’s surface will tell you when it needs attention — water will bead less noticeably and the stone colour will begin to appear slightly darker after rain events.
Ordering Quantities and Project Logistics
Ordering the right quantity of ivory travertine for a French pattern installation is a calculation, not a guess. Measure your total area, add 10% for cuts and breakage on standard field work, and add an additional 5% if the perimeter involves complex curves or angles that increase your cut waste. For projects with diagonal or rotated French pattern layouts, push that overage to 20% — the additional cutting angles waste significantly more material per linear foot of border.
Confirm your delivery access before placing the order. Travertine pallets for a full French pattern installation typically run 2,500 to 3,000 lbs each, and a delivery truck needs adequate clearance and a firm surface to offload without damaging either the material or the substrate. Narrow residential streets, soft lawn areas, and low overhead clearances all need to be identified and communicated to your supplier before the delivery window is scheduled — rescheduling a loaded truck is a costly disruption that’s entirely preventable with a five-minute site assessment.
Citadel Stone carries warehouse inventory of ivory travertine in all four French pattern sizes, which typically allows for 1-to-2-week lead times versus the 6-to-8-week import cycles that affect special-order travertine. Confirming stock levels by size before you finalise your project schedule eliminates the most common cause of installation delays — arriving on site with full mortar beds ready and discovering the 16×16 tiles are back-ordered.
Professional Summary
The ivory travertine French pattern layout rewards the installers who spend their planning time on module geometry, subgrade verification, and cutting sequences before the first tile is set. The four-piece repeat is visually elegant precisely because it looks effortless — and that effortless appearance is the product of meticulous base preparation, consistent joint spacing, and a laying sequence that starts from a verified centre point and never compromises on level checks. Every shortcut taken during base work or mortar application shows up in the finished surface within two to three seasons.
Subgrade conditions deserve as much attention as your tile specification. Expansive clay, sandy soils, and caliche all require different base treatments, and the travertine will communicate any base inadequacy through joint failure and cracking long before visible surface deterioration occurs. Addressing these conditions during excavation is a fraction of the cost of addressing them after installation.
Beyond sealing and base preparation, the long-term performance of your travertine installation also depends on how well you manage surface moisture over time. For a closer look at how sealers perform on this material and what to do when problems arise, common travertine sealing issues and fixes covers the troubleshooting details that follow a completed installation. Getting the tile ratio right before installation begins is essential, and Citadel Stone provides French pattern quantity guides to help contractors and homeowners order accurately.
Related reading: ivory travertine pool deck guide · travertine look porcelain tile · porcelain pool tile.