

Stone Type Matters Before Anything Else
Limestone floor tile selection fails most often at the first decision point — stone type — not at installation. The mineral composition of the slab you choose determines porosity, surface hardness, and how the tile will respond to cleaning chemistry, thermal cycling, and years of foot traffic. Understand what you’re working with before you commit to a format or finish, and the rest of the specification falls into place logically.
Limestone is sedimentary by origin, formed from compressed marine organisms and calcium carbonate deposits over geological timescales. That origin story is directly relevant to performance: the density and porosity of any given limestone slab reflects the specific pressure and mineralisation conditions of its formation. limestone formation and characteristics documented by geological reference sources confirm that absorption rates across limestone varieties can range from under 2% to over 12% — a spread wide enough to completely change your sealing schedule and maintenance requirements.
Your first specification task is matching stone density to application load. High-foot-traffic floors, commercial entries, and wet zones demand limestone with water absorption below 6% and compressive strength above 7,500 PSI. Residential interiors with moderate traffic can tolerate slightly higher porosity, but you’ll compensate with more frequent sealing cycles.
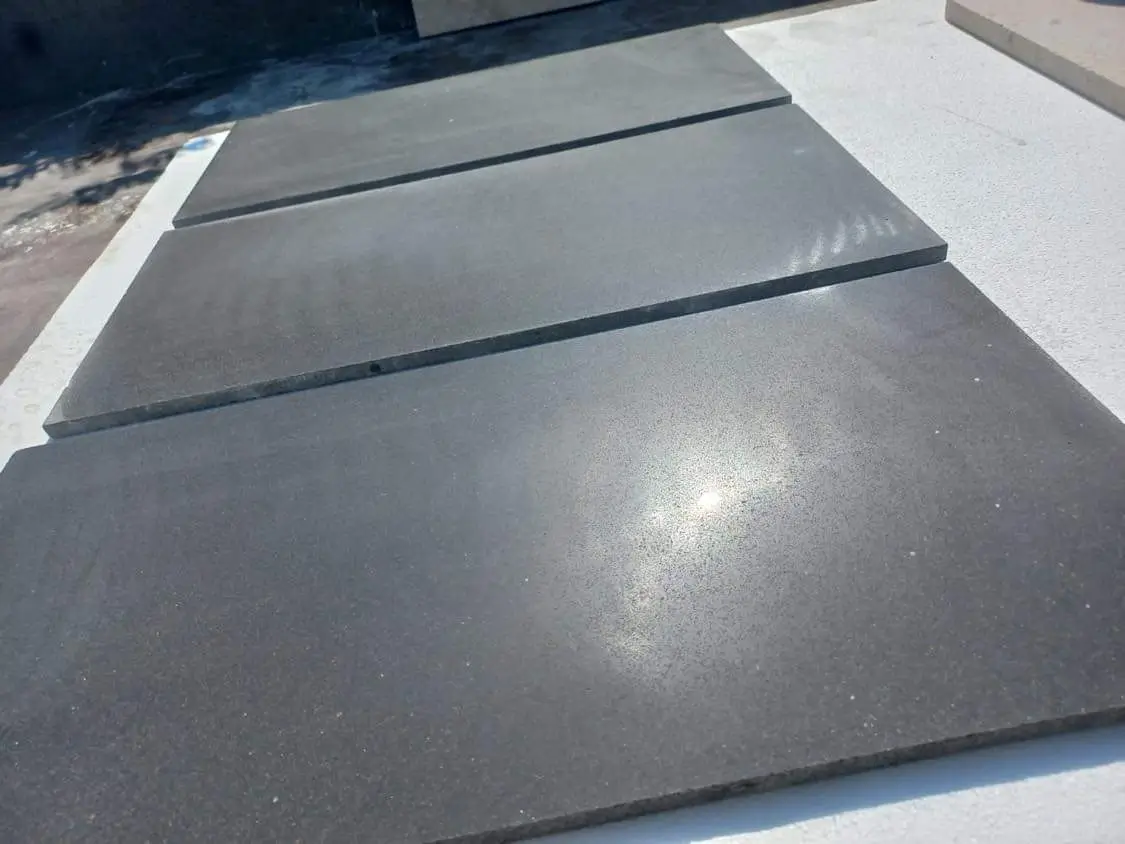
How Grade Classification Changes Your Specification
Limestone floor tile ships in grade classifications — typically Grade 1 (Select), Grade 2 (Standard), and Grade 3 (Commercial) — and the differences between them are not cosmetic. Grade 1 material presents consistent colour, uniform calibration, and minimal natural variation. Grade 3 accepts more vein movement, shade variation, and occasional surface pitting. Neither is inferior as a category; they serve different design and budget contexts.
- Grade 1 Select: tightest dimensional tolerances (±0.5mm), most consistent colour field, best choice for large-format rectified layouts
- Grade 2 Standard: moderate variation in tone and vein pattern, suits traditional and rustic design schemes, slightly more forgiving in installation alignment
- Grade 3 Commercial: widest variation, often the most expressive visually, requires more careful sorting on site before installation begins
- Calibrated vs. gauged: calibrated tile is precision-ground to a consistent thickness; gauged tile may vary up to 2mm and demands a more skilled installation team to avoid lippage
The grade decision also affects your warehouse ordering strategy. Grade 1 stock moves faster and can have tighter lead times from suppliers who hold deep inventory. Grade 3 material may require a longer warehouse hold period if you need to match dye lots across a large floor area — factor that into your project schedule before finalising.
Finish Selection: Honed, Polished, or Brushed
Your finish choice does more specification work than most designers realise. Each surface treatment changes the tile’s slip resistance, maintenance frequency, and visual response to light — and those variables interact with your application context in ways that matter both aesthetically and practically.
Honed Finish: The Interior Workhorse
Limestone honed tile is the most specified finish for interior floors, and for good reason. The honing process removes the rough surface layer and produces a flat, low-sheen surface that’s smooth to the touch without the reflectivity of a polish. Most honed limestone suits interior dry-zone flooring; where a floor will be wet, specify against the ANSI A326.3 wet DCOF threshold (0.42). According to NSI stone tile specifications, honed finishes retain consistent slip resistance across the material’s service life because they don’t rely on a surface coating that wears unevenly.
The trade-off with a honed surface is that the open micro-texture that creates that friction also absorbs contaminants more readily than a sealed polish. You’ll need to apply a penetrating impregnator sealer before grouting and reseal on a schedule that reflects traffic intensity — typically every 12–18 months in high-use zones.
Polished Finish: Manage Expectations Carefully
A polished limestone floor tile creates a highly reflective surface that amplifies colour depth and veining dramatically. The limitation is slip resistance — wet polished limestone can drop to COF values below 0.5, which is below safe thresholds for most interior applications without additional anti-slip treatment. Reserve polished finishes for low-traffic feature areas, wall applications, or spaces where wet contamination is actively managed.
Brushed and Tumbled: Texture With Trade-Offs
Brushed and tumbled limestone white tile variants carry the most surface texture of any finish category, but the irregular surface texture complicates cleaning routines significantly. Grout lines tend to be wider with tumbled formats — typically 3/8 to 1/2 inch — which creates more joint area to maintain. For entry floors or transitional spaces where grip matters more than clean-line aesthetics, the trade-off is often worth it.
Thickness Specification and Structural Load Requirements
Limestone floor tile in interior applications typically runs in 10mm, 12mm, and 20mm thicknesses, and the selection is structural — not aesthetic. Your substrate type, expected point load, and subfloor deflection rating determine which thickness you actually need, not personal preference.
- 10mm tile: appropriate for residential floors over rigid concrete subfloors with L/360 deflection or better, low point load applications
- 12mm tile: the standard commercial interior specification, handles moderate point loads from furniture and light equipment, better tolerance for minor subfloor imperfections
- 20mm tile: required for heavy-duty commercial applications, outdoor terraces on pedestals, or any floor where concentrated loads exceed 1,500 lbs per square foot
- Subfloor deflection is the governing variable: exceeding L/360 deflection will crack any stone tile regardless of thickness, so address the structural system before specifying the tile
The Tile Council of North America installation standards provide specific deflection and substrate requirements for stone tile installations — reference these during your structural review phase, not after the stone has been ordered.
For limestone floor tile projects sourced from a national supplier, verify that thickness tolerances are held consistently across the full batch. At Citadel Stone, we measure calibration samples from each pallet before it leaves the warehouse to confirm tolerance compliance — a step that saves significant rework cost on large-format installations where even a 1mm deviation becomes visible across a wide floor plane.
Thermal Cycling and What It Does to Limestone Joints
Any limestone floor tile installation in a space that sees meaningful temperature variation — covered outdoor galleries, sunrooms, transitional vestibules, or environments with significant day-to-night temperature swings — requires thermal cycling performance as a core specification variable. Limestone expands and contracts with temperature change at a coefficient of approximately 4.4 × 10⁻⁶ per °F. Across a 20-foot run of continuous tile, a 60°F daily temperature swing generates roughly 0.06 inches of cumulative movement.
That number sounds small until you recognise that a rigid thin-set installation with no movement joints will absorb all of that stress at the grout line and at the bond interface. The failure mode is predictable: grout cracks first, then tile corners lift, and eventually the thin-set bond fractures. In environments where freeze-thaw cycling occurs — where moisture enters joints during warmer periods and then expands on freezing — the deterioration accelerates dramatically.
- Specify movement joints every 12–15 feet in both directions for any installation exposed to meaningful temperature variation
- Use an ANSI A118.12 crack-isolation membrane under tile in any installation with suspected thermal cycling exposure
- Select a polymer-modified grout or epoxy grout for joints in thermally active zones — standard cement grout lacks the flexibility to survive repeated cycling
- In freeze-thaw regions, specify flooring limestone with absorption below 5% and apply a silane-based penetrating sealer to block water infiltration at the joint interface
- Never omit perimeter expansion joints — the transition from tile field to wall or fixed structure is the highest-stress point in any thermally active floor
The interaction between thermal expansion and limestone floor tile selection is also a quarry-source variable. Denser, lower-porosity limestone from deeper geological strata tends to exhibit more predictable expansion coefficients than lighter, more porous varieties. Ask your supplier for material data sheets that include thermal expansion values — not all suppliers provide them proactively, but they’re critical for engineered floor specifications.
Colour Consistency and Tone Matching Across Large Floor Areas
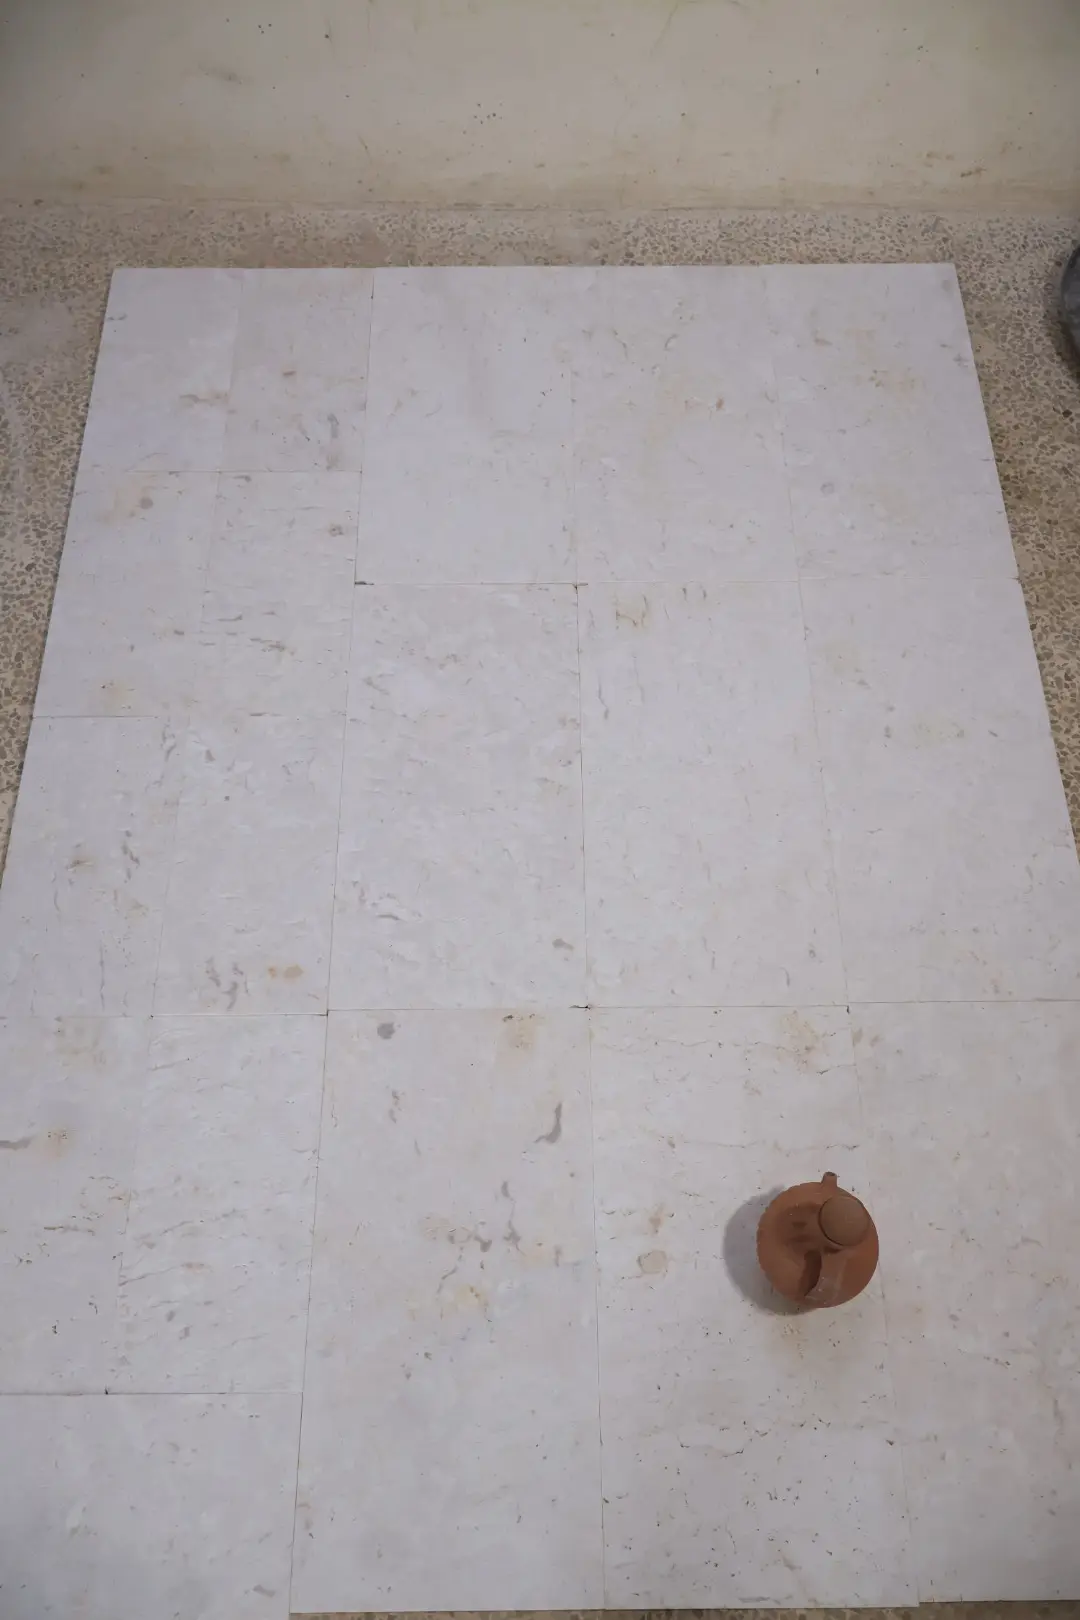
Colour variation in natural stone is expected and, to many designers, desirable. But managing that variation across a large floor installation requires systematic planning that most projects underestimate. Limestone white tile and cream-toned varieties in particular exhibit significant shade movement within a single quarry batch — and between batches ordered months apart, the difference can be striking.
Your specification should require dye lot documentation for every order. If the project floor exceeds 500 square feet, request a production sample from the exact batch being allocated before confirming the order. For projects over 2,000 square feet, consider ordering the full quantity upfront and holding overage in a warehouse staging area rather than reordering mid-project and risking a batch mismatch. The truck delivery logistics for staged releases are straightforward to arrange with a national supplier, and the protection against mid-project colour discontinuity is worth the early commitment.
- Order 10–15% overage on dye-sensitive limestone floor tile to cover breakage, cuts, and future repairs from the same production run
- Dry-lay tiles across the full installation area before thin-setting, rotating and blending between boxes to distribute any natural shade variation
- Store excess tile from the same batch — matching stone for future repairs is nearly impossible without original-batch material
- For limestone white tile specified across large open-plan spaces, request back-lit viewing of samples to assess translucency variation before committing
The flooring limestone you select will also respond differently to artificial versus natural light — a factor that becomes obvious after installation if it wasn’t evaluated during specification. Always assess your sample tile under the actual lighting conditions of the installed space, not under a showroom’s curated display lighting.
Subfloor Preparation and Adhesive Selection for Limestone
Substrate preparation is where limestone floor tile installations succeed or fail. The stone itself rarely causes problems when it’s properly supported — but a subfloor with movement, contamination, or inadequate flatness will transfer every deficiency directly to the tile surface within the first heating season.
Flatness tolerance for limestone floor tile is typically specified at F-number 25 or better, which translates to no more than 3/16 inch deviation in 10 feet. Check this with a straightedge before any tile goes down. Thin-set mortar is not a levelling compound — it’s a bonding agent, and applying it unevenly to compensate for a wavy subfloor creates variable bond strength across the installation. High spots crack tiles; low spots create hollow spots that fail under impact loads.
- For concrete subfloors, allow 28 days of cure time and verify moisture emission rates below 3 lbs per 1,000 square feet per 24 hours before setting stone
- Specify a large-format polymer-modified thin-set for tiles over 15×15 inches — standard thin-set lacks the open time needed to back-butter and position large stone accurately
- Back-butter every tile larger than 12×12 inches to achieve 95% minimum mortar coverage — voids under large-format stone create stress concentrations that crack tile under point loads
- On wood subfloor systems, install a minimum 3/4-inch plywood base with a second 1/2-inch layer offset at joints, then apply crack-isolation membrane before setting stone
For your adhesive selection, match the thin-set chemistry to your limestone’s porosity. High-porosity limestone can absorb moisture from standard thin-set faster than the mortar sets, reducing bond strength. Use a medium-bed mortar with extended open time for highly porous varieties, and mist the tile back lightly before setting in low-humidity conditions. The ASTM tile absorption and strength testing standards provide the reference framework for matching adhesive systems to stone absorption class — your tile data sheet should include the relevant ASTM C97 absorption value to guide that selection.
Sealing Protocol and Long-Term Maintenance Cycles
A properly sealed limestone floor tile installation requires significantly less remediation over its service life than one where sealing was treated as optional or deferred. The chemistry here is straightforward: limestone’s calcium carbonate matrix is alkali-stable but acid-sensitive. Any cleaning product, food spill, or atmospheric contaminant with a pH below 7 will etch an unsealed surface — permanently altering the finish in a way that can’t be reversed without mechanical refinishing.
Penetrating impregnator sealers — fluorocarbon or silane-siloxane based — are the correct product class for limestone honed tile and polished variants alike. They penetrate the stone’s pore structure and create a hydrophobic barrier without forming a surface film that could peel or discolour. Topical sealers and wax-based products create maintenance complications over time and are not appropriate for this material category.
- Apply penetrating sealer before grouting to prevent grout haze absorption into the stone face
- Apply a second coat after grouting and final cleaning to restore sealer coverage displaced during the grout process
- Test sealer effectiveness annually with a water bead test — if water absorbs within 5 minutes rather than beading on the surface, reseal immediately
- Use pH-neutral stone-specific cleaners for routine maintenance — avoid vinegar, bleach-based cleaners, and any product not specifically formulated for natural stone
- Strip and reseal on a schedule that reflects actual traffic: every 12 months for high-traffic commercial floors, every 24–36 months for residential interiors
For projects where Citadel Stone flooring stone is specified, our technical team can advise on sealer compatibility based on the specific limestone variety and finish in your order — absorption rates vary enough between stone types that a single sealer recommendation doesn’t apply universally.
Your Limestone Floor Tile Action Plan
Getting limestone floor tile right comes down to front-loading your specification decisions. Stone type, density class, finish, and thickness aren’t interchangeable variables you can adjust after ordering — they’re locked-in performance parameters that define what your floor will do for the next two decades. Treat the specification phase as the engineering phase, because that’s exactly what it is.
Start with your application’s actual performance demands: traffic intensity, moisture exposure, thermal cycling potential, and cleaning chemistry constraints. Match your stone grade and density to those demands before you consider aesthetics. Then layer in finish selection, dimensional format, and colour management as the secondary decisions they should be. Verify substrate conditions against flatness and deflection tolerances before any material arrives on site — fixing those conditions after the stone is in is expensive and avoidable. For projects that extend into outdoor or semi-outdoor zones, the cost breakdown for related stone specifications is worth reviewing — limestone patio paver cost details covers the financial planning side for adjacent applications. From select natural stone quarries worldwide, Citadel Stone provides limestone floor tile in consistent 12mm and 20mm thicknesses.
Related reading: how limestone weathers outdoors · limestone for gardens · crushed limestone landscaping.