

What the Base Decides Before You Lay a Single Paver
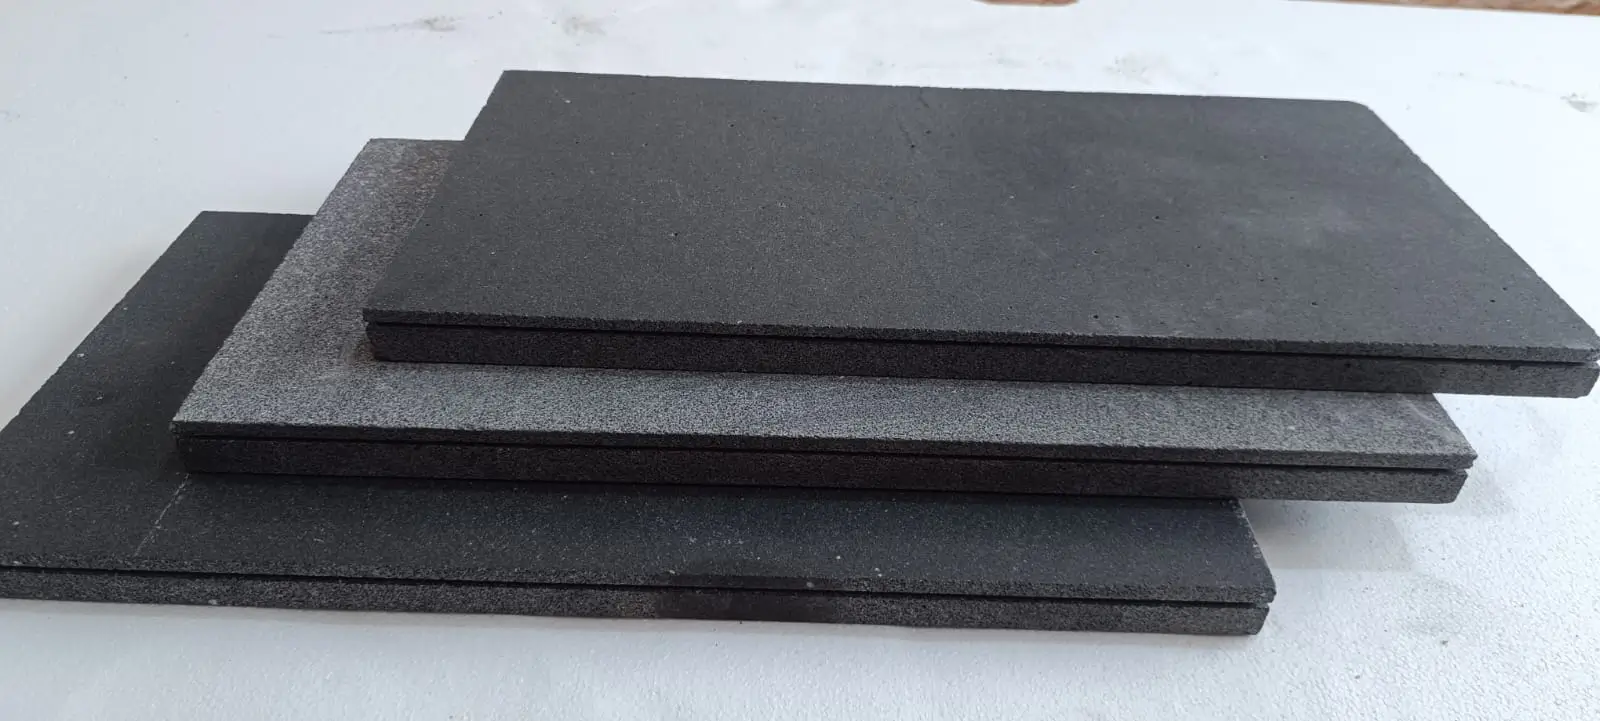
Midnight black limestone paving rewards precise base preparation in ways that most dark-stone installations don’t — because any differential settlement shows immediately against that uniform jet surface. The colour contrast between a settled paver and its neighbours is unforgiving, which means the base you build is the installation you’ll live with for the next two decades. Getting the sub-base right isn’t preliminary work; it’s the core work.
Soil composition is the variable most installers underestimate at the planning stage. Expansive clay — common across wide swaths of the country — can generate uplift pressures that exceed 2,000 lb/ft² during moisture cycling. Sandy or loose fill soils move in the opposite direction, compressing unevenly under point loads. Both scenarios produce the same result: cracked joints, rocking pavers, and a surface that looked perfect at day one but tells a different story at year three. Before your truck delivers the first pallet, you need a clear picture of what’s underneath.
Soil Assessment and Subgrade Preparation
Your subgrade assessment starts with a probe — a steel bar or soil probe driven 300–400mm into the native material. Dense, well-graded native soil that resists the probe uniformly is your best-case scenario. What you’re watching for is inconsistency: soft zones, organic material pockets, or caliche layers that prevent water from draining downward. Each of these demands a different response before you begin compaction.
- Expansive clay soils require over-excavation to a minimum 250mm below finished sub-base level, with a geotextile separation fabric before aggregate placement — this prevents clay migration into your drainage layer over time
- Sandy or poorly graded soils compact readily but shift under dynamic load — use a vibrating plate compactor in two passes at 90° to each other, and verify density with a DCP (Dynamic Cone Penetrometer) reading below 10 blows per 100mm
- Caliche or hardpan layers may need mechanical scarification or hydraulic breaking to allow drainage — a trapped water table above an impermeable layer will heave your midnight black limestone paving within two freeze-thaw seasons
- Rocky subgrades require a levelling course of compacted fines before aggregate base placement to prevent point-load bridging across voids
The minimum compacted subgrade bearing capacity for a residential pedestrian application is 35–40 kPa. For driveways or light vehicle traffic, specify 100 kPa minimum. These aren’t conservative estimates — they’re the thresholds where differential settlement risk drops to an acceptable level for natural stone. According to NSI limestone installation data, subgrade failure accounts for the majority of premature paving replacements, outpacing material defects by a wide margin.
Aggregate Base Depth and Compaction
Your aggregate base is doing two jobs simultaneously: distributing load and managing drainage. The depth you specify depends on the soil type identified above, the traffic loading, and the paver thickness you’ve selected.
- Pedestrian-only applications on stable soil: 100–150mm of compacted crushed aggregate (Type 1 or equivalent graded base course)
- Mixed pedestrian and light vehicle use: 150–200mm compacted base — do not reduce this on clay-dominant soils regardless of compaction results at the surface
- Heavy vehicle access or driveways: 200–300mm compacted base with a sub-base layer of larger 40–75mm crushed rock beneath the fine aggregate working course
- All applications: maximum lift thickness of 100mm per compaction pass — compacting thicker lifts in a single pass produces a firm crust over a loose core, which is worse than no compaction at all
Compaction target for the aggregate base is 95–98% of maximum dry density (Proctor standard). Field testing with a nuclear densometer or sand cone test is worth the cost on projects exceeding 50m². The aggregate material itself matters: angular, well-graded crushed stone with a fines content below 5% provides the drainage and interlock that rounded river gravel cannot replicate. River gravel looks similar in the skip but compacts to roughly 15% lower density under equivalent effort.
Bedding Layer Precision for Black Limestone
The bedding layer for midnight black limestone paving sits at the top of your structural system and deserves more attention than it typically receives. A 25–40mm layer of sharp sand — not building sand — compacted and screeded to a consistent level is the industry standard for natural stone over a bound or unbound base. The distinction between sharp sand and building sand is critical: sharp sand has angular particles that resist displacement when a paver is seated; building sand’s rounded particles roll under pressure and allow the paver to creep laterally over time.
For mortar-bed installations — typically specified when dimensional accuracy is paramount or when the installation is over a concrete sub-base — use a semi-dry mortar mix at a ratio of 4:1 (sharp sand to Portland cement). The mix should hold its shape when squeezed but not release water. A wet mortar mix under limestone creates two problems: it can cause efflorescence to migrate to the surface through the stone’s pore structure, and it doesn’t allow the minor adjustability you need to hit your finished levels precisely. Limestone’s formation and pore characteristics explain why moisture management at this interface matters more than it would with a denser igneous material like black travertine or a polished black tile surface.
Laying Pattern and Joint Spacing
Your laying pattern is both an aesthetic decision and a structural one. For midnight black limestone paving supplied in calibrated sizes, a running bond (brick bond) at one-third or half offset provides the best load distribution across joints. A grid bond — all joints aligned — concentrates load transfer at four-corner intersections and is the pattern most likely to produce corner chips on natural stone over time.
- Minimum joint width for external paving: 3mm — this allows for the minor size variation inherent in natural stone even when calibrated
- Standard joint width for most applications: 5–8mm — allows for thermal expansion without risk of paver-to-paver contact in summer peaks
- Maximum recommended joint width for black limestone: 12mm — beyond this, joint fill becomes the dominant visual element and competes with the stone’s character
- Always maintain consistent joint width within ±1mm across runs — inconsistent jointing telegraphs poor laying practice immediately on a dark, uniform surface
Thermal expansion in limestone runs at approximately 8 × 10⁻⁶ per °C. For a 600mm paver in a location that sees 40°C temperature differential between winter and summer, that’s roughly 0.2mm of expansion per paver length — manageable within a 5mm joint without risk of contact. Expansion joints at perimeter edges and at intervals of 4–5m in large paved areas remain essential regardless of the individual joint sizing.
Cutting and Fitting Around Edges and Obstacles
Cutting midnight black limestone paving requires a continuous-rim diamond blade rated for natural stone — segmented blades suitable for concrete will chip the stone’s edge and leave a white calcium carbonate residue along the cut face. A slow, steady feed rate with adequate water cooling produces a clean edge; forcing the cut generates heat that can cause micro-fractures along the cut line that aren’t visible immediately but propagate under load within 12–18 months.
For curved cuts around drainage gullies or circular features, score the cut line with the blade at 3–4mm depth first, then complete the full cut. This technique prevents the blade from wandering across the stone face and maintains edge integrity on the visible side. Keep a spray bottle at hand during dry cutting if wet cutting isn’t practical — the surface should never get hot enough to be uncomfortable to touch during the cut. You can check USGS limestone composition data to understand why calcium carbonate stones respond differently to heat during fabrication compared to siliceous materials.
For our limestone paving collection, calibrated thicknesses mean your cut pieces maintain the same bedding depth as full-format pavers — no shimming required at cut edges, which is a common issue with non-calibrated natural stone.
Jointing and Sealing Black Limestone Paving
Joint filling for external midnight black limestone paving falls into two camps: kiln-dried sand (for flexible unbound installations) and polymeric jointing compound (for bound or high-traffic applications). Kiln-dried sand is swept in and vibrated down — effective but requires periodic top-up as it weathers out. Polymeric sand contains a binder that activates with water, setting firm enough to resist ant colonisation and weed ingress while retaining slight flexibility to accommodate thermal movement.
- Apply jointing compound only when the surface is completely dry — residual moisture under the binder layer prevents proper curing and leaves a grey haze on the stone face
- Use a leaf blower to clear excess sand from the paver surface before activating the binder — any residue on the face will bond and is extremely difficult to remove from limestone without risk of surface damage
- Polymeric sand colour selection matters more on black limestone than on lighter stones — use a mid-grey or charcoal compound to maintain the visual depth of the surface
- First watering of polymeric sand should be a fine mist, not a direct stream — a direct hose stream displaces the compound from joints before the binder has begun to activate
Sealing follows jointing by a minimum of 48–72 hours in moderate conditions (longer if ambient temperature drops below 10°C overnight). For black limestone, use a penetrating impregnator sealer rather than a topical film-forming sealer. Film formers sit on the surface, alter the sheen level in ways that are difficult to predict, and peel under UV exposure. A penetrating sealer bonds within the stone’s pore structure, enhances the depth of colour without changing the surface texture, and lasts 3–5 years before reapplication. Citadel Stone’s technical team advises testing the sealer on an off-cut from the pallet first — limestone porosity varies between consignments, and absorption rate affects the number of coats required.
Handling, Delivery, and Site Logistics
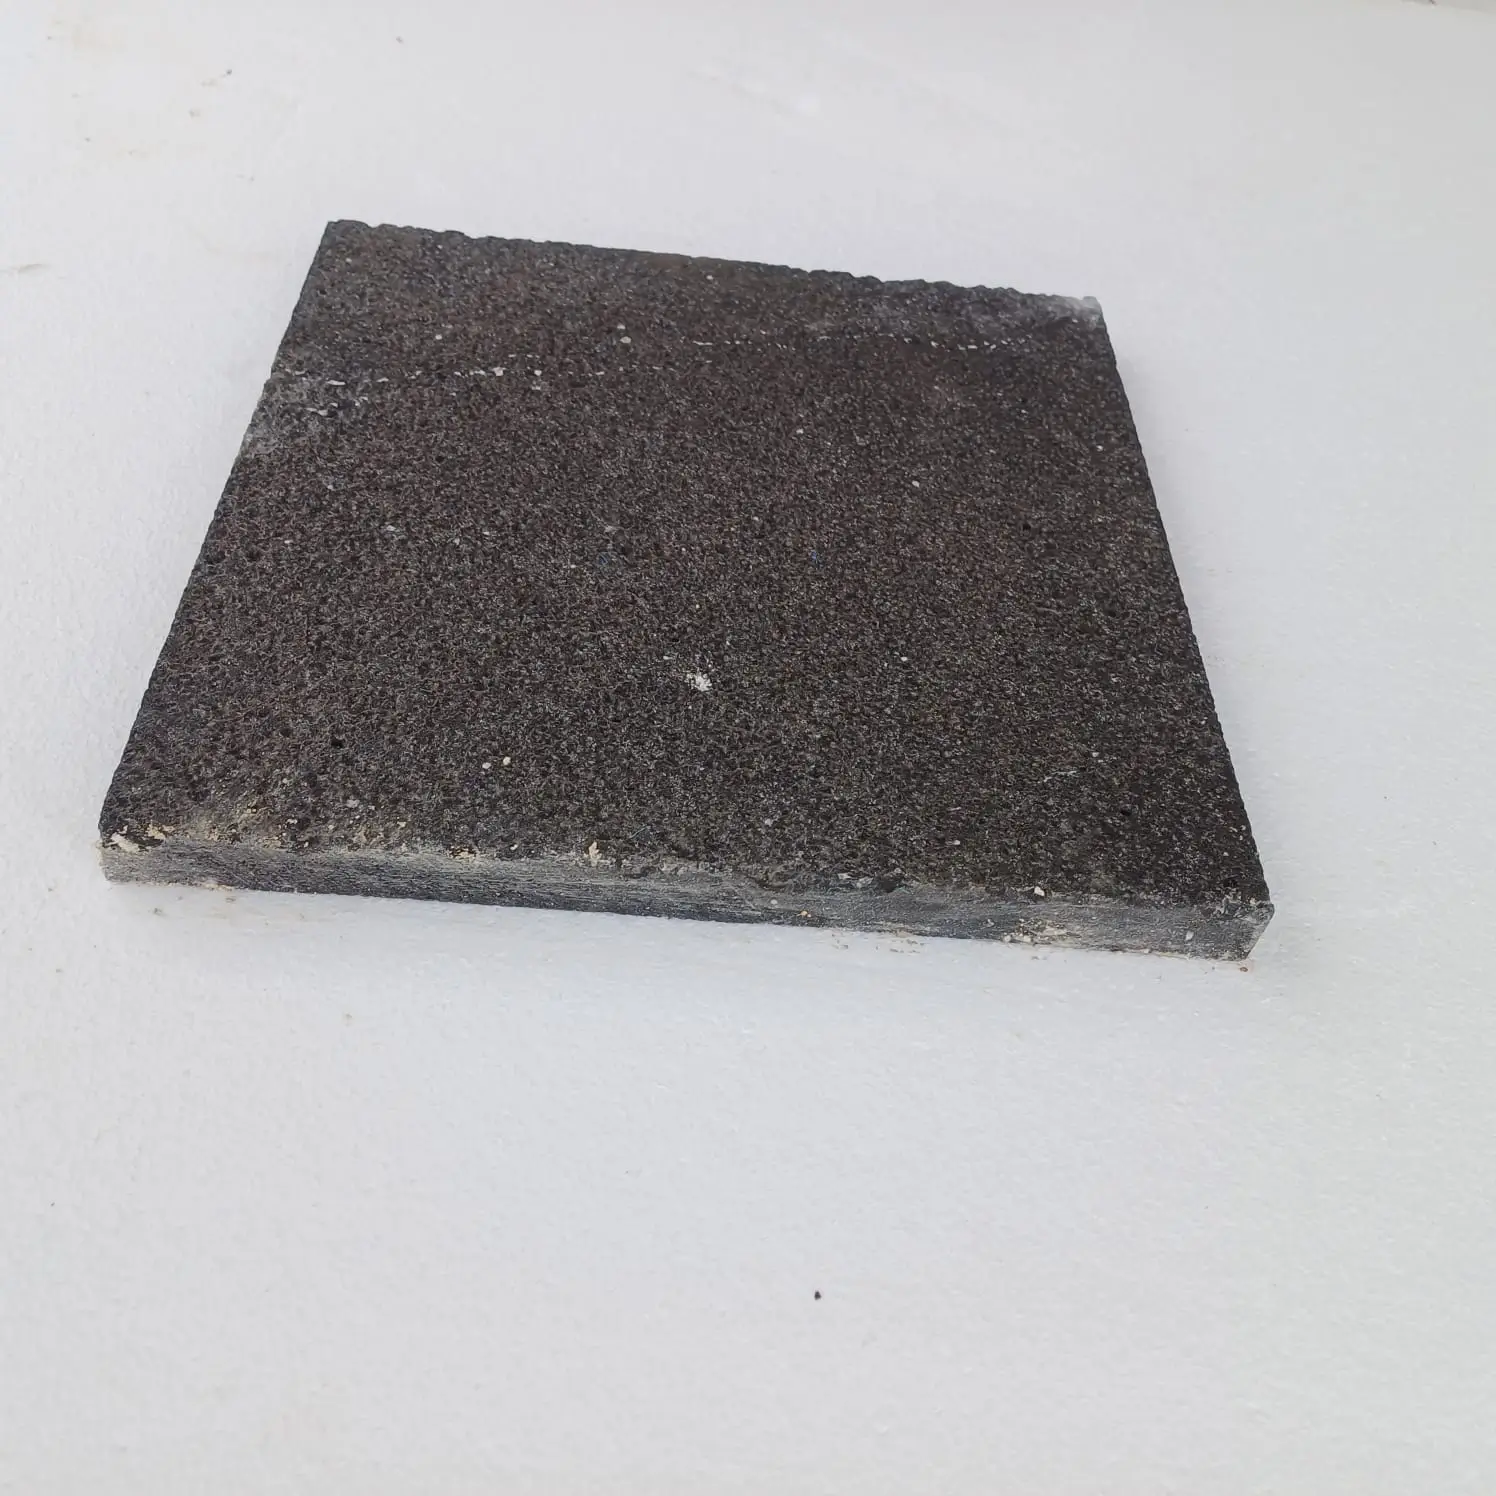
Midnight black limestone paving arrives on pallets — typically 18–22mm calibrated slabs stacked with interleaving foam or card. Your truck access needs to be confirmed before the delivery date, not the morning of. A full pallet of 600×400mm pavers runs 700–900kg; most delivery trucks require a hardstand or driveway capable of supporting 26 tonnes and a turning radius that accommodates an articulated vehicle. If site access is restricted, discuss a hiab-crane delivery or a smaller split delivery with your supplier.
- Store pallets on level ground — tipping a pallet of limestone even 5° can cause the stack to shift and edge-chip the lower courses
- Keep pallet wrapping intact until laying day — UV exposure dries residual quarry moisture from the stone unevenly and can cause temporary colour variation that disappears after sealing but unsettles clients during laying
- Check warehouse stock levels against your project timeline before ordering — lead times from warehouse to delivery run 5–10 business days under normal conditions, but matching batch numbers for large areas requires advance confirmation
- Blend pavers from multiple packs during laying — natural stone colour varies slightly between production batches, and blending ensures the variation distributes evenly rather than appearing in defined zones
At Citadel Stone, we source midnight black limestone directly and hold warehouse stock in uniform pallets, which allows us to match batch numbers across large orders — a detail that matters significantly when you’re covering 100m² or more of a single colour in a residential or commercial setting.
Common Installation Mistakes and How to Avoid Them
The failure modes for black limestone paving are predictable once you’ve seen enough of them in the field. Efflorescence — that white calcium salt deposit that migrates through the stone — is almost always a moisture management problem, not a material defect. It appears when water moves through the bedding layer, dissolves soluble salts, and deposits them on the surface as it evaporates. The fix is drainage, not surface treatment. ASTM standards for natural stone dimension specifications address absorption thresholds that help predict efflorescence risk before you lay a single stone.
- Rocking pavers: caused by incomplete contact between paver underside and bedding — press each paver with a rubber mallet across all four quadrants, not just the centre; a hollow sound at any corner indicates a void that will cause cracking
- Lippage (paver edges higher than adjacent units): results from inconsistent bedding depth or uncalibrated stone — calibrated black limestone eliminates most lippage risk but doesn’t eliminate the need for level checking with a 1.8m straightedge as you lay
- Colour fading or greyness after sealing: typically caused by sealing over moisture — always confirm the stone surface is genuinely dry, not just visually dry, before applying impregnator
- Joint cracking in mortar-set installations: almost always caused by movement in the base below rather than mortar failure — the mortar is a symptom indicator, not the root cause
The detail that catches most installers off guard on their first large black limestone project is how critical straight string lines become at this scale. On a light-coloured stone — or even a honed black tile or black and white marble slab used in a feature panel — a laying line that wanders 2mm over a 5m run is barely perceptible. On midnight black limestone paving, the same deviation creates a visible ripple effect across the surface in low-angle morning or evening light. Set your string lines off a fixed datum — a wall face or existing hardstand edge — and check every third row against the line before proceeding.
Decision Points
The decisions that define a midnight black limestone paving installation don’t happen at the laying stage — they happen at the soil assessment, base specification, and joint-sizing stage, sometimes weeks before a single paver arrives on site. Getting those early calls right means the laying itself is straightforward. Getting them wrong means you’re managing callbacks at year two rather than fielding referrals.
Your specification should confirm subgrade bearing capacity before ordering, match aggregate base depth to actual soil conditions rather than a generic default, and select jointing compound and sealer appropriate for the expected traffic and climate exposure. These aren’t upsells — they’re the decisions that separate an installation that looks the same at year ten as it did at year one from one that becomes a maintenance burden. Projects that combine black limestone with complementary materials — black travertine borders or a black and white marble slab feature panel, for example — follow the same base and jointing principles throughout. For a broader look at how black limestone performs across different formats and finish options, black limestone sizes and finishes covers specification variables worth reviewing before you finalise your order. Sourced direct from quarries in Turkey, the Mediterranean, and beyond, Citadel Stone midnight black limestone paving arrives in uniform pallets for faster laying.
Related reading: black limestone restorer guide · Black Limestone vs Black Granite: Which Performs Better? · Black Limestone Shower Ideas for a Bold Wet Room.