Understanding how to lay travertine pavers correctly starts at the base — and most of the failures you’ll see in the field trace back not to the stone itself, but to aggregate depth and compaction that fell short before a single paver was ever set. Getting the subbase right means understanding your soil’s bearing capacity, not defaulting to a printed depth chart. Clay-heavy ground moves seasonally, and that movement telegraphs directly through a poorly specified base into open joints and rocking pavers within a couple of years.
What Makes Travertine a Distinct Paving Material
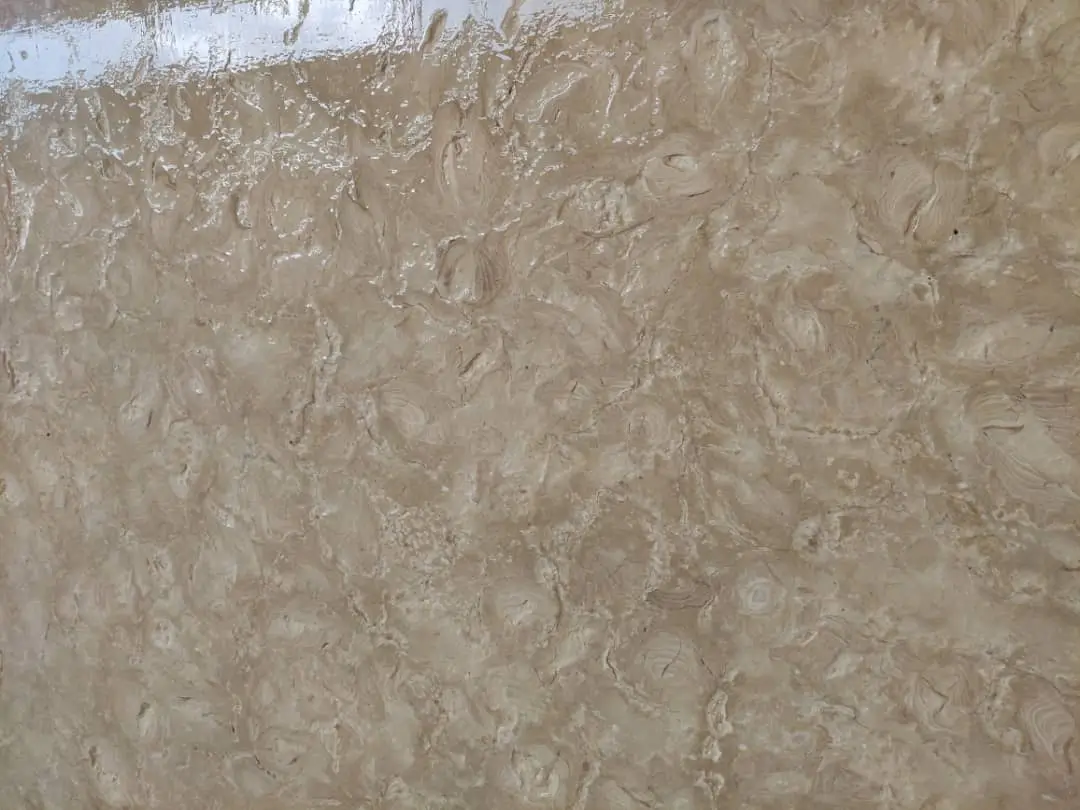
Travertine is a sedimentary carbonate stone formed by the rapid precipitation of calcium carbonate around natural springs and geothermal vents. That origin gives it an open, fibrous internal structure — the characteristic voids you see in cross-section — which separates it mechanically from denser materials like granite or basalt. Those voids affect how the stone absorbs moisture, how quickly it releases heat after sunset, and how the surface responds to different finishing processes.
A honed travertine surface feels meaningfully cooler underfoot than most concrete-based paving alternatives in direct sun. The open pore network actively releases absorbed heat rather than retaining it the way a dense, polished surface does. That thermal behavior is a genuine performance advantage for barefoot outdoor use — but the same porosity means you need a robust sealing program to keep the surface protected from staining and moisture penetration over time. Consult the Natural Stone Institute travertine properties and outdoor suitability for technical context on travertine’s physical characteristics before committing to a specification.
Travertine paver installation base and jointing specifications should be confirmed against the stone’s actual physical test data — not assumed from general stone guidelines. Request the test report from your supplier before writing or approving a specification.
Site Assessment Before You Start
Your site assessment drives every material and depth decision that follows. Start by confirming the existing soil classification — sandy loam, clay, fill, or decomposed granite all behave differently under point loads and through seasonal moisture cycles. A probe rod and a jar test will tell you more than visual inspection alone.
- Check the natural drainage flow across the entire area — water must move away from structures, never pool at low points
- Confirm utility locations before any excavation; travertine paver projects often require deeper cuts than homeowners expect
- Assess existing vegetation root systems that could undermine base compaction over time
- Verify whether the area receives standing water after heavy rain — this changes your base specification materially
- Measure the elevation at all perimeter edges to calculate your finished surface height before excavation begins
Delivery scheduling is a practical constraint that gets overlooked until it causes a problem. Truck access constraints may affect when and how material arrives on site, so confirm driveway clearance, overhead obstacles, and offloading space before the order is placed. Offloading arrangements are confirmed before the delivery date to avoid last-minute changes that delay a project.
Excavation and Subbase Preparation
Excavation depth is not a fixed number — it’s the sum of your paver thickness, your bedding layer, and your compacted aggregate base. Each of those variables depends on the application. A pedestrian patio carries very different point loads than a driveway, and the base depth should reflect that difference rather than a single rule-of-thumb. Knowing how to install travertine pavers properly means sizing each of these layers to the actual load and soil conditions on site, not applying a universal figure.
The aggregate base layer is your primary structural investment. Use a crushed angular aggregate — not rounded river gravel, which doesn’t compact and interlock the way angular material does. Compact in lifts no thicker than four inches, checking each lift with a plate compactor before adding the next. Skipping compaction lifts to save time is the most common field error on residential travertine projects, and it shows up as differential settlement within the first two seasons.
- Angular crushed aggregate compacts into a mechanically stable matrix; rounded stone does not interlock and stays mobile
- Each compaction lift should be checked for density before the next lift is added — never compact a thick single layer
- The subbase must be graded to your finished drainage slope before any bedding material is placed
- Where clay soils exist, a geotextile fabric between native soil and aggregate prevents migration and base contamination over time
Bedding Layer Options for Travertine Paver Installation
The bedding layer sits between your compacted aggregate base and the paver itself — its job is to provide a level, workable surface for final positioning and to accommodate minor height adjustments. You have two primary options for how to lay travertine pavers in terms of bedding: a dry-set sand bed or a full mortar bed.
Dry-set on coarse concrete sand is the standard approach for residential patios and most pedestrian applications. The sand layer should be screeded to a consistent depth — typically one inch — and never over-prepared to the point where footsteps compress it unevenly before pavers are placed. A common field mistake is screeding the sand too early and then walking it out of level trying to reach distant areas.
- Coarse concrete sand screeds cleanly and drains well through the joint profile — avoid fine masonry sand, which compresses unevenly
- Mortar bed setting is appropriate for surfaces with higher point loads, areas near water features, or where the subbase has any remaining irregularity
- A full mortar bed eliminates differential settlement risk but makes future paver removal for utility access significantly more difficult
- Hybrid systems — spot mortar on an otherwise sand bed — are used for perimeter courses and cut pieces where edge stability matters more
For travertine paver installation in wet environments like pool surrounds, a full mortar bed is typically the correct specification. The ASTM C1527 travertine dimension stone standard specifications provide the test framework for evaluating travertine material compliance before it goes into a mortar-set application.
Laying Pattern and Design Integration
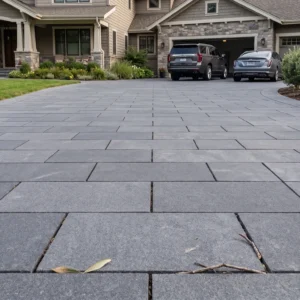
The layout pattern affects structural performance as much as it does aesthetics. A running bond distributes point loads across more joint intersections than a grid pattern, which concentrates stress at uniform cross-joints. For most travertine paver installations, running bond or a modified herringbone is preferable on structural grounds alone.
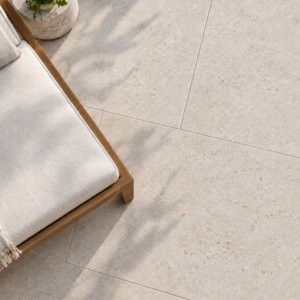
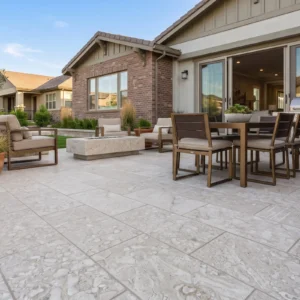
Travertine’s warm, cream-to-walnut color range makes it exceptionally versatile across landscape design styles. A tumbled-finish noche travertine paver reads naturally in a desert xeriscaping context — the earthy variation and matte texture harmonize with gravel mulch, agave, and low-water plantings without any deliberate design intervention. The same material in a larger format with a honed finish works cleanly in modern minimalist settings where the goal is visual restraint and long horizontal lines. Your layout pattern should reinforce whichever design direction the surrounding landscape takes.
Explore the full range of colors and finishes when you plan your project — Travertine Pavers covers the product options available through Citadel Stone for both residential and commercial applications.
Cutting and Edge Coursework
Perimeter and transition cuts define the finished quality of the installation more than any other single detail. Plan the layout from the most visible edge inward so that cut pieces fall at boundaries where they’ll be least prominent — under furniture, against structures, or at garden bed edges. Never center the layout from a wall and let the cut pieces fall at the primary view line.
- Use a wet-cut diamond blade sized for the paver thickness — travertine cuts cleanly when the blade is wet and the feed rate is controlled
- Support the full underside of the paver during cutting; travertine can fracture along natural void lines if the cut piece is unsupported
- Edge soldiers and border courses often need to be mortar-set even in a dry-set field installation to keep the perimeter stable under lateral loading
- Allow adequate time between cutting and setting — freshly cut travertine edges can have residual calcium dust that reduces mortar bond if the stone isn’t cleaned before setting
Jointing and Polymeric Sand
Joint filling is the step that most installations under-specify and under-execute. The joint width you choose affects both appearance and drainage performance — narrow joints look refined but leave less room for sand compaction and are more vulnerable to weed ingress in uncovered outdoor settings. A joint width between three-eighths and five-eighths of an inch is the practical working range for most residential travertine paver projects.
Polymeric sand has largely replaced plain sand for exposed outdoor joints because it activates with water to form a semi-rigid matrix that resists ant and weed intrusion without becoming fully rigid and cracking under movement. The correct application sequence matters: sweep in dry, compact, sweep again, compact again, then activate with a fine mist — not a heavy spray that washes the sand below the surface. Applying polymeric sand in direct midday sun accelerates the set too fast and causes surface hazing that bonds to the stone face.
- Sweep polymeric sand into joints in multiple passes — one pass rarely fills the full joint depth, especially in voids-filled travertine where sand settles into surface texture
- A plate compactor with a rubber pad protects the travertine face during final compaction passes
- Leave the surface bone-dry before activating with water — any surface moisture during sweep-in causes premature bonding at the paver face
- Re-inspect joints after the first heavy rain; settling is normal, and a second-pass topdress within the first season keeps joints stable long-term
Sealing Travertine Pavers
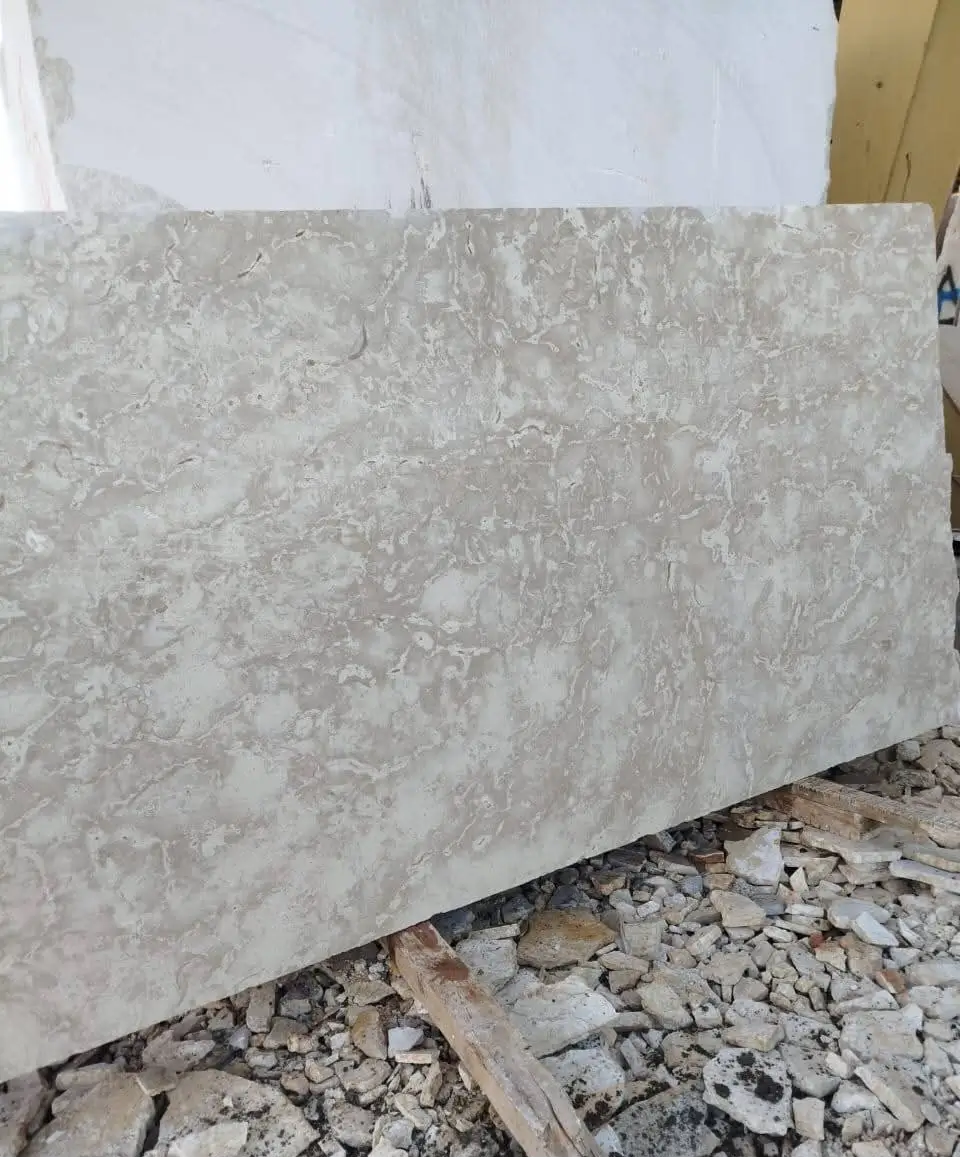
Sealing is not optional for travertine in exterior applications — it’s the step that protects the investment the stone represents. Travertine’s open pore structure makes it highly absorbent relative to denser materials, which means oil, tannins from leaves, and iron-bearing water can stain deeply if the surface is left unsealed. A penetrating impregnator sealer is the correct product class for outdoor travertine; topical coatings trap moisture and fail at exposed outdoor joints.
Apply the first coat of sealer after all joints are cured and the surface is clean and dry. Most penetrating sealers require two coats on travertine to achieve adequate coverage depth — apply the second coat while the first is still slightly tacky so the layers bond rather than sitting independently. The reapplication interval depends on the specific product; follow the sealer manufacturer’s stated interval rather than a generic recommendation. Heavy-traffic areas and south-facing surfaces in high-UV climates typically need resealing sooner than shaded or lightly used areas. According to USGS limestone and travertine natural mineral formation, travertine’s calcium carbonate composition and pore geometry are what drive this elevated maintenance requirement compared to igneous alternatives.
Installing Travertine Pavers Near Water Features
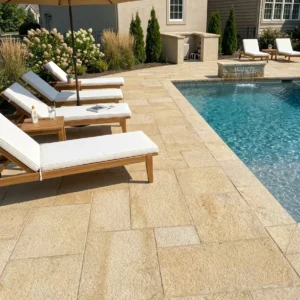
Travertine around pool decks, water features, and wet-zone transitions requires attention to two installation details that don’t apply in standard dry-area work: drainage slope and mortar bed specification. The surface must direct water consistently away from the pool coping edge and toward deck drains — any area that holds standing water after rain will accelerate joint deterioration and surface staining from calcium deposits.
Installing travertine pavers in wet zones means your bedding specification changes. A mortar-set system over a waterproofed substrate is the correct approach for pool surrounds, while a dry-set system over compacted aggregate is adequate for adjacent patio areas that drain freely. The transition between these two systems needs an expansion joint — without it, differential movement between the rigidly bonded pool surround and the flexible patio field will open a crack at the boundary within a few seasons.
- Coping pieces at pool edges should be back-buttered individually regardless of the field-setting method — edge pieces carry lateral loading that requires full mortar contact
- Select a travertine finish that suits wet-zone use — a tumbled or brushed surface leaves a more open, matte texture than a polished or honed alternative
- Test joint grout compatibility with any pool chemistry before specifying — some polymer additives degrade under sustained chlorine contact
- Slope drainage away from the pool equipment pad as well as away from the pool edge — equipment areas are often neglected in patio drainage design
Getting Your Travertine Paver Specification Right
The quality of a travertine paver installation is determined before the first stone is placed. Base depth, compaction lifts, drainage slope, bedding choice, and sealing protocol together define whether the finished surface performs well through years of seasonal movement and weather exposure. Shortcuts at any of those stages show up later as settlement, joint failure, or staining — problems that are expensive to correct after the fact. Noche travertine pavers, ivory travertine, and other color variants all follow the same installation logic; the finish and color selection affect aesthetics and maintenance frequency, not the underlying base and jointing requirements.
At Citadel Stone, We quarry and cut travertine at our selected quarries in the Middle East. and cut material to order against the specification your project requires — which means dimensions, thickness, and finish are confirmed before the stone leaves the source, not adjusted on arrival. Lead times are quoted with the order so your project schedule can be planned around actual production and delivery windows rather than assumed availability. Your project may also benefit from stone in other interior applications — large format stone tiles for bathrooms covers how Citadel Stone materials translate from outdoor hardscape into interior wet-area specification. Proper slope for drainage is a detail Citadel Stone highlights as critical during travertine paver installation.
Related reading: How to Seal Travertine Pavers the Right Way · Travertine Paver Cost per Square Foot Explained.