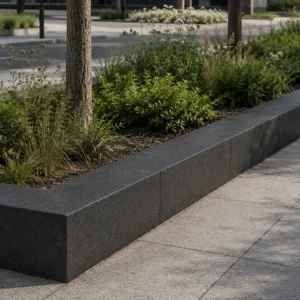
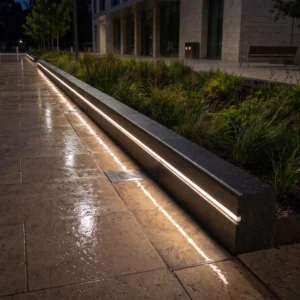
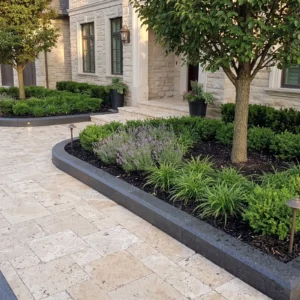
Granite landscape edging installation rewards the specifiers who treat base preparation as seriously as material selection — get the sub-grade wrong and even the best stone will migrate, tip, or heave within a season or two. The real performance gap between a ten-year border and a twenty-five-year one isn’t the granite itself; it’s the compacted gravel bed depth, the trench geometry, and the drainage path that keeps hydrostatic pressure from building behind each piece. Understanding those variables before you break ground is what separates a professional result from one that needs constant resetting.
Why Granite Works So Well for Landscape Edging
Granite’s compressive strength — typically ranging from 19,000 to 28,000 PSI depending on the quarry source — makes it one of the most durable options available for permanent border definition. According to Natural Stone Institute granite durability and application specifications, granite’s low absorption rate (generally below 0.4%) means freeze-thaw cycling causes minimal internal damage over decades of exposure. That’s the physical reason granite landscape edging outlasts concrete, composite, and most other landscape borders in demanding conditions.
Your design also benefits from granite’s dimensional stability. Unlike softer sedimentary stones, granite doesn’t erode at the edges under repeated lawn-mower contact or foot traffic, so the crisp line you set on day one holds its geometry year after year. Pink granite landscape stone offers an additional aesthetic dimension — the warm rose tones read beautifully against dark mulch and green groundcover, giving borders a visual weight that painted concrete borders simply can’t replicate.
Tools and Materials You Need Before Starting
Showing up to a granite landscape edging installation without the right prep inventory is one of the most common reasons jobs stall mid-trench. Pull this list together before your stone arrives on the truck — you don’t want to be sourcing compactable gravel or a dead-blow mallet on the day of install.
- Spade and flat-bottomed trenching shovel for clean trench walls
- Plate compactor or hand tamper rated for granular base work
- Compactable crushed aggregate (3/4-inch minus or crusher run) — minimum 4 inches for residential edging, 6 inches in clay-heavy or high-moisture soils
- Rubber mallet or dead-blow mallet — steel hammers will chip granite faces
- Mason’s line and stakes to establish grade and alignment before any piece is set
- 24-inch level and a torpedo level for individual piece adjustment
- Tape measure and marking paint
- Landscape fabric (optional but recommended for weed suppression behind the border)
- Coarse sand — 1-inch bedding layer on top of compacted aggregate for fine-tuning piece height
- Safety glasses and gloves rated for stone handling
Verify warehouse stock levels for your chosen granite edging pieces before you schedule the installation crew. Lead times vary depending on piece size and color, and a gap between trench-open and stone-arrival creates scheduling problems that compress your installation window.
Site Preparation and Layout
Your layout quality determines everything that follows. Stake your border line first using mason’s line stretched tight between two stakes — any sag in the line introduces a curve you didn’t intend. For curved borders, a garden hose lays out a natural arc; photograph it from above before you start digging to preserve the line if the hose shifts during excavation.
Trench depth needs to account for three separate layers: your compacted base, your bedding sand, and the granite piece height, with the finished top of the edging sitting 1 to 1.5 inches above the adjacent lawn grade. For standard 4-to-6-inch-tall granite landscape edging, you’re typically digging 8 to 10 inches deep. Wider or taller architectural pieces require deeper trenches — calculate backwards from your desired finished height and don’t shortcut the base depth to compensate.
- Trench width should exceed the edging piece width by 2 to 3 inches on each side to allow backfill compaction
- Trench walls should be as vertical as possible — sloped walls allow base material to shift laterally
- Remove all organic material from the trench bottom before adding base aggregate
- If you encounter heavy clay at the trench bottom, add an extra inch of base aggregate and ensure you create a drainage outlet at the low end of the run
Base Preparation: The Layer That Determines Longevity
The compacted aggregate base is where most granite landscape edging installations either succeed or fail long-term. Four inches of 3/4-inch minus crusher run, compacted in two separate 2-inch lifts, gives you a stable, non-shifting platform that resists both frost heave and soil settlement. Skipping the two-lift approach and compacting four inches in one pass leaves the lower zone incompletely consolidated — you’ll see pieces migrating outward within two to three seasons.
Moisture content matters during compaction. Crusher run compacts most effectively at roughly 10 to 12% moisture — dry material won’t consolidate properly, and saturated material compacts unevenly. If the aggregate is dusty-dry, mist it lightly before each compaction pass. If it’s sitting in standing water after a rain event, wait until it drains before proceeding.
ASTM C615 establishes the quality benchmarks that granite dimension stone must meet — knowing your material conforms to ASTM C615 granite dimension stone quality standards gives you confidence that the stone’s physical properties will hold up over the design life of the installation. The base, however, is entirely field-controlled — no standard substitutes for proper compaction technique.
Drainage and Water Management Behind Your Edging
Drainage design deserves dedicated planning in any granite landscape edging installation, particularly in regions that experience heavy rain seasons, monsoon cycles, or concentrated storm events. Water that pools behind an edging run builds hydrostatic pressure that gradually pushes pieces outward — the failure mode looks like settlement or frost heave, but the root cause is often water that never had a path to escape.
For runs longer than 20 feet on relatively flat grades, plan a low-point outlet. This can be as simple as a deliberately unsealed gap between two edging pieces at the low end of the run, allowing trapped water to escape into an adjacent planting bed or drainage swale. In high-precipitation environments, consider embedding a 4-inch perforated drain pipe behind the edging run, pitched at minimum 1% grade toward your outlet.
- Backfill immediately behind the edging with coarse washed gravel rather than native soil — it drains freely and won’t compact around the pieces during wet cycles
- In freeze-thaw regions, good drainage is the single most effective frost-heave prevention measure — saturated soil expands significantly more than well-drained soil during freeze events
- Drought cycles followed by heavy rain events create rapid soil volume changes; the same free-draining backfill that handles heavy rain protects against this cycle
- Slope the finished grade behind the edging slightly away from the border to direct surface runoff away from the base
At Citadel Stone, we specifically recommend the coarse gravel backfill approach to customers in areas with varied precipitation patterns — it’s the single highest-value drainage improvement that requires no additional infrastructure and costs almost nothing extra relative to standard backfill.
Setting Granite Edging Pieces Step by Step
Start setting pieces from a fixed reference point — typically a corner, a driveway edge, or another hard landscape element. Pull your mason’s line taut at the desired finished face height and use it as a continuous reference as you work down the run. Each piece gets set onto the bedding sand layer, tapped to final height with the rubber mallet, and checked with the level before you move to the next piece.
Face alignment matters as much as height. Step back every four or five pieces and sight down the run from a low angle — small misalignments that are invisible when you’re kneeling next to the work become obvious from 10 feet away at eye level. Correct them while the sand is still loose; re-leveling a piece after you’ve backfilled and compacted is a significant amount of rework.
For curved sections, set pieces with a slight toe-out on the outside of the curve. The gap between pieces at the face should be no more than half an inch — wider gaps compromise the visual line and allow soil to migrate through. Explore our granite landscape edging pieces to see the dimensional range available, which directly affects your joint-spacing options on tight curves.
- Never set pieces directly on the compacted base without the bedding sand layer — fine-tuning height is nearly impossible without it
- Keep bedding sand dry during setting; wet sand compresses unpredictably under the mallet
- For pieces heavier than 40 pounds, use two-person lifts — straining to position heavy pieces causes uneven placement and compresses the sand unevenly
- Check level both along the length of each piece and across its width — a piece that’s level side to side but tilted front-to-back will migrate forward over time
Backfilling and Compacting the Finished Border
Backfilling is the stage where impatience creates problems that take seasons to manifest. Add coarse washed gravel in 2-inch lifts behind each set piece, hand-tamping each lift before adding the next. The goal here is consolidating the gravel around the piece without disturbing its set position — a plate compactor running parallel to a freshly set granite landscape edging run will vibrate pieces out of alignment if it passes within 12 inches of the face.
The final backfill lift on the lawn side should be native topsoil brought to finished grade, feathered gently against the edging face so that turf can establish flush with the stone top. Leave half an inch of stone face exposed above final grade to maintain a clear visual separation between lawn and planting bed — this also protects grass root zones from encroachment without requiring chemical edging maintenance.
Finish and Color Considerations for Granite Landscape Stone
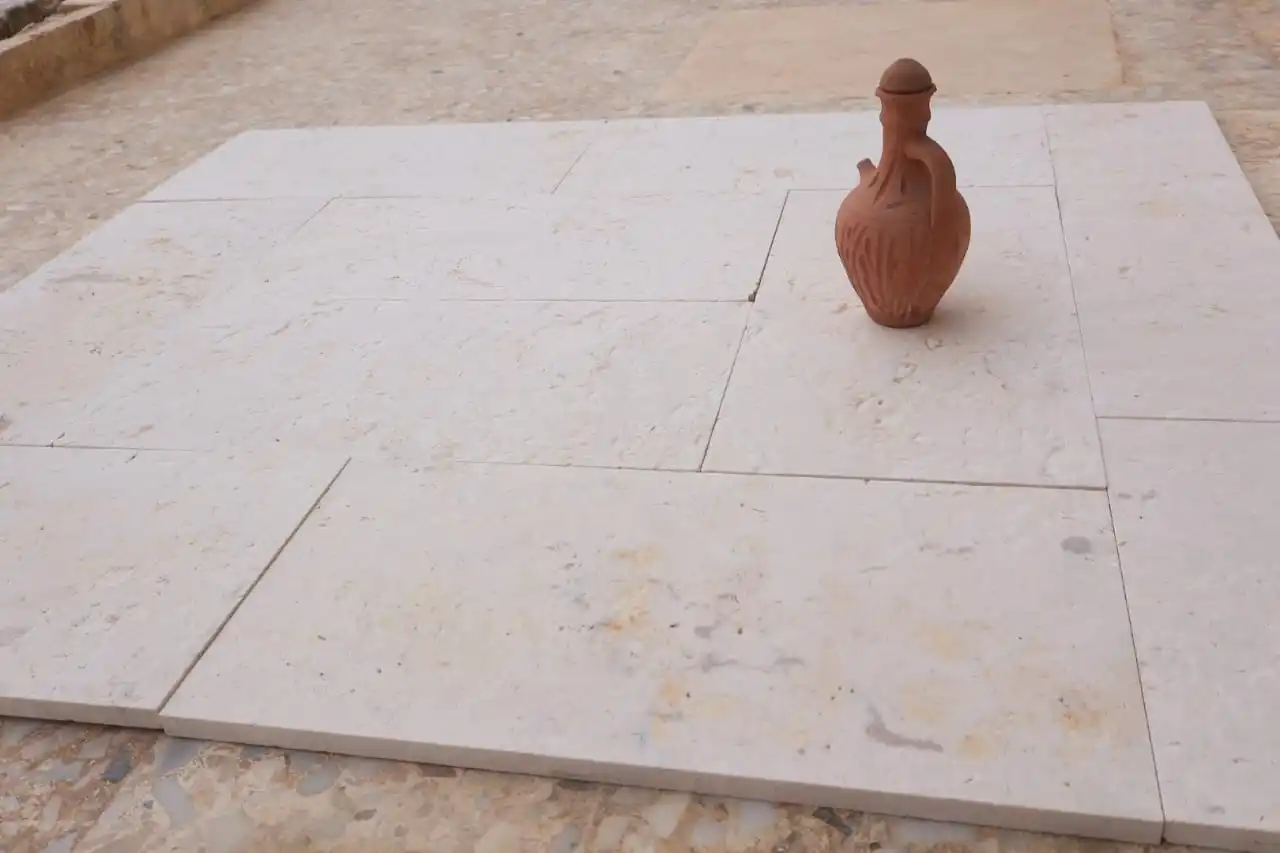
Pink granite landscape stone introduces a warm undertone that reads differently across seasons — in summer against green turf it’s subtle and elegant, but in winter against snow or dormant grass, those rose tones become the dominant color in the landscape. Factor that into your design decision before committing to a full border run. Pairing pink granite landscape stone with neutral-toned mulch (dark brown or black) creates a contrast that makes the border definition pop without looking competitive with planted material.
Surface finish also affects long-term appearance. A natural split or rough-picked face sheds water and debris more effectively than a smooth-sawn face, which tends to collect a film of organic material along the bottom edge over time. For high-visibility borders near entry features or formal garden areas, a light thermal finish gives a consistent texture without the slipperiness of a polished surface. Grey and charcoal granite tones offer a cleaner contemporary look when design intent calls for minimal visual contrast between stone and surrounding hardscape.
According to USGS granite production and construction use statistics, granite remains one of the most widely quarried dimension stone categories in the country, which supports consistent availability across a broad range of sizes, finishes, and color bands. That supply consistency matters when you’re specifying a long border run and need pieces from the same quarry batch to match in tone and texture.
Common Mistakes That Cost You Later
Here’s what most installers get wrong the first time they work with granite landscape edging installation at scale: they underestimate how much the base compaction specification matters relative to the surface details. A perfectly aligned run of premium granite sitting on an inadequate base will be a poorly aligned run within two seasons. The granite itself is almost never the failure point — the base and drainage always are.
- Skipping the second compaction lift on the aggregate base — a single 4-inch pass leaves the lower zone loose
- Using native soil as backfill directly behind the edging — it expands and contracts with moisture, moving pieces with it
- Setting pieces with joints wider than half an inch on straight runs — wider joints migrate and allow weeds to establish between pieces
- Failing to plan a drainage outlet on runs longer than 20 feet — hydrostatic pressure buildup is slow but relentless
- Using a steel hammer instead of a rubber or dead-blow mallet — granite will chip at the top corner under a direct steel impact
- Ordering material without confirming warehouse availability and lead times — a gap between trench preparation and stone delivery exposes the open trench to weather and settlement
Ordering, Logistics, and Project Planning
Calculate your linear footage first, then add 8 to 10% for cuts, breakage, and the inevitable piece that doesn’t meet your quality standard when it arrives off the truck. For a 100-foot border run using standard edging pieces in the 10-to-12-inch length range, you’re looking at roughly 100 to 120 pieces depending on your joint spacing. Piece weights are typically quoted per ton or per pallet, so confirm the conversion rate with your supplier before finalizing your order quantity.
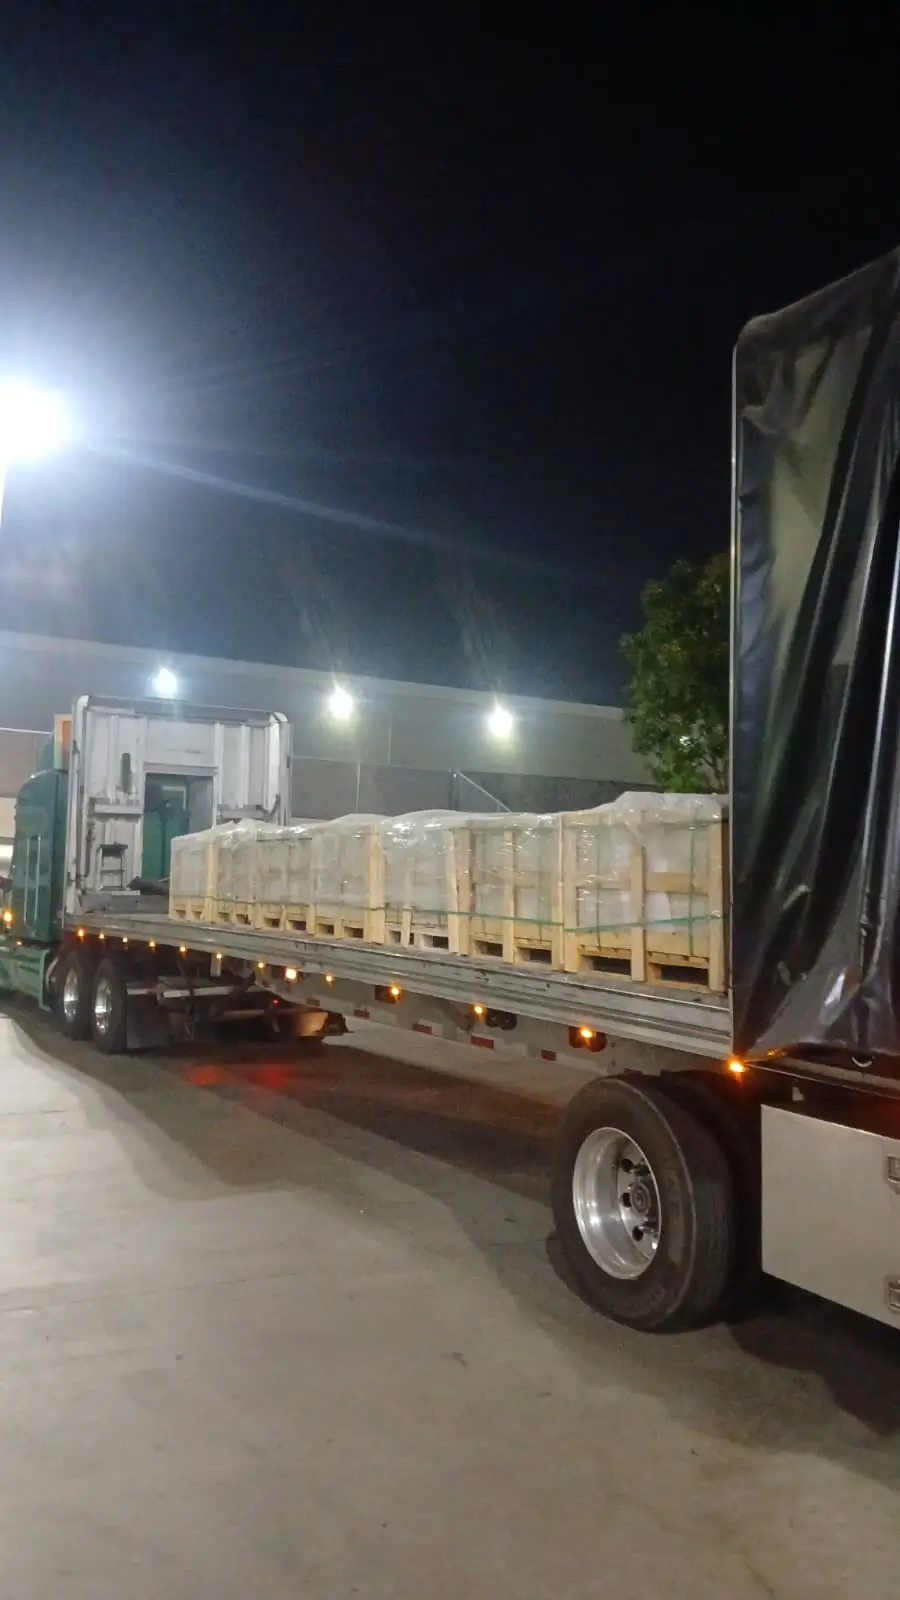
Citadel Stone ships granite landscape edging nationally, and warehouse inventory levels fluctuate seasonally — spring demand peaks between March and May across most of the country, compressing lead times. Placing your order 3 to 4 weeks before your planned install date gives you adequate buffer without leaving stone sitting exposed on your job site. Your truck access conditions also matter: confirm whether your delivery location can accommodate a standard flatbed or whether a boom truck is needed for backyard drops, since that affects delivery scheduling and cost.
Getting Your Granite Landscape Edging Installation Right
Granite landscape edging installation done right is genuinely a set-it-and-forget-it project — the material’s physical properties mean you’re not dealing with rot, corrosion, UV degradation, or significant weathering over a 20-to-30-year horizon. The work that determines that outcome happens below the surface, in the base preparation and drainage design, not in the pieces themselves. Get those layers right and the granite does the rest. If you’re also considering larger natural stone elements for your property, granite landscape rock selection guidance covers how boulder-scale and accent-stone choices integrate with refined edging runs for a cohesive hardscape design.
Your finished border should hold grade within a quarter inch across its entire run after the first seasonal cycle — that’s your quality benchmark to measure against in spring. Minor surface cleaning with a stiff brush and occasional inspection of joint integrity at the end of each season is all the maintenance the installation needs. When anchoring granite edging against frost heave, Citadel Stone recommends setting pieces on a compacted gravel base to maintain crisp borders through seasonal ground movement.
Related reading: crushed granite landscape guide · landscape rocks decomposed granite · front yard decomposed granite landscape design.