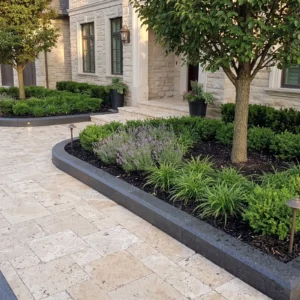
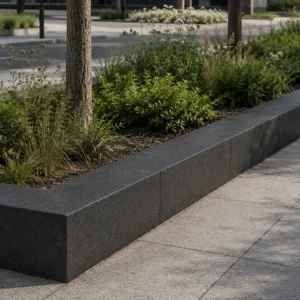
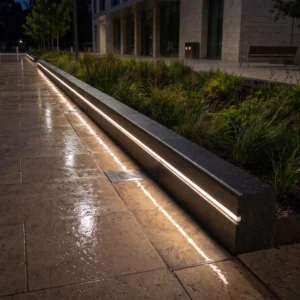
Edging stone installation demands more precision than most project planners expect — the difference between a crisp, stable border that holds for two decades and one that shifts after the first hard frost comes down to decisions made before a single stone is set. Your base depth, spike spacing, and stone weight all interact in ways that compound over time, and getting any one of them wrong accelerates failure across the entire run. This walkthrough covers every variable that actually matters in the field, in the sequence you’ll encounter them on site.
Why Base Preparation Determines Everything
Your edging is only as stable as the material beneath it. A poorly compacted sub-base allows differential settlement — where one section sinks faster than another — creating the wavy, irregular borders that require full reinstallation rather than a quick repair. The standard recommendation of 4 inches of compacted aggregate base is a minimum, not a target. For borders adjacent to driveways or areas that receive vehicle overhang, bump that to 6 inches.
Trench width matters too. You’ll want your trench at least 2 inches wider than the edging stone’s base dimension on each side. That extra material gives you room to backfill and compact properly against the stone face, which is what actually transfers lateral load into the earth rather than letting the stone rock. Skipping this step is the single most common cause of edging rotation you’ll see in residential installations.
- Dig your trench to the depth of your base aggregate plus the full stone height, minus the exposure height you want above grade
- Compact the sub-base soil before placing any aggregate — a plate compactor makes two passes minimum
- Use clean crushed stone (not pea gravel) for the base layer — angular particles interlock and resist movement
- Screed a 1-inch bedding layer of coarse sand over the compacted aggregate for final height adjustment
- Check for soft spots by pressing the heel of your boot into the trench floor — any give means more compaction is needed
Understanding Paver Edging Spikes: What the Specs Don’t Tell You
Paver edging spikes installation is one of those topics where the printed instructions get you halfway there and field experience fills in the rest. The standard spec calls for spikes at 12-inch centers, driven through the flange of a plastic restraint into the aggregate base — but that spacing assumes a uniform, well-compacted base and level terrain. On sloped runs or in areas with expansive clay soils, you’ll want to tighten that to 8-inch centers, especially at corners and grade transitions where lateral forces concentrate.
Spike length is the other variable that gets under-specified. Most contractors default to the 10-inch spike included in restraint kits, but in loose or sandy base conditions you need 12-inch spikes to reach consolidated material and actually anchor the restraint. Check what’s below your aggregate layer before you finalize your spike order — driving a 10-inch spike into soft native soil below a shallow base accomplishes very little. The ASLA landscape edging and border stone design guidance reinforces the importance of matching restraint systems to underlying soil and drainage conditions, which directly affects your spike selection.
- Use a hand sledge or rotary hammer with a spike-driving attachment — avoid standard hammers that bend spikes before full depth
- Drive spikes at a slight inward angle (5–10 degrees toward the paved surface) to resist outward migration
- Never leave gaps at end joints — butt restraint sections tight and spike within 2 inches of each joint
- In freeze-thaw regions, use stainless or hot-dipped galvanized spikes to prevent corrosion-driven heave
Selecting the Right Edging Stone for Your Application
Your stone selection drives every downstream decision in the installation sequence. Stackable edging stones — the type designed to course vertically for raised borders or tiered beds — have different base requirements than flat, surface-set border stones. Stackable units need a wider base trench because their center of gravity sits higher, and they’re more sensitive to base settlement that creates lean over time.
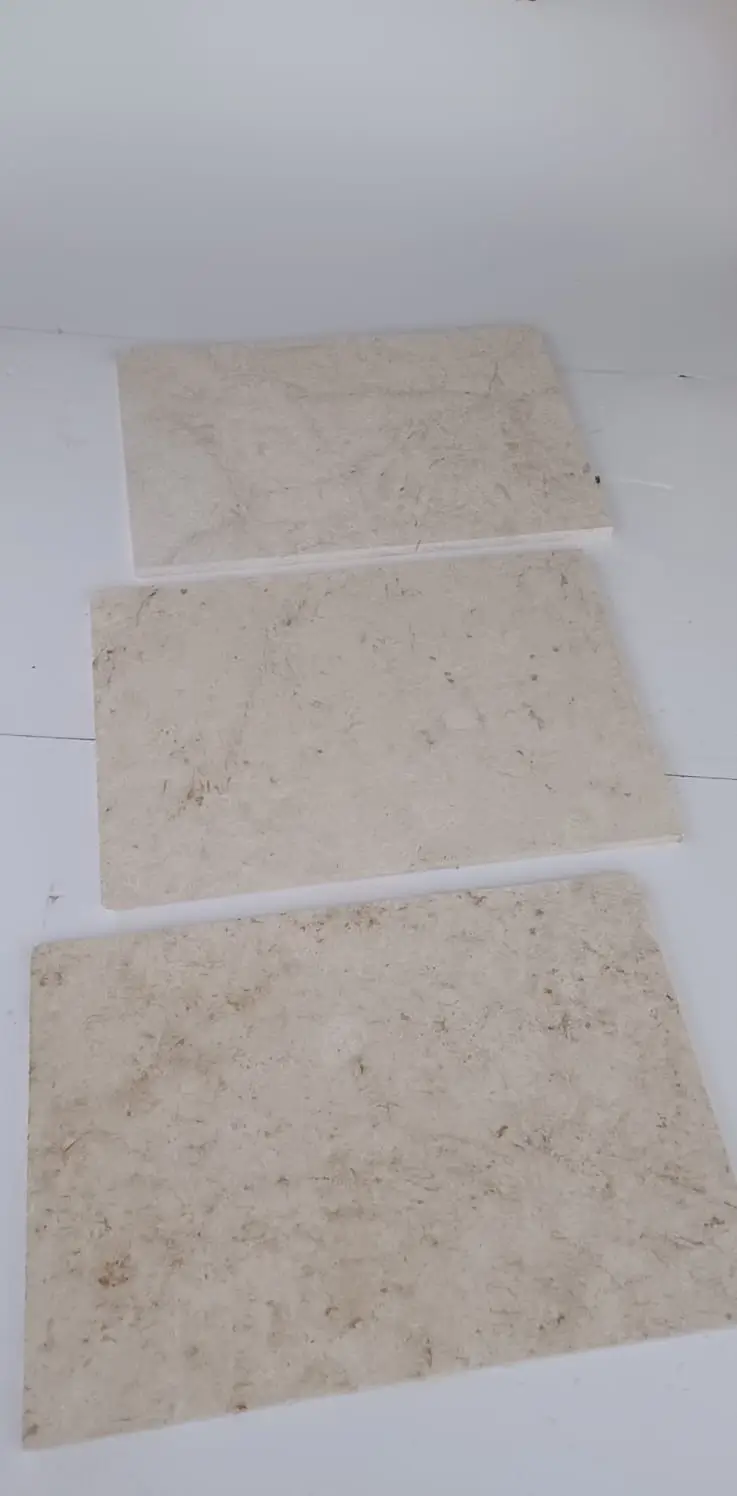
Natural stone edging pavers in the 3-to-4-inch thickness range handle most residential border applications cleanly. Thinner units (under 2 inches) look sharp on paper but fracture under mowing equipment contact and edge trimmer impact more readily than the spec sheets suggest. For high-traffic borders — around driveways, along active garden beds that get heavy equipment access — stay at 3 inches minimum and consider a slightly recessed set height that keeps the stone below mower blade travel.
Density matters for freeze-thaw performance. Denser, lower-porosity stones absorb less water and consequently experience less spalling when that water expands during freezing cycles. According to USGS granite curbing and kerb stone dimension stone data, granite and dense limestone consistently outperform softer sedimentary options in high-cycle freeze-thaw environments — worth factoring in when you’re specifying for cold-climate projects.
- Granite edging: highest density, excellent freeze-thaw resistance, handles heavy mechanical contact
- Limestone edging: excellent aesthetics, slightly higher porosity, seal annually in wet climates
- Basalt edging: dense and consistent, ideal for contemporary or dark-palette designs
- Sandstone edging: softer, best suited to light-use garden borders away from vehicle or equipment traffic
Layout, String Lines, and Grade Control
String lines are non-negotiable for runs longer than 10 feet. Your eye will always convince you that a line is straight when it isn’t — a taut mason’s line staked at both ends reveals the subtle bows and grade variations your visual assessment misses. Set two string lines: one for horizontal alignment and one clipped at your target finished height. Every stone gets checked against both before it’s bedded.
Grade matters more than most homeowners expect. Edging that sits perfectly level looks fine in isolation but creates drainage problems over time — water pools against the border instead of sheeting away from the paved surface. A 1–2% cross-slope away from hardscape runs keeps drainage moving and reduces hydrostatic pressure against your edging’s inside face. Use a digital level or slope gauge on every tenth stone, not just at the endpoints.
For curved runs, use offset stakes and a flexible string or hose to establish your arc before digging. Cutting curves into already-excavated trenches produces uneven base widths and inconsistent stone spacing — always define your arc first, then excavate to it. This is especially critical with installing edging stones in natural stone, where each unit has slight dimensional variation that compounds across a curve if your reference line isn’t precise.
Code Requirements and Structural Considerations for Edging Projects
Most residential edging stone installation projects don’t trigger permit requirements on their own, but that changes when edging is part of a retaining element, a shared boundary structure, or a surface that feeds drainage into a public easement. Before you finalize your specification, it’s worth a quick verification with your local building department — particularly for any stackable edging stones configured to retain more than 12 inches of grade change, which many jurisdictions classify as a retaining wall requiring engineered design.
Frost line depth is the code variable that most directly affects your base specification. Jurisdictions in cold-climate zones require foundations for permanent hardscape elements to extend below the frost line — which can range from 12 inches to over 48 inches depending on geography. Even if edging isn’t classified as a structure, following frost line depth recommendations for your base compaction zone prevents the heave cycles that walk edging out of position over successive winters. Your local building code will specify the design frost depth for your region.
Edge restraint systems used in commercial or municipal projects often need to meet specific load-bearing and lateral containment standards. The ASTM stone compressive strength and durability standards for kerb stones provide the framework for specifying stone that meets compressive strength requirements when edging must also function as a wheel stop or vehicle barrier. For residential projects, these standards still give you a useful benchmark — a stone meeting ASTM minimums for kerb use is substantially overbuilt for a garden border, which is exactly the margin of safety you want.
- Check local frost depth tables before finalizing your base depth specification
- Verify whether grade-change edging in your jurisdiction classifies as a retaining structure
- For shared-boundary applications, confirm property line setback requirements before installation
- Municipal right-of-way edging near sidewalks or curbs typically requires a permit regardless of scale
Setting and Bedding Your Edging Stones
Your bedding layer is where fine-tuning happens. A 1-inch coarse sand layer lets you adjust individual stone height by adding or removing material before the stone is locked by backfill. Don’t use fine masonry sand — it migrates under load and lets stones sink unevenly over the first season. Coarse concrete sand (ASTM C33 specification) holds position while still allowing the hand-adjustment you need during layout.
Set each stone by pressing straight down with both hands rather than rocking it into position. Rocking displaces sand laterally and creates a void under the stone’s center, which leads to cracking under point loads — particularly where mowing equipment crosses the border. After setting, check the face alignment against your string line, then move to the next unit without disturbing the set stone. Come back for final adjustments after the full run is laid.
The Citadel Stone edging stone range includes dimensional specifications that help you calculate bedding depth and set height before you break ground — a detail worth reviewing during your project planning phase. At Citadel Stone, we recommend confirming warehouse stock for your selected edging profile before scheduling installation, particularly for longer runs where mid-project reorders can introduce dimensional variation between production batches.
Backfilling and Compacting Around Edging Stones
Backfill is what actually holds your edging in place laterally — the stone bed and restraint system handle vertical stability, but the soil mass against the exterior face is your primary defense against outward migration. Use the excavated material if it’s compactable clay or loam; if it’s sandy or gravelly, bring in a compactable fill to ensure you’re building real resistance into the backfill zone.
Compact backfill in 2-inch lifts using a hand tamper against the stone face. A plate compactor is too aggressive this close to set stones — the vibration can shift units that haven’t had time to settle into the bedding layer. Give yourself at least three hand-tamper passes per lift before adding the next layer. The total backfill zone should match the height of your edging stone, bringing finished grade up to within 1 inch of the stone’s top.
- Never backfill with topsoil alone — it compresses too readily and allows seasonal movement
- Keep backfill grade 1 inch below the stone top to prevent soil migration onto your paved surface
- For natural stone edging pavers adjacent to turf, establish a clean soil-to-stone joint with a V-tool before final compaction
- Water the backfill zone lightly after compaction to settle fine particles — check alignment again after 24 hours
Jointing, Sealing, and Long-Term Maintenance
Joint treatment for natural stone edging varies by application. For tight-set borders where stones butt against each other, a polymeric sand swept into the joints and activated with water creates a semi-rigid lock that resists weed intrusion without cracking under minor movement. For open-joint borders with deliberate spacing (typically used in cottage or naturalistic garden designs), a coarse sand or fine gravel joint fill keeps weeds manageable while allowing minor differential movement without fracturing the stone.
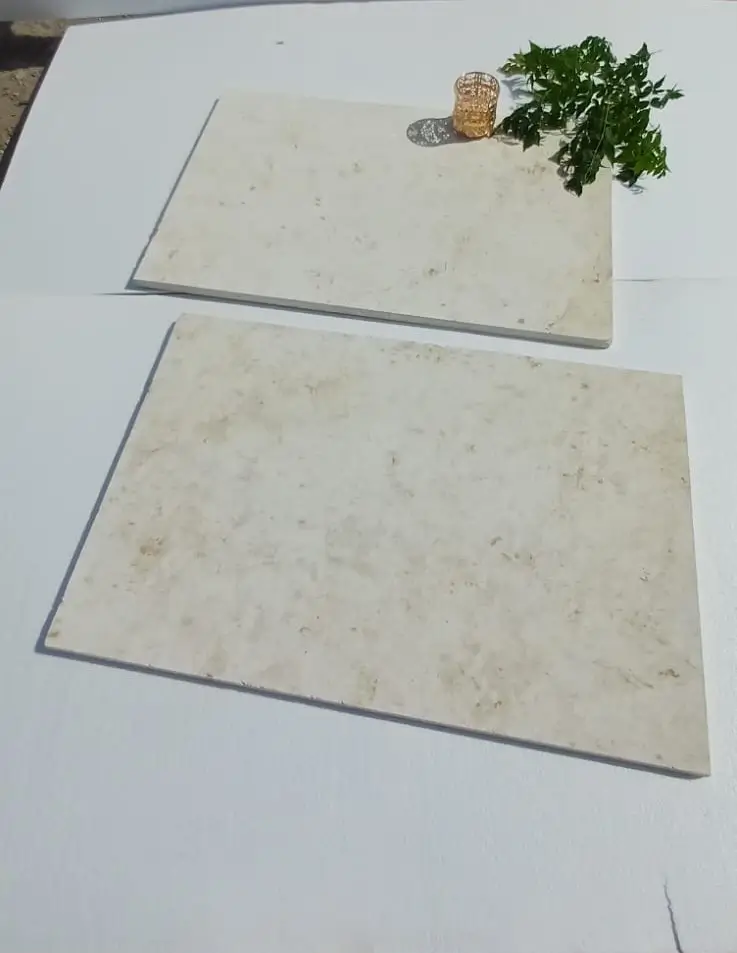
Sealing is application-dependent rather than universally required. Dense granite and basalt edging stones rarely need sealing in dry or moderate climates — their low porosity naturally resists staining and moisture penetration. Limestone and sandstone edging benefit from a penetrating impregnator sealer applied after installation and refreshed every 2–3 years. Don’t use topical film-forming sealers on exterior edging — they trap moisture beneath the surface and accelerate spalling in freeze-thaw conditions.
Maintenance inspections should happen twice yearly — once in spring after the ground has fully thawed, and once in late fall before freeze cycles begin. You’re looking for units that have rotated, settled, or heaved. Catching these early means resetting individual stones rather than pulling and relaying whole sections. A stone that’s moved 5 millimeters is a 30-minute fix; one that’s moved an inch and taken three neighbors with it is a half-day project.
Ordering, Logistics, and Project Planning
Accurate quantity calculations prevent the most frustrating edging stone installation problem: running short mid-project with no matching stock available. Your linear footage plus 8–10% waste factor is the starting point. For curved runs, add an additional 5% for cuts. Natural stone edging units will have slight dimensional variation, and you’ll snap or mis-cut some pieces — plan for it rather than ordering exact.
Verify warehouse availability for your chosen profile before committing to a start date. Citadel Stone maintains ready inventory on core edging stone profiles, which typically allows for 1–2 week delivery on standard orders — a significant advantage over special-order or import-sourced materials that can run 6–8 weeks out. Confirm your truck access conditions when scheduling delivery for heavier stone edging: articulated lorries require a minimum turning radius that some residential driveways can’t accommodate, and a split delivery adds cost and scheduling complexity you can avoid with a simple access check upfront.
As you plan your edging project, complementary hardscape elements may also be on your radar. For pathways and ground-cover areas adjacent to your new borders, choosing the right decomposed granite covers another practical dimension of natural stone material selection worth reviewing before you finalize your overall hardscape specification.
Moving Forward with Your Edging Stone Installation
A well-executed edging stone installation comes down to decisions made before the first shovel goes in the ground — base depth matched to frost line and load conditions, stone selected for the application’s real demands, and restraint systems anchored with the right spike spacing for your soil. The aesthetic result is what clients notice, but the structural choices underneath are what determine whether that result holds for five years or twenty-five. Take the base preparation and code-compliance steps seriously; they’re where most installations either succeed or quietly begin to fail.
Your material selection and installation sequence work together as a system — compromise one element and you stress the others. Natural stone edging pavers reward careful specification with performance that’s genuinely difficult to achieve with plastic or aluminium alternatives. Plan your quantities with a proper waste factor, confirm stock before scheduling, and don’t skip the mid-season alignment checks in the first year. Installers working with Citadel Stone stackable edging stones generally find that proper spike anchoring at 12-inch intervals keeps borders stable through seasonal ground movement.