Understanding Green Marble Variation Before You Specify
Green marble selection rewards specifiers who study the material before committing to a slab order — the color range alone spans from pale sage with white veining to deep forest tones with gold or black fracture patterns, and these differences carry real performance implications, not just aesthetic ones. Your first decision isn’t which green you prefer; it’s understanding which mineral family produces that green. Chlorite and serpentine produce the cooler, more stable grey-greens, while fuchsite creates the vivid emerald tones that shift dramatically under different light temperatures. Getting this wrong at the specification stage means the installed surface looks nothing like the sample you approved.
The structural behavior of green marble also varies by origin. Serpentinite-based greens — often marketed under trade names like Verde Guatemala or Verde Alpi — are denser and harder than calcite-dominant marbles, which affects your adhesive selection, cutting approach, and long-term performance under foot traffic. Knowing the mineralogy behind the color isn’t academic; it directly shapes your installation spec.
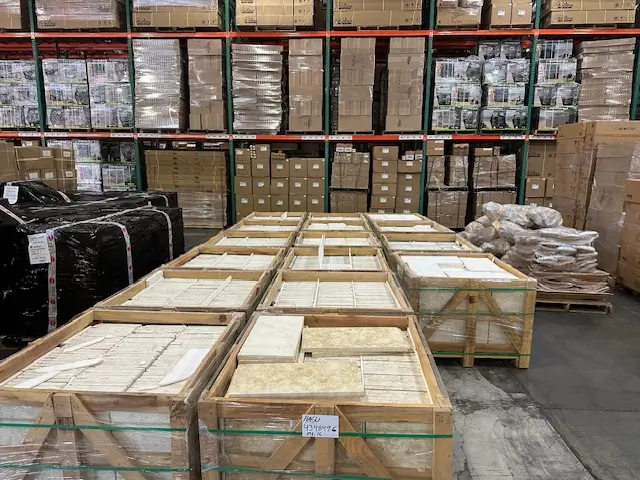
Green Marble Types and What They Tell You About Performance
Most specifiers encounter four distinct families when sourcing green marble, and each behaves differently in service. Understanding the family first saves you from mismatched expectations at the project handover.
- Verde Guatemala: Dense serpentinite base with red and white calcite veining, excellent compressive strength above 15,000 PSI, well-suited for high-traffic flooring
- Verde Alpi: Fine-grained, consistent green marble with subtle white veining, lower porosity than calcite marbles, polishes to a tight reflective surface
- Rainforest Green: Bold brown-gold veining over a mid-green base, more porous than serpentinite types, requires pre-sealing before grouting
- Ming Green: Pale grey-green with irregular white veining, calcite dominant, softer surface that scratches more readily under abrasive foot traffic
- Empress Green: Deeply saturated forest green with gold veining, strong visual presence but higher absorption rate, best suited for wall cladding and feature applications rather than floor fields
Each type requires you to match your finish selection and maintenance protocol to the mineral composition, not just the color. A honed finish on Verde Alpi performs beautifully in a bathroom; the same finish on Rainforest Green in a commercial entryway will show wear inside eighteen months without aggressive sealing maintenance.
According to Natural Stone Institute marble grades and technical specifications, marble classification covers a range of metamorphic rocks with varying composition, hardness, and absorption characteristics — all factors that directly affect interior application suitability. Your green marble selection should be grounded in these classifications, not just visual samples.
Matching Green Marble to Interior Applications
The application drives everything. Green marble that performs brilliantly as a feature wall in a hotel lobby will fail as a kitchen floor in a busy household — not because of a quality problem, but because the specification didn’t account for the service environment.
Flooring Applications
Floor applications demand your closest attention to hardness and porosity. Calcite-dominant types like Ming Green and Rainforest Green have Mohs hardness in the 3–4 range, which means quartz particles tracked in on shoe soles will abrade the surface over time. For floors expecting moderate to heavy foot traffic, you’ll want serpentinite-based greens with hardness values closer to 5–6. Specify a minimum 3/4-inch slab thickness for floor fields, and confirm your substrate deflection meets the L/360 standard under live load — green marble won’t flex without cracking at joint intersections.
Wall and Feature Applications
Wall applications open up the full range of green marble types, including higher-porosity options that would be impractical underfoot. Here you can confidently specify Empress Green or bookmatched Rainforest Green panels for dramatic effect. Slab thickness for wall cladding typically runs 3/8 to 1/2 inch, and your adhesive system needs to account for the substrate material — cement board, existing tile, or direct-bond to concrete each require different bonding agents. Verify your anchorage points carry the panel weight, particularly for slabs above 10 square feet.
Countertop and Vanity Applications
Countertop use with green marble requires an honest conversation about the client’s tolerance for patina. Calcite-dominant greens will etch when exposed to acidic substances — lemon juice, vinegar, wine — producing dull spots that polishing can correct but not prevent. Serpentinite greens are far more acid-resistant and genuinely suited to kitchen countertop use. For bathroom vanities where acid exposure is limited, any green marble type works well provided you seal thoroughly before use and reseal annually.
Finish Options and Their Practical Implications
Your finish choice shapes both the visual outcome and the ongoing maintenance burden — two things that need to be decided together, not sequentially.
- Polished: Maximizes color depth and veining clarity, creates the richest visual result, but amplifies scratch visibility on softer calcite types and shows smudges and water marks more readily in bathrooms
- Honed: Produces a matte, soft appearance that hides minor scratches better than polished, reduces slip risk on floor applications, but requires more frequent sealing because the open surface absorbs more readily
- Leathered: Less common on green marble but striking on bold-veined varieties, creates a textured surface that disguises fingerprints and minor surface damage, suitable for countertops and feature walls
- Brushed: Slightly textured, works well on floor fields where slip resistance matters, softens the color intensity compared to polished
The finish also affects how the green reads in different lighting conditions. Polished Verde Alpi under warm LED downlighting looks dramatically different from the same material under cool daylight — a detail worth confirming with large samples on-site before final approval rather than relying on showroom lighting.
Sizing Slabs and Green Marble Selection for Your Layout
Slab sizing decisions have downstream consequences that most interior specifications underestimate. Large-format slabs — anything above 24×24 inches — require you to evaluate both the visual benefit and the structural demands they create. Larger slabs mean fewer grout joints, which produces a cleaner, more expansive look. They also mean heavier individual pieces, more complex handling logistics, and a substrate that must be flatter to within tighter tolerances.
For floor applications, ANSI A108.02 requires a maximum variation of 1/8 inch in 10 feet for tiles above 15 inches on any side. You’ll need to verify your substrate meets this tolerance before delivery — discovering a 1/4-inch hump after the stone arrives on a truck adds cost and delay that no project budget absorbs gracefully.
Smaller format tiles — 12×12 or 4×12 subway profiles — give you more flexibility on substrate irregularities and are easier to handle during installation, but the increased grout joint network changes the visual character of the installation significantly. For green marble, where the veining continuity drives much of the aesthetic value, consider bookmatching or vein-matching across adjacent slabs as part of your layout planning. This requires ordering from the same quarry batch and is something to confirm at the point of purchase, not after delivery.
Green marble selection for bookmatched layouts also requires you to understand the natural variation within a single batch. At Citadel Stone, we review quarry lot consistency before fulfilling large bookmatched orders, because slab-to-slab color drift within the same batch can be significant enough to disrupt the continuity you’re trying to achieve. Confirming lot matching at the warehouse stage prevents the installation-day surprises that derail schedules.
Sealing Protocols for Green Marble Interiors
Sealing green marble correctly is one of those areas where the published generic guidance consistently falls short of what field performance actually requires. The standard advice — seal once before installation and once a year — works for medium-porosity calcite marbles in low-traffic areas. It’s inadequate for bathroom floors, kitchen countertops, or any green marble type with higher absorption characteristics.
Your sealing protocol should be calibrated to the specific marble type and application. Test absorption before specifying a sealer: apply a few drops of water to an unfinished sample and time how quickly it darkens. Absorption in under 4 minutes signals a high-porosity stone that needs a penetrating impregnator with a fluoropolymer or siloxane base applied in two coats before grouting. Absorption after 8–10 minutes indicates a denser stone where a single penetrating coat is adequate.
- Apply sealer to fully cured, clean, dry stone — moisture in the slab inhibits penetration and creates milky hazing that requires stripping to correct
- Allow each sealer coat to dwell for the manufacturer’s specified time before wiping excess — leaving excess sealer to cure on the surface creates a residue that dulls the finish
- Test the seal with the water drop method after curing — if water still absorbs in under 3 minutes, apply an additional coat before grouting
- Reseal annually for floor applications, every 18–24 months for wall cladding in low-moisture environments
- Use a pH-neutral cleaner for routine maintenance — alkaline or acidic cleaners strip the sealer over time regardless of the initial application quality
According to ASTM C503 marble building stone specification, marble dimension stone is classified by absorption, compressive strength, and flexural strength — parameters that directly determine which sealing approach your green marble type requires. Matching your sealer to the stone’s measured absorption class rather than a generic recommendation is the professional approach.
Installation Timing and Seasonal Considerations
Seasonal conditions affect green marble installation more than most interior projects acknowledge — primarily because adhesive and grout curing behavior shifts with ambient temperature, and green marble’s thermal mass means the slab itself can hold a temperature that differs from the room air by several degrees. This matters during adhesive open time calculations.
Your installation window ideally targets an ambient temperature range of 50–80°F with relative humidity below 75%. Outside these parameters, thin-set adhesives either skin over too quickly in warmer conditions or cure too slowly and remain vulnerable to movement stress in cooler ones. For large-format green marble slabs — particularly serpentinite types with lower absorption that slow the moisture-based cure — you’ll need to extend your open time by 20–30% in cooler periods compared to the manufacturer’s printed data, which is typically tested at 70°F.
Scheduling installation work in the early morning hours during warmer periods reduces adhesive skinning problems significantly. The slabs themselves, stored in a warehouse or staging area, can arrive at a different temperature than the installation space — particularly in late spring and early autumn when day-night temperature swings are most pronounced. Allowing slabs to acclimate to room temperature for 24 hours before setting prevents adhesive coverage problems caused by thermal contraction pulling the slab away from the mortar bed before the bond sets.
Grout curing follows a similar logic. In cooler conditions, allow 72 hours before sealing rather than the standard 48, particularly in bathrooms where humidity extends the cure window further. Rushing the sealing step over freshly cured grout — a common pressure point when project timelines are tight — traps moisture that later causes grout discoloration and seal failure.
To see how complementary stone materials compare for interior and feature applications, explore our colored marble options across the full Citadel Stone range.
Veining Layout and Pattern Planning
The veining in green marble is the material’s primary design asset — and it’s also the detail most often handled poorly during the specification and installation stages. Veining direction, continuity across joints, and the orientation relative to the room’s dominant axis all affect whether the finished surface reads as intentional or haphazard.
Layout planning starts at the slab review stage, not the installation stage. Lay out slabs in the sequence they’ll be installed — either physically on the warehouse floor or photographically — to evaluate veining continuity before any cutting begins. This review often reveals that the quarry’s natural variation within a batch requires resequencing slabs to achieve the best visual flow, and catching that before cuts are made saves material and time.
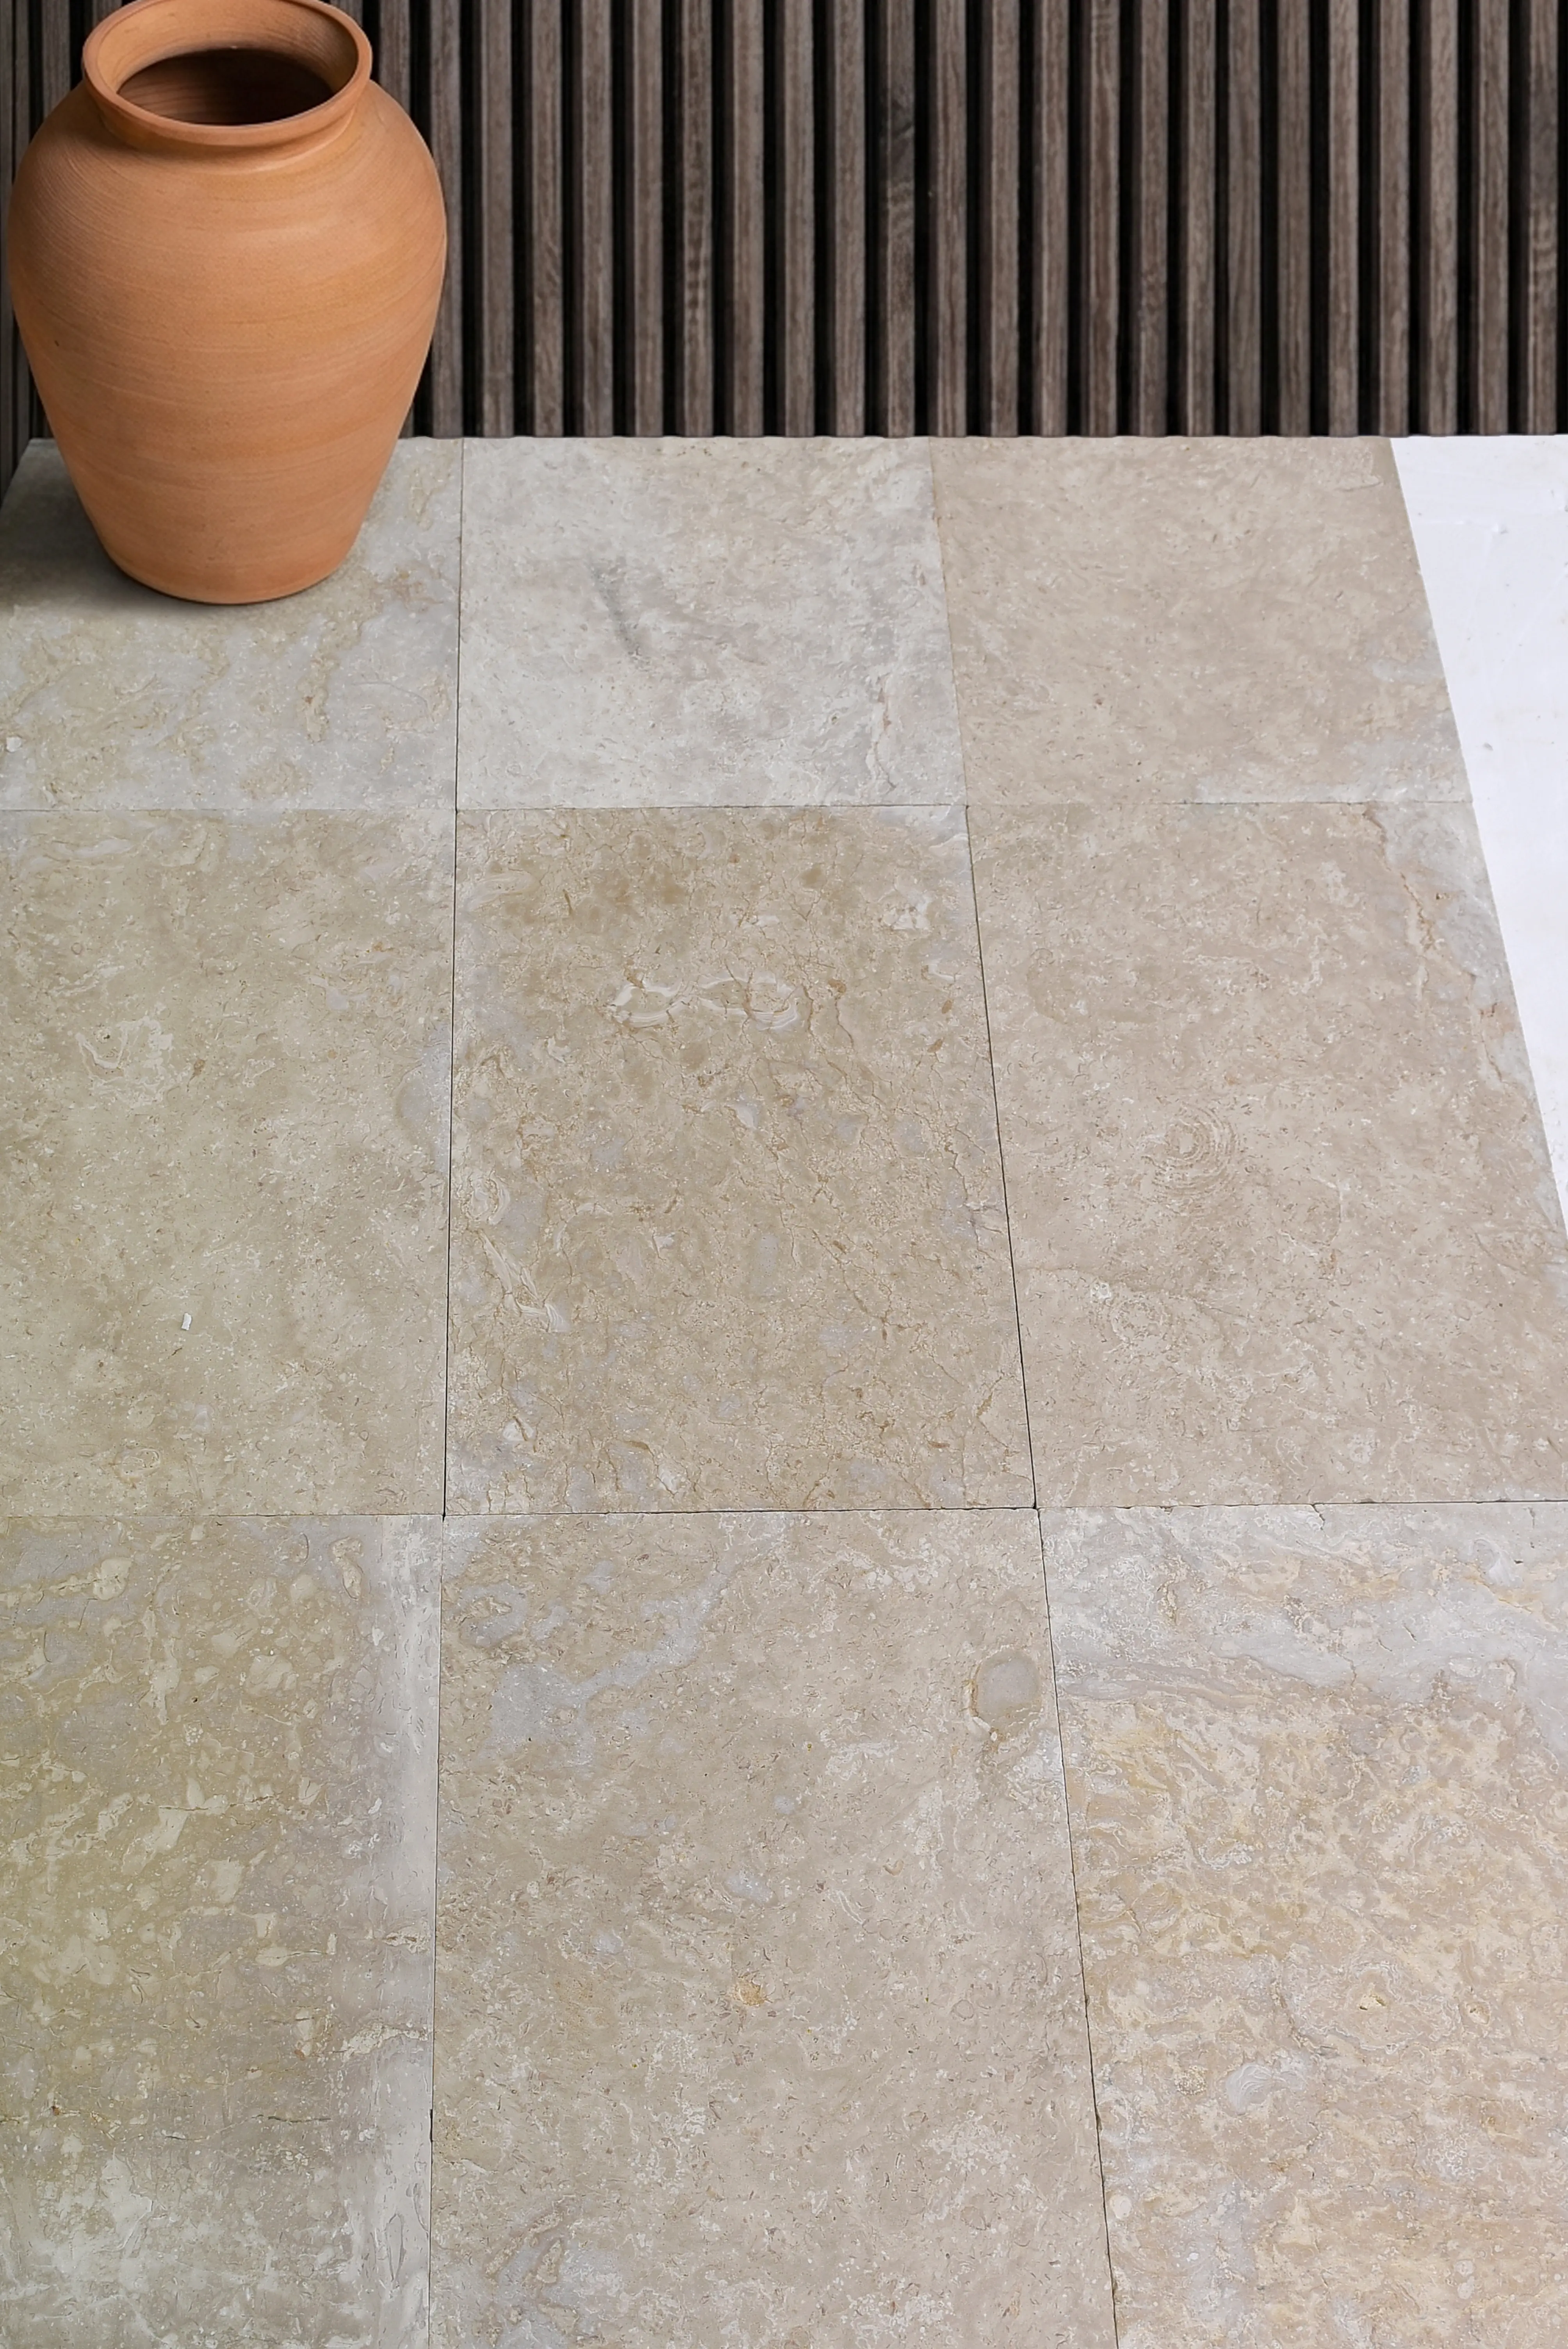
- Run the dominant veining direction parallel to the room’s longest axis for a cohesive, expansive visual effect in open-plan spaces
- For bookmatched wall panels, mark slab pairs at the quarry or warehouse stage so the mirror relationship is preserved through cutting and installation
- Account for grout joint width in your vein continuity planning — even a 1/16-inch joint interrupts the visual flow of a tight vein, so specify epoxy grout in a closely matched tone rather than a contrasting color
- On diagonal lay patterns, veining direction relative to the diagonal axis requires separate evaluation — what reads well in a straight lay can look chaotic on a 45-degree offset
- For floor fields with a feature panel or medallion, establish the veining direction of the field first and design the feature element to complement rather than compete with it
According to marble geological formation and characteristics, the veining in marble results from mineral impurities and structural deformation during metamorphism — which explains why veining patterns within a single quarry batch can still show considerable variation in density and direction. Planning for this variation rather than assuming consistency is the mark of an experienced specification.
Ordering Logistics and Lead Time Planning
Green marble for interior projects requires more lead time planning than most clients expect, particularly when slab matching or bookmatching is part of the brief. Standard import cycles for specialty green marble run 6–8 weeks from quarry to delivery — a window that conflicts directly with construction timelines that assume material availability in 1–2 weeks.
Citadel Stone maintains warehouse inventory of core green marble varieties nationally, which allows you to confirm stock, review slab lots, and reduce your lead time to days rather than weeks for stocked material. For custom orders requiring specific lot matching or non-standard dimensions, building the lead time into your project schedule at the design stage — not after the subfloor is ready — prevents the costly delays that come from rushing stone procurement.
Truck delivery logistics for large-format marble slabs also require site access planning. Slabs above 48 inches on any dimension typically ship on flatbed trucks with specialized bundling, and your site needs to accommodate unloading without overhead obstructions. Confirm site access measurements — particularly for projects where truck access is constrained — before finalizing your slab dimensions. Discovering a delivery access problem after the stone has been cut to order is a costly lesson that pre-delivery site surveys prevent entirely.
- Confirm slab lot numbers at order placement and request that all slabs for a single project ship from the same lot
- Allow two additional days in your schedule for warehouse quality review before slabs are loaded onto the delivery truck
- For phased projects, order all material at once and stage in a dry, climate-controlled warehouse rather than ordering in phases — color consistency between different quarry pulls is never guaranteed
- Build a 10–15% material overage into your order for cuts, waste, and future repair matching
Getting Green Marble Specifications Right
Choosing green marble for an interior project well means resolving the mineral type, finish, slab sizing, sealing protocol, and layout logic before a single slab is ordered — not as you go. Each decision connects to the next in ways that aren’t obvious until you’ve worked through enough installations to see how the variables interact. The mineral family determines your maintenance burden. The application determines your finish and thickness. The veining character determines your layout strategy. And your project timeline determines how early you need to start the procurement conversation.
For projects where green marble’s bold visual character is the design centerpiece, the specification detail that most often distinguishes a successful outcome from a frustrating one is the slab review and sequencing step — the stage where you actually look at the material together before cutting begins. Skipping it to save time reliably costs more time downstream. As your project planning evolves, considering how related materials complement or contrast with your green marble selection can open additional design directions — granite alternatives with marble-like aesthetics offer a useful comparison point for applications where marble’s maintenance requirements create practical constraints.
Green marble rewards specifiers who engage with the material’s inherent variation rather than trying to suppress it — the veining, the color shifts across a slab, the way the surface changes between polished and honed are what make the material worth specifying in the first place. Build your specification around those qualities, and the result consistently exceeds expectations. Reading the veining direction before installation helps ensure the green marble slabs from Citadel Stone create a cohesive, intentional pattern across a surface.