Why Slab Dimensions Drive Every Cut Decision
A granite slab size guide isn’t just a reference chart — it’s the foundation of every cut plan, seam layout, and material order your project depends on. Most fabrication errors don’t happen at the saw; they happen at the planning table, when slab dimensions weren’t factored into the layout before templating began. Standard slabs from quarry operations come in two dominant formats: jumbo slabs that typically run 120 inches by 65 inches, and standard slabs that cluster around 109 inches by 53 inches. Neither dimension is exact — natural granite blocks don’t yield perfectly uniform sheets — so your actual usable surface area varies by 8 to 12 percent from nominal.
That variance matters immediately when you’re planning countertop runs, feature walls, or flooring fields where continuity is critical. You need to account for kerf loss (typically 0.125 inches per cut with a standard wet blade), edge treatment waste, and the yield reduction that comes from working around veining clusters or color anomalies in book-matched pairs. Field experience confirms that specifiers who treat published slab dimensions as guaranteed dimensions consistently order 15 to 20 percent short on complex projects.
Standard Granite Slab Dimensions Explained
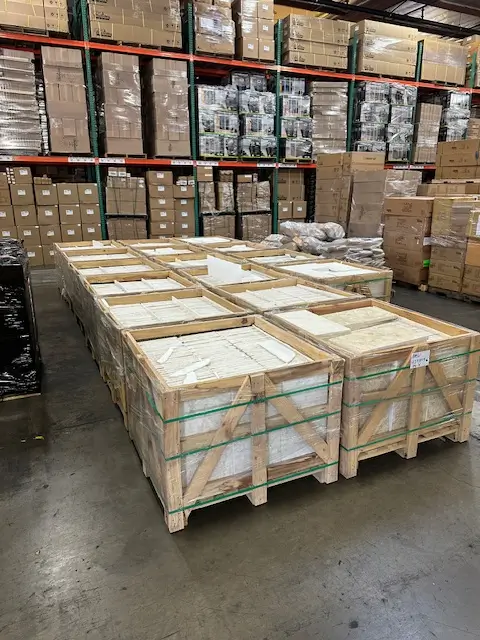
The granite industry operates around two primary slab categories, and understanding both shapes how you specify granite wholesale slabs for any project. Standard slabs — sometimes called commercial slabs — measure roughly 109 by 53 inches and suit most residential countertop and vanity applications without seaming. Jumbo slabs push usable area to approximately 120 by 65 inches, making them the go-to for large kitchen islands, commercial reception counters, or flooring fields where fewer seams matter more than per-slab cost.
Thickness adds another layer to the dimension equation. You’ll typically encounter three stock thicknesses: 3/4 inch (2 cm), 1.25 inches (3 cm), and occasionally 1.5 inches (4 cm) for structural or high-load applications. The 3 cm slab is the workhorse spec for countertops — it handles edge overhangs without mitered buildup and eliminates the lamination labor that 2 cm slabs require at edges. According to ASTM C615 granite dimension stone quality standards, minimum thickness tolerance for granite dimension stone is plus or minus 1/8 inch — a small variance that compounds across multi-slab installations if you don’t verify each delivery.
Slab length runs in the longest dimension. Width is perpendicular to that. For countertop planning, your critical measure is width, because that determines whether a 26-inch-deep island top can be cut from a single slab width without a front-to-back seam. Most standard slabs at 53 inches wide allow a 26-inch counter with enough margin for edge treatment and saw clearance — but only if the slab is consistent across its width, which raw granite frequently is not.
Planning Cuts Around Natural Variation
Granite slab dimensions on paper and granite slab dimensions in the warehouse are different things. Natural stone exhibits thickness variation, bowing, and edge irregularity that fabricators must account for before the first template goes down. Slabs frequently bow by 3 to 8 mm across their length — enough to cause cracking if the support structure doesn’t compensate, and enough to throw off digital template readings if the slab isn’t properly propped during measurement.
Your cut plan should begin with a physical inspection of each slab, not just the spec sheet. Walk the slab with a straightedge and mark any areas where thickness drops below your minimum acceptable spec. On granite wholesale slabs sourced from multiple quarry blocks, you may find measurable thickness differences between the top third and bottom third of a single slab — a result of how the quarry wire saw moves through the block. These thin zones should be assigned to lower-stress cuts: backsplashes, transition strips, or decorative insets rather than structural countertop spans.
- Mark the slab’s best face before templating — the show face drives layout priority
- Identify any micro-cracks or fissures along the length before cutting begins
- Note color gradients across the slab width — they affect seam placement strategy
- Measure actual slab width at three points: top, middle, and bottom
- Flag areas with inclusion clusters that may chip under saw pressure
The Natural Stone Institute provides technical guidance on granite durability and application specifications that covers material behavior under fabrication stress — worth reviewing before specifying granite for high-load or precision-fit applications.
Seam Placement Strategy for Granite Countertops
Seam placement is where a granite slab size guide earns its value. The goal isn’t to minimize seams at all costs — it’s to position them where they’re least visible and least structurally vulnerable. Here’s what most specifiers miss: seams placed over cabinet support points are structurally safer than seams positioned mid-span, but they’re also more visible if they fall in high sight-line zones. You’re always balancing structural integrity against aesthetic outcome.
For L-shaped countertops, the corner is the most common seam location — but it’s also where the most stress concentrates during thermal cycling. Granite’s thermal expansion coefficient runs approximately 4.7 × 10⁻⁶ per °F, which means a 36-inch run expands roughly 0.002 inches for every 10°F of temperature change. In a kitchen with a hot range nearby, that adds up. Seams at corners should be epoxy-bonded and color-matched, not just filled — the structural bond matters as much as the visual finish.
- Avoid seams within 6 inches of sink cutouts — stress concentration is highest there
- Position seams over cabinet walls or stretchers, never mid-span over open cabinet space
- For book-matched pairs, the mirror seam should align with the slab’s center vein pattern
- Use digital templating to pre-visualize seam lines against the slab’s actual veining
- Seams perpendicular to the countertop edge are structurally weaker than diagonal placements in wide spans
The interaction between slab width and seam necessity is straightforward: if your countertop run exceeds the usable width of your slab, you’re seaming. That decision point should happen at the specification stage, not on the installation day.
Granite Slab Sizes for Flooring and Wall Applications
Flooring and wall cladding use granite slab dimensions differently than countertop work. For flooring, you’re cutting slabs into tiles or large-format panels, so the critical metric shifts from usable width to total area yield per slab. A jumbo slab at 120 by 65 inches yields approximately 54 square feet of gross area — subtract 12 to 15 percent for kerf, edge waste, and cut-around defects, and your net yield lands around 46 to 48 square feet per slab. Factor that number into your ordering calculation, not the gross figure.
Wall cladding introduces thickness as a structural variable. Exterior wall panels in granite typically need a minimum 1.25-inch thickness to handle wind load and mechanical anchorage requirements without cracking at the anchor points. Interior feature walls can work with 3/4-inch material when properly bonded, but thinner sections require more careful seam planning because large-format granite panels at that thickness have limited flex tolerance before cracking during installation handling.
Reviewing USGS granite production and construction use statistics confirms that large-format granite cladding has grown significantly in commercial construction — a trend that’s pushing fabricators toward jumbo slab sourcing to minimize panel-to-panel seams on tall facades. For your project, the key question is whether your truck access and crane capacity can handle the weight of jumbo slabs — they typically run 700 to 900 pounds per slab at 3 cm thickness, and logistics constraints sometimes make standard slabs the practical choice regardless of seam preference.
How Slab Quantity Calculations Actually Work
Calculating granite slab quantity requires working backwards from your finished area requirement, not forwards from slab dimensions. Start with your total finished square footage. Add 10 percent for standard waste on straightforward layouts. Add 15 to 20 percent for layouts with diagonal cuts, complex curves, or book-matching requirements. Then divide your adjusted total by the net yield per slab — not the gross slab area.
For Citadel Stone slab dimensions, reviewing inventory specifications before finalizing your order quantity prevents the single most common ordering mistake: underestimating the gap between nominal slab size and true usable yield. Ordering a half-slab short on a project means waiting for a matching material run from the same quarry block — and quarry batches vary enough in coloration that a replacement slab ordered weeks later often won’t visually match the first shipment, even from the same supplier.
The quantity calculation also needs to account for slab orientation. If you’re running veining horizontally across a countertop run, your slab width becomes the countertop depth dimension — limiting how you use each slab. Rotating the layout to run veining vertically often wastes more material but creates stronger visual continuity. Neither choice is automatically correct; the decision depends on your slab’s specific vein pattern and your project’s aesthetic priority.
Seasonal Timing and Temperature Windows for Granite Installation
Granite slab installation has a narrower ideal temperature window than most project schedules account for. Epoxy-based adhesives and seam fillers perform within a curing temperature range of approximately 60°F to 90°F. Below that range, cure times extend unpredictably — a seam that should achieve full bond strength in two hours may take six or eight in cool conditions, creating a vulnerability window during which the joint can be disturbed.
Scheduling installation during moderate-temperature periods reduces adhesive variability significantly. Morning installation windows allow epoxy work to begin curing before ambient temperatures peak in warmer months. In freeze-thaw regions, exterior granite installations scheduled in late fall carry real risk: freshly set slabs with incompletely cured adhesive joints can experience micro-movement during the first freeze cycle, widening seams by a fraction of a millimeter that compounds over time.
- Avoid epoxy seaming when substrate or slab surface temperature is below 55°F
- In warm-season installations, shade freshly set slabs for the first four hours of cure
- Schedule delivery and setting for morning hours when slab temperature is stable
- Allow 24 hours of undisturbed cure time before applying edge load or placing appliances
- In high-humidity conditions, clean and dry seam faces with compressed air before applying epoxy
Substrate temperature matters as much as ambient air temperature. A slab sitting on a cold concrete base draws heat away from the adhesive and extends cure time even when the room is warm. Checking base temperature with an infrared thermometer before beginning seam work is a practical step that prevents inconsistent bond strength across a long countertop run.
Ordering Wholesale Slabs: Logistics and Lead Times
Granite slab size directly affects how your order moves through the supply chain. Jumbo slabs require specialized A-frame trucks and forklifts with longer reach than standard material handling equipment. Your site’s truck access — gate width, turning radius, and overhead clearance — needs to be confirmed before ordering jumbos, not after they arrive. A slab that can’t be offloaded at the job site is a logistics problem that cascades into schedule delays and potential damage from improvised handling.
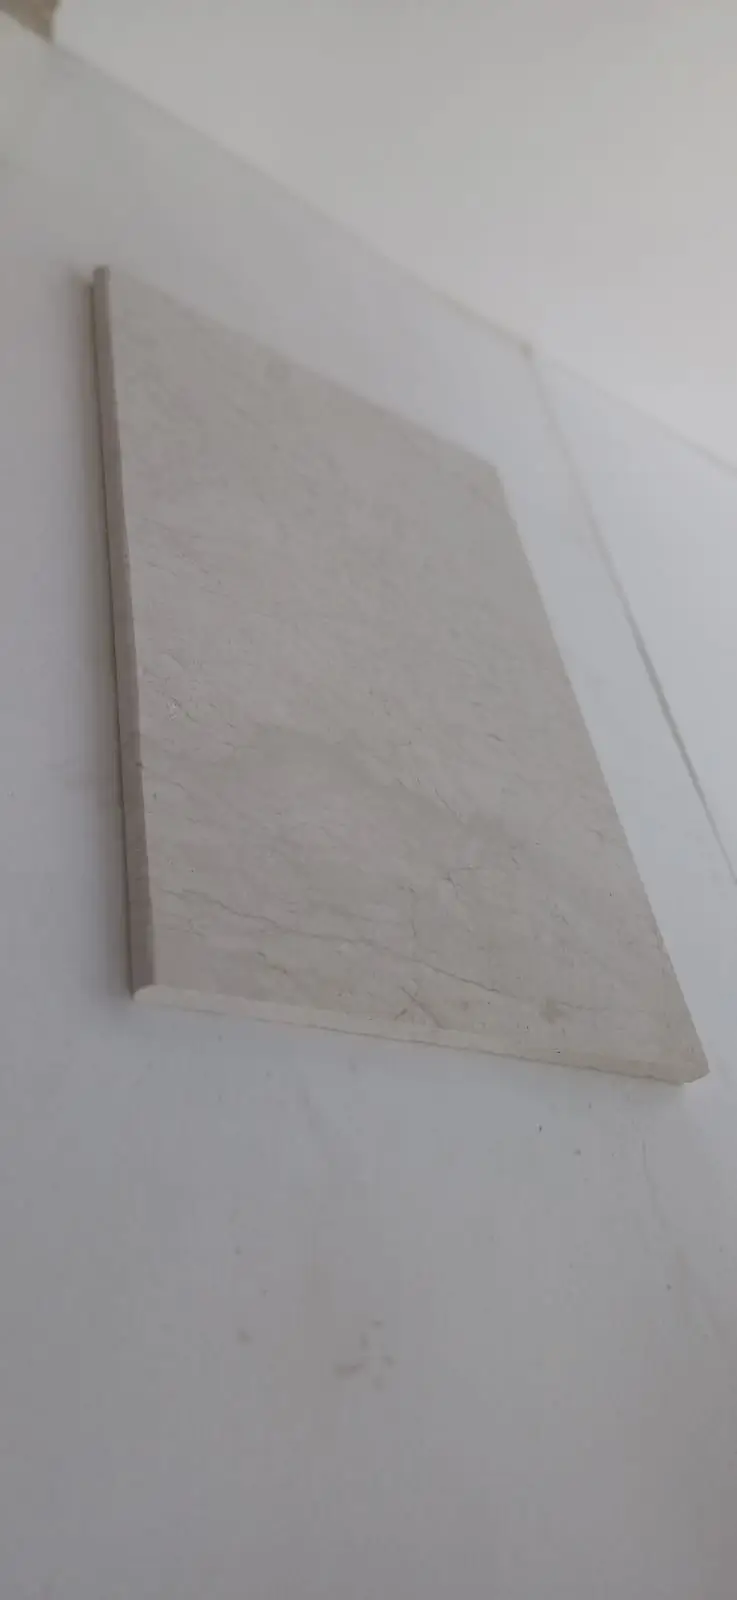
At Citadel Stone, we maintain warehouse inventory of both standard and jumbo slab formats, which allows us to confirm actual slab dimensions from stock rather than quoting nominal sizes from a catalog. That distinction matters when you’re planning cuts — verified dimensions let your fabricator build accurate cut plans before the material ships, reducing waste and avoiding surprises at the shop.
Lead times from warehouse to job site for in-stock slabs typically run 1 to 2 weeks, compared to 6 to 8 weeks for special quarry orders. For projects with tight schedules, working from existing warehouse inventory and designing your cut plan around available slab dimensions is a practical strategy that prevents the schedule risk of waiting on imported material. When ordering wholesale slabs of granite, confirm slab bundle numbers — slabs from the same quarry bundle will have the closest color match, which matters for multi-slab installations where visual consistency is a specification requirement.
- Confirm truck access dimensions at your site before ordering jumbo format slabs
- Request slab bundle numbers from your supplier to ensure color consistency across deliveries
- Verify warehouse stock availability before finalizing your project timeline
- Factor unloading logistics into your installation schedule — jumbo slabs need A-frame offloading and two-person handling minimum
- Order replacement material from the same quarry batch as your original slabs whenever possible
Before You Specify
Every granite slab size decision locks in downstream commitments — cut yields, seam locations, lead times, and truck logistics all branch from the slab format you choose before fabrication begins. Getting the dimension right at the specification stage is exponentially cheaper than correcting it after slabs are cut. Your fabricator should receive accurate slab dimensions — not nominal catalog figures — before producing a cut plan, and your cut plan should identify seam placement, orientation strategy, and waste allocation before a single template goes down.
Density, absorption, and flexural strength also factor into how well a granite performs after installation — material properties that vary between quarry sources and affect long-term durability. For additional technical context on how granite’s physical properties relate to its application performance, granite density and material performance covers the specification details worth understanding before you commit to a slab format. The specification decisions you make now — slab size, thickness, seam strategy, and ordering quantity — determine whether this installation performs for 15 years or 40. Take the time to verify dimensions from actual warehouse stock, not published spec sheets, and build your cut plan around real numbers. Understanding slab dimensions before templating helps projects cut waste significantly, and Citadel Stone’s inventory spans a range of sizes to support that planning.