Granite plank pavers shift the entire character of a paved surface the moment you change the aspect ratio — and that’s the detail most specifiers don’t engage with until they’re standing on site wondering why a space feels narrower than the drawings suggested. The elongated format, typically running from 8 × 24 in up to 12 × 48 in (200 × 600 mm up to 300 × 1200 mm), introduces a directional bias that standard square formats simply don’t produce. Understanding how that directionality interacts with your layout pattern, joint alignment, and base preparation determines whether the finished project reads as intentional and refined — or just long.
What Makes the Plank Format Different from Square Pavers
The plank’s defining characteristic is its length-to-width ratio — usually somewhere between 3:1 and 4:1. That ratio does two things simultaneously: it creates strong linear sight lines, and it concentrates load stress differently across the paver’s span. A standard 12 × 12 in (300 × 300 mm) square distributes point load symmetrically. A 12 × 36 in (300 × 900 mm) plank spans a longer unsupported distance, which means the base beneath it needs to be not just adequate but consistent. Any soft spot, any variation in subgrade compaction, and you’ll see a rocking paver within the first season.
The Natural Stone Institute granite durability and application specifications describe granite as one of the denser, harder igneous stones in the dimensional stone range — a property that matters here because a longer, thinner paver relies on the stone’s own modulus of rupture to resist mid-span flexural stress before the base picks up the load. For granite plank paver formats, that structural stiffness is genuinely useful. You’re not relying on the paver to flex and recover; you’re relying on it to bridge minor subgrade inconsistencies without cracking.
Standard Sizes and Thickness for Granite Plank Pavers
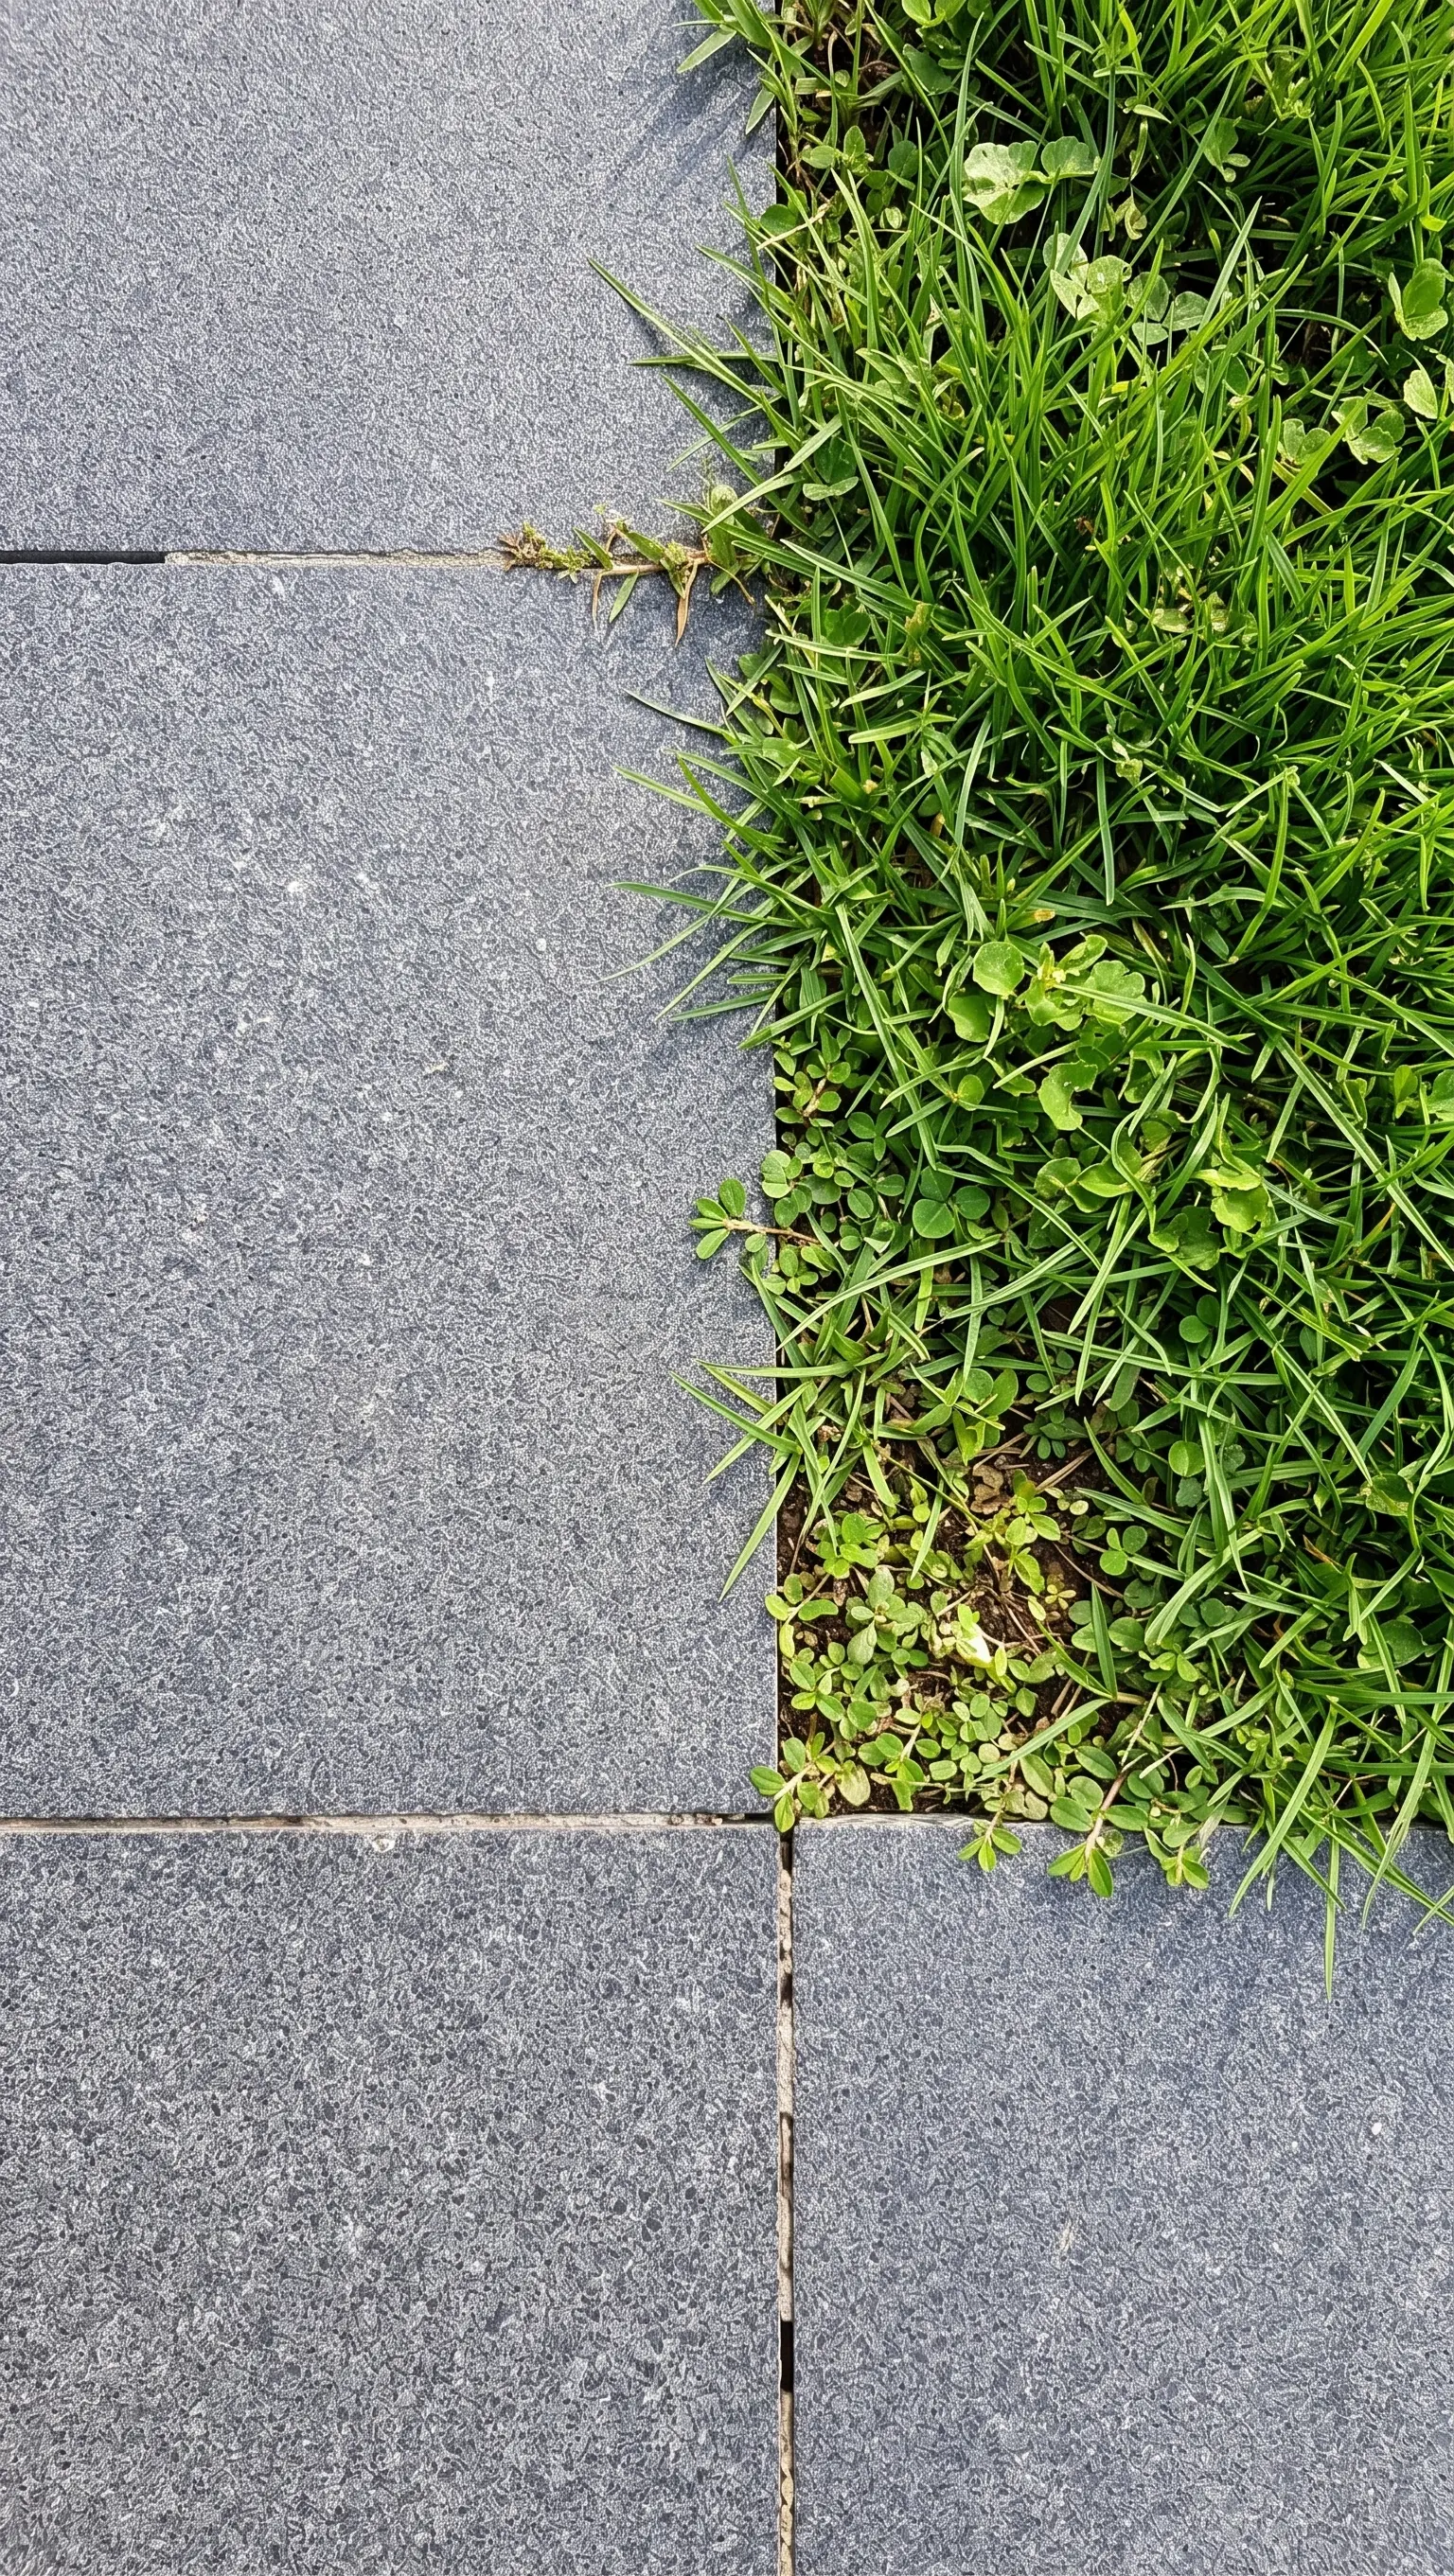
The most commonly specified granite plank paver sizes in residential and commercial projects fall into a predictable range, though the format is inherently flexible because planks are cut to order from slab stock.
- 8 × 24 in (200 × 600 mm) — the entry-level plank, popular for paths and terrace borders where a subtle linear element is wanted without dominating the layout
- 12 × 24 in (300 × 600 mm) — technically a 2:1 ratio rather than a true plank, but often specified alongside longer formats in mixed-pattern installations
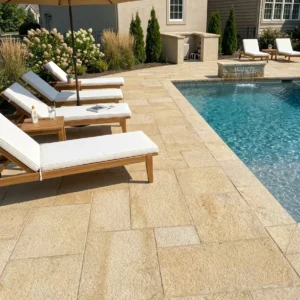
- 12 × 36 in (300 × 900 mm) — the standard plank format for patios and pool surrounds where a strong horizontal line is the design intention
- 12 × 48 in (300 × 1200 mm) — a longer format that reads almost like a board; used in wide open spaces where smaller planks would feel fragmented
- 16 × 48 in (400 × 1200 mm) — a larger-format plank increasingly specified for generous outdoor living areas and commercial plazas
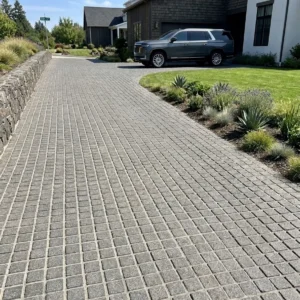
Thickness for pedestrian applications typically runs 1¼ in (3 cm) for patios, paths, and pool decks on a properly prepared base. For granite plank paver installations at pedestrian scale, 1¼ in (3 cm) on a compacted crushed-stone base with a mortar or gravel-sand setting bed is the standard starting point. For driveways, use setts or cobbles at least 3.5 in (4 in standard) thick on a compacted base, or pavers 2 in (5 cm) or thicker mortar-bonded to a reinforced concrete slab.
The ASTM C615 granite dimension stone quality standard sets out the test methods that govern granite’s suitability as dimension stone — if you’re specifying for a commercial project or want documented material performance, request the test report from your supplier before finalizing the specification.
Layout Patterns That Work With Granite Plank Pavers
Your layout choice will do more to define the visual result than any other single decision — and that’s worth saying plainly because it’s the variable most often treated as an afterthought.
Running Bond
Running bond — each plank offset by half its length from the row above — is the default for a reason. It locks the field together structurally because the joints never line up across adjacent rows, and it creates a clean, directional sweep that emphasizes the horizontal. For a path or a long rectangular patio, running bond reads naturally. The one thing to watch: in a running bond granite plank paver layout, the direction of the run matters enormously. Lay planks parallel to the long axis of the space and the space elongates visually. Lay them perpendicular and you widen it.
Staggered Offset and Third-Bond
A staggered offset at one-third rather than one-half of the plank length produces a slightly more dynamic pattern. It also reduces the risk of a four-corner joint where four planks converge at a single point — those corners are a known weak spot in mortar-set installations because any differential movement concentrates stress at the one location where all four edges meet. At Citadel Stone, we generally steer specifiers toward a one-third or two-fifth offset for longer planks specifically to break up that corner alignment.
Herringbone and Basketweave Variants
Herringbone with plank pavers creates a dramatically different result from herringbone with square or nearly-square pavers. The elongated format exaggerates the V-angle, producing a bold chevron that works well in wide spaces but can feel overwhelming in anything narrower than about 10 ft. Basketweave — alternating pairs of planks at 90 degrees — works best when the plank’s width divides evenly into its length, so a 12 × 36 in format (3:1 ratio) tiles more cleanly into a basketweave than a 12 × 48 in (4:1) format.
Soil Conditions, Base Preparation, and Long-Term Stability
The detail that separates a plank installation that holds its level for decades from one that starts rocking and shifting is almost always the base — and the base is almost always a function of what’s underneath it. Plank pavers amplify subgrade movement because their span is longer. A soft spot that a 12 × 12 in paver bridges invisibly becomes a visible tilt under a 12 × 48 in plank.
Expansive clay soils are the most demanding subgrade for any natural stone installation, and they’re common across wide swaths of the country. Clay absorbs water and swells; it dries and shrinks. That seasonal movement is usually measured in fractions of an inch vertically, but fractions of an inch are enough to break a mortar-set joint or lift a plank out of plane. The standard mitigation is a compacted aggregate base deep enough to dampen that movement before it reaches the setting bed. In known clay subgrades, specifiers often extend the base depth beyond the standard recommendation and add a geotextile separation fabric between the native soil and the base aggregate to prevent clay migration upward through the base over time.
Sandy soils present a different problem — not heaving, but settlement. Sand consolidates under load, particularly when wet. A plank paver on a sandy subgrade without adequate compaction will settle unevenly because the longer span means any differential consolidation shows up as a visible rock rather than a subtle sag. Caliche layers in arid regions are their own challenge: caliche is hard and can look like good bearing material, but it’s often discontinuous, and breaking through to competent soil beneath it sometimes reveals loose material that needs additional compaction before any base aggregate goes down. The USGS dimension stone production and use data provides context on how granite and other dimension stones are used in construction nationally, but the subgrade conditions beneath any specific site are always a local variable — one that repays careful investigation before stone goes down.
For granite plank paver layouts where soil conditions are unknown or suspect, a geotechnical assessment before the base specification is finalized is not an overreaction. It’s the kind of field-knowledge step that experienced installers take for granted and that the specification document frequently omits.
Finish Options and Their Effect on the Plank Format
Finish selection for granite plank pavers depends directly on where they’re going and what the surface will be asked to do. The plank format doesn’t change the finish logic, but it does amplify the visual effect of texture because there’s more unbroken surface area in each unit.
- Honed 60 Grit — suited to interior floors, cladding, and covered patios; produces a smooth, matte face that emphasizes granite’s mineral color variation across the plank’s length
- Honed 120 Grit — a finer hone suited to interior floors, bathrooms, and wall cladding where a refined, near-smooth surface is wanted without the reflectivity of a polished finish
- Brushed 36 Grit — opens the surface texture lightly; suitable for patios and pool surrounds where a more casual, slightly weathered character is appropriate
- Brushed 80 Grit — a finer brushed surface suited to barefoot pool decks and terraces where a smooth-enough texture underfoot is wanted with more tactile interest than honed
- Bush-Hammered — a deliberately coarser, open texture; the right choice for pool decks, ramps, and wet public areas where the surface will be regularly exposed to water
- Polished — recommended for dry indoor surfaces only: floors, walls, countertops, and fireplace surrounds; never for outdoor or wet-area use
- Split Face — used in cladding and feature wall applications rather than paving; the cleft texture reads well against the plank’s horizontal emphasis
One finish consideration that’s specific to the plank format: a bush-hammered or brushed finish on a long plank reads more uniformly than on a square paver because there are no corner-to-corner diagonal variations to distract the eye. The texture runs cleanly along the length, which can either read as elegant or monotonous depending on the surrounding design context — worth reviewing on a sample before committing at scale. For pool decks, wet steps and slopes, choose a bush-hammered finish. For other outdoor paths, bush-hammered or brushed in our coarsest grit both work; check a sample.
Color and Mineral Variation in Granite Planks
Granite’s mineralogy — primarily quartz, feldspar, and mica — produces color variation that reads differently at plank scale than at square-tile scale. The longer face means more of the stone’s crystalline pattern is visible in each unit, and that pattern is never perfectly uniform. In some granite types, this reads as attractive natural variation. In others, particularly the coarse-grained granites with large feldspar phenocrysts, it can produce a blotchy appearance in plank format that wouldn’t be apparent in a 12 × 12 in tile.
Selecting granite for plank use means reviewing larger samples — ideally a full plank or a portion of one — rather than small chips or swatches. The variation across 36 in or 48 in of stone face is information a 4 × 4 in chip simply doesn’t give you. At Citadel Stone, we cut granite plank pavers to order from our selected quarries, which means the slab stock is available for review before production begins — a step worth taking when the material covers a large, visually prominent surface.
Browse our granite paving range to see the granite types we currently stock at the quarry, along with available formats and finishes.
Ordering, Quantities, and Delivery Coordination
Granite plank paver layouts require more precise quantity calculations than square-tile layouts because the waste factor varies significantly with pattern choice. A running bond at half-offset on a rectangular space generates relatively little waste. A herringbone pattern on an irregular space or around a curved pool edge generates considerably more — sometimes 15 to 20 percent depending on the angles involved. Calculate waste before ordering, not after, and account for the pattern’s cut requirements at the perimeter.
Delivery for large plank paver orders involves coordinating site access, particularly for longer format planks bundled on stone-specific pallets. The pallets for 12 × 48 in stone are heavy and need a clear, level unloading zone with enough space for mechanical handling. Your project’s access constraints — site-access width, overhead clearances, ground bearing capacity at the delivery point — should be confirmed before the order is finalized, as they affect how the delivery is staged and where pallets can be placed. Lead times and delivery arrangements are quoted with the order.
Sealing granite plank pavers is recommended before grouting and annually thereafter, though the interval depends on the sealer manufacturer’s guidance for the specific product and your local conditions. Granite is denser and less absorptive than limestone or sandstone, but it is not entirely resistant to staining, particularly in the lighter-colored varieties where cooking oils or iron-based stains can penetrate unsealed surfaces over time.
Joint Sizing and Setting Method for Plank Installations
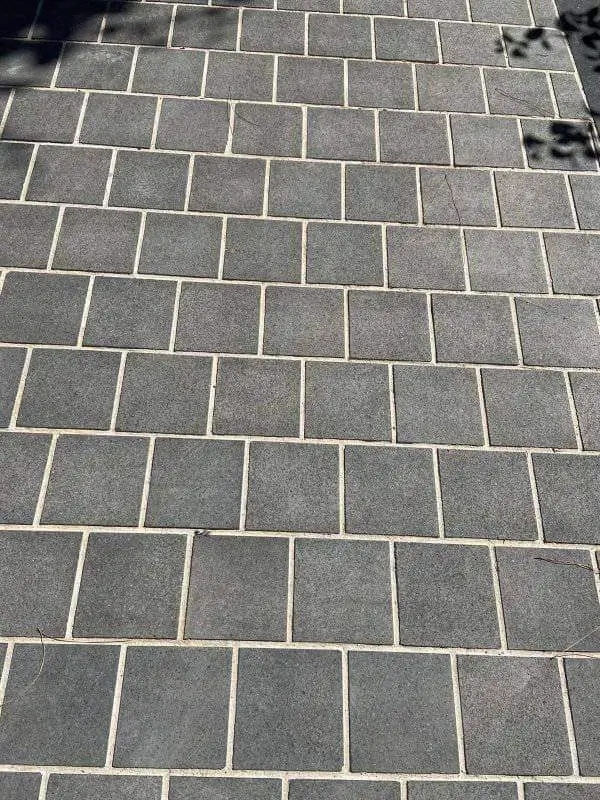
Joint width for granite plank paver installations is typically narrower than for irregular or tumbled formats — 1⁄8 in to 3⁄16 in (3 to 5 mm) for a tightly cut contemporary look, up to 3⁄8 in (10 mm) where a more traditional or textured aesthetic is wanted. The joint choice affects both the visual result and the maintenance expectation. Tight joints in a mortar-set installation look precise and formal but require more careful cleaning maintenance. Wider joints filled with polymeric sand in a sand-set installation allow slightly more flexibility but need periodic top-up as sand consolidates, especially after the first wet season.
- Mortar-set on concrete slab — the right choice for pool surrounds, covered terraces, and anywhere the base is an existing concrete substrate; allows tight joints and a very flat, consistent surface plane
- Sand-set on compacted aggregate — suitable for garden paths, informal patios, and open-landscape areas where drainage flexibility is wanted; requires a deeper base to compensate for the absence of a rigid substrate
- Pedestal-set for elevated decks — an option for rooftop or elevated terrace applications where the plank rests on adjustable pedestals; the plank format works particularly well here because longer units span between pedestals with fewer visible joints
In any mortar-set installation, movement joints are not optional — they are required wherever the paving field exceeds the span at which thermal movement will open or close the slab beyond what the grout joint can accommodate. Spec movement joints from your own thermal movement calculation based on the granite’s documented coefficient of thermal expansion, not from a generic rule of thumb. That figure belongs on the test report you request from your supplier.
Parting Guidance for Granite Plank Paver Specifications
The decisions that define a granite plank paver installation — format, layout pattern, finish, base specification — are all interconnected, and the order in which you resolve them matters. Start with the subgrade, because everything else builds on it. Move to format and thickness once you know what the base can support. Then resolve the layout pattern relative to the space’s geometry, and finish selection relative to the surface’s end use. That sequence prevents the common error of specifying a beautiful stone in a finish that isn’t suited to where it’s going, or a layout that fights the space’s proportions rather than working with them. As you refine the broader material palette for your project, the linked article on granite varieties for outdoor paving explores how different granite types compare in color, grain and application suitability — a useful reference when the plank format is decided but the stone type is still open. Long granite planks from Citadel Stone give patios and paths a linear, modern look when laid in running bond or staggered rows.
Related reading: granite paver thickness · granite stepping stone path · granite vs porcelain pavers.