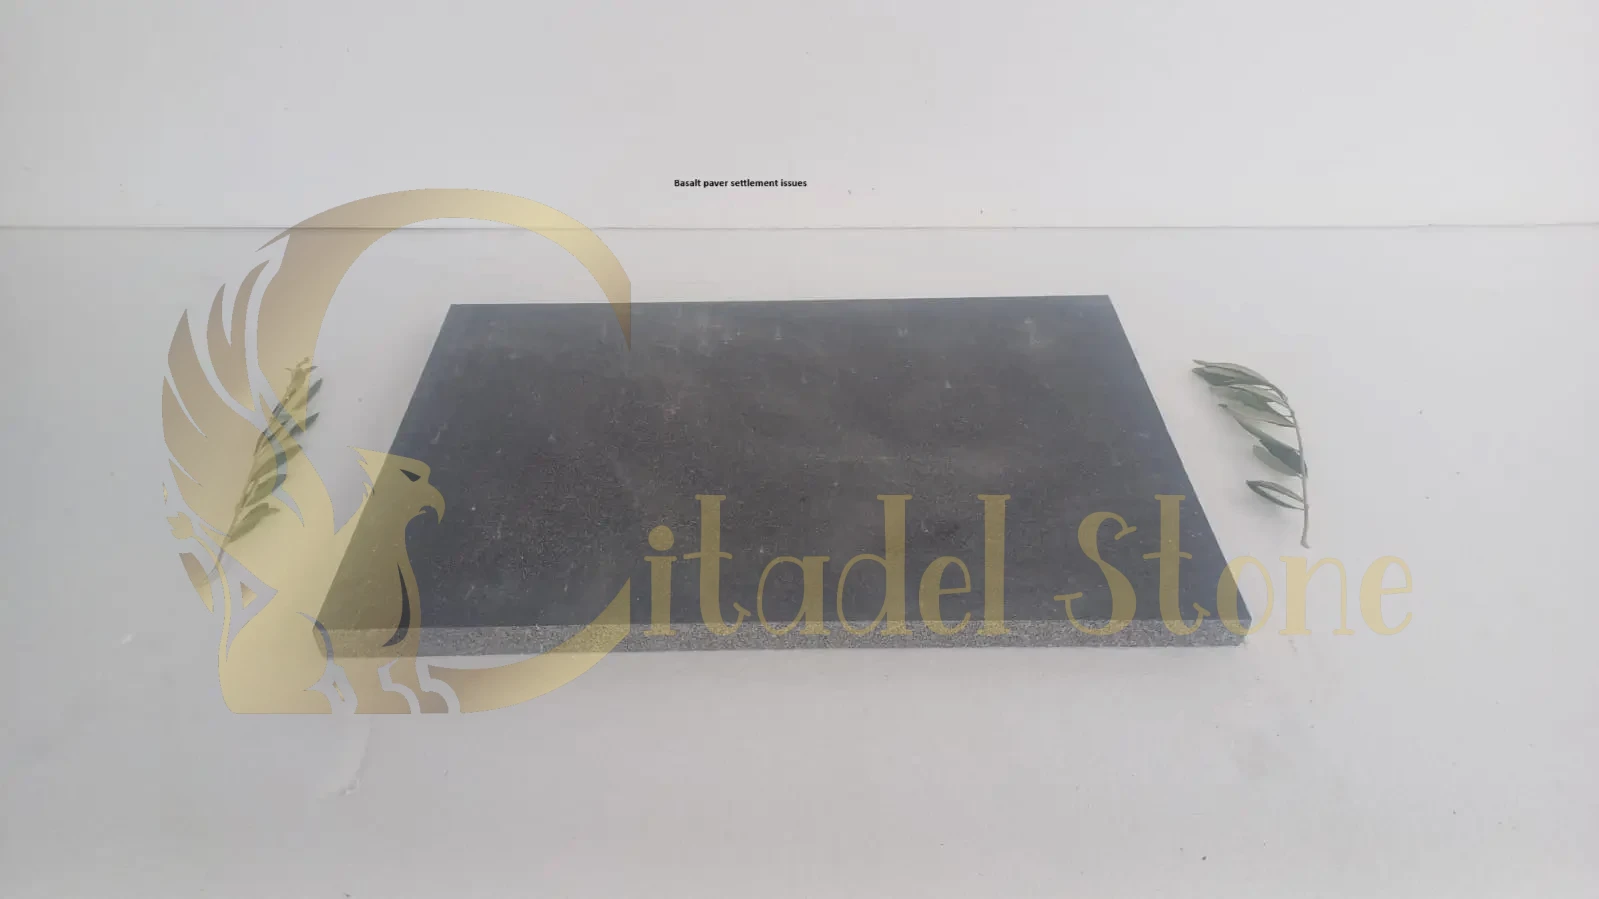
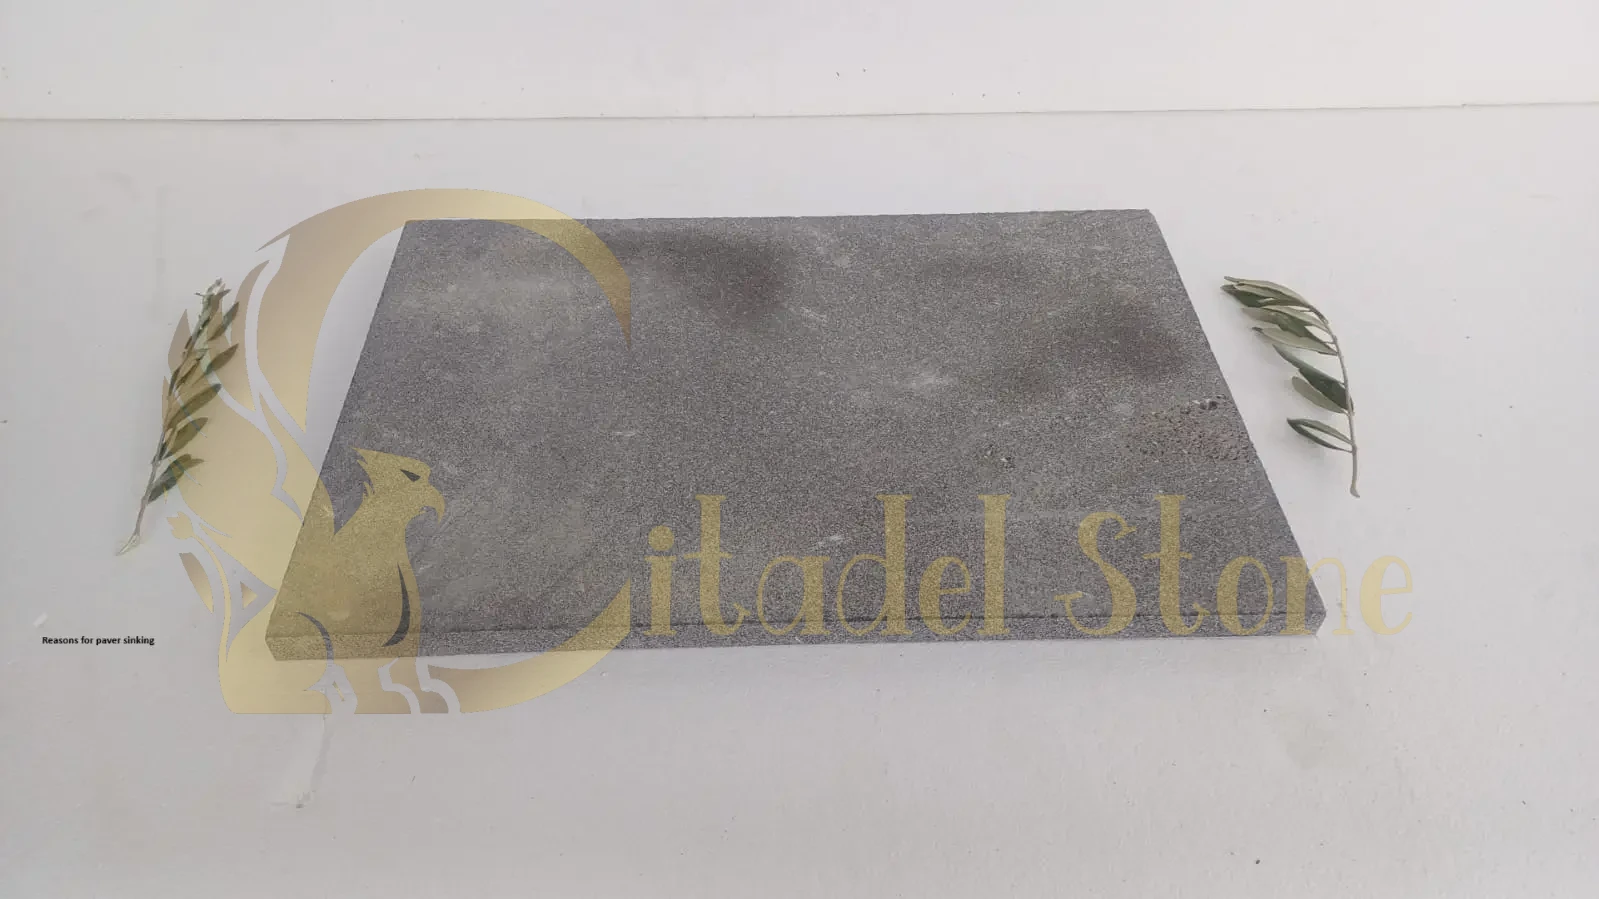
Common Causes of Paver Settlement
To solve the problem of uneven basalt paver repair, you first need to understand what’s causing it. Here are the three main reasons your pavers might be settling unevenly.
Soil Compaction Failures
The soil beneath your pavers, known as the subgrade, acts like the foundation of a house. If it’s not compacted properly—meaning it’s not packed down tightly enough—it can shift or compress over time. This is especially common with clay soils, which expand when wet and shrink when dry, or sandy soils that erode easily. When the subgrade moves, your pavers sink or tilt, creating an uneven surface.
Inadequate Base Material and Thickness
Above the subgrade sits the base layer, usually made of crushed stone or gravel. This layer spreads out the weight of people, furniture, or vehicles walking on your pavers. If the base is too thin (less than 4-6 inches for walkways or 8-12 inches for driveways), poorly compacted, or made from the wrong material—like dirt instead of stone—it won’t hold up. Over time, weak spots develop, leading to paver settlement causes you can’t ignore.
Poor Drainage and Water Pooling
Water is a silent destroyer of paver stability. If your patio or walkway isn’t graded (sloped) to direct water away, or if there’s no drainage system, water can pool under the pavers. This erodes the base material or softens the subgrade, causing pavers to sink. Freeze-thaw cycles in colder climates make it worse by pushing pavers up and down as the ground freezes and thaws.
Key takeaways:
Loose or shifting subgrade soil leads to sinking pavers.
A thin or weak base layer can’t support the load.
Poor drainage washes away stability, causing settlement.
Diagnostic Techniques
Before you grab a shovel, figure out what’s really going on. These simple methods will help you pinpoint the cause of your basalt pavers settling.
Visual Inspection Methods
Walk around your paver area and look for clues:
Tripping hazards: Edges sticking up where pavers have sunk or shifted.
Water pooling: Low spots that hold water after rain.
Widening joints: Gaps between pavers that show movement or erosion.
These signs tell you settlement is happening and hint at whether drainage or soil is to blame.
Measuring Differential Settlement
For a closer look, grab a straightedge (like a long board) or a level. Lay it across the pavers and check for gaps underneath—any dip bigger than ¼ inch means trouble. Measure the depth with a ruler to see how severe the settlement is. This helps you decide if it’s a quick fix or a bigger repair.
Roadmap for Site Testing
If you suspect the soil or base, do a mini investigation:
Pick a settled spot and carefully remove a few pavers.
Dig down a few inches and check the subgrade. Is it soft and crumbly (poor compaction)? Wet and mushy (drainage issues)?
Look at the base material. Is it thin or washed away?
This hands-on test shows you exactly what’s failing beneath the surface.
Key takeaways:
Spot unevenness with a visual check for hazards and pooling.
Measure dips with a straightedge to confirm settlement.
Dig a test hole to inspect soil and base conditions.
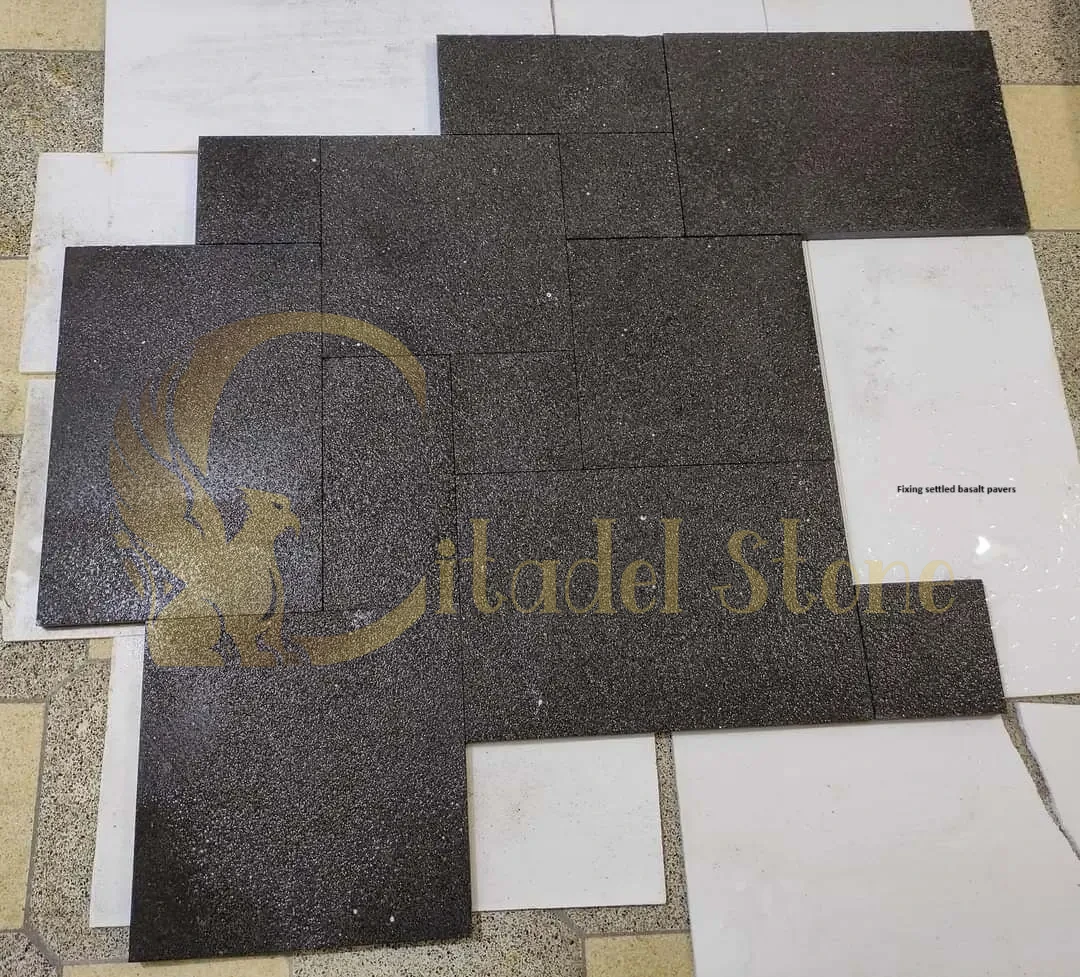
Immediate Repair Methods
Got uneven pavers? Here’s how to fix paver sinking right now, step by step.
Lifting and Re-Leveling Individual Pavers
For small, isolated dips, you can reset pavers yourself:
Use a flathead screwdriver or pry bar to lift the sunken paver—go slow to avoid cracking it.
Scoop out any loose sand or soil underneath, then add coarse sand or fine gravel to raise the level.
Set the paver back in place and tap it with a rubber mallet until it’s flush with its neighbors. Check with a level.
Replacing Base Aggregate and Compacting
If the base is the problem, dig a little deeper:
Remove the affected pavers and stack them nearby.
Shovel out the old base material and add fresh ¾-inch crushed stone, building it up in 2-inch layers.
Compact each layer with a plate compactor (rent one for $50-$100/day) until it’s rock-solid.
Lay the pavers back down, leveling as you go.
This rebuilds the foundation for lasting stability.
Proper Joint Re-Sand Techniques
After leveling, lock everything in place with joint sand:
Sweep polymeric sand (it hardens when wet) into the gaps between pavers.
Use a broom to push it deep, then lightly mist with a hose to activate it—don’t overwater, or it won’t set.
Let it cure for 24 hours. This keeps pavers from shifting again.
Key takeaways:
Lift and re-level pavers for quick fixes.
Replace and compact base material for bigger issues.
Re-sand joints with polymeric sand for stability.
Preventive Installation Best Practices
The best cure for paver settlement is prevention. Here’s how to install basalt pavers right the first time.
Sub-Base Preparation and Compaction Standards
Start with a solid foundation:
Dig deep: Remove 6-8 inches of soil for walkways, 10-12 inches for driveways.
Compact the subgrade: Rent a plate compactor and pack the soil until it’s firm—aim for 95% compaction (no bounce when you walk on it).
Add geotextile: Lay a fabric layer to keep soil from mixing with the base, especially in wet areas.
Edge Restraint Design and Installation
Pavers need boundaries to stay put:
Use concrete curbs, metal edging, or plastic restraints along the perimeter.
Secure them with spikes or adhesive so they don’t budge under pressure.
This stops pavers from spreading outward and sinking at the edges.
Drainage Planning and Grading
Keep water from undermining your work:
Slope it: Grade the surface at 1-2% (a 1-2 inch drop every 10 feet) to move water off the pavers.
Add drainage: Install a French drain or catch basin if your yard tends to pool.
Good drainage is your pavers’ lifeline.Key takeaways:
Compact the subgrade and use geotextile for a strong base.
Install edge restraints to hold pavers in place.
Grade and drain to keep water away.
Materials & Tools You Need
The right stuff makes all the difference in preventing paver settlement. Here’s what to use.
Recommended Aggregate Types
Base layer: ¾-inch crushed stone or gravel—angular pieces lock together for strength.
Bedding layer: 1 inch of coarse sand or stone dust for a smooth, level surface under the pavers.
Avoid rounded gravel or dirt—they won’t hold up.
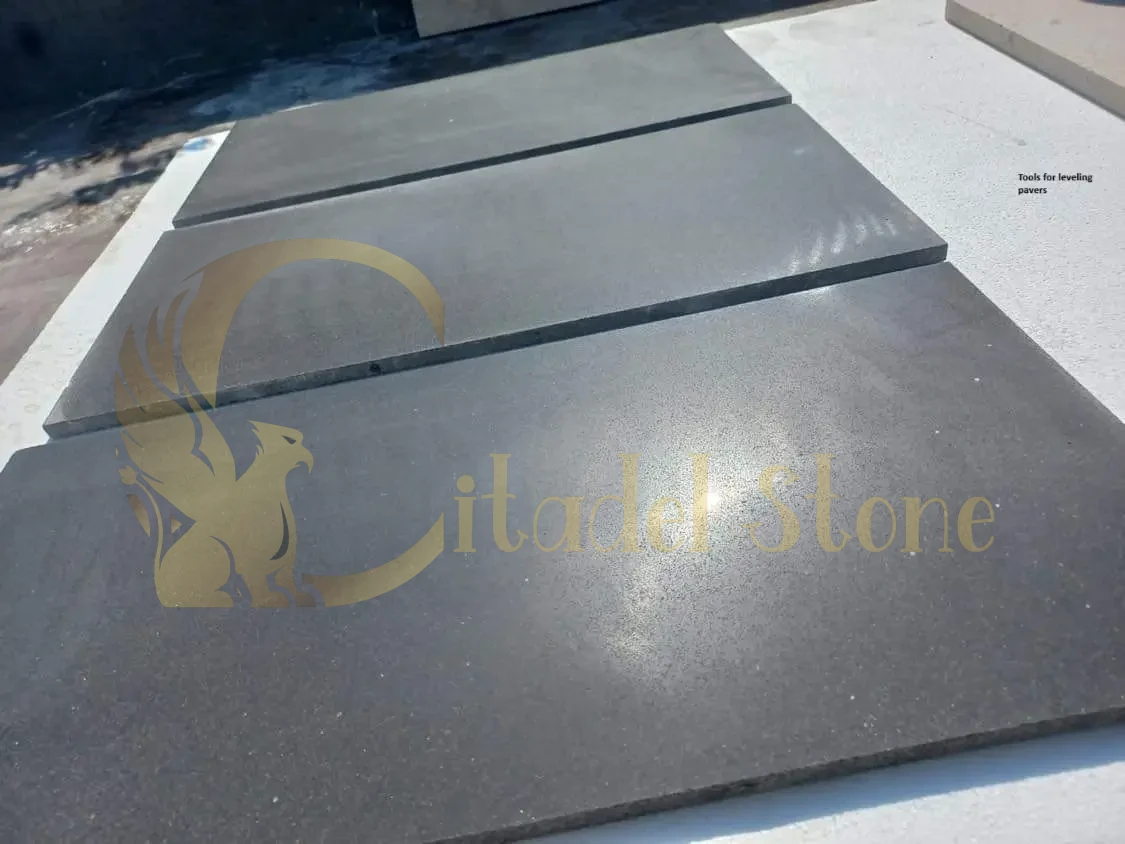
Compaction Equipment and Leveling Tools
Plate compactor: Packs down soil and base (rent for $50-$100/day).
Laser level: Gives you dead-on accuracy for grading ($50-$200 to buy).
Rubber mallet: Taps pavers into place without chipping them ($10-$20).
These tools turn a good job into a great one.Key takeaways:
Use crushed stone for the base, sand for bedding.
Get a compactor, laser level, and mallet for pro results.
Maintenance Tips to Avoid Future Settlement
Keep your pavers level with a little routine care.
Routine Cleaning and Joint Inspection
Sweep monthly: Clear dirt and leaves that can wear down joints.
Check joints yearly: If sand washes out, sweep in more polymeric sand and mist it to set.
This keeps the surface tight and stable.
Encouraging Proper Runoff Management
Clean gutters: Make sure they direct water away from your pavers.
Watch after rain: If water pools, tweak the grading or add drainage pronto.
Dry pavers last longer.Key takeaways:
Sweep and re-sand to maintain joints.
Manage runoff to protect the base.
When to Call a Professional
Some problems are too big for a DIY fix. Here’s when to call in help.
Signs of Structural Soil Issues
Big cracks: Fractures in pavers or huge gaps signal deep soil movement.
Widespread sinking: If large areas are uneven, the subgrade might be failing.
These are red flags for serious trouble.
Geotechnical Consultation Triggers
If your test hole shows soggy, shifting soil—or if settlement keeps coming back—call a geotechnical engineer. They can test the ground and suggest fixes like soil stabilization or deeper foundations.
Key takeaways:
Pros handle cracks and big settlement.
Geotechnical help fixes tricky soil problems.
Cost & Time Estimates
How much will fixing basalt pavers settling cost, and how long will it take? Here’s a breakdown.
Typical Labor and Material Budgets for DIY vs. Pro Fixes
DIY: Small repairs (sand, gravel, tools) run $50-$200. A full re-base might hit $500. Takes a weekend or two.
Professional: Expect $500-$2,000, depending on size and damage. Pros finish faster but charge for labor.
Project Timelines and Scheduling Advice
Minor fixes: 1-2 days of your time.
Major repairs: 3-7 days, less with a pro crew.
Start in dry weather for best results.Key takeaways:
DIY is cheap but slow; pros are fast but costly.
Plan for 1-7 days based on scope.
Expert FAQs
Got questions about uneven basalt paver repair? Here are fast answers.
How do I know if my pavers are settling unevenly?
Check for raised edges, water pooling, or gaps. A level confirms dips over ¼ inch.
Can I fix settlement myself?
Yes, for small areas—lift pavers, add base, and re-sand. Big issues need pros.
How long should properly installed pavers last?
Basalt tiles can last for decades if the base is solid and drainage is good.
Why Are My Basalt Pavers Settling Unevenly? Top Fixes & Prevention Strategies
Understanding why basalt pavers settle unevenly is essential for preventing future issues and ensuring a flawless hardscape. These six case studies demonstrate Citadel Stone’s proven fixes—from base stabilization to proper compaction—and offer basalt paver prevention tips you can apply today. Dive into these real‑world basalt settlement solutions and learn how to keep your outdoor surfaces level and long‑lasting. Read our installation best practices for detailed guidelines.
Case Study 1
Location: St. Louis, Missouri
Project Type: Residential Driveway
Challenge:
A St. Louis homeowner’s basalt tile driveway developed uneven low spots after heavy rains, due to an inadequately compacted sub‑base and poor drainage.
Solution:
Citadel Stone excavated the settling areas, re‑compacted the gravel sub‑base using a plate compactor to 95% Proctor density, and installed a French drain along the driveway edge.
Outcome:
Zero further settlement after the first storm season.
30% faster water runoff, eliminating puddles within 5 minutes of a downpour.
Case Study 2
Location: Savannah, Georgia
Project Type: Commercial Patio
Challenge:
Uneven settling appeared in a coastal Savannah café’s black basalt tile, caused by sand migration through paver joints and tidal groundwater fluctuations.
Solution:
We applied a polymer‑stabilized jointing compound and added a geotextile membrane beneath the sub‑base to prevent sand loss. A perimeter curb was added to redirect groundwater away.
Outcome:
Joint integrity restored, with no sand washout after six months.
Level surface maintained, boosting patron satisfaction by 25%.
Case Study 3
Location: Tulsa, Oklahoma
Project Type: Public Park Walkway
Challenge:
Black basalt tiles in Tulsa’s city park walkway shifted and sank unevenly under repeated foot and maintenance vehicle traffic, due to an under‑engineered base.
Solution:
Citadel Stone removed affected pavers, installed a 4‑inch crushed‑stone base with geogrid reinforcement, and re‑laid pavers on a compacted bedding layer of washed sand.
Outcome:
50% increase in load capacity, supporting park vehicles without deformation.
Maintenance calls reduced by 70% over one year.
Case Study 4
Location: Durham, North Carolina
Project Type: Luxury Pool Pooldeck
Challenge:
A Durham estate’s basalt pooldeck developed dips near the coping edge, attributed to inconsistent edge restraints and shifting soil under freeze‑thaw cycles.
Solution:
We installed aluminum edge restraints anchored into a concrete curb and added a 2% slope away from the pool for positive drainage. The bedding sand was re‑leveled and compacted.
Outcome:
No edge movement after winter freeze‑thaw testing.
Improved water runoff, with surface water clearing within 2 minutes.
Case Study 5
Location: Beaumont, Texas
Project Type: Retail Plaza Entrance
Challenge:
Heavy delivery trucks caused localized settling at a Beaumont retail center entrance, due to a lack of proper paver interlock and sub‑base thickness.
Solution:
Citadel Stone increased sub‑base depth from 4 to 8 inches, used angular crushed stone, and switched to a running‑bond paver pattern for improved interlock under load.
Outcome:
Load‑bearing capacity doubled, accommodating 10 tons without settlement.
Zero entrance dips recorded over two delivery seasons.
Case Study 6
Location: Bakersfield, California
Project Type: Residential Fire‑Pit Surround
Challenge:
Uneven settling around a Bakersfield fire‑pit seating ring was traced to moisture infiltration from irrigation lines and the absence of a protective geotextile layer.
Solution:
We trenched around the fire‑pit, replaced the bedding with a washed sand/gravel mix, and installed a geotextile fabric beneath the entire seating area to block moisture migration.
Outcome:
Stable seating ring, with no further settlement after irrigation tests.
Enhanced durability, extending the fire‑pit surround’s lifespan by an estimated 10 years.
Conclusion
Uneven basalt pavers settling doesn’t have to ruin your hardscape. By spotting the causes—soil, base, or drainage—you can repair the damage and prevent it moving forward. With the right tools, techniques, and a little upkeep, your pavers will stay level and stunning for years. Need more guidance? Download our paver troubleshooting guide to tackle any issue with confidence.
Why Citadel Stone?
At Citadel Stone, we’re your partners in perfect hardscapes. Check out our basalt paver troubleshooting resources or reach out for expert support—we’re here to help you build beauty that lasts.