

Getting a basalt hexagon tile install right comes down to a handful of decisions made before the first tile touches the floor — and the most consequential one is substrate flatness. Hexagonal geometry amplifies any deviation in the setting bed because each tile shares edges with six neighbours; a low spot that would read as a single lippage on a square tile now ripples across an entire cluster. Address the substrate before the adhesive goes down, and the rest of the basalt hexagon tile install process flows cleanly.
Why Basalt Is the Right Stone for a Hex Floor
Basalt is a dense, fine-grained volcanic stone with a naturally closed pore structure. Those two properties — density and tight porosity — make it well suited to floor tile applications where moisture cycling and surface wear would expose a softer stone’s weaknesses. The material holds its dimensional stability across temperature variation, which matters when you’re bonding small geometric tiles to a substrate that expands and contracts through the seasons.
You’ll also notice that basalt doesn’t carry the colour variation drama of some sedimentary stones. That consistency is a specification advantage: a hex floor grid relies on a repeating pattern, and strong colour swings from tile to tile fight the geometry rather than reinforce it. Basalt’s tonal evenness lets the hexagonal form read cleanly across the whole floor. For technical verification of basalt’s volcanic composition and density characteristics, USGS volcanic rock properties for basalt provides solid reference material.
Substrate and Base Preparation — Where the Install Starts
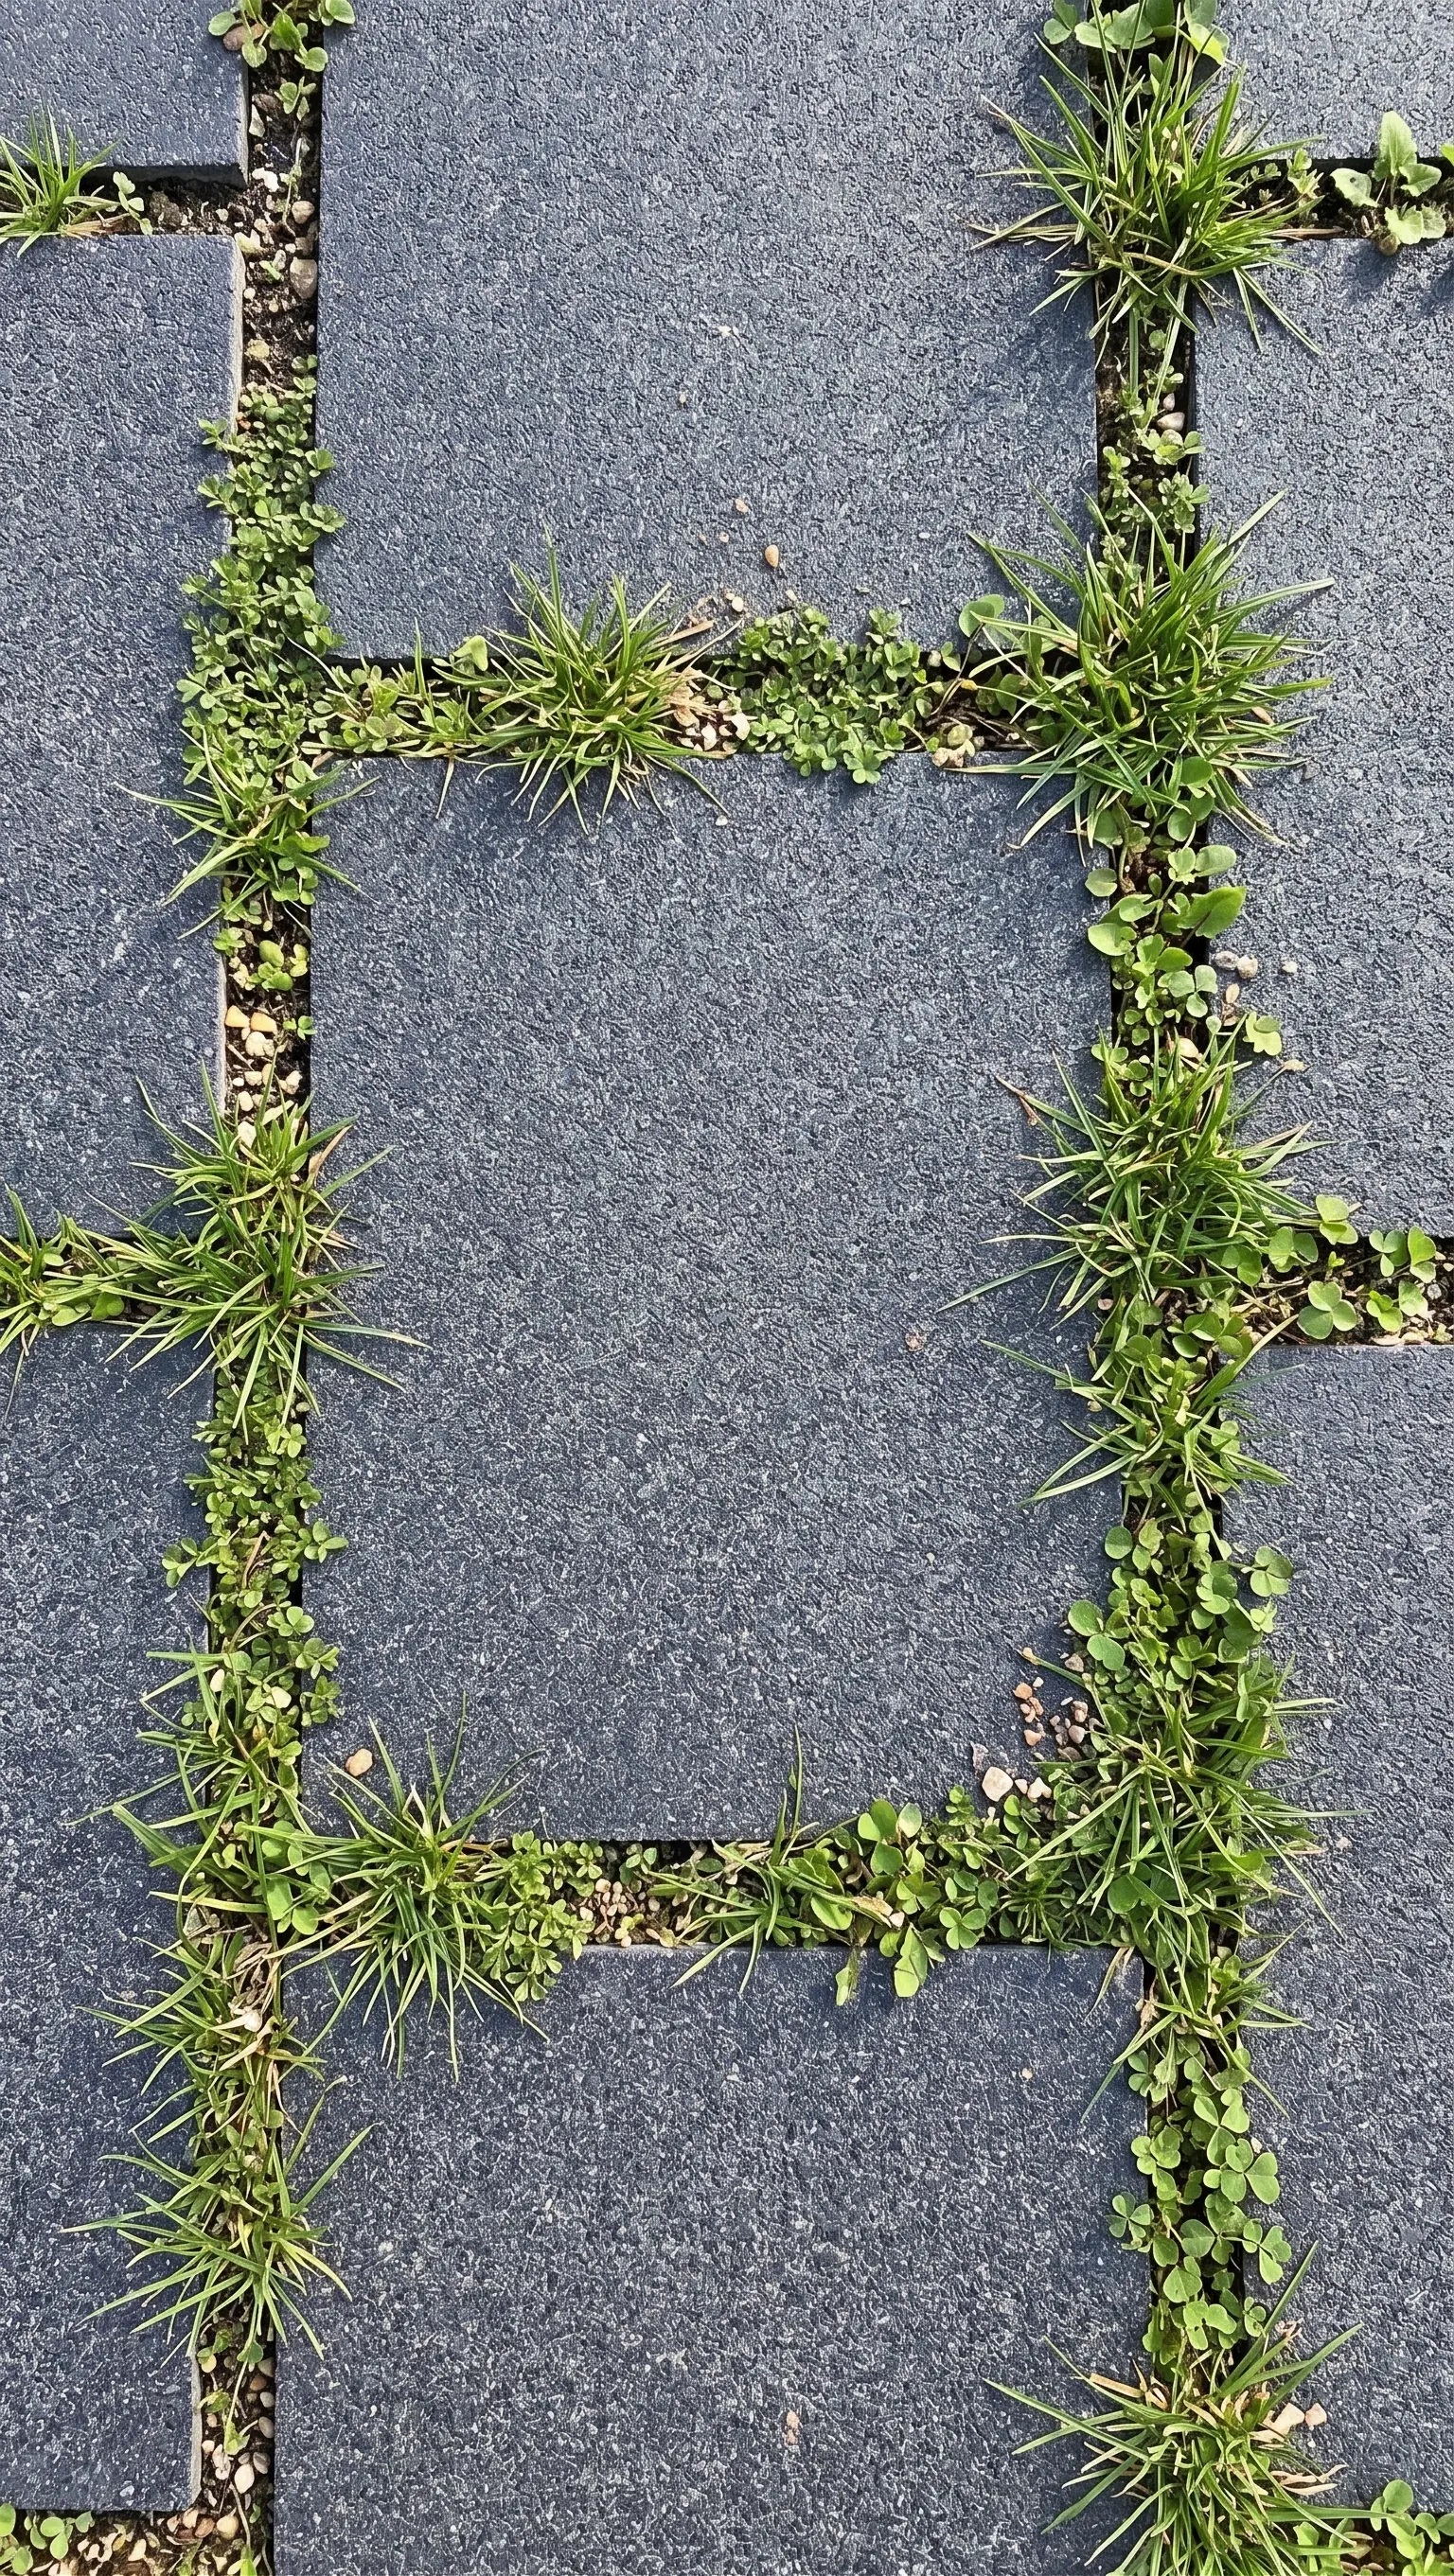
Your substrate is the single biggest variable in a hexagon tile install. Hex tiles read flatness errors more harshly than rectangular formats because the grout joints run in six directions simultaneously. Industry installation standards published by the Tile Council of North America specify maximum allowable variation for large and small format tiles — review those tolerances before you pour or level any substrate.
For a concrete slab, check for deflection and verify the slab meets the L/360 minimum stiffness requirement before tiling. A slab that flexes mid-span will crack the bond layer, and the hexagonal layout makes crack propagation easier to spot than on a more forgiving rectangular grid. Working over a timber subfloor makes the decoupling membrane non-optional — it absorbs the differential movement between the wood and the stone that would otherwise telegraph as cracked tiles at the joints.
- Check flatness with a 10-foot straightedge — maximum variation should not exceed your setting material manufacturer’s stated tolerance
- Grind down high spots rather than building up low spots with adhesive; adhesive thickness variation changes setting behaviour
- Allow new concrete to cure fully before tiling — residual moisture affects bond strength and can cause efflorescence through the grout joints
- On wood subfloors, use a cement backer board or a proprietary uncoupling membrane rated for stone tile loads
Choosing the Right Setting Material for Basalt Hex Tile
Basalt’s density means you need a medium-bed mortar or a high-polymer thin-set rated for heavy natural stone. Standard thin-set doesn’t provide enough coverage area under a dense stone tile, and insufficient coverage creates hollow spots that crack under point loads. Your setting material specification should require a minimum 95% back coverage for floor tile — the standard 80% rule for ceramic tile is not adequate here.
The working time of your mortar matters just as much as the coverage spec. Installing a hexagonal mosaic mesh or individual hex tiles in a large space means your layout work takes longer than a straightforward running bond. Choose a mortar with an extended open time if you’re tiling a room larger than roughly 150 square feet in one session. Avoid skinning the mortar surface — if it skins over before the tile goes down, pull it up and replace it rather than pressing the tile into a compromised bed.
- Use a large-notch trowel (½ inch square notch or as specified by the mortar manufacturer) and back-butter each tile individually
- In areas subject to moisture cycling, specify a polymer-modified mortar to accommodate minor movement at the bond line
- Check mortar temperature requirements — cold substrates and cold adhesive both slow cure and can compromise final bond strength
- Never use epoxy adhesive as a substitute for mortar in full floor applications without verifying the manufacturer’s coverage and movement tolerance specs
Layout and Pattern Planning for a Hex Grid
The detail that separates a professional hex tile install from an amateurish one is the dry-lay stage. Set out the entire floor dry before a drop of adhesive goes down. Hexagonal geometry creates a radial symmetry that, if centred incorrectly, produces narrow slivers at every wall — and because all six sides of the tile are exposed at boundaries, those cuts are visible from multiple viewing angles simultaneously.
Find your optical centre — typically the midpoint of the longest sightline from the room’s main entry — and work outward in both axes. Mark the centre point, snap your reference lines, and dry-lay at least one full tile’s width beyond the last full tile in every direction. That dry run shows you exactly what the border condition will look like before you commit. Adjust the centre point if the border cuts are under a third of a tile width; a small shift now saves you from difficult cuts and pattern interruptions at the perimeter.
For mesh-mounted hex tiles, keep the mesh sheets aligned to the same reference lines. Sheet joints are the most common source of pattern drift over a large floor — a half-millimetre misalignment between sheets compounds across the room and becomes visible at the far wall. Use spacers between sheets to maintain grout joint consistency, and check alignment after every four to five sheets rather than correcting drift at the end of a run.
Elevation Changes, Drainage and Sloped Installations
Your installation challenge changes substantially when the substrate involves a slope, a stepped transition, or a graded outdoor area. A basalt hexagon tile install on a flat interior floor is a controlled setting material and layout problem. The same tile on a terrace with a cross-fall for drainage introduces a second geometry layer that the hex pattern has to accommodate without reading as distorted.
Drainage falls in outdoor applications need to be built into the substrate, not the tile bed. Specifying a cross-fall directly into the adhesive layer creates variable thickness across the field, which affects cure time unevenly and can lead to differential movement at the tile edges. Build the fall into the concrete or screed substrate first — a standard minimum fall for a covered terrace is typically 1:80, and steeper for exposed areas — and then apply the setting material at a consistent thickness over the pre-graded surface.
On hillside or elevated installations, drainage at the base of the slope matters as much as the fall in the tiled surface itself. Water that sheets across a tiled area and then pools against a retaining edge or a step riser will find its way into any substrate weakness. Detail the perimeter drain or channel first, verify it’s at the correct elevation relative to the finished tile surface, and then work backward to the high point. This sequence — drain elevation first, substrate grade second, tile installation third — is the one that experienced specifiers use on complex terrain projects.
- For outdoor basalt hex tile on a slope, use a polymer-modified mortar specified for sloped applications with anti-slump properties
- Never rely on adhesive thickness variations to create drainage falls — always pre-grade the substrate
- At step nosings and level transitions on a sloped site, thicken the substrate edge and specify a movement joint at the riser-tread interface
- Consider the direction of the hex grid relative to the drainage fall — running a joint line parallel to the fall direction helps water move out of the pattern rather than pool at grout intersections
Cutting Basalt Hexagon Tiles at Borders and Obstacles
Cutting basalt cleanly requires a wet-saw with a continuous-rim diamond blade rated for hard stone. Basalt’s density wears through segmented blades faster than the tile count would suggest, and a worn blade on a hard stone produces micro-fractures at the cut edge that aren’t visible until you grout and the grout pulls the fractured zone away from the face. Change the blade on schedule, not by feel.
Hexagonal border cuts are geometrically more complex than rectangular tile cuts because you’re often working to an angle that isn’t 45 or 90 degrees. A digital protractor and a pencil template made from cardboard speeds this process significantly. Make the template from a full tile, mark the cut line on the template first, then transfer it to the tile. This avoids the cost and time of miscut stone tiles — basalt hex tiles are precision-cut at the quarry, so any waste comes directly out of your contingency stock.
Plan for a minimum 10–12% off-cut allowance on a hex floor with a complex boundary. Rectangular rooms need less; rooms with alcoves, columns, or curved walls need more. Order that stock before the job starts — having to reorder for cuts mid-project means matching a batch from a later production run, and even tightly controlled quarry stock can show finish variation between batches. At Citadel Stone, we cut basalt hex tiles to the order specification, so coordinate your cut tile requirements alongside the field tile order rather than treating them as a separate purchase.
Grouting a Basalt Hex Floor Correctly
The grout joint width for a hexagon tile install is typically narrower than for larger format stone, and that narrow joint demands a fine-aggregate or unsanded grout unless your joint width exceeds the threshold specified on your grout product’s data sheet. Check that threshold — using sanded grout in a joint that’s too tight for the aggregate size scratches the tile face during installation and produces an uneven joint profile when cured.
Seal the basalt tile face before grouting. This is the step that most residential installers skip and then regret. Basalt’s tight pore structure doesn’t absorb grout aggressively, but the grout haze on a polished or honed finish can be difficult to remove once cured, particularly at the six-point intersections where grout accumulates in the geometry. A penetrating sealer applied and wiped back the day before grouting creates a protective layer that cleans off cleanly after the grout cures. For natural stone tile specifications and standards, the Natural Stone Institute technical guidance confirms that pre-grouting sealer application is considered best practice for dense stone tiles. Review those standards with your installer.
- Grout in sections of four to six square feet, wiping haze while still workable rather than letting it dry across the whole floor
- Use a grout float held at a 45-degree angle to pack joints fully without dragging grout across the tile face
- Rinse the float frequently — a grout-laden float smears rather than packs, and residue builds up at the six-point intersections
- Allow full cure time before foot traffic — check the grout manufacturer’s stated cure period, which varies significantly between unsanded and epoxy grout types
Explore our basalt hex flooring range to review tile sizes, thickness options, and finish specifications before finalising your order.
Sealing and Long-Term Care for a Basalt Hex Floor
Basalt requires sealing after installation and periodic resealing over its service life. The material’s low porosity means it doesn’t absorb sealers as readily as limestone or sandstone, but unsealed basalt in a wet area or a kitchen is vulnerable to acid etching from food spills and cleaning products. Apply a penetrating, impregnating sealer — not a topical coating — and allow the full dwell time before wiping back the excess.
Your resealing interval depends on traffic, the sealer product, and exposure conditions. The sealer manufacturer’s stated interval is the schedule to follow — not a general rule of thumb. In a high-traffic commercial entry or a kitchen, expect to reseal more frequently than in a guest bathroom or a bedroom. Test the sealer condition with a water drop test: if water beads on the surface, the sealer is still active. If it absorbs slowly into the stone, reseal. A neglected seal is easier to restore than an acid-etched or stained tile surface.
Choosing the Right Finish for Your Basalt Hexagon Tile Application
Finish selection on basalt hexagon tile controls the visual character of the floor and the texture of the surface underfoot. For dry indoor floors — living areas, hallways, dining rooms — a polished or honed finish reads the geometry most sharply and gives the floor a refined, contemporary quality. Honed 60 Grit works well for interior floors where a matte surface is preferred, while Honed 120 Grit produces a finer, silkier surface closer to polished without the reflective intensity.
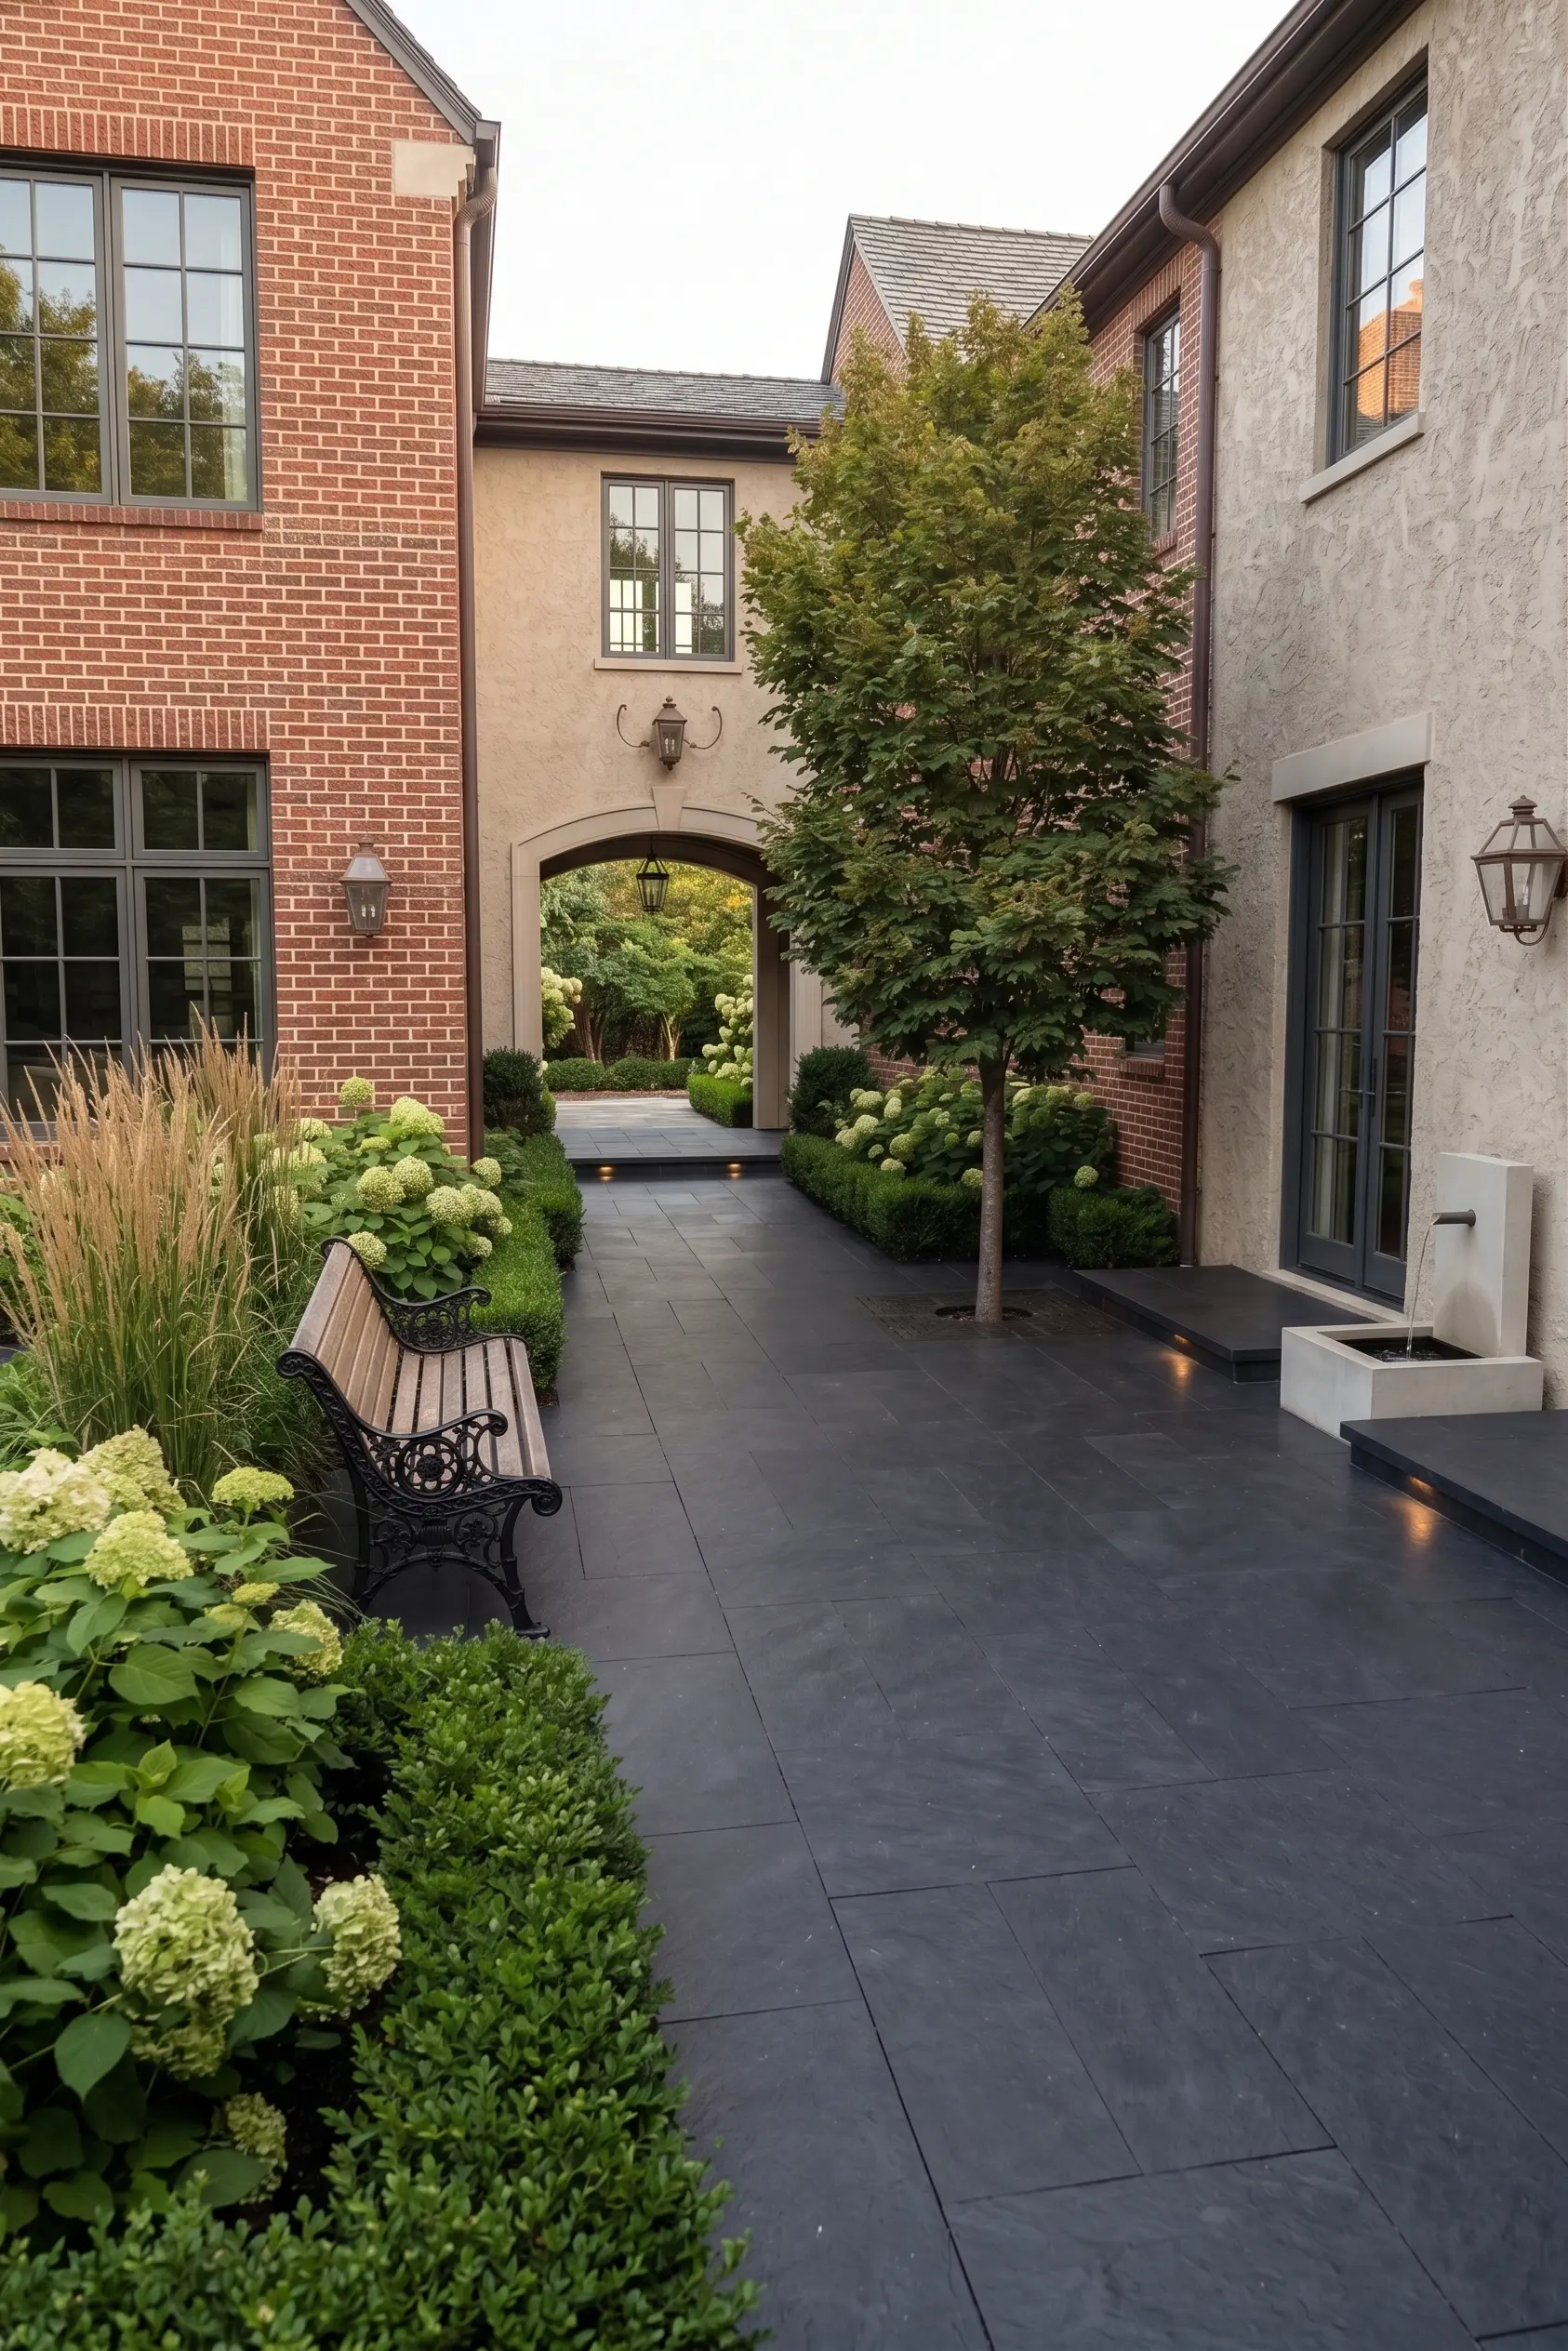
For covered outdoor terraces, pool houses, or interior bathrooms where moisture is present, a brushed finish gives the tile an open, matte texture without the pattern disruption of a bush-hammered surface. Brushed 36 Grit suits patios and pool surrounds, and Brushed 80 Grit is the appropriate specification for barefoot pool deck areas and terraces where bare-foot contact is expected. For pool decks, wet steps and slopes, choose a bush-hammered finish. For other outdoor paths, bush-hammered or brushed in our coarsest grit both work; check a sample. The Britannica entry on basalt explains why basalt’s crystalline surface structure responds differently to mechanical finishing than sedimentary or metamorphic stones — its uniformity at the mineral scale is what makes honed and brushed finishes consistent across a full hex tile floor.
- Polished finish: dry indoor surfaces only — living areas, hallways, fireplace surrounds
- Honed 60 or 120 Grit: interior floors, bathrooms, wall cladding
- Brushed 36 Grit: patios, pool surrounds, indoor-outdoor transitions
- Brushed 80 Grit: barefoot pool decks, outdoor terraces, spa floors
- Bush-Hammered: pool decks, wet steps, ramps, and any sloped outdoor area
Getting the Basalt Hexagon Tile Install Specification Right
The decisions that define a basalt hexagon tile install — substrate flatness, setting material specification, layout centring, finish selection, grout type, and sealing schedule — are all made before grouting begins. The tile itself is the most forgiving part of the process when the groundwork is done correctly. Rushing any of the pre-installation stages to reach the visible tile-laying phase is consistently where these projects develop problems that are expensive to correct once the floor is grouted and sealed.
Delivery planning is also worth addressing early. Basalt hex tiles are dense, and the pallet weights involved in a full floor order require clear access to the site and a confirmed offloading plan before the delivery date. For upper-level installations or hillside sites with difficult access, coordinate the logistics when you place the order rather than at the delivery call. Lead times and delivery arrangements are quoted with the order, so building that timeline into the project schedule from the start keeps the installation phase on track.
As you develop your basalt hex floor specification, you may also be planning complementary exterior stone elements around the same property. basalt hex tile for outdoor applications covers edge detailing, border options, and cut considerations that become relevant when the hex pattern moves outside or meets an exterior threshold. Installed over a flat substrate, basalt hexagon tile from Citadel Stone benefits from consistent sizing from our selected Middle East quarries.
Related reading: how basalt columns form · Basalt Herringbone Tile Ideas for Floors and Walls · scoria vs basalt rock.