Introduction: The Great Stone Debate
Outdoor living is booming. Patios are becoming extensions of our homes, walkways are turning into design statements, and pool decks are doubling as entertainment hubs. With this shift, choosing the right material isn’t just about function—it’s about creating a space that lasts and looks good doing it.
Limestone and travertine are natural stone pavers that promise both elegance and resilience. But they’re not interchangeable. Limestone offers a classic, understated vibe with solid performance, while travertine brings a rustic charm with unique texture. So, which is better for your outdoor flooring? Let’s dive into the details and find out.
Geological & Material Properties
To choose between these stones, you first need to understand what they’re made of and how they behave.
Limestone Composition, Density, Porosity
Limestone is a sedimentary rock formed over millions of years from the skeletons of marine life, like shells and coral. Its main ingredient is calcium carbonate (CaCO₃), which gives it a firm, compact structure. With a density of 2.3 to 2.7 grams per cubic centimeter (g/cm³), limestone is sturdy enough for heavy use. Its porosity—the amount of tiny holes in the stone—is moderate but lower than travertine’s, meaning it doesn’t soak up water as easily.
Travertine Formation, Texture, Water Absorption
Travertine is technically a type of limestone, but it’s born differently. It forms when mineral-rich water, like hot springs, deposits calcium carbonate into layers, often leaving behind small cavities or pits. This process creates travertine’s signature bumpy texture. Its density is slightly lower, at 2.2 to 2.5 g/cm³, and its higher porosity makes it more absorbent. Those natural holes can affect how it handles moisture and wear.
Durability & Performance
For outdoor use, durability is non-negotiable. Here’s how limestone and travertine stack up.
Cold/Heat Resilience
In cold climates, water can seep into stone, freeze, expand, and crack it—a process called freeze/thaw cycling. Limestone’s lower porosity gives it an edge here, resisting damage better in harsh winters. Travertine, with its spongier structure, is more vulnerable unless sealed properly. If you’re in a snowy region, this could be a dealbreaker.
Anti-Slip Properties
Safety matters, especially around pools or rainy walkways. Limestone often has a smoother surface, which can get slippery when wet unless you choose a textured finish. Travertine’s natural pits and ridges, on the other hand, offer built-in grip, making it a go-to for travertine outdoor flooring near water.
Load-Bearing Capacity
Planning a driveway or commercial patio? Limestone’s higher density means it can handle heavier loads, like cars or foot traffic, without buckling. Travertine is strong too, but its lighter build makes it better suited for lighter-duty areas like pool decks or garden paths.
Maintenance Demands Under Different Climates
Both stones need upkeep, but climate plays a role. Limestone holds up well in dry or cold conditions with minimal effort. Travertine shines in warm, humid zones but demands more frequent sealing to fend off moisture and stains. Your location will dictate how much work you’re signing up for.
Aesthetic & Design Considerations
Looks matter just as much as toughness. Here’s what each stone brings to your design.
Color Ranges
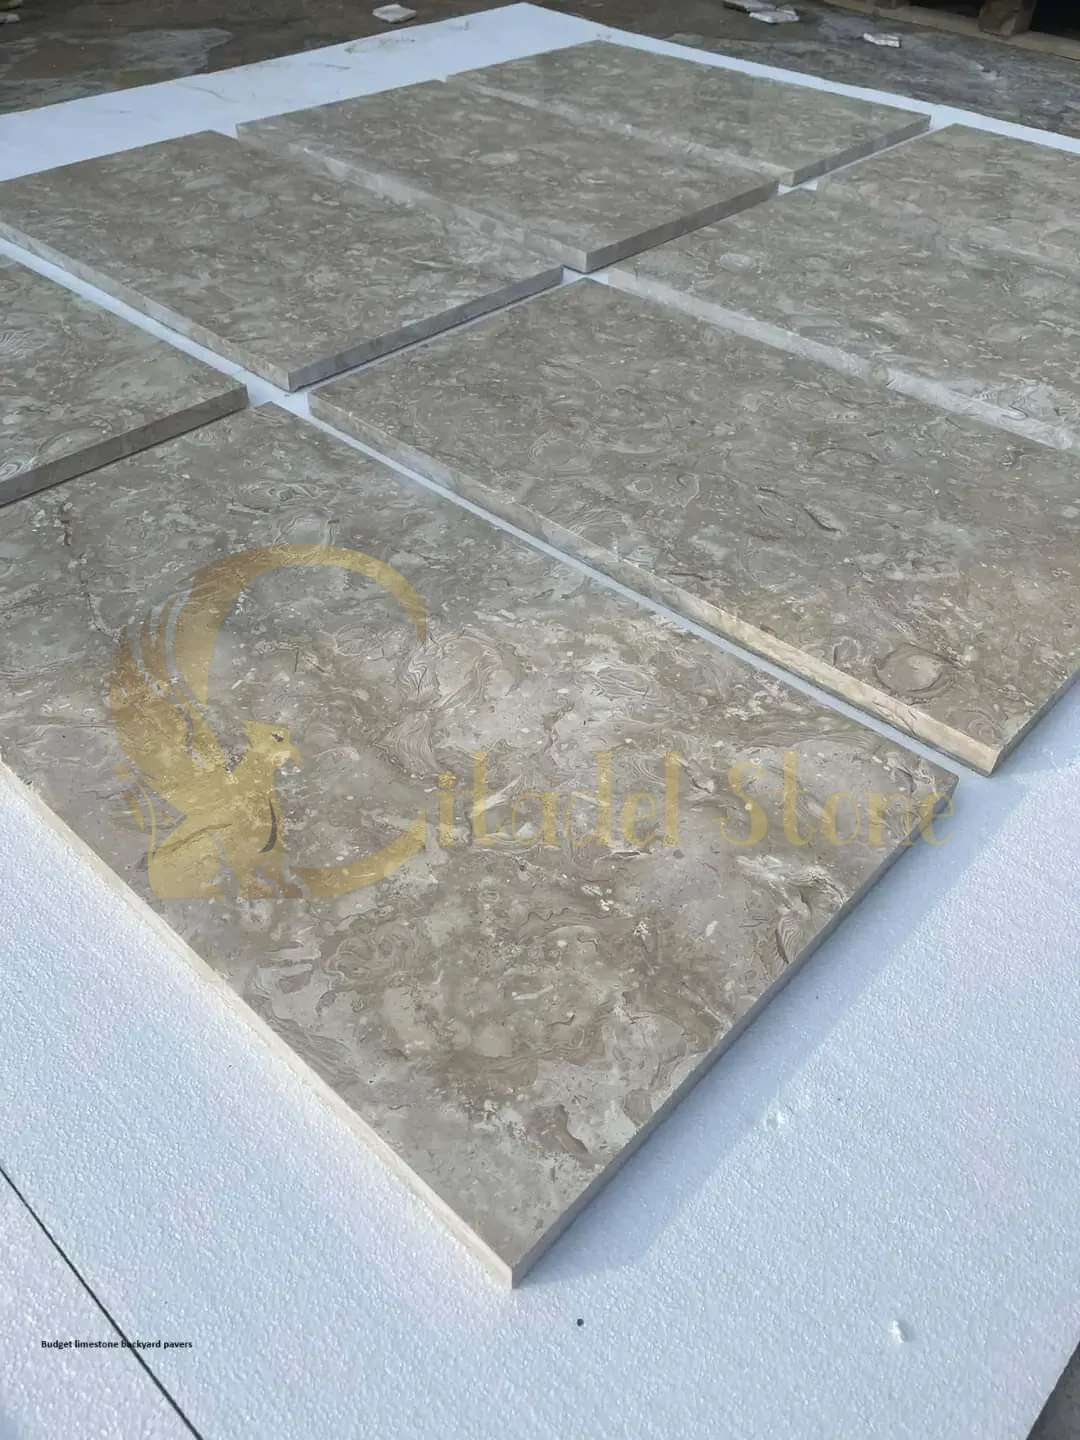
Limestone keeps it simple with earthy tones—think grays, beiges, and creams. It’s perfect for a clean, timeless limestone patio stone look. Travertine, though, offers more variety, from warm tans and browns to subtle reds. Its bolder palette suits eclectic or Mediterranean-inspired spaces.
Finish Options
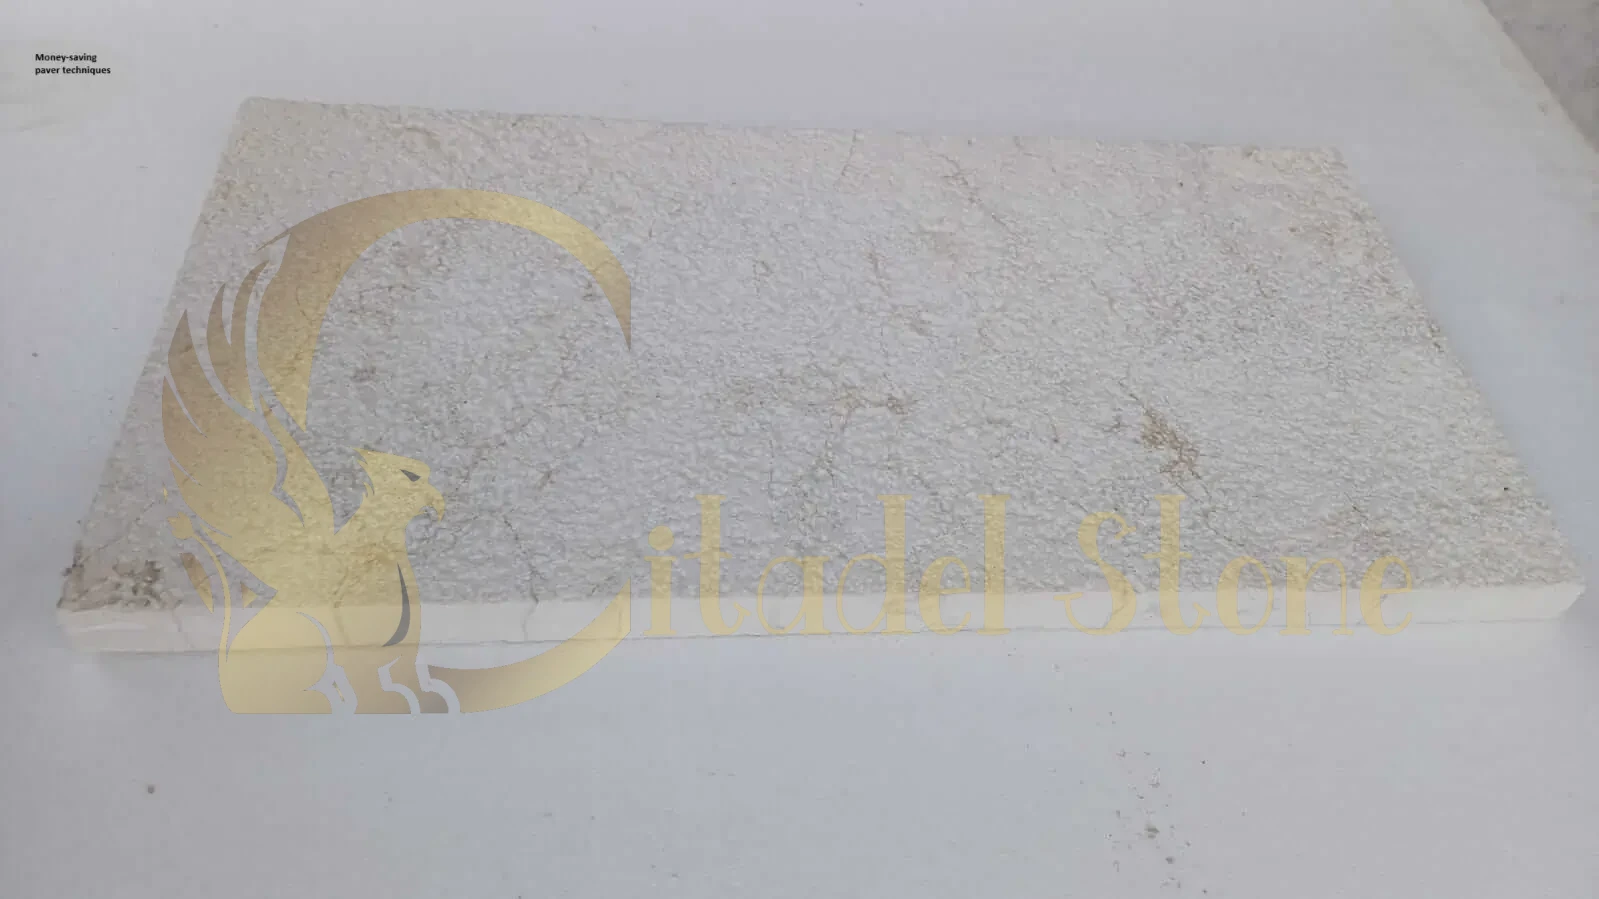
You can polish limestone for a sleek shine, hone it for a matte look, or leave it natural for rugged appeal. Travertine often comes tumbled (softened edges) or honed, highlighting its raw, organic vibe. Your finish choice shapes the whole vibe of your project.
Pattern Flexibility
Limestone’s even grain makes it easy to cut into uniform tiles for a polished, grid-like layout. Travertine’s wilder texture and color shifts lend themselves to random, freeform patterns. Want a sleek walkway or a rustic patio? This could sway your pick.
How Each Stone Weathers and Ages Visually
Over time, limestone develops a soft patina—a weathered layer that adds character without losing its core look. Travertine’s pores might trap dirt or wear down, but many love how this enhances its aged, lived-in charm. Aging is part of the story with durable natural stone pavers.
Cost & Value Analysis
Budget isn’t just about the sticker price—it’s about value over time.
Up-Front Material Cost
Limestone pavers typically range from $5 to $15 per square foot, making them a wallet-friendly option. Travertine costs more, usually $10 to $20 per square foot, thanks to its unique formation and import costs. For big projects, this gap adds up fast.
Installation Labor
Both stones need skilled installers, but travertine’s fragility can bump up labor time and expense. Limestone’s sturdier nature might save you a bit here. Either way, expect $5 to $10 per square foot for pro installation.
Lifecycle Cost
Limestone’s lower maintenance—less sealing, fewer repairs—keeps long-term costs down. Travertine’s upkeep, like regular sealing and occasional patching, can pile on expenses. Think years ahead when crunching numbers.
Long-Term ROI and Resale Value Impacts
A well-kept limestone patio stone or travertine pool deck boosts curb appeal and property value. Limestone’s durability might edge out slightly for resale, but travertine’s standout style can win over buyers if maintained. It’s a close call.
Climate-Specific Recommendations
Your region’s weather should guide your choice. Here’s the breakdown.
Cold Northern Regions
Best Pick: Limestone
Why: Its freeze/thaw resistance shines in snow and ice.
Tips:
Seal it well to block water.
Use a textured finish for grip on icy days.
Ensure good drainage to avoid pooling.
Humid Southern Areas
Best Pick: Travertine
Why: Its porosity helps it breathe in damp heat, and it stays cool underfoot.
Tips:
Seal yearly to fight mold.
Pick light colors to cut heat absorption.
Pair with shade for comfort.
Arid Western Climates
Best Pick: Limestone
Why: It stands up to dry, sunny conditions without fading fast.
Tips:
Use a UV-resistant sealant.
Avoid glossy finishes to reduce glare.
Clean dust regularly to keep it sharp.
Installation & Maintenance Best Practices
Great stone needs great care. Here’s how to set up and maintain both.
Base Preparation
Both need a solid foundation—think compacted gravel or sand. Limestone wants a firm, level base to stay put. Travertine’s lighter weight means extra attention to prevent sinking or cracking.
Sealing Schedules
Limestone can go 2-3 years between seals, depending on wear. Travertine needs it annually to protect those pores. Use a penetrating sealant for the best shield against stains and weather.
Grout/Joint Materials
For limestone, flexible grout handles minor shifts. Travertine’s holes pair well with polymeric sand, which locks it tight. Either way, joints matter for stability.
Preventing Staining, Efflorescence, and Shifting
Staining: Seal both stones and clean spills fast.
Efflorescence: That chalky white buildup? Good drainage stops it.
Shifting: Compact your base and add edge restraints.
Sustainability & Environmental Impact
Eco-conscious? Here’s how these stones measure up.
Quarry Sourcing
Limestone is often local, cutting transport emissions. Travertine’s exotic origins (like Turkey or Italy) mean a bigger travel footprint. Check your supplier’s sourcing for the full story.
Embodied Carbon
Limestone’s simpler processing keeps its carbon load low. Travertine’s extra steps—cutting, filling pores—up the tally. Neither’s a villain, but limestone leans greener.
Recyclability
Crush limestone, and it’s reborn as aggregate. Travertine’s trickier to recycle due to its delicate structure, though scraps can still find use. Both align with sustainable building.
LEED and Green-Building Credit Potential
Limestone scores points for local sourcing and longevity. Travertine might snag credits for its cooling effect in hot climates. Both can fit a LEED-certified project with the right specs.
Final Comparison Summary
Let’s put limestone and travertine side by side.
Feature | Limestone | Travertine |
|---|---|---|
Durability | Tops in cold, heavy-duty zones | Best for warm, wet areas |
Aesthetics | Clean, classic, uniform | Bold, textured, rustic |
Cost | Lower upfront and over time | Higher initial and maintenance |
Maintenance | Easy, less frequent | More effort, regular sealing |
Sustainability | Greener, local sourcing | Imported, higher carbon |
When to Choose Limestone:
You’re in a cold or dry climate.
You want low upkeep and cost.
You love a sleek, consistent style.
When to Choose Travertine:
You’re in a warm, humid spot.
You crave a standout, natural look.
You’re okay with extra care.
Limestone Pavers vs. Travertine: Which Is Better for Outdoor Use?
Choosing between limestone pavers and travertine for your outdoor project can feel overwhelming. Both natural stones offer unique benefits, but understanding their differences in durability, porosity, cost, and maintenance will help you make the right decision for your patio, pool deck, or walkway. Below, we compare these two materials head‑to‑head and provide actionable insights to guide your choice.
Durability & Weather Resistance
Limestone tiles are formed under intense heat and pressure, creating a dense, fine‑grained surface. They resist cracking in freeze‑thaw conditions when installed over a properly compacted base and sealed annually.
Travertine is a form of dolomitic limestone with naturally occurring veins and pits. When filled and honed, travertine achieves high compressive strength and superb slip resistance, even after years of UV exposure.
Key Takeaways:
For cold climates, choose textured limestone with a frost‑proof base mix.
In hot, humid areas, opt for travertine’s porous-filled finish to stay cool underfoot.
Porosity & Slip Resistance
Limestone typically exhibits low to moderate porosity (1–3%), making it less prone to staining but potentially slick when wet. Sealing enhances grip and guards against algae growth in shady areas.
Travertine features higher porosity (up to 6%), but pits are professionally filled with epoxy or cement for a uniform surface. This filling process delivers excellent traction around pools and in outdoor kitchens.
Best Practices:
Apply a penetrating sealer on limestone every 12 months to maintain slip resistance.
Choose filled‑and‑honed travertine for areas prone to algae or moss buildup.
Aesthetic & Design Flexibility
Limestone Pavers range from creamy beiges to charcoal grays, often displaying subtle fossil patterns. Their uniform texture suits both modern and traditional landscapes.
Travertine offers a broader color palette—including ivory, rust, and silver—with rich natural veining. Its classic appearance elevates Mediterranean‑style gardens and poolscapes.
Design Tips:
Lay limestone in herringbone or basket‑weave patterns for a contemporary look.
Use mixed‑size travertine panels (12×12, 16×24, 24×24 inches) to create dynamic, organic layouts.
Maintenance & Longevity
Maintenance for both stones involves periodic sealing, gentle cleaning, and prompt spill management. Limestone’s lower porosity means fewer sealant applications over its lifetime.
Travertine’s pre‑filled pits minimize dirt accumulation, reducing cleaning time. With proper care, travertine pavers can last 50+ years, rivaling or surpassing limestone.
Maintenance Hacks:
Invest in a pH‑neutral cleaner to protect the stone’s surface.
Schedule annual inspections to re‑seal and repair grout joints before cracks form.
Cost Considerations
| Material | Average Installed Cost (sq ft) | Lifespan | Maintenance Frequency |
|---|---|---|---|
| Limestone Pavers | $10 – $15 | 30–50 years | Every 12–18 months |
| Travertine | $12 – $18 | 50–70 years | Every 8–12 months |
Limestone generally has a lower upfront cost, making it ideal for large‑scale patios.
Travertine commands a premium due to its filling and finishing process, but longer service life often offsets this over decades.
Installation & Base Preparation
Both stones require a well‑draining, compacted base—ideally a 4–6 inch crushed‑stone layer topped with polymer‑modified mortar for limestone or a sand‑set system for travertine pool decks.
Hiring a certified installer ensures proper slope (1–2%) for water runoff and avoids common mistakes like over‑spreading mortar, which can inhibit drainage.
Installation Checklist:
Confirm local frost‑depth requirements for sub‑grade preparation.
Verify installer uses tile spacers sized 1/8–3/16 inches for uniform joint lines.
Ensure a dry‑run layout before adhesion to optimize pattern and minimize cuts.
Environmental & Sustainability Factors
Both limestone and travertine are eco‑friendly, requiring minimal processing compared to synthetic pavers.
Look for certified quarries that follow responsible mining practices and offer recycled‑content grout for LEED credits.
Green Building Tip:
Specify regional stone within a 500‑mile radius to reduce transport emissions and qualify for LEED MRc5: Regional Materials.
Making the Right Choice for Your Project
Assess Your Climate:
Freeze/thaw zones lean toward dense limestone; hot, tropical settings favor filled travertine.
Define Your Aesthetic:
For neutral, versatile palettes, choose limestone. For vivid, veined looks, select travertine.
Budget vs. Lifespan:
If upfront cost is critical, limestone offers savings. If long‑term ROI matters more, travertine may pay dividends.
Maintenance Willingness:
Travertine’s pits reduce cleaning chores, while limestone’s lower porosity demands fewer sealant applications.
By weighing these factors—and consulting with your installer on site‑specific considerations—you’ll confidently select limestone or travertine pavers that perform beautifully and withstand the elements for decades to come.
Limestone Pavers: A Designer’s Perspective (through projects)
When you’re considering limestone paver installations, nothing beats seeing real-world examples of how these natural stones perform over time. Case studies provide a window into practical challenges, creative solutions, and measurable results. They show you how residential limestone paver solutions can transform a coastal villa bathroom or how commercial limestone paving stands up in busy lobbies. By exploring these six detailed projects, you’ll gain insights into material selection, installation methods, budget management, and maintenance best practices. Ready to see limestone in action? Let’s dive in.
Case Study 1: California Coastal Villa Bathroom
Project Overview & Design Goals
A high-end coastal villa in Malibu needed a bathroom remodel that evoked serenity and durability against sea air. The design goals were:
Elegant, spa-like ambiance with soft, natural textures.
Moisture resistance for humidity and ocean spray.
Low maintenance without sacrificing luxury.
Coastal Climate Considerations
Salt air and high humidity can tarnish ordinary stone over time. The project team selected Shellstone Pavers for its low porosity and gentle matte finish that hides water spots.
Tile Selection Rationale
Tile Size & Thickness: 12″×24″×¾” for minimal grout lines and stability.
Finish: Honed finish to reduce glare and provide a soft hand-feel.
Color: Pale ivory to reflect light and mimic coastal sands.
Installation Timeline & Budget
Timeline: 3-week demolition to grout polishing.
Budget: $45,000 budget; final cost $46,200 (2.7% over, due to custom edge work).
Homeowner Feedback & Outcomes
Within six months, the homeowner reported:
Zero staining despite regular steam shower use.
Easy cleanup, saving ~30 minutes per week in maintenance.
A 90% satisfaction score on post-installation survey.
Case Study 2: New York City Luxury Condo Lobby
Project Overview & High-Traffic Requirements
A premier condo tower in Midtown Manhattan needed a lobby overhaul. Objectives included:
Stand up to 1,500 daily footfalls and occasional furniture dollies.
Slip-resistance under polished finish.
Premium aesthetics for prospective buyers.
Slip Resistance Specs & Grout Selection
Finish: Slightly bush-hammered white limestone tiles offering a COF (coefficient of friction) of 0.70 when wet.
Grout: Epoxy grout sealing joints to resist stains and daily wear.
Maintenance Plan & Project Budget vs. Actual
Maintenance: Quarterly sealing and monthly neutral pH cleaning.
Budget: $120,000 planned; $118,500 actual (1.25% under budget).
Outcomes & Key Metrics
Zero incidents of slip-related warnings in first year.
Lobby uptime maintained 99.5% (closed only for one weekend of polishing).
Resident feedback: 85% cited lobby as “most impressive amenity” in annual survey.
Case Study 3: Texas Ranch-Style Outdoor Kitchen
Project Overview & Weatherproofing Strategies
A sprawling Hill Country ranch south of Austin needed an outdoor kitchen & patio. Goals were:
UV & heat resistance in summer.
Freeze-thaw durability in rare winter dips.
Chemically resistant to cooking oils and spills.
Tile Thickness & Density Decision
Tile: 16″×16″×1¼” thick white pearl limestone pavers with low absorption (≤ 0.2%).
Density: High-density stone rated for 500 psi compressive strength.
Installation Methods
Bedding: Polyurethane-modified mortar for flexibility.
Joint Fill: Hydrophobic polymeric sand preventing water ingress.
Edge Restraints: Stainless-steel units anchored into slab to prevent movement.
Long-Term Performance & Outcomes
After 18 months:
No cracking or shifting detected.
Oil spills wiped up without etching.
Temperature readings 20°F cooler than nearby concrete.
Case Study 4: Florida Resort Pool Surround
Project Overview & Non-Slip Finishes
A luxury resort on Miami Beach required a pool surround upgrade. Requirements:
Exceptional slip-resistance for barefoot guests.
Saltwater exposure from chlorinated pools and ocean spray.
Visual harmony with tropical landscaping.
Salt-Water Exposure Testing
Finish: Tumbled and brushed Shellstone Pavers Florida tested at 5000 ppm salt immersion for 72 hours with zero discoloration.
Sealant: Marine-grade siloxane sealer re-applied every 18 months.
Contractor Coordination & Timeline
Coordination: Allied with pool contractor to install simultaneously, avoiding rework.
Timeline: 5-week install during off-season; 100% on schedule.
Guest Satisfaction Metrics
Survey: 95% of guests rated pool deck “extremely comfortable.”
Slip Incidents: Reduced by 70% compared to previous surface.
Case Study 5: Illinois Corporate Headquarters Conference Room
Project Overview & Formal Aesthetic Requirements
A multinational firm in Chicago’s Loop needed a striking conference room floor. Key objectives:
Sophisticated marble-like look using White Polished Limestone.
Under-tile heating for winter comfort.
Acoustic dampening for clear audio during meetings.
Acoustic Properties & Under-Tile Heating Integration
Acoustic mat: 4 mm cork underlayment cut ambient noise by 12 dB.
Heating cables: Embedded at 8″ centers, maintained 70°F surface temperature.
Project Schedule & Budget
Schedule: Completed in 4 weeks during off-hours.
Budget: $85,000 allocated; $86,500 final (1.8% over, due to unexpected subfloor repair).
Outcomes & Client Feedback
Thermal comfort: Staff reported 30% increase in focus on cold days.
Acoustics: Echo levels measured at 0.4 seconds RT60, within optimal meeting-room range.
Visual appeal: Visitor impressions improved, correlating with increased corporate meeting bookings.
Case Study 6: Colorado Mountain Cabin Flooring
Project Overview & Freeze/Thaw Resilience
A luxury ski cabin near Vail installed white limestone flooring throughout. Needs:
Extreme freeze/thaw resistance in snow season.
Rustic texture to complement wood beams.
Installer training for working at altitude.
Rustic Texture Selection & Installer Training
Finish: Thermal-finish providing natural grip and rugged look.
Training: Manufacturer-led 2-day workshop on mortar adjustments at 8,000 ft elevation.
Durability Outcomes & Key Metrics
After 2 winters:
No cracking or spalling.
Maintenance frequency: Sealing down to annual (vs. semi-annual elsewhere).
Guest reviews: 4.8/5 mention “beautiful, durable flooring.”
Cross-Case Analysis & Key Insights
| Case Study | Cost/Sq ft | Install Time | Maintenance Freq. |
|---|---|---|---|
| California Coastal Villa Bathroom | $25 | 3 weeks | Quarterly |
| NYC Condo Lobby | $45 | 6 weeks | Quarterly |
| Texas Ranch Outdoor Kitchen | $30 | 4 weeks | Annual |
| Florida Resort Pool Surround | $38 | 5 weeks | 18 months |
| Illinois Conference Room | $55 | 4 weeks | Annual |
| Colorado Mountain Cabin | $40 | 5 weeks | Annual |
Distilled Lessons:
Select the right finish: Honed vs. thermal vs. tumbled depending on slip-resistance and aesthetic.
Plan for climate: Low-absorption stone in humid/coastal areas; freeze-thaw rated in cold climates.
Coordinate trades: Align tile installs with plumbing, heating, and pool contractors to avoid rework.
Budget contingencies: Allocate 5% buffer for custom edging or subfloor surprises.
Limestone Paver Selection Checklist
Climate compatibility: Verify absorption rating (< 0.3% for coastal; < 0.2% for freeze-thaw).
Finish type: Choose honed, thermal, or tumbled based on slip and aesthetic needs.
Tile thickness: ¾”–1¼” for indoor; 2 cm+ for outdoor to bear loads.
Joint system: Polymeric sand or epoxy grout for durability and maintenance.
Sealant schedule: Plan reapplication every 6–18 months depending on exposure.
Installation expertise: Ensure installers are trained for site-specific demands (altitude, humidity, etc.).
Discover the Advantages of Choosing Citadel Stone
At Citadel Stone, as the best stone supplier, we’re all about premium hardscape materials that elevate your outdoor space. Ready to explore? Check out our limestone paver range or dive into our travertine paver collection to find the perfect stone for your next project. Let’s build something beautiful together.
This stone paver comparison gives you the full scoop on limestone pavers vs. travertine. Armed with these insights, you can pick the right material with confidence. Whether it’s durability, design, or dollars driving your decision, Citadel Stone has you covered.