

Basalt herringbone tile ideas tend to look deceptively simple on a mood board — two rectangles, an angle, a repeat. The real creative work starts when you understand how the format interacts with the stone’s natural character: its dense, fine-grained texture, its near-black to blue-grey palette, and the way different finishes respond to light at different hours of the day. Getting those variables working together is what separates a herringbone installation that genuinely energizes a space from one that just fills a floor.
Why the Herringbone Format Works So Well with Basalt
The herringbone pattern relies on contrast — the visual tension between the angled rows and the straight field around them. Basalt’s tonal consistency makes that geometry pop without competing color noise. Unlike stones with heavy veining or dramatic grain, basalt lets the pattern itself carry the visual weight. You’re essentially using the material as a canvas that doesn’t fight back.
The directionality of the pattern also matters more with basalt than with lighter stones. Because basalt absorbs rather than reflects light, the angled joints catch raking light differently depending on orientation. A herringbone running at 45 degrees to the longest wall tends to read as more dynamic; one aligned parallel to the entry axis feels more formal and elongated. Before you finalize orientation, hold a loose dry-lay of a few rows in the actual space and observe them at different times of day — the difference can be striking.
According to basalt volcanic rock formation and construction properties, the stone’s crystalline density gives it a tight, smooth-breaking surface that takes precision cutting well — a practical advantage when you’re producing the high volume of identically dimensioned pieces that a herringbone layout demands. Any dimensional variance compounds along the angled joint lines, so consistent cutting is non-negotiable.
Finish Options and Their Visual Impact on Basalt Herringbone Tile Ideas
Your finish choice shapes the entire mood of a basalt herringbone installation — arguably more than the tile size or the joint width. Each finish interacts with basalt’s dark tone in a distinct way, and understanding those interactions before you commit saves costly surprises on site.
- A Polished finish on basalt produces a mirror-like depth of color, turning the near-black surface reflective and almost liquid-looking under artificial light. This is an outstanding finish for dry indoor floors, feature walls, and fireplace surrounds — confined to dry environments only.
- Honed 120 Grit delivers a smooth, matte surface with a subtle sheen. It reads as sophisticated and restrained, holds color well in both natural and artificial light, and suits interior floors, wall cladding, and bathroom wall applications where a polished look would feel excessive.
- Honed 60 Grit sits between polished and matte — slightly more texture than the 120 Grit, useful for interior floors and covered terraces where you want the material to feel more grounded and less formal.
- Brushed 80 Grit opens the surface slightly, giving it a lightly worn, organic texture that softens the geometric precision of the herringbone. This finish works well for barefoot terraces and pool surrounds.
- Brushed 36 Grit adds more texture still — a good choice for patios and indoor-outdoor transition zones where the herringbone pattern provides the design interest and the finish handles practical surface demands.
- Bush-Hammered delivers the most heavily textured surface in the range. For pool decks, ramps, and wet or public areas where surface texture is a priority, a bush-hammered herringbone is a considered choice — the pattern still reads clearly through the texture.
- A Split Face finish is unconventional in a herringbone tile context but can be striking on a feature wall or exterior cladding panel, where the raw, fractured surface creates a relief effect that plays off the pattern’s angular rhythm.
Indoor Floor Applications: Rooms Where Basalt Herringbone Defines the Space
Entry halls and corridors are where basalt herringbone tile ideas most reliably deliver — the long, narrow proportions of those spaces align naturally with the pattern’s directional energy. A herringbone running lengthwise down a corridor visually extends it; one running perpendicular creates a series of visual interruptions that break up length and add rhythm. Both are legitimate design moves; the question is which spatial result you’re after.
In open-plan living areas, the herringbone format can do structural work that rectangular grid layouts can’t. By angling the pattern slightly off the room’s axis, you can define a zone — a dining area within a larger floor, for example — without a rug or a level change. Basalt’s dark tones ground furniture arrangements effectively and give the pattern enough visual weight to read across a large floor area.
For bathroom wall applications, a basalt herringbone tile design in Honed 120 Grit on a full-height wall panel creates a graphic but refined backdrop. The key detail is controlling grout color: a charcoal or dark grey grout that reads close to the stone’s tone lets the pattern emerge from light and shadow rather than from a high-contrast joint. A white or pale grout will make the herringbone geometry more explicit — a valid choice, but a very different aesthetic outcome.
If you’re working on an interior floor with underfloor heating, note that basalt’s density means it takes longer to reach working temperature than thinner or lighter materials but holds that temperature well once it stabilizes. Factor this into heating schedule design, not just material specification.
Wall Cladding and Feature Wall Ideas
The herringbone pattern reads differently on a vertical surface than it does on a floor, and that difference opens up a range of design possibilities that horizontal applications don’t offer. On a wall, the eye follows the V-shapes upward, creating a sense of height and lift. On a floor, the same geometry draws the eye across the space horizontally.
A full-height basalt herringbone feature wall behind a bed headboard or a kitchen splashback area works particularly well with a Polished finish — the reflectivity adds apparent depth to the wall and bounces ambient light back into the room. For a fireplace surround (the stone cut to size for the surround panel itself, observing the appliance maker’s clearances and your local building code for what material sits adjacent to the firebox), a honed or brushed finish gives a more tactile, earthy quality that suits the material’s volcanic origins.
Exterior feature walls in covered or sheltered positions are another strong application for basalt herringbone tile designs. A Split Face or bush-hammered finish is more appropriate for exposed exterior conditions than polished or honed, since unprotected polished surfaces outdoors dull quickly and honed surfaces require consistent sealing discipline. The herringbone pattern on an exterior panel catches shadow differently through the day, giving the facade a dynamic quality that flat-laid rectangular patterns simply don’t have.
For design variety within the basalt tile range, Basalt Hexagon Tile offers an alternative geometric format that complements herringbone panels in mixed-layout schemes — useful for accent inserts or border fields around a herringbone center panel.
Size, Format, and Proportion: Getting the Scale Right
The aspect ratio of your tile is the variable most specifiers underweight in basalt herringbone tile ideas discussions. A 4×8 in piece produces a tighter, more traditional herringbone with many visible joints and a finely textured overall impression. A 3×12 in piece creates a long, lean herringbone with strong directional movement and fewer joints — it reads as more contemporary and can make a small space feel larger. A 2×8 in piece sits between those two outcomes.
Consider these practical sizing factors before finalizing your format:
- Longer pieces (3×12 in and above) require a flatter, more precisely leveled substrate — any bow or deviation in the subfloor reads as lippage along the long edges of angled pieces.
- Smaller formats (2×4 in, 3×6 in) are more forgiving of minor substrate irregularity and suit intricate wall inset panels or bathroom backsplash applications where fine-scale pattern is desirable.
- Joint width choice compounds with tile size: a 1/16 in joint on a small-format piece feels precise and architectural; the same joint width on a large-format piece can look unintentionally tight if the tile has any inherent warping.
- Cut waste on herringbone is meaningfully higher than on grid-laid tile — the 45-degree cuts at room edges and thresholds produce off-cuts that are frequently too small to reuse. Order to account for this at the planning stage.
Citadel Stone cuts basalt tile to order, so your preferred running dimensions can be specified directly — you’re not constrained to catalogue sizes where the project calls for a custom proportion.
Outdoor Herringbone Applications and Drainage Considerations
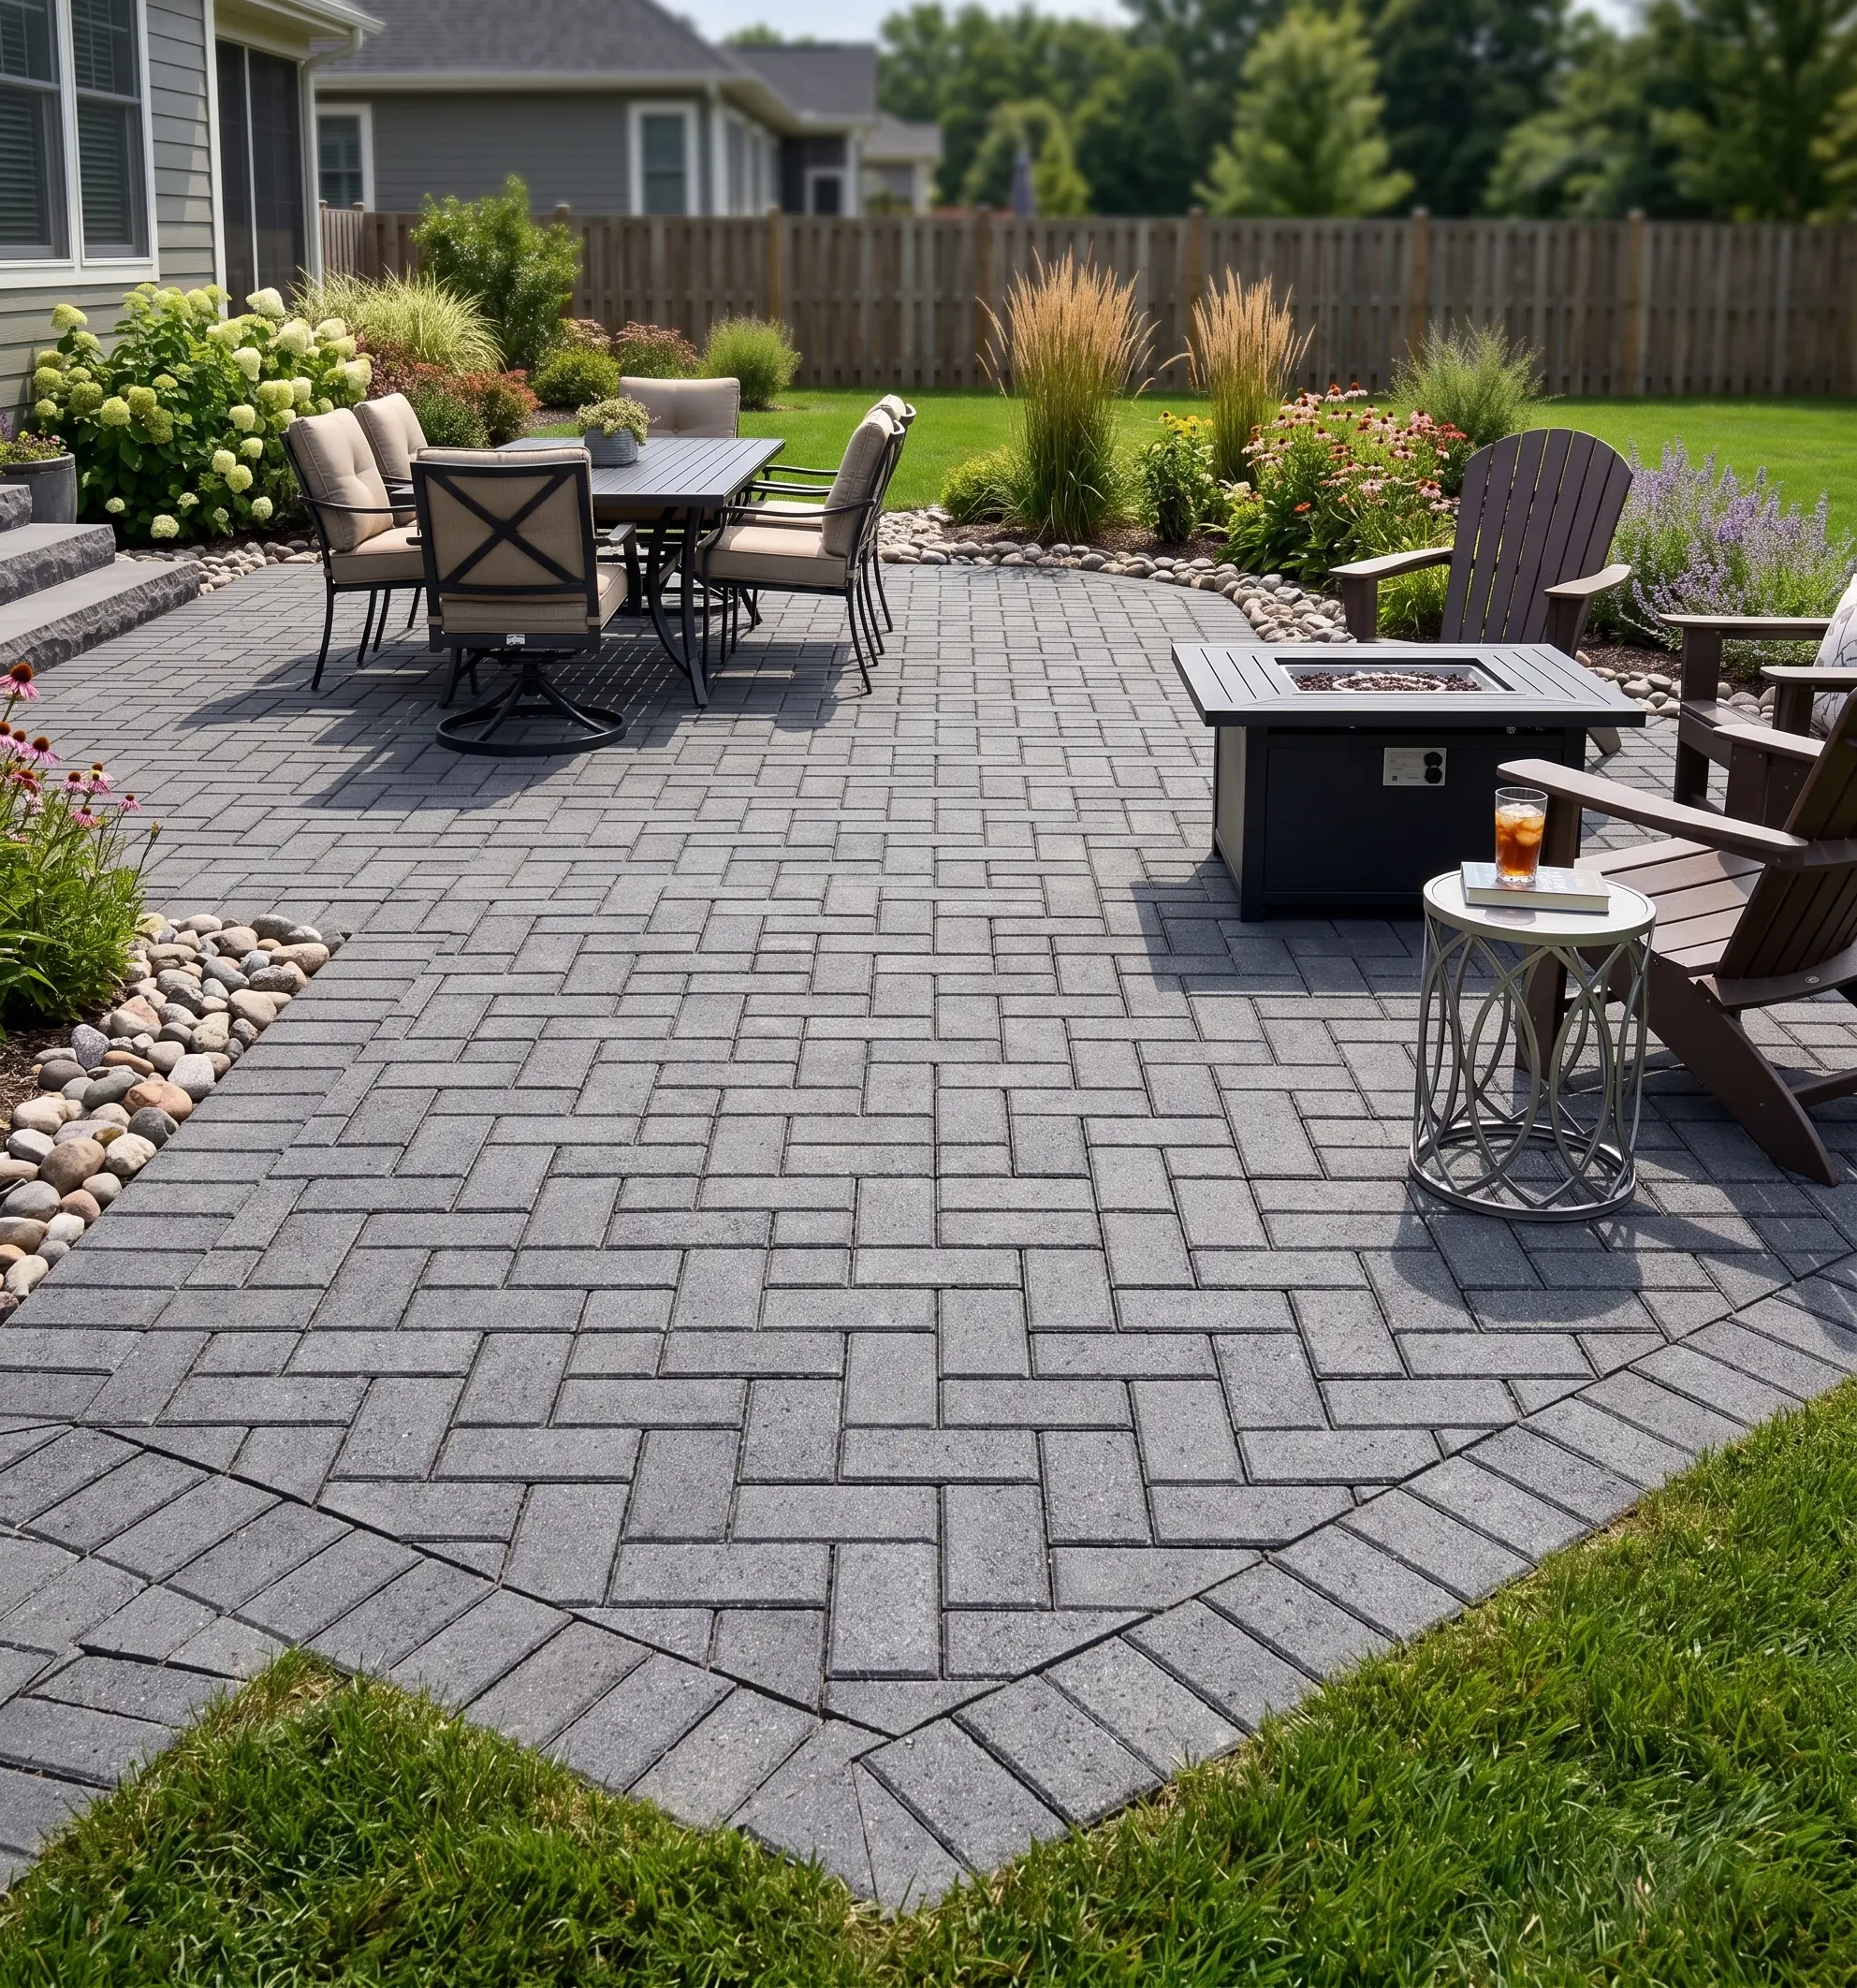
Outdoor basalt herringbone installations introduce a set of variables that indoor applications don’t, and water management sits at the center of most of them. The pattern’s angled joint structure actually has favorable drainage geometry compared to a square grid — water moving across the surface tends to follow the V-channel of each herringbone row toward the lower edge of the pattern rather than pooling in flat-laid grout lines. But that characteristic only functions if the fall gradient is correctly engineered into the base and the setting bed.
For outdoor terraces, patios, and covered walkways, your substrate design needs to carry surface water away from structures efficiently — the tile pattern alone won’t compensate for inadequate cross-fall. In regions with heavy rainfall seasons, monsoon cycles, or areas with concentrated storm-water runoff from adjacent hard surfaces, get your drainage engineer involved before finalizing the setting bed design. A herringbone layout with well-engineered drainage performs well through wet seasons; the same layout on a poorly drained base will experience efflorescence, joint washout, and accelerated sealer degradation regardless of the stone’s inherent density.
According to USGS basalt volcanic rock properties and composition, basalt’s low absorption rate relative to sedimentary stones means water uptake into the tile body itself is limited — but the joints and setting bed beneath remain the primary moisture management points in any outdoor installation. Protecting the setting bed with correctly specified waterproof membranes in wet climates is not optional.
For outdoor herringbone on pool decks and areas subject to standing water, a Bush-Hammered finish is the appropriate choice. For other outdoor paths and patios without pool-side conditions, Brushed 36 Grit or Double-Brushed 24 offer open, matte textures suited to the exposure. Never use a polished finish outdoors.
- Outdoor herringbone on sloped ground needs a setting bed and fixing specification that accounts for the additional shear forces — particularly relevant on ramp approaches in freeze-thaw regions.
- In climates with dramatic wet-dry cycles — drought periods followed by intense rainfall — substrate movement is a real risk; expansion joints at specified intervals are essential, not cosmetic.
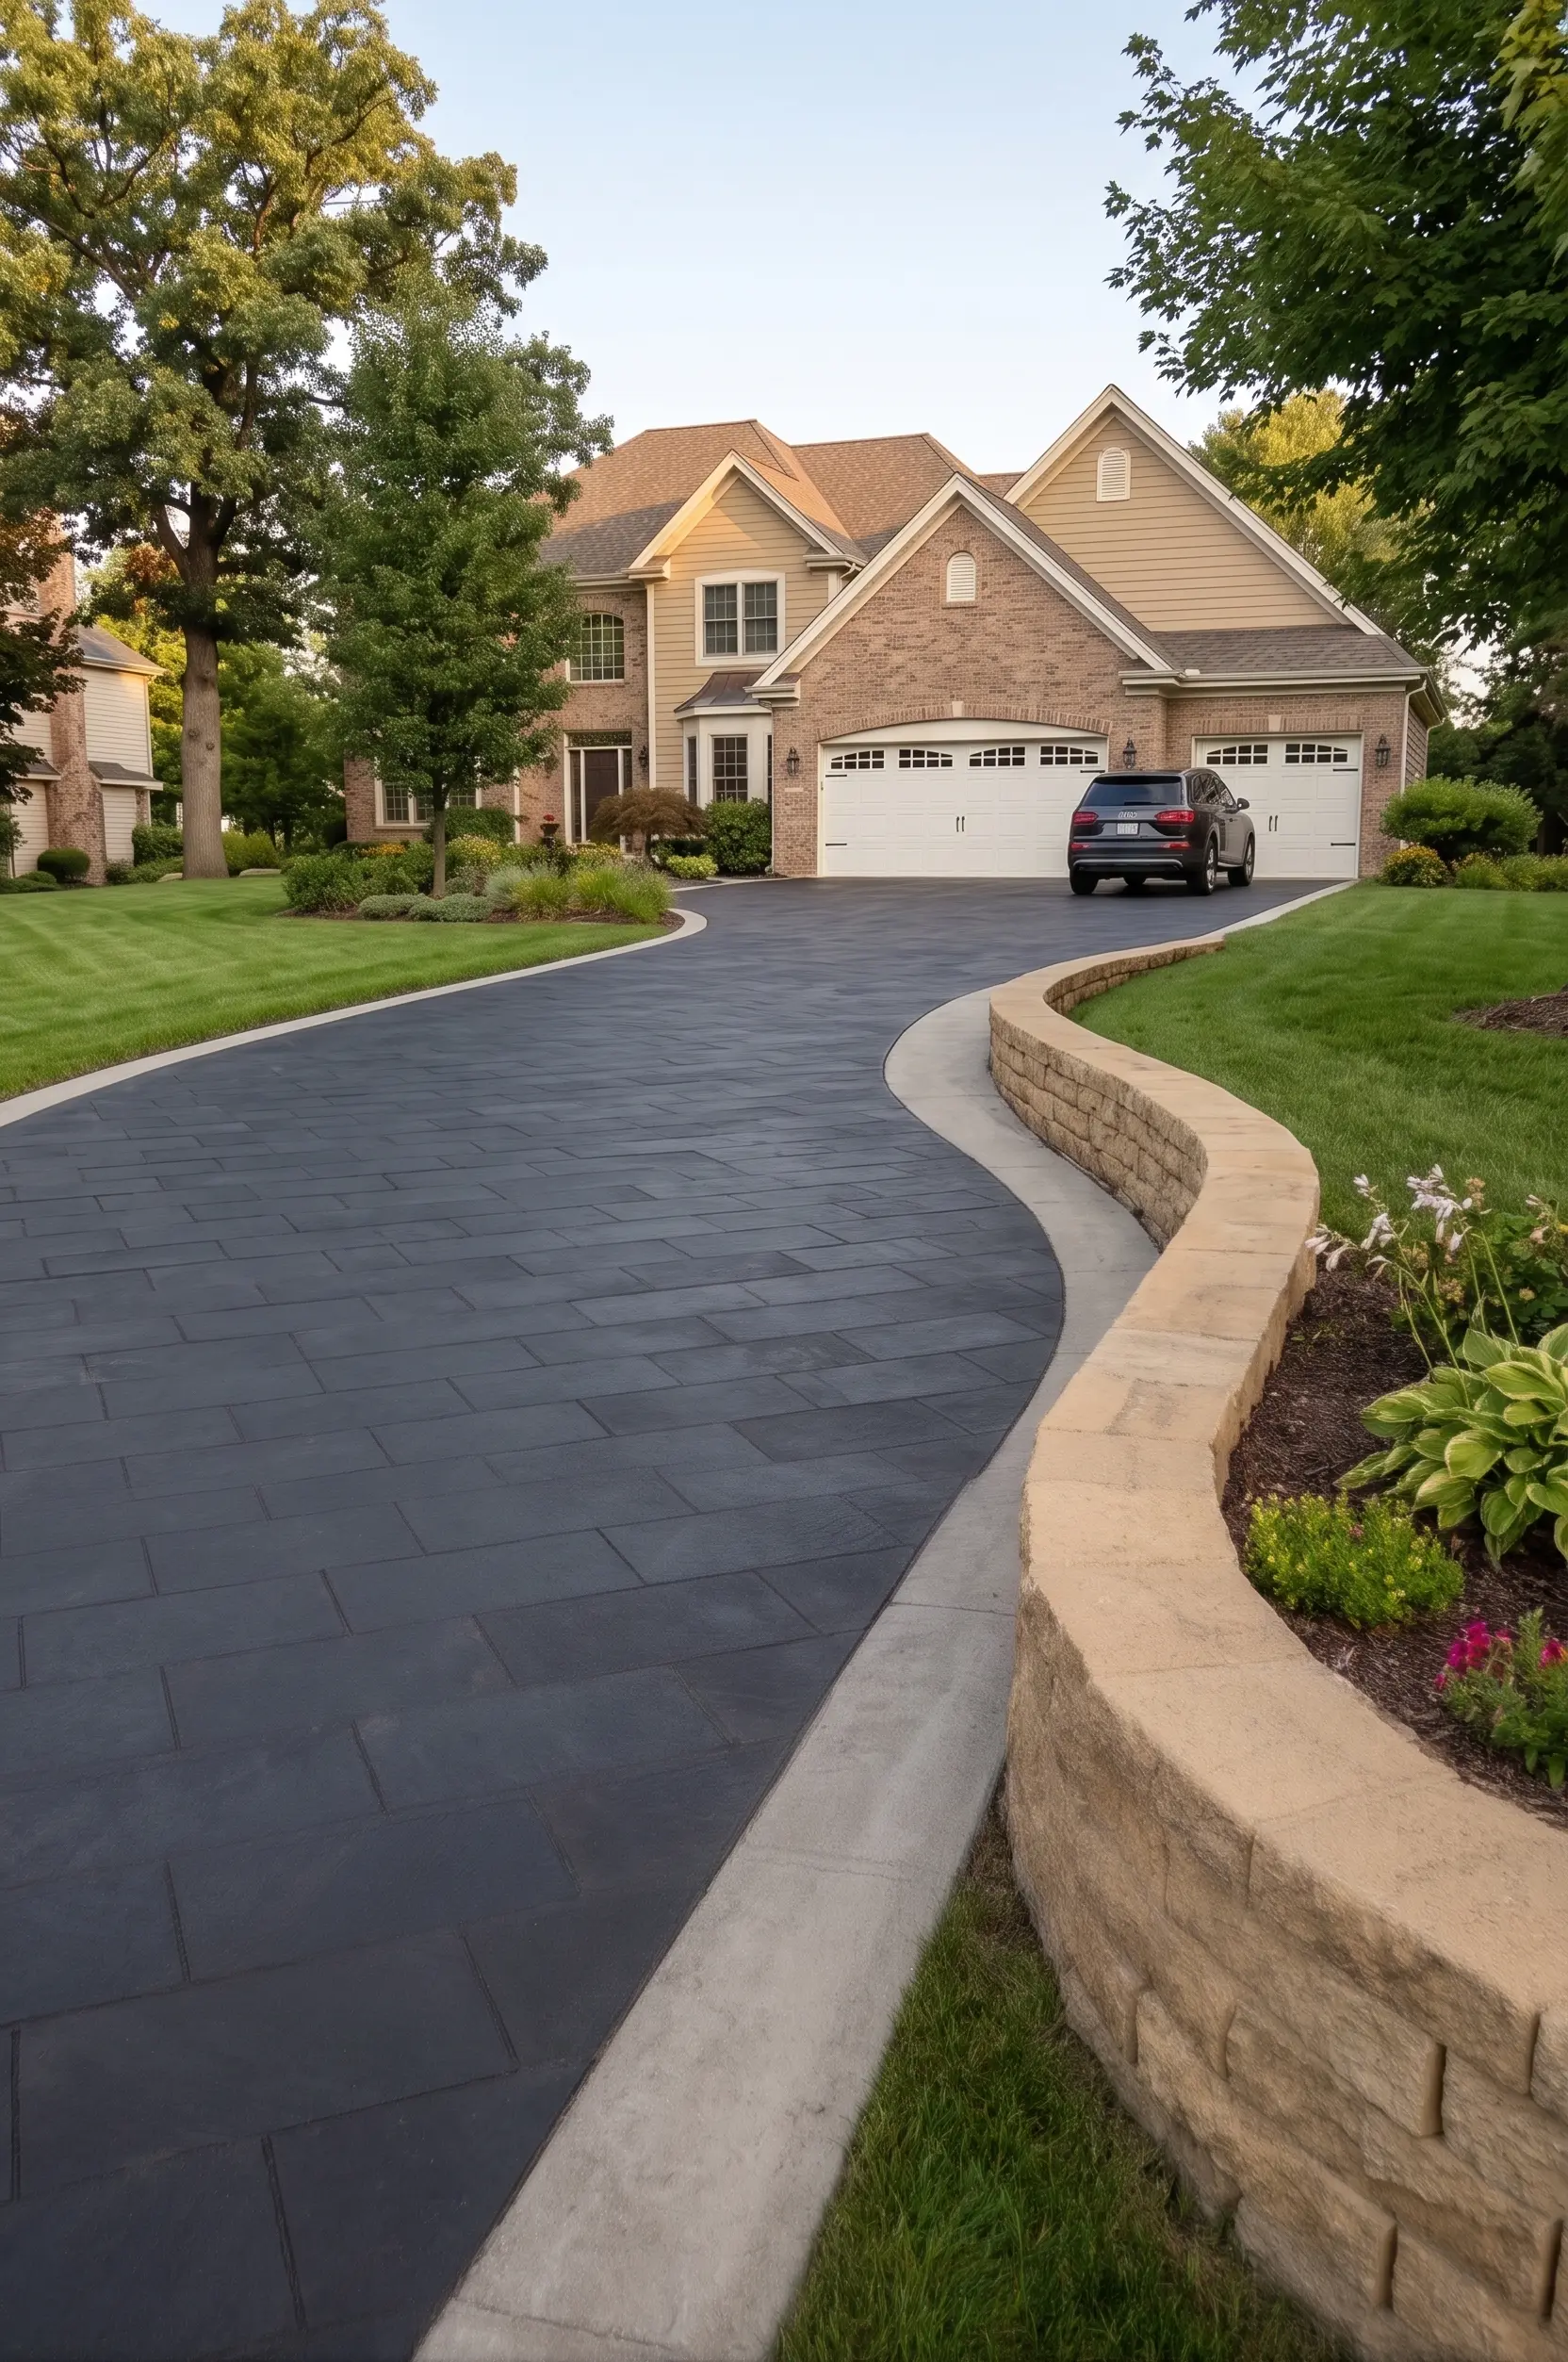
- Driveway and vehicle-area herringbone layouts require setts or cobbles at least 3.5 in (4 in standard) thick on a compacted base, or pavers 2 in (5 cm) or thicker mortar-bonded to a reinforced concrete slab — thinner tile formats are for pedestrian applications only.
Mixing Herringbone with Other Formats and Materials
A herringbone field surrounded by a straight-laid border is one of the oldest compositional devices in stone paving — and one of the most effective. The border anchors the diagonal energy of the pattern and gives the eye a resting point at the room perimeter. In basalt, a single course of larger-format rectangular tile in the same stone creates a frame that reads as deliberate and resolved rather than as a layout that ran out of room.
Mixing basalt herringbone with another material requires tonal and textural judgment. Basalt reads as a cooler, darker material than limestone or granite — pairing it with a light-toned limestone border will produce high contrast, which can feel dramatic or jarring depending on the space. A mid-grey granite border or a slate inset tends to sit more harmoniously within the basalt’s tonal range.
Inset pattern panels within a larger plain field are another strong move. A herringbone medallion or central panel in a polished finish, set within a honed basalt field of the same stone, creates tonal variation through finish rather than through color — a sophisticated approach that reads as intentional rather than decorative. The Natural Stone Institute’s igneous stone paving technical standards provide useful guidance on specifying consistent stone characteristics when mixing formats within the same installation.
Grout, Sealing, and Long-Term Care
Grout choice on basalt herringbone is a detail that carries significant visual consequences. The angled joints create a larger apparent joint area in the visual field than a grid layout of the same joint width — meaning grout color reads more prominently. A grout that reads too light against dense black basalt can make the pattern feel fractured and busy; one that reads close to the stone’s own tone integrates the joints into the overall composition.
Basalt’s low absorption rate means it doesn’t demand the aggressive sealing schedule that more porous stones require, but sealing is still advisable — particularly for indoor installations and any outdoor application where the stone will encounter food, oils, or poolside chemicals. Follow the sealer manufacturer’s stated reapplication interval rather than a generic rule; that interval varies meaningfully between product types and exposure conditions.
- Test your sealer on an off-cut piece first — some penetrating sealers slightly deepen the stone’s color, which can be desirable or unwanted depending on the design intent.
- Avoid topical film-forming sealers on bush-hammered or coarse brushed finishes outdoors — they tend to peel under UV exposure and thermal cycling, trapping moisture beneath.
- Re-grout any joints that crack or hollow before resealing — addressing the substrate issue first prevents recurring failure.
- Basalt herringbone tile designs on heated indoor floors should be sealed before the heating system is commissioned; heat cycles accelerate sealer curing but can cause uneven absorption if the stone is not pre-sealed.
For ongoing cleaning, a pH-neutral stone cleaner is the correct tool. Acidic cleaners etch the surface over time even on dense basalt, and alkaline degreasers used repeatedly will strip penetrating sealers prematurely. This is a care detail that matters more with dark stones — etching and residue are less visible initially but accumulate into a dull, patchy surface that is difficult to reverse without professional re-honing.
Ordering and Project Planning: What to Confirm Before You Start
Your herringbone layout plan needs to be finalized before material is cut — unlike grid layouts where cut pieces can often be repurposed, herringbone requires a consistent running piece in one or two sizes, and changes mid-project mean scrapping off-cuts that can’t be reintegrated. Confirm the tile dimensions, the joint width, and the pattern orientation on paper before you place an order.
Factor your cut waste accurately. A simple interior herringbone on a regular rectangular room can run 10–12% waste over a grid layout of the same floor area; a room with multiple doorways, inset panels, or curved transitions will push that higher. Ordering short and running out mid-installation is a genuine risk — basalt tile from selected quarries is cut to order, and lead times for additional material are quoted with each order rather than available on demand. Build contingency into your initial order.
Delivery scheduling is a practical consideration for large-format herringbone projects. Confirm access at the delivery point early — some project sites with restricted access or weight limits require coordinated delivery windows that affect your installation schedule. Offloading arrangements and lead times are confirmed with the order, so raise site access constraints at that point rather than at delivery.
Final Considerations for Your Basalt Herringbone Specification
The decisions that define a basalt herringbone tile installation — finish, format, orientation, joint width, outdoor drainage, and sealing protocol — compound on each other. A bush-hammered tile at 3×12 in running at 45 degrees to the entry axis in a covered terrace setting is a very specific outcome, and arriving at it requires working through each variable deliberately rather than treating any one of them as a default. The material is consistent and highly resistant; the pattern is proven across centuries of stone paving; the combinations available within this one format are more extensive than most projects ever fully explore.
As you extend your basalt specification work, transitions between floor fields and doorways are a detail that often gets finalized late and resolved poorly under schedule pressure. For guidance on how basalt performs in that specific context, honed basalt threshold sizing and fitting covers the practical detail worth reviewing before your installation drawings are issued. Laid in a herringbone pattern, Citadel Stone basalt adds movement to a floor or feature wall, with every piece cut to order at our selected quarries in the Middle East.
Related reading: How Basalt Columns Form: Columnar Jointing Explained · Why Does Basalt Form Hexagons? The Science Explained.