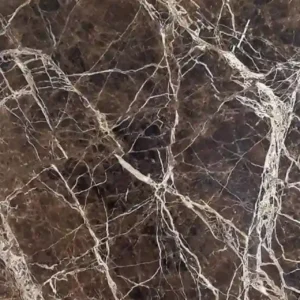
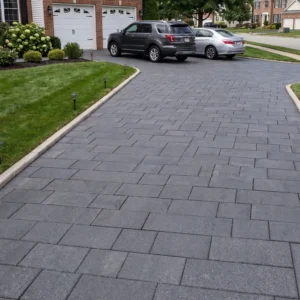
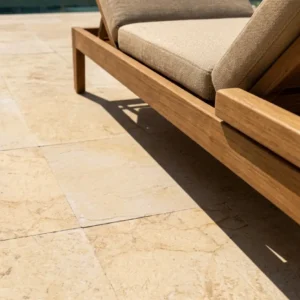
Marble paver installation punishes guesswork at the substrate level more than almost any other natural stone application — and the reason comes down to marble’s comparatively lower flexural strength relative to its visual demands. When you install marble pavers, you’re working with a material that looks refined and performs well in compression, yet will telegraph every low spot in your mortar bed as a crack or a hollow-sounding tile within a single frost season. Getting the base right before the first paver goes down is the decision that separates a decade of trouble-free service from a call-back six months later.
What Marble Pavers Need from a Base
Your subbase is doing two jobs simultaneously: bearing load and managing water. Marble paver installations that fail early almost always trace back to one of these two jobs being shortchanged, and the failure modes are different for each. A base that can’t carry load shows up as rocking, hollow pavers and cracked edges within the first season. A base that traps water shows up as efflorescence, lifted pavers, and joint erosion — usually after the first hard freeze, but sometimes earlier in climates with intense rain cycles.
Compacted aggregate is your primary defence on both counts. A well-graded crushed stone base, compacted in lifts, gives you both the structural bearing you need and the drainage path that keeps hydrostatic pressure from building under the slab. The thickness you need depends on your soil type and the load the patio will carry. Clay-heavy soils move with moisture and need deeper bases than stable sandy soils — your geotechnical context should drive that number, not a standard rule of thumb. Request your supplier’s test report for compressive performance data, and let that guide your specification in high-load areas.
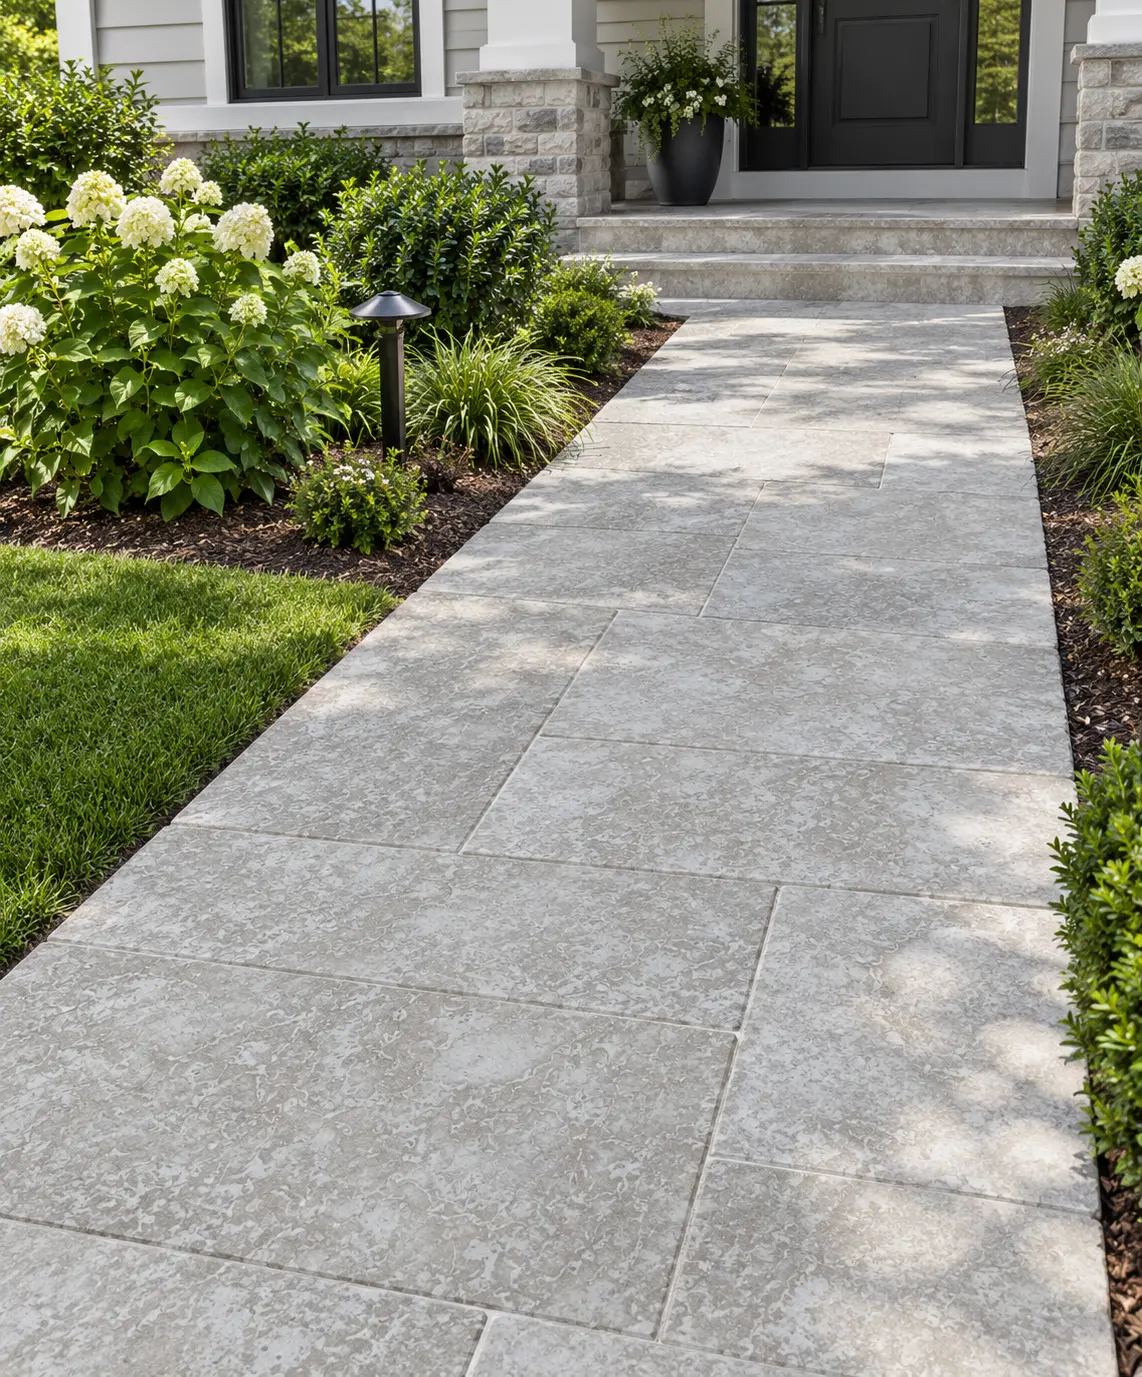
Mortar Bed Preparation for Marble Pavers
The sand-cement dry-pack bed method is the most field-reliable approach to install marble pavers on a patio base. You’re aiming for a full, even contact surface — not a five-point spot-bond. Marble’s thermal expansion behaviour means that partial contact leads to stress concentration at unsupported edges, and those edges are where chips and cracks initiate. A dry-pack bed set to the right consistency holds its shape when squeezed in your fist but doesn’t release water — that’s your practical gauge, no instruments needed.
Bed depth matters more than most installers acknowledge. Too thin, and the bed compresses unevenly as it cures. Too thick, and it can crack through its own shrinkage before the pavers even bear any foot traffic. Work within the range your setting material manufacturer specifies and follow it even when the site geometry tempts you to build up a low spot. Build the low spot with additional compacted aggregate before you lay the bed, not with extra mortar.
For marble paver installations that will face freeze-thaw cycling, a latex-modified mortar is worth the additional cost. The polymer component improves bond flexibility, which helps the system tolerate the slight differential movement that happens as marble and the substrate each respond to temperature at their own rates. According to Natural Stone Institute marble grades and technical specifications, selecting the right setting system for marble in exterior conditions is as critical as material grade selection itself.
Layout and Dry-Fit Before You Commit
Dry-fitting your marble pavers before you introduce any setting material is one of those practices that feels optional until the moment you skip it and regret it. Your layout determines joint alignment, border cut geometry, and how you handle any variation in the stone’s calibration — and marble from natural quarries carries real dimensional variation across a batch, even when pieces are cut to tight tolerances.
- Start from the most visible focal point — typically the house elevation or the outdoor seating area — and work outward so your eye-level view stays clean
- Check diagonal measurements to confirm your layout is square before you commit to any setting
- Identify your cut pieces early and plan which ones will be hidden under furniture or at the perimeter where they matter less visually
- Sort pavers by tone and veining before laying — marble can vary within a single batch and deliberate placement prevents a patchy finish
- Mark your reference lines on the base with chalk rather than relying on eye alone — small angular errors compound across a large patio area
The joint width you choose affects the finished look and the installation’s long-term performance. Wider joints accommodate more dimensional variation in the stone and make future repointing easier, but they can look heavy against marble’s refined surface. Your planning steps should include a deliberate decision here rather than letting it default to whatever falls out of the spacers in the kit.
Setting Marble Pavers — The Sequence That Matters
The setting sequence for a marble paver patio isn’t complicated, but the order of operations matters and deviating from it creates compounding problems. Work in manageable sections so the mortar bed doesn’t skin over before you set the stone — this is especially relevant in drier, warmer conditions where open time compresses faster than the printed spec suggests.
- Dampen the underside of each paver slightly before setting — this slows moisture draw from the mortar and improves bond development, particularly with denser marble varieties
- Set with a firm tap using a rubber mallet and check level in both axes immediately — don’t rely on tapping to level a paver that’s significantly proud in one corner; pull it and adjust the bed
- Check for hollow spots by pressing firmly across the full surface — any flex or movement means the bed contact is incomplete and the paver needs to come back up
- Maintain consistent joint spacing using your chosen spacers and don’t pull them until the mortar is firm enough to hold the paver’s position independently
- Keep newly set pavers clean as you go — marble is more susceptible to surface staining from mortar smears than darker stones, and fresh mortar left to cure on a polished surface requires aggressive removal that risks finish damage
At Citadel Stone, we recommend keeping a damp cloth on hand during the set phase specifically for marble — surface care during installation is easier than post-cure remediation. The ASTM C503 standard covers marble building stone specification, and if you’re working from an architectural specification, the ASTM C503 marble specification is the technical reference your designer or engineer will reference for material grade requirements.
Seasonal Timing: Scheduling Your Installation Around Curing Conditions
Your setting material’s curing window is temperature-dependent, and failing to schedule your marble paver project around that window is one of the most avoidable causes of bond failure. Mortar gains strength through a chemical hydration process that slows sharply below around 50°F and accelerates enough above 85°F to reduce your working time substantially — not just a printed spec footnote, but a real-world limitation that changes how you plan your day.
The practical implication is that the most reliable installation windows in most regions fall in spring and early autumn. Moderate ambient temperatures give the mortar bed adequate open time to properly wet the underside of each marble paver, and overnight temperatures remain warm enough for initial cure to proceed without the bond being disrupted. Summer installations in full sun require early morning starts — laying from sunrise until roughly mid-morning before the slab surface temperature climbs — rather than treating the printed working time as a fixed window regardless of conditions.
- Below 40°F ambient: do not set pavers — initial cure is compromised and the bond may never fully develop even when temperatures recover later
- Between 40°F and 55°F: proceed cautiously, protect newly set pavers with insulating covers overnight, and extend curing time before grouting
- Between 55°F and 80°F: optimal range — follow manufacturer’s stated open time and curing schedule
- Above 85°F in direct sun: pre-dampen the base, work in short sections, and schedule for early morning — afternoon paving in peak summer will compress open time significantly
- Rain within 24 hours of setting: protect the fresh bed or postpone — rain water washing into fresh mortar disrupts the water-cement ratio and weakens bond strength
For projects scheduled across multiple days, consistency matters as much as the temperature on any single day. A marble paver installation set over a week that spans both cool mornings and a warm afternoon stretch will develop variation in bond strength across sections — worth factoring into your quality checks before you grout.
Grouting and Jointing Marble Paver Installations
Grouting is where many otherwise well-executed marble paver installations pick up their most visible finish problems — and almost all of them stem from rushing the step or choosing the wrong grout consistency. Marble’s surface finish is sensitive to grout haze, particularly on honed or polished surfaces where the haze reads as a dull smear that requires mechanical buffing to remove.
Your grout mix should be wet enough to flow into joints fully but stiff enough to hold its shape and not slump back out. Use a grout float held at a low angle and work diagonally across the joints rather than parallel to them — this technique forces grout into the joint rather than just dragging it across the surface. Clean the surface in sections while the grout is still in the green state; waiting until it approaches full hardness makes marble surface cleanup significantly more aggressive.
For exterior marble paver installations, a sanded grout is typically specified for joints wider than about an eighth of an inch. Unsanded grouts shrink more as they cure and are more prone to cracking in wider joints, which then becomes a water ingress point. If your design calls for very tight joints — common in a formal, continuous-look patio — discuss joint width with your fabricator before the stone is cut, since tight jointing requires closer dimensional tolerances in the stone itself.
Expansion joints are not optional in a marble paver patio. They accommodate the thermal movement of both the stone and the substrate, and omitting them is the single most reliable path to cracked pavers along a straight run. Plan expansion joints at perimeter edges, at any change in direction, and at intervals across a large field — your setting material manufacturer specifies the interval, and it’s worth following rather than estimating. For further guidance on the full installation sequence, Citadel Stone installation guidance covers related natural stone projects in useful technical detail.
Sealing Marble Pavers on an Outdoor Patio
Marble is a calcium carbonate stone with a pore structure that readily absorbs oils, acidic liquids, and moisture — all of which are present in a patio environment. Sealing before the installation sees its first use is not a refinement, it’s part of the specification. An impregnating penetrating sealer that sits below the surface is the correct product type for exterior marble paver installations; topical sealers that form a film on the surface tend to trap moisture underneath in outdoor conditions and peel or whiten over time.
- Apply sealer to thoroughly dry stone — any residual moisture in the pore structure prevents the sealer from penetrating properly
- Follow the manufacturer’s stated reapplication interval rather than defaulting to an annual schedule — some sealers last longer, some shorter, depending on the stone’s absorption rate and the traffic the surface receives
- Test the seal periodically by dripping a small amount of water on the surface — if it beads, the seal is intact; if it absorbs, reapplication is due
- Apply a light second coat before the first has fully penetrated if the stone is drinking the product quickly — this indicates high absorption and means the surface needs more product per square foot than the standard rate
The sealing protocol for outdoor marble paver installations differs from indoor marble maintenance primarily because of the UV and thermal cycling exposure. Some sealers degrade under prolonged UV exposure and require more frequent reapplication when the patio faces direct afternoon sun — check the sealer manufacturer’s UV-stability data for your specific product choice. According to NSI marble selection and care guidance, exterior marble applications require sealer products tested for outdoor exposure conditions, not simply interior marble maintenance sealers.
Delivery and Site Logistics for Marble Paver Projects
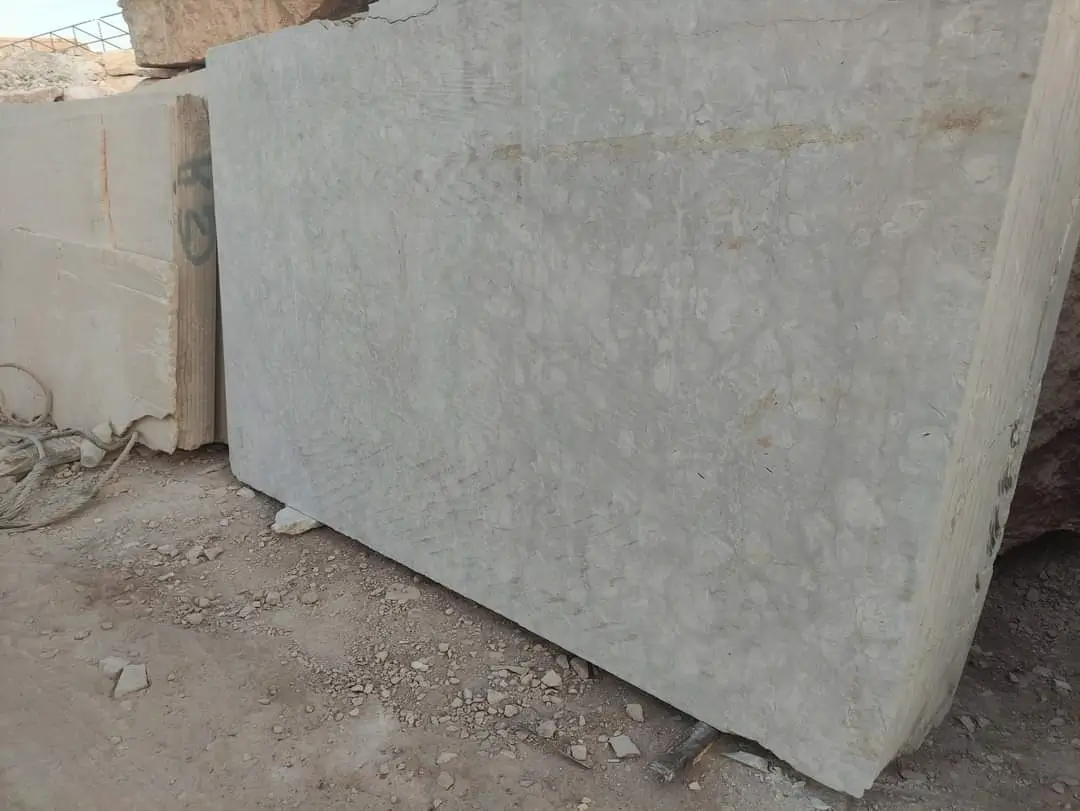
Your site access conditions shape how the material reaches the installation area, and this is worth thinking through before the delivery date rather than on the day. Marble pavers arrive palletised and are significantly heavier per square foot than concrete alternatives — a full pallet of standard-format marble pavers tests the limits of what a standard residential driveway can support under a loaded vehicle, particularly on softer substrate areas near the house foundation. Confirm your access path before confirming the delivery schedule.
Offloading arrangements, including whether equipment will be needed and where pallets will be staged, are confirmed with Citadel Stone when the order is placed — lead times and delivery logistics are quoted with each order rather than assumed. Plan your staging area close to the installation zone to minimise manual carrying distance for a material with this weight profile. Moving marble pavers across an uneven garden manually risks both material chipping and site safety — have a plan for the last fifty feet from the drop point to the work zone before delivery arrives.
Marble paver installation steps include protecting staged material from rain and ground moisture while it awaits setting. Pallets left on bare soil or in contact with standing water can introduce moisture into the stone that affects sealer adhesion and, in cold weather, creates freeze risk at the pore level. Stage on a dry, level surface and keep covers in place until the day of setting.
Planning Your Marble Paver Installation for Lasting Results
The details that determine whether a marble paver patio holds up across years of seasonal change aren’t complicated — they’re sequential. Base quality, mortar selection, seasonal timing, proper grouting, and a sealing schedule that you actually follow: these are the decisions that accumulate into an installation worth having. Marble is a material that rewards precise execution and penalises shortcuts at every layer, which is exactly what makes a well-installed marble paver patio one of the most satisfying finishes in residential hardscape. As you plan the broader context of your stone project, it’s also worth understanding how marble responds over time to light and weathering — how white marble changes with UV exposure is a useful companion read before you commit to a finish and sealer strategy. Pavers from Citadel Stone arrive from our selected quarries in the Middle East, cut for tight-tolerance fitting.
Related reading: choosing white travertine pavers · white paver design ideas · marble paver cost comparison.