

Uneven 3cm stone pavers after setting reveal a problem that started well before the first paver was laid — and the fix depends entirely on diagnosing which layer failed. The thickness of 3cm material is chosen precisely because it handles point loads and flexural stress that thinner formats cannot, yet that same rigidity means any variation in the bedding plane telegraphs directly to the surface. You’ll often see lippage at joints, a rocking paver here, a low corner there — and each symptom points to a different root cause that demands a different correction strategy.
Why Unevenness Forms After Setting
The most common culprit is inconsistent bedding mortar thickness. When the mortar bed varies from one area to the next — even by a few millimetres — the denser 3cm stone transmits those variations to the walking surface with no margin to absorb them. Unlike flexible installations where compacted sand can redistribute minor pressure, a mortar-set paver locks in whatever the bed gives it. Uneven 3cm stone pavers often look flat on setting day and reveal their problems two to four weeks later once the mortar cures and any remaining moisture-driven settlement occurs.
Differential compaction of the sub-base is the second major trigger. Organic material pockets, clay lenses, or variable fill consolidate at different rates after loading. The pavers themselves are doing exactly what they should — they’re just faithfully reflecting what’s beneath them. This distinction matters because it determines whether your fix is a surface correction or a full excavation job.
Reading the Lippage Before You Touch It
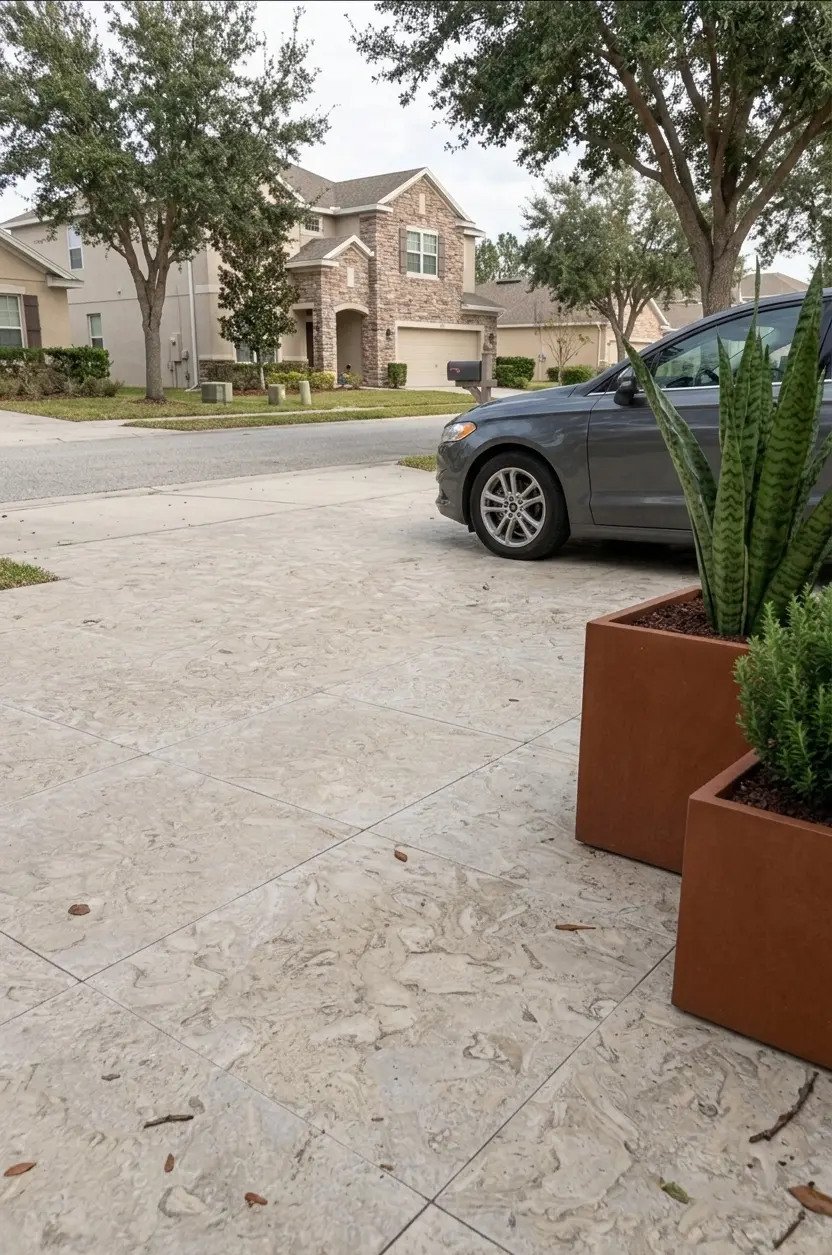
Your first step is a systematic survey, not a trowel. Walk the installation and mark every raised or depressed paver with chalk or tape. Then use a straightedge — minimum 1.8 metres — laid across the joints in multiple directions. You’re looking for two distinct patterns that call for completely different interventions.
- Isolated high or low pavers surrounded by a flat field suggest bedding voids or proud spots under individual units
- Sweeping low zones across several pavers in the same area point to sub-base settlement or drainage-induced washout
- A consistently high row or column often indicates a control-line error during initial setting
- Edge pavers that have dropped suggest edge restraint failure or inadequate base depth at the perimeter
Document the pattern photographically before lifting anything. A record of which direction the unevenness runs, and where it concentrates, tells you whether the issue is isolated to the top two layers or embedded in the structural base itself.
Lifting 3cm Pavers Without Damage
The 3cm thickness gives you something thinner formats don’t — real resistance to breakage during removal. Even so, working a chisel or pry bar at the mortar joint requires patience. Start at a corner paver or one adjacent to a marked void, where the mortar bond is weakest, and lever upward parallel to the slab face rather than forcing a perpendicular break. A rubber mallet tapped at the corner edge will often free a suction-bonded paver that a pry bar would crack.
- Never lever from the centre of a free edge — the cantilever stress cracks 3cm material at the unsupported span
- Work the chisel along the joint line in short increments, releasing adhesion progressively
- Have a helper support the paver the moment it releases — a 3cm slab in a large format is heavy enough to snap if it drops at one end
- Stack removed pavers face-to-face with thin foam between them to protect the surface finish
Correcting the Bedding Layer
Once pavers are lifted, chip back all existing mortar from both the substrate and the paver underside. You’re aiming for a clean, consistent surface on both faces — any retained mortar high spot will recreate the problem. A straight-bladed angle grinder with a diamond cup wheel removes cured mortar efficiently without the fracture risk of a cold chisel on aged material.
For a re-set into fresh mortar, your bed thickness should be consistent across the repair zone. Spot-bedding — applying mortar only at contact points — is the single most common cause of recurring lippage in 3cm paver repairs. Full-bed contact is non-negotiable for this thickness category. Rake the fresh mortar with a notched screed to achieve uniform depth, then press the paver into full contact and check with a spirit level before the mortar starts to stiffen. For those interested in how thickness interacts with bedding across natural stone formats, our travertine sizing guide covers relevant specification considerations worth reviewing alongside this repair process.
When the Sub-Base Is the Problem
A sweeping depression across multiple pavers almost always means the sub-base has moved. Relaying uneven 3cm stone pavers onto the same base guarantees the same result. The correct repair here involves excavating to the original sub-base, assessing why it failed, and reinstating to a specification that won’t repeat the settlement.
According to Natural Stone Institute stone paving specifications, load-bearing sub-base design for natural stone should account for the material’s rigidity and the application’s expected point loads — factors that differ materially from the assumptions built into concrete paver sub-base guidance. Your base specification for 3cm natural stone needs to match the stone’s behaviour, not a generic paving standard.
- In clay-heavy soils, sub-base depth needs to account for seasonal moisture-driven heave, not just static load
- Compacted aggregate base should be assessed in lifts, not as a single layer, with each lift tested before the next is added
- Where organic material was found during the original excavation, verify it was fully removed — organic pockets compress over years, not weeks
- Geotextile separation fabric between native soil and aggregate base prevents fine migration that causes differential settlement
Building Codes, Base Depth, and Edge Restraint
Your repair specification should align with the structural requirements of the jurisdiction where the project sits. Most local building codes reference minimum base depths tied to frost line depth — and in freeze-thaw regions, that depth is non-negotiable regardless of how well the surface installation is executed. An inadequate base in a frost-active zone will heave annually, and no amount of mortar skill fixes a structurally undersized base.
The ASLA outdoor paving material guidance addresses base depth considerations and edge restraint requirements that directly affect long-term performance of natural stone paving systems — relevant reading if your repair is also revealing edge conditions that weren’t adequately detailed in the original installation. Edge restraint failures are a common secondary cause of paver migration: the field settles slightly and unrestrained edges drop away, creating a step at the perimeter that looks like a surface problem but is actually a structural one.
- Where local code specifies minimum base depth for frost protection, that depth defines your sub-base, not the original installer’s choice
- Edge restraints must be anchored below the base course — surface-pinned restraints pull free under seasonal ground movement
- For vehicular-rated paving, base compaction should be verified against the design specification, not estimated visually
- Seismic zones have additional requirements for base flexibility — rigid mortar-bed systems in high-seismic areas may warrant engineering review before large-area repair
Citadel Stone’s technical team can advise on thickness specification and base interaction for 3cm stone pavers where a repair is also an opportunity to upgrade the original structural detail.
Drainage and Slope Correction During Repair
The repair phase is the right moment to address drainage fall that the original installation may have got wrong. Ponding at low spots accelerates mortar breakdown, drives water into the bedding layer, and in colder climates creates freeze-thaw cycling that progressively worsens whatever unevenness already exists. A minimum cross-fall, verified with a digital level before you reset any paver, should be confirmed across the entire repair zone.
Drainage correction at the surface level works only if it connects to a functioning sub-base drainage path. A well-sloped surface above a waterlogged sub-base still fails — the water simply enters through joints rather than pooling visibly. Check that sub-base drainage outlets are clear and that no migration of fines has blocked the aggregate drainage layer before you re-lay.
Joint Filling and Surface Finish After Resetting
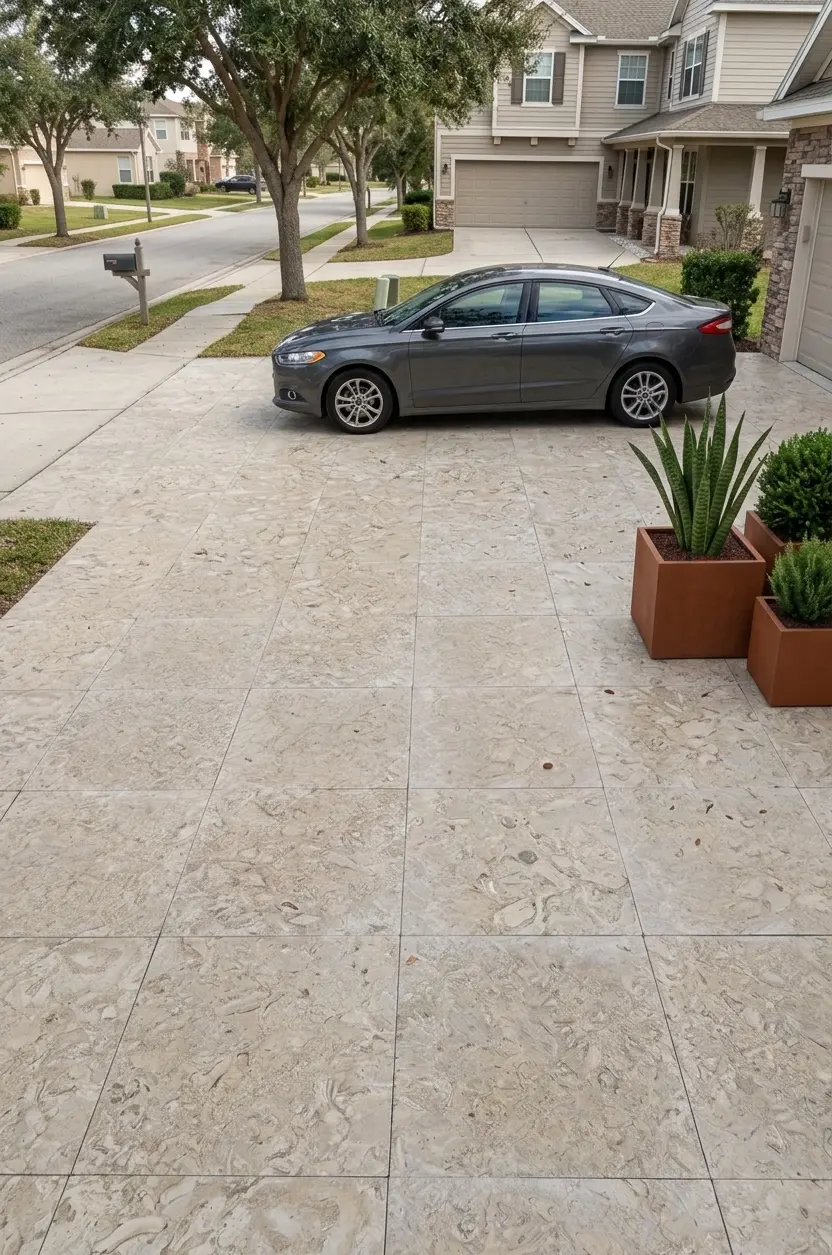
Once pavers are re-set and mortar has cured to the point where no paver can be shifted by hand pressure, joint filling completes the repair. The joint material you choose affects long-term performance — flexible polymeric grouts accommodate minor movement better than rigid cementitious grout in areas that experience thermal cycling. For 3cm stone pavers in exposed exterior installations, a flexible jointing compound that matches the bedding mortar’s flexibility rating reduces the risk of joint cracking re-opening the repair within a season.
Surface flatness should be confirmed before the installation is returned to service. Run your straightedge across the repaired zone in both axes and at 45 degrees to the joint lines — diagonal checks catch crowned or bowed conditions that axis-parallel checks miss. The repaired section should read within the same tolerance as the surrounding field. A step at the repair boundary signals that either the bedding depth or the paver thickness varied between the repair and the existing installation.
- Check that replacement pavers match the thickness of the original batch — natural stone tolerances can vary between production runs
- Curing time before trafficking should follow the bedding mortar manufacturer’s stated schedule, not a visual assessment of surface set
- For honed or polished finishes, inspect each reset paver for micro-fractures that may have occurred during removal — these aren’t always visible until water darkens the surface
Sealing After Repair
The repair zone should be sealed using the same sealer system as the surrounding installation. Applying a different sealer chemistry over a partial repair area creates a visual boundary that becomes apparent in wet conditions. If the original sealer is unknown or more than a few years old, a full surface strip and re-seal across the entire installation produces a consistent result and resets the maintenance schedule cleanly.
The USGS dimension stone production data documents the wide range of porosity characteristics across natural stone types — a useful reference when selecting a sealer system appropriate to the specific stone in your installation, since sealer penetration depth and reapplication interval vary significantly between a dense limestone and an open-textured travertine. Citadel Stone stocks natural stone pavers at our selected quarries cut to order, so replacement units for repair work can be matched to original specifications rather than sized from available stock.
Getting Your 3cm Stone Paver Repair Right
Uneven 3cm stone pavers after setting are almost always correctable without full replacement — but the correction has to address the right layer. A surface-only repair on a failed sub-base buys months, not years. Work through the diagnostic sequence before lifting a single paver: survey the pattern, identify the failure layer, and scope the repair to include everything from the sub-base up that contributed to the movement. For projects where the original specification documentation is missing, getting replacement stone and bedding materials that match the original install matters enormously — thickness tolerances in particular determine whether reset pavers sit flush or recreate the problem. As you review your overall project specification, the full 3cm stone specification overview covers the material properties and ordering considerations relevant before your next pour. Stone for nationwide projects from Citadel Stone arrives from our selected quarries in the Middle East with tight thickness tolerances.
Related reading: travertine grout line size · travertine paver thickness guide · how to choose travertine paver sizes.