Why the Right Filler Changes Everything When Filling Travertine Holes
Filling travertine holes incorrectly is one of the most common — and most avoidable — causes of repeat repair work on natural stone floors and walls. The filler material you choose determines how well the repair holds up under foot traffic, cleaning chemicals, and seasonal movement. Travertine forms through mineral-rich water depositing calcium carbonate, and those characteristic voids are part of the stone’s natural architecture. Matching the filler’s flexibility and density to the stone’s own behavior is where most DIY repairs fall short, usually within the first year.
Your two primary choices are epoxy-based fillers and cement-based grout. Epoxy holds better in high-traffic areas and resists moisture penetration more effectively, but it can show a slight sheen that reads as artificial under raking light. Cement grout — especially non-sanded varieties in a color-matched tone — blends more naturally but requires more frequent reapplication on outdoor surfaces exposed to freeze-thaw cycling. Understanding that difference before you commit to a product saves you from redoing the same holes twice.
Assessing Hole Size and Depth Before You Start
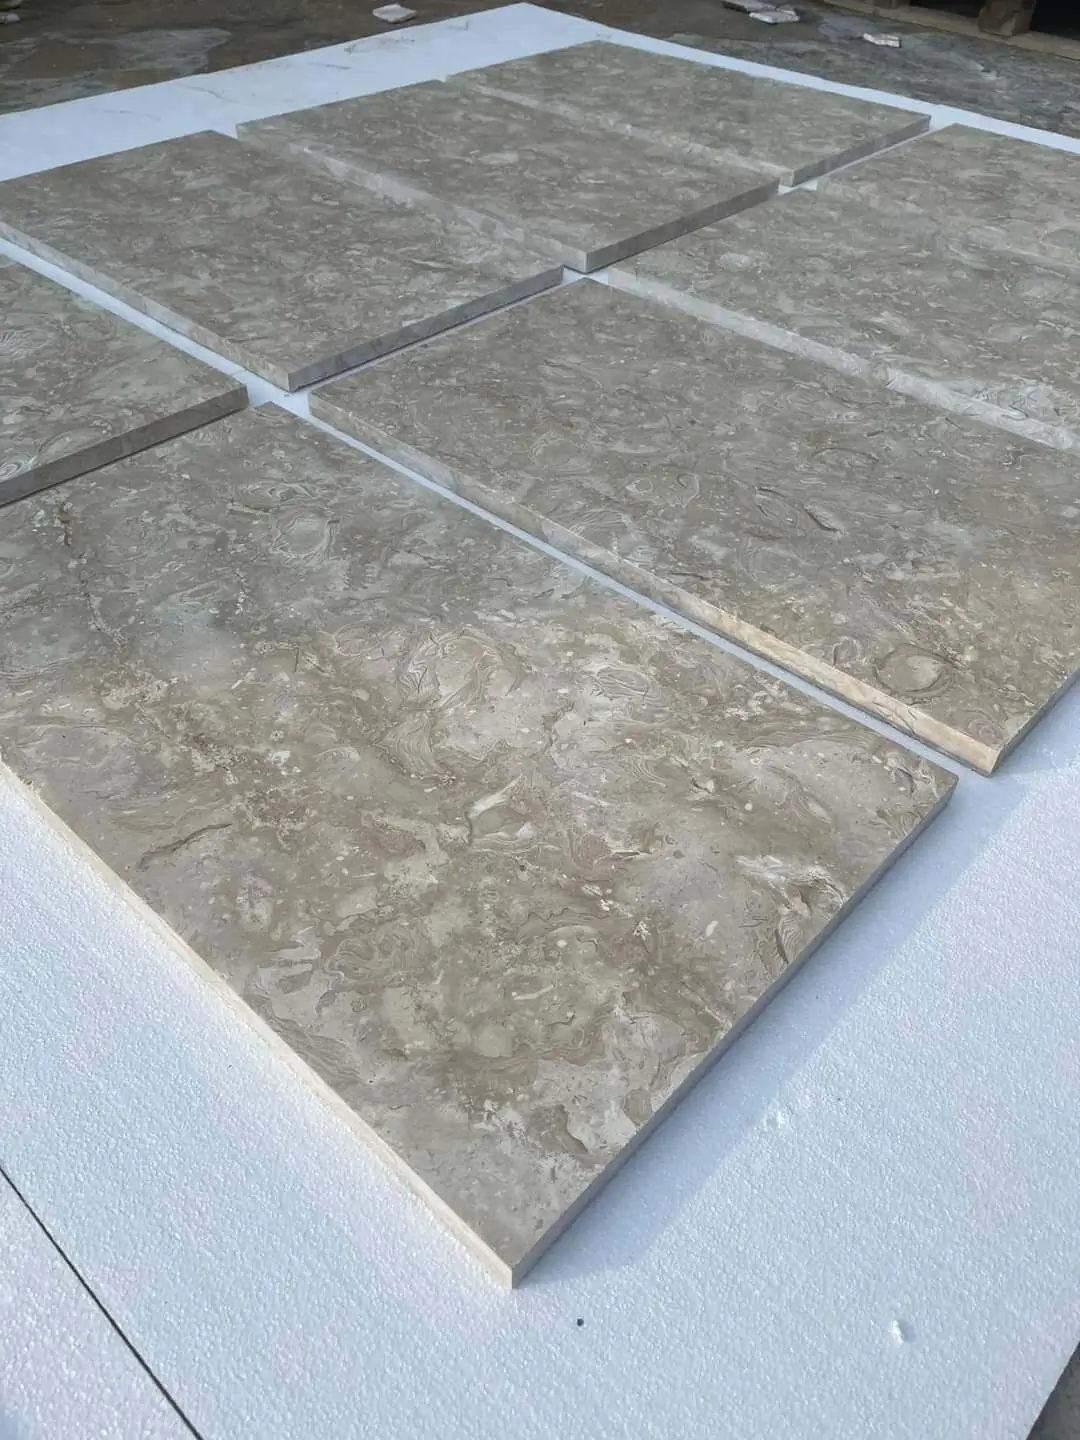
The size and depth of each void dictates your approach. Surface pitting — those shallow depressions under about 3 mm — responds well to a thin slurry application. You mix a small amount of unsanded grout or epoxy resin to a peanut-butter consistency, press it in with a margin trowel, and level it flush before it skins over. Deeper holes, anything approaching 6–8 mm, need a two-stage fill: a base layer allowed to cure fully, then a top layer brought flush with the surrounding surface.
Here’s what most specifiers miss when working with durango travertine tile specifically — the voids in that warm-toned Mexican stone tend to be interconnected below the surface. What looks like three small holes can share a cavity underneath. Probe each void with a thin pick before filling travertine holes of any depth; if the pick drops deeper than expected or angles sideways, treat the cavity as a larger void and use a backing rod or foam backer to give your epoxy a floor to sit on. Skipping this step leads to a sunken repair within a few months.
Surface Preparation You Cannot Skip
Your fill will only bond as well as the surface allows. That means removing every trace of old sealer, residue, and loose material from inside the void before you introduce any filler. Use a stiff-bristle brush — not a wire brush, which leaves ferrous particles that rust and stain — and vacuum out debris thoroughly. For holes in previously sealed travertine, a small amount of acetone on a cotton swab breaks down sealer residue inside the cavity without affecting the surrounding finish.
- Allow the cleaned void to dry completely — moisture trapped beneath epoxy causes adhesion failure and bubbling
- Test for residual sealer by pressing a small water droplet inside the hole; if it beads rather than absorbs, clean again
- For floor applications, check that the tile itself is fully bonded to the substrate — a hollow-sounding tap indicates a debonded tile that needs addressing before any filling
- Wipe the surrounding surface with a damp cloth to prevent airborne dust from settling into your wet filler
According to Natural Stone Institute guidance on travertine properties, the stone’s open-pore structure makes it particularly sensitive to bond failure when fillers are applied over contaminated or damp surfaces. Taking an extra fifteen minutes on prep work is always the better trade-off.
Mixing and Applying the Filler Correctly
Color matching is the step that separates a professional repair from an obvious patch. Pull a sample chip — or at minimum a high-resolution photo — of your travertine and compare it against filler options in natural light, not fluorescent showroom lighting. Travertine shifts tone significantly between wet and dry states, and your filler will read differently once sealed. Test your mixed color on a sacrificial piece or in an inconspicuous corner before committing to the full repair.
For epoxy fillers, the mix ratio matters more than most instructions communicate. Straying even slightly from the manufacturer’s ratio — typically 1:1 or 2:1 by volume — produces a filler that either remains tacky or cures too brittle. Use graduated mixing cups, not eyeballed scoops. Work in ambient temperatures between 60°F and 85°F; below that range, epoxy cures slowly and may not achieve full hardness, while above 90°F the working window shortens to as little as four minutes, which isn’t enough time for larger repairs.
- Apply filler slightly proud of the surface — overfilling by 1–2 mm gives you material to remove during leveling rather than leaving a depression
- Use a plastic squeegee or margin trowel held at a low angle to push filler deep into the void, then drag across at 90 degrees to remove excess
- For large voids in a travertine block or thick-format tile, use a torch or heat gun briefly to pop any air bubbles before the filler begins to set
- Mask adjacent tiles with painter’s tape to keep repair boundaries clean and reduce sanding time
Curing Time and Leveling the Repair
Patience during curing is where most repairs fail. Sanding or grinding an epoxy repair before it has fully hardened — typically 24 hours at room temperature, longer in cool conditions — smears the semi-cured material into the pores of the surrounding stone. Once smeared, epoxy residue in travertine pores is extremely difficult to remove without refinishing the entire surface. Mark your cure time on a piece of tape and walk away.
Once fully cured, level the repair using progressively finer abrasives. Start with 120-grit wet-dry sandpaper wrapped around a small block, keeping the block flat to avoid creating a low spot. Move through 220, then 400 grit, checking frequently by running your fingertip across the repair edge. The goal is a repair that’s flush within 0.1–0.2 mm — detectable only by close inspection under rakingling light, invisible underfoot. For honed or polished travertine, finish with a 600 or 800-grit pad to match the surrounding sheen level.
For projects involving Citadel Stone travertine surfaces, the pre-filled finish means your repair work is typically limited to addressing damage incurred after installation rather than filling factory voids — a meaningful difference in both scope and color-matching complexity.
Code Considerations That Affect Your Fill Decision
The regulatory standards angle matters more than most tile contractors acknowledge when filling travertine holes in floor applications. IBC provisions and local amendments in many jurisdictions set minimum surface regularity tolerances for commercial floor finishes — typically no more than 3 mm deviation over a 3-meter span. A poorly leveled fill repair that creates a raised lip falls into that tolerance zone and can create both a trip-hazard liability and a code compliance issue on inspected commercial projects.
For installations in seismic design categories C through F, ASCE 7 load combinations require that flooring assemblies remain stable under lateral racking forces. This means the mortar bed and adhesive beneath your travertine are part of the structural picture, and a hollow-sounding tile you discover while filling holes above it is a finding that warrants more than just a surface repair. Document it and consult your structural specification before proceeding.
- Commercial projects require slip resistance evaluation per ANSI A326.3 — the finish you select for leveling affects surface texture and may require re-evaluation after repair
- Exterior travertine floor installations in freeze-thaw regions should use a flexible, polymer-modified filler rather than rigid epoxy to accommodate seasonal substrate movement
- Base depth requirements for exterior travertine installations vary by frost line depth — this affects how much movement your floor sees annually and how often fills may need touch-up
Sealing After Filling Travertine Holes Is Complete
Your repair isn’t finished when the filler is level — it’s finished when the sealer coat is applied correctly. Travertine is a calcium carbonate stone with inherent porosity, and an unsealed repair will absorb staining agents at a different rate than the surrounding sealed stone, creating a visible discoloration pattern within weeks of use. Apply a penetrating impregnator sealer across the entire surface, not just the repair zone, to ensure uniform absorption behavior.
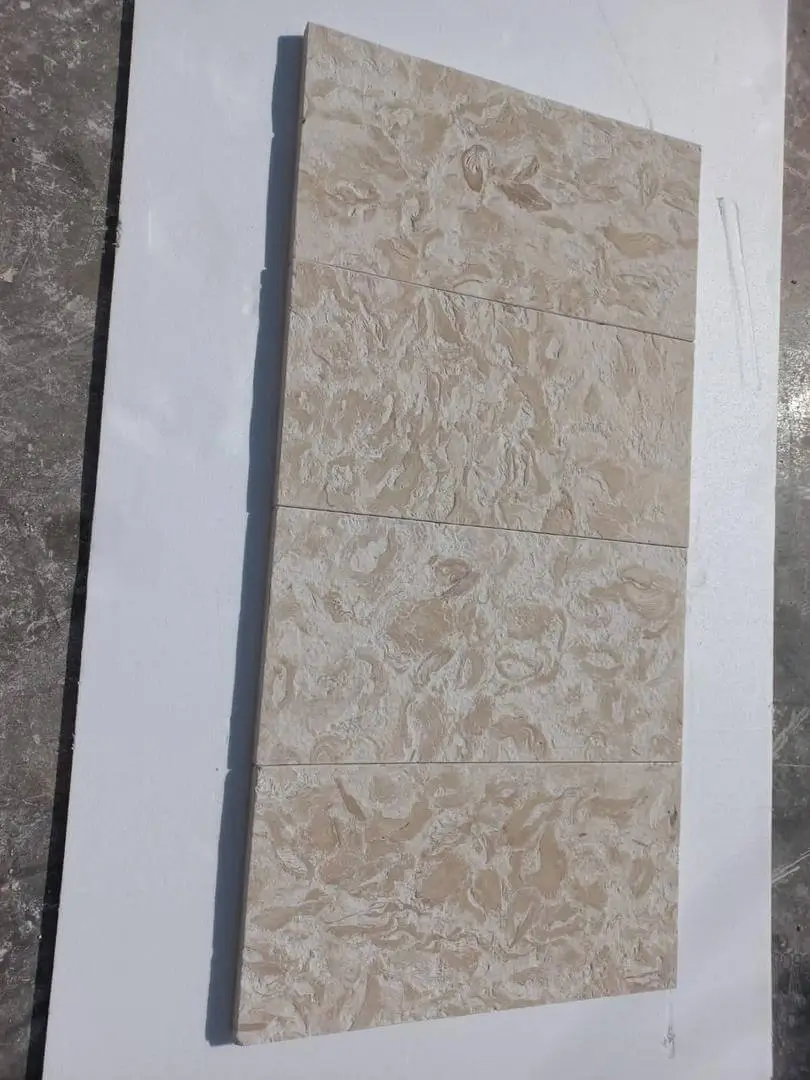
Timing matters here. Apply sealer too early — before epoxy has fully outgassed — and the sealer forms a barrier that traps volatiles, resulting in haziness or a cloudy patch. Most epoxy manufacturers specify a 48–72-hour window before sealing is appropriate. Cement-based grout repairs need at least 28 days of cure before sealing to allow full carbonation and strength development. According to ASTM C1527 specifications for travertine dimension stone, absorption characteristics vary by grade and finish, which directly affects how much sealer your repaired surface will draw in — always apply sealer in thin coats and buff residue before it hazes.
Common Filling Mistakes That Lead to Repeat Repairs
Color drift is the most reported problem after filling travertine holes. The filler looks correct when wet, but lightens two to three shades as it dries, leaving an obvious pale patch. Always evaluate color in the dry state, and keep a small amount of mixed filler on a test tile to reference the true dry tone before committing to the stone.
- Using sanded grout in fine travertine pores — the aggregate particles prevent full penetration and leave the filler sitting proud rather than below the surface plane
- Applying filler in a single thick pass for deep holes — shrinkage during curing creates a dished surface that requires a second fill anyway
- Forgetting to re-seal the surrounding area after sanding — mechanical abrasion during leveling removes the existing sealer from adjacent stone, leaving unprotected areas
- Skipping primer in high-porosity voids — a thin coat of diluted sealer applied to the void before filling improves bond strength significantly in travertine with interconnected pore networks
The USGS data on limestone and travertine natural mineral formation explains why no two pieces of travertine have identical void patterns — formation conditions during deposition produce unique combinations of pore size, distribution, and connectivity. That variability is exactly why matching repair technique to the specific characteristics of your stone produces better outcomes than following a one-size approach.
Ordering and Logistics for Larger Repair Projects
Large-scale filling projects — commercial renovations or multi-room residential restorations — benefit from ordering a small quantity of matching stone alongside your filler supplies. Having actual stone from the same batch on hand gives you an accurate color reference throughout the repair process. Verify warehouse stock levels before committing to project timelines; color-matched travertine from the same quarry run isn’t always available on short notice, and working from a slightly different batch produces color variation that’s difficult to compensate for at the filler stage. This is especially relevant when sourcing durango travertine tile, where warm-tone consistency across batches can shift noticeably.
Citadel Stone maintains readily available travertine inventory across a range of finishes and formats, which reduces the lead time gap between your repair assessment and material arrival. For large commercial jobs, coordinate truck delivery scheduling in advance — palletized stone arriving on a tight job site without prior truck access coordination creates unnecessary delay. Confirming warehouse availability and planning your delivery window around other trades keeps the repair sequence on track and prevents your freshly prepped voids from accumulating construction dust before filling begins.
Getting Travertine Hole Filling Right from the First Repair
Filling travertine holes correctly comes down to three decisions made before you open a single container: the correct filler type for your traffic and environment, a properly cleaned and dried void, and a color-matched mix evaluated dry rather than wet. Every other variable — curing time, leveling technique, sealing schedule — flows logically from those three starting points. Rushing any one of them produces a repair that looks acceptable on day one and fails visibly by month three.
Travertine remains one of the most rewarding stones to restore because the natural variation in its surface actually works in your favor — small color imperfections in a repair read as character rather than error. That forgiveness disappears the moment you leave a proud edge or a hollow-bonded filler, so take the leveling step seriously. When planning your next travertine project, long-term surface protection is equally important — keeping travertine free from staining covers the maintenance side of the equation with the same level of practical detail. Sourced from established quarry partners across multiple continents, Citadel Stone travertine ships pre-filled for a level small-format surface.
Related reading: how to polish travertine tile · travertine border tile · Small Travertine Bathroom Ideas That Open Up Space.