The tile dimension you commit to shapes every downstream decision on a project — grout layout, substrate prep, waste factors, and visual rhythm. Most specifiers reach for the 4×8 tile vs 6×12 tile question expecting a quick answer, but the performance and installation differences between these two formats run deeper than most project guides acknowledge. Understanding where each format genuinely excels — and where it creates real-world complications — is what separates a specification that ages well from one that causes callbacks three years in.
What the Numbers Actually Mean on Site
Both formats share the same 2:1 aspect ratio, which is their most important geometric relationship. That ratio creates a brick-bond pattern that aligns naturally with the human eye’s preference for horizontal movement — but it behaves differently depending on the surface area you’re covering. The 4×8 tile vs 6×12 tile comparison starts with face coverage: the 4×8 provides 32 square inches per unit, while the 6×12 covers 72 square inches. That 2.25x increase in face area per tile translates directly into fewer grout joints per square foot: roughly 30–35% fewer longitudinal joints when you run the 6×12 in a standard staggered bond.
Fewer joints mean less grout to maintain and a cleaner visual plane — but they also mean the tile itself must perform more of the structural work. Larger format tiles are less forgiving of minor substrate imperfections because each tile spans a greater distance. Your flatness tolerance tightens from the TCNA-recommended 1/8 inch in 10 feet for standard tile to 1/8 inch in 10 feet for tiles with at least one edge over 15 inches — and even though the 6×12 doesn’t technically cross that threshold, edge warpage on larger tiles is a field reality you’ll need to address during quality inspection.
Visual Scale and Room Proportion
The 4×8 tile reads as a traditional masonry scale — it references brick, hand-laid ceramic, and artisan wall surfaces. This works strongly in spaces under 150 square feet, where the tighter repetition of joints adds rhythm rather than visual clutter. In entry vestibules, compact bathrooms, or accent niches, the 4×8 holds its proportional integrity and avoids the visual awkwardness of large-format tiles that get cut at every third or fourth run.
The 6×12 tile performs differently in room-scale terms. The wider format anchors well in open-plan kitchens, main bathrooms over 80 square feet, and linear hallways where the elongated format guides the eye along the room’s primary axis. Running 6×12 tiles vertically in a shower enclosure — with the long edge oriented up — adds perceived ceiling height in spaces where compressed dimensions are a design constraint. That’s a layout approach that doesn’t work nearly as effectively with the 4×8.
The specification consideration most planners skip: diagonal cuts at room perimeters look dramatically different between formats. A 4×8 cut to a 3-inch triangular filler is barely noticeable; a 6×12 trimmed to the same geometry creates a disproportionate sliver that draws attention. Your layout plan needs to account for this before the first tile is set — not during installation.
Substrate Requirements and Base Preparation
Here’s where terrain context starts to matter for both formats. On sloped sites and hillside installations — common in residential terracing and grade-change landscaping — your substrate flexibility is more constrained than on flat planes. The 4×8 tile adapts more readily to modest substrate irregularities because its smaller footprint naturally bridges minor low spots without creating lippage. On a sloped application where the mortar bed has to accommodate grade transition, the 4×8 format is significantly easier to keep within the 1/32-inch lippage tolerance between adjacent tiles.
The 6×12 tile on a graded or terraced substrate demands a minimum 3/4-inch medium-bed mortar to achieve full back-coverage compliance per TCNA installation standards — particularly on the downslope edge where mortar can migrate under load during cure. Back-buttering is non-negotiable for the larger format regardless of application, adding approximately 12–15 minutes per square metre of installation time to your labour estimate. Factor that into your project schedule honestly; it affects both cost and completion timeline.
Drainage design on sloped applications also interacts with tile format. The 4×8’s tighter joint network actually helps manage sheet-flow drainage across a grade by breaking water velocity more frequently, which reduces erosion at the installation perimeter. The 6×12’s wider, fewer joints concentrate drainage at specific exit points — a consideration worth discussing with your site engineer when the spec involves a meaningful cross-slope or elevation change.
Grout Joint Sizing and Movement Accommodation
Movement accommodation is the specification detail that most cost-cutting exercises hit first — and it’s the detail that determines whether your installation holds up past the five-year mark. Both the 4×8 tile and 6×12 tile require expansion joints at 8–12 foot intervals per the TCNA movement accommodation guidelines, but the practical implementation differs between formats. The TCNA installation standards are clear that no tile assembly should be treated as a fully rigid system, regardless of format size.
The 4×8 tile’s shorter dimensional footprint means joint widths of 1/16 to 1/8 inch are appropriate for most interior applications. Exterior applications in freeze-thaw regions or hot, dry climates should push that to 3/16 inch to accommodate seasonal thermal cycling. The 6×12 tile with its larger face area accumulates more differential thermal movement across its plane, which means your minimum joint width recommendation increases to 3/16 inch even for protected interior applications when the substrate is concrete — which has its own independent movement characteristics.
- 4×8 tile: 1/16–1/8 inch joints for interior, 3/16 inch for exterior or high-thermal-differential applications
- 6×12 tile: 3/16 inch minimum joint width for concrete substrates; 1/8 inch on stable backer board
- Both formats: expansion joints at 8-foot intervals or at all changes of plane, regardless of material
- Sealant — not grout — must fill all expansion joints; compressible backer rod is required before sealant application
- Diagonal or herringbone layouts increase dimensional complexity; add 10% to your movement joint budget
Material Selection: Natural Stone in Both Formats
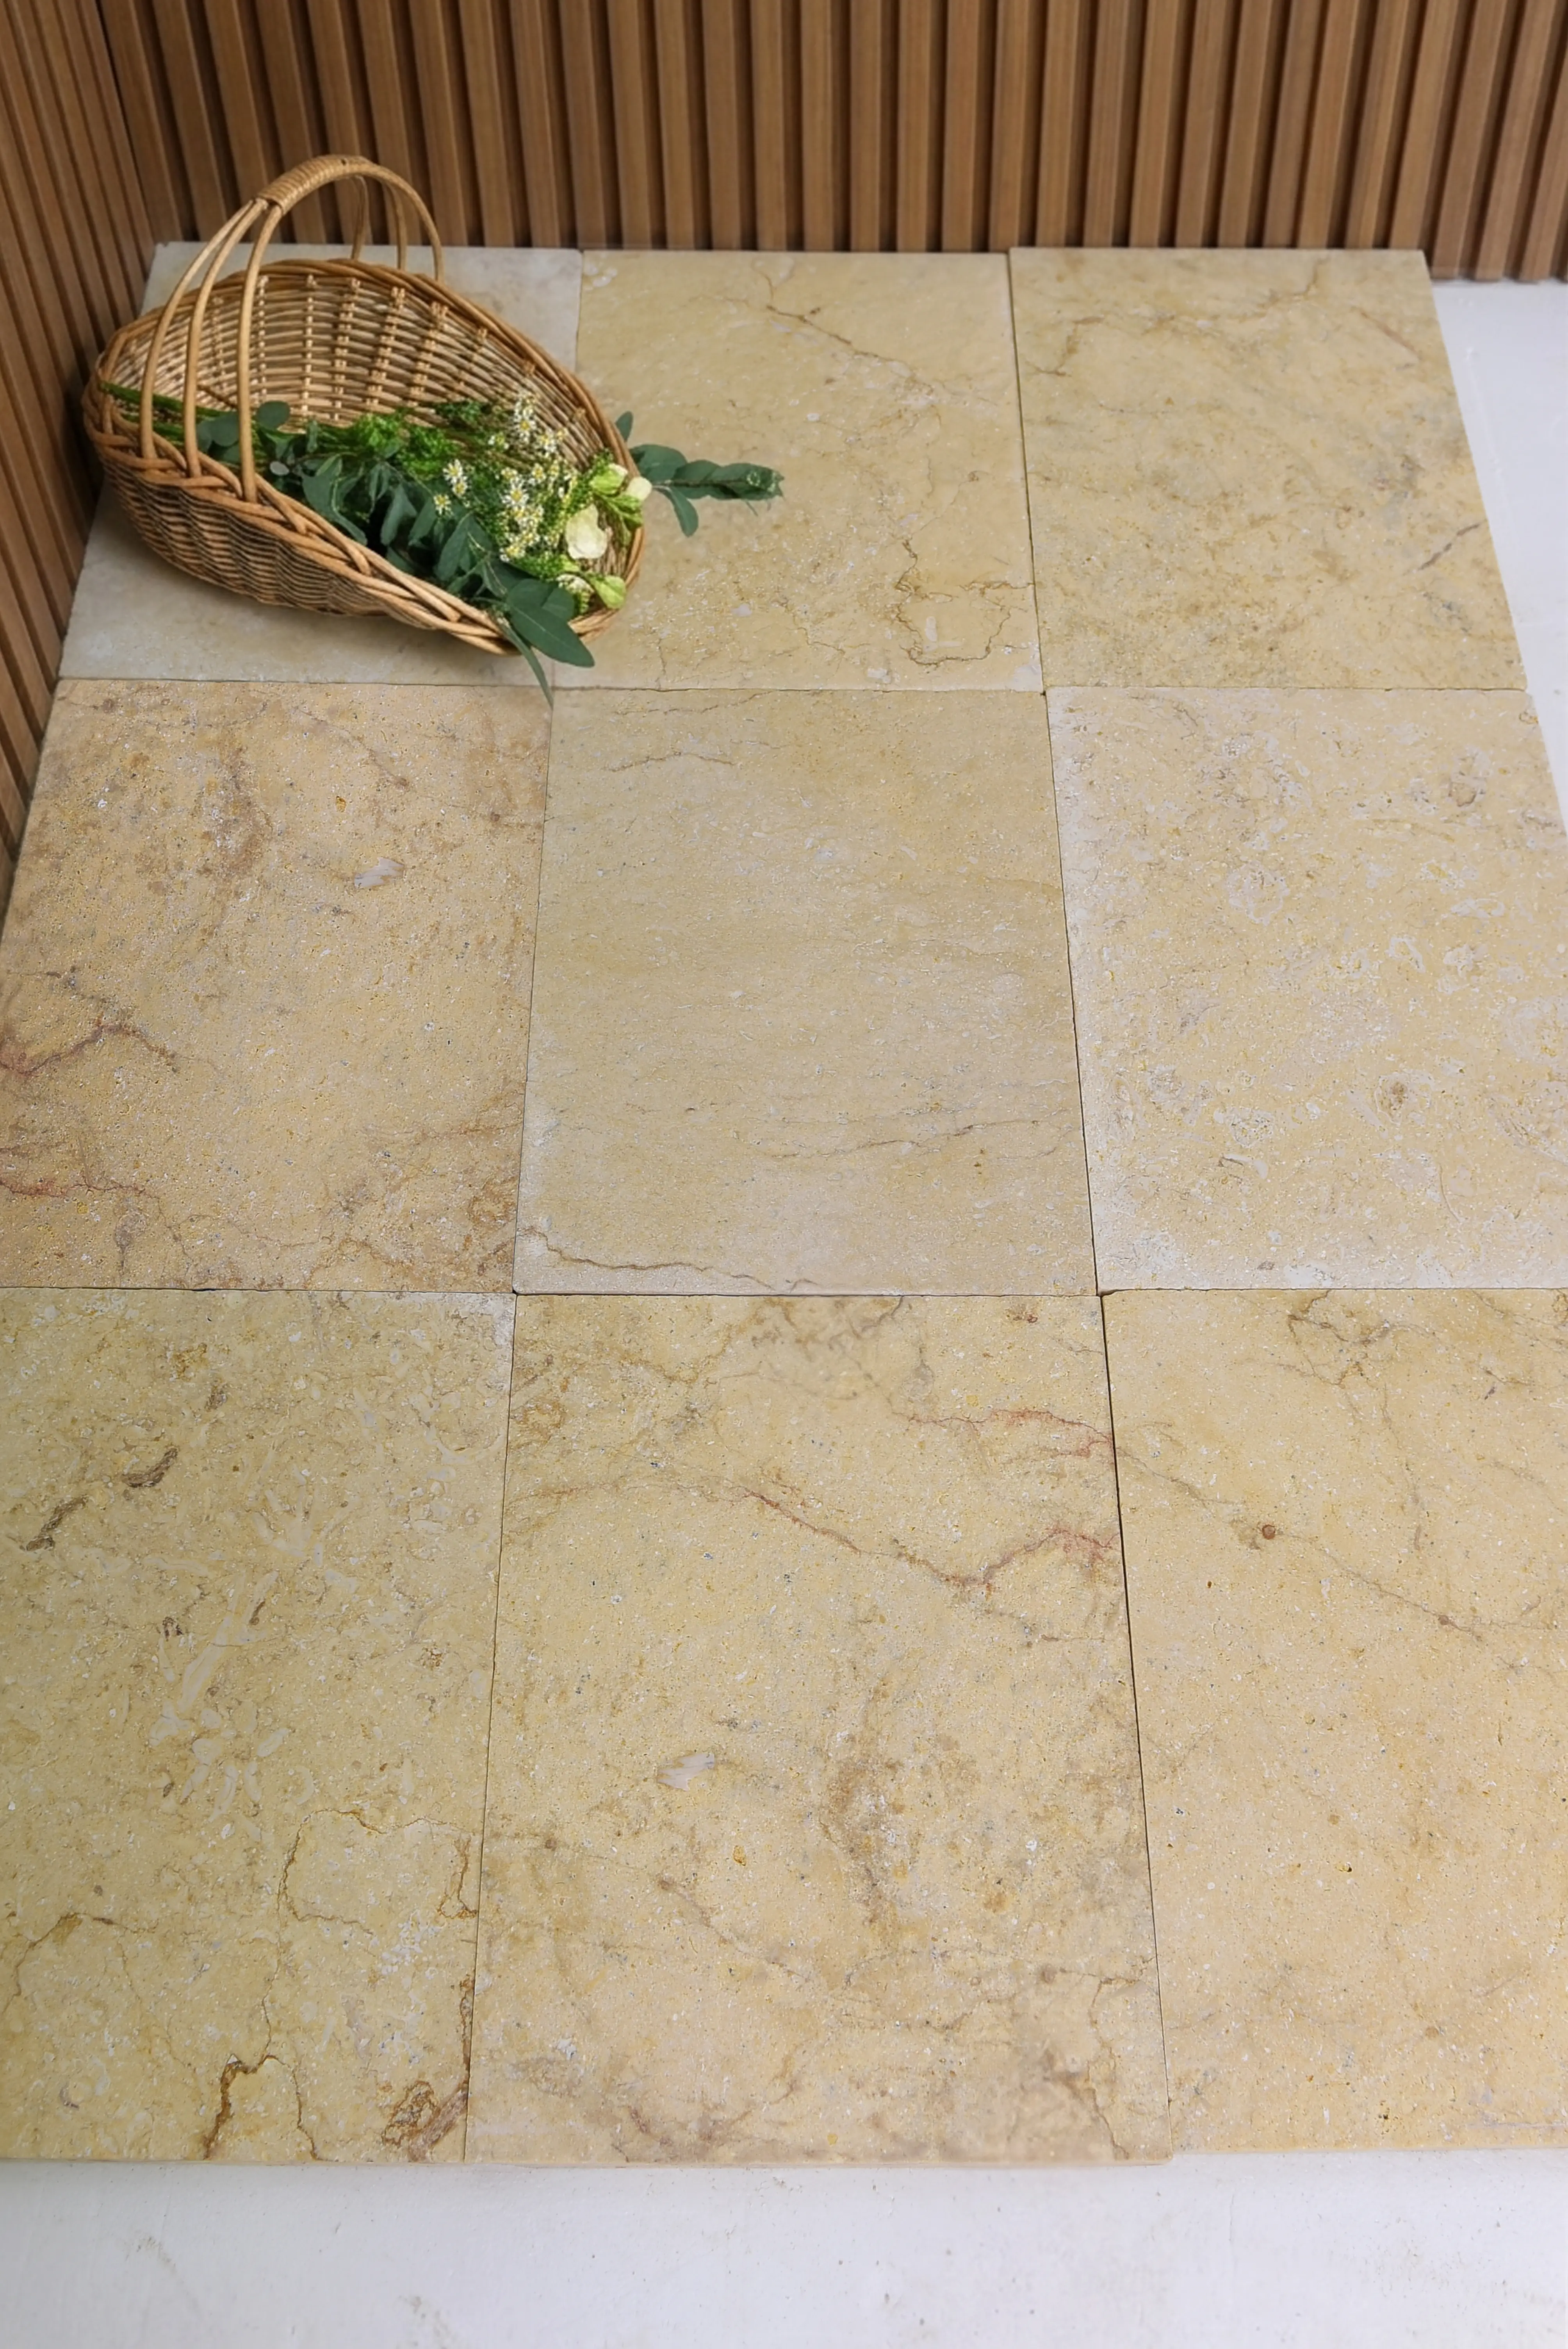
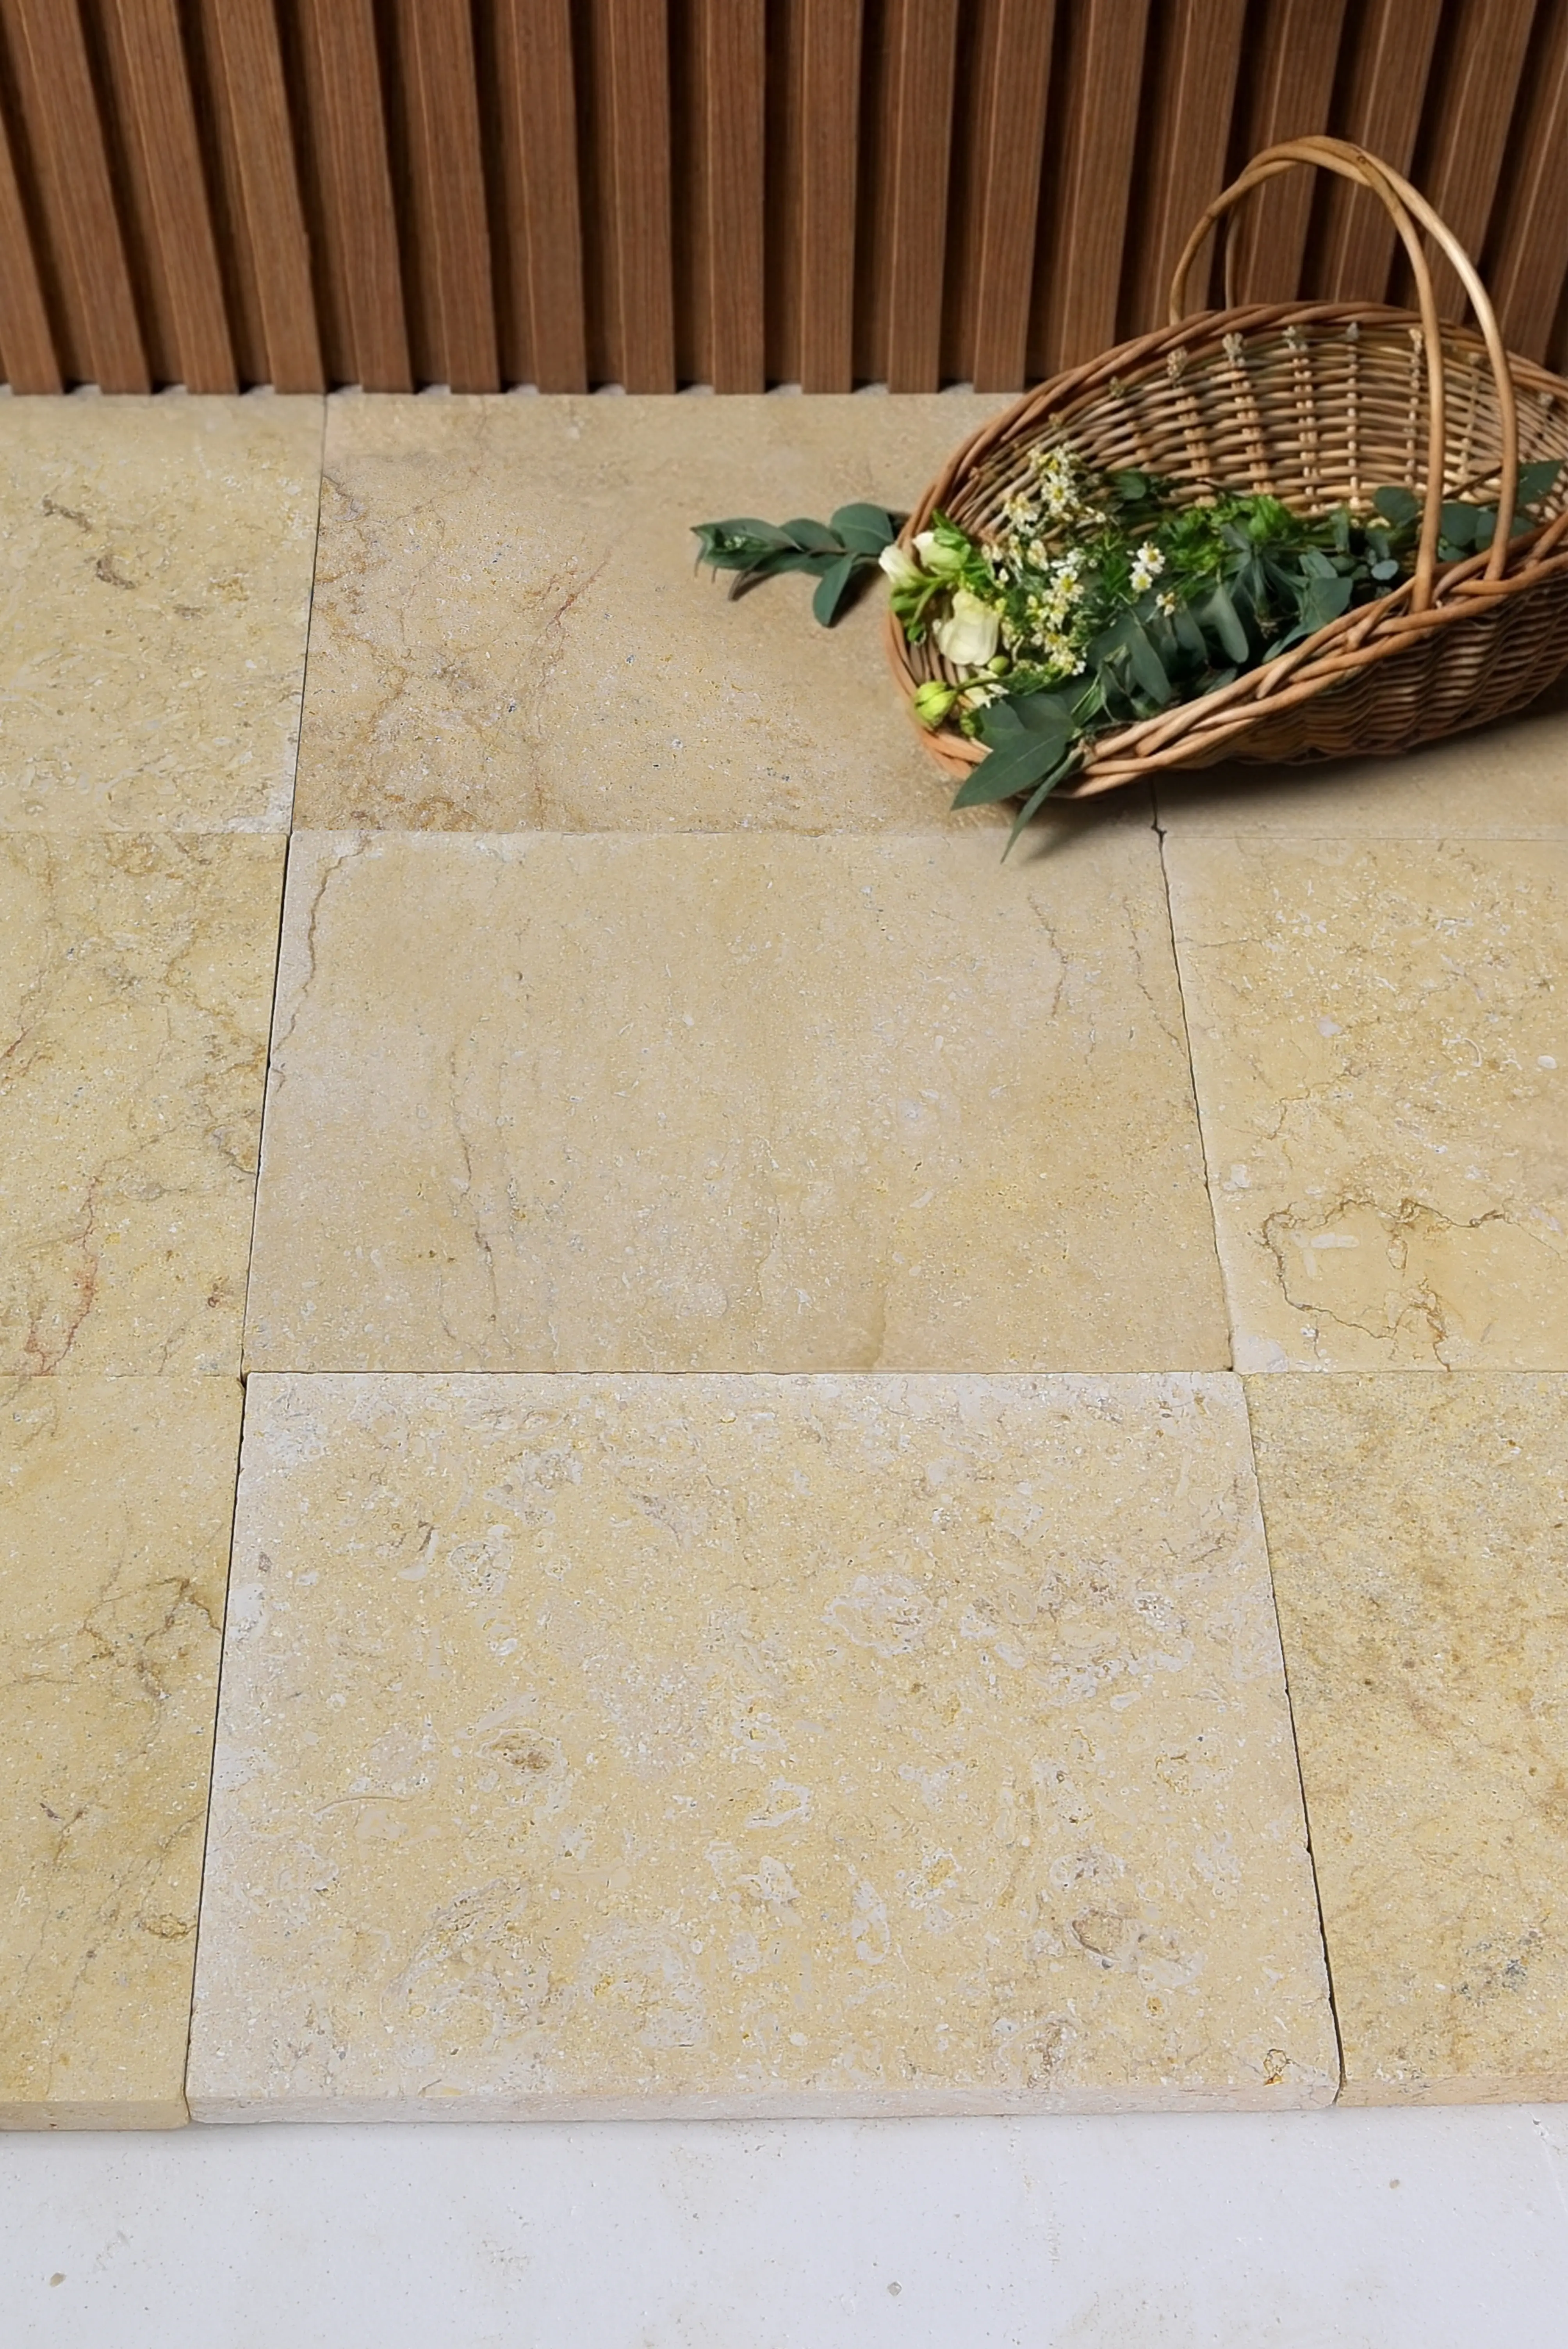
Travertine is one of the most widely specified natural stone materials in both 4×8 and 6×12 tile formats — and the format choice interacts with the material’s physical properties in ways that affect long-term performance. Travertine’s open-pore structure and moderate absorption rate (typically 3–8% by weight) means the tile body itself accommodates minor moisture movement better than denser stones like granite or basalt. That characteristic makes travertine a reasonable specification for both wall and floor applications across both formats. For a detailed overview of available dimensions and finish options, Citadel Stone travertine sizes covers the full range of profiles the company sources and warehouses.
Field experience with 4×8 travertine tile shows that the smaller format manages the material’s natural vein variation more effectively in compact spaces. Each tile reads as a discrete decorative element, and the variation between tiles creates a mosaic effect that references the stone’s geological origin. The 6×12 format, by contrast, allows vein orientation to carry across a larger surface — but it also means matching bookmatched slabs requires more careful warehouse selection before tiles ship to site. At Citadel Stone, we inspect travertine batches at the warehouse level to verify vein consistency within each order lot, which directly reduces the field waste that comes from mismatched runs arriving on a single shipment.
The Natural Stone Institute travertine properties guidance documents the absorption and durability characteristics that affect both format sizes in outdoor applications. Its open-pore structure provides a textured surface finish when left in a honed or tumbled state — confirm the wet DCOF against ANSI A326.3 for wet areas regardless of whether you’re running 4×8 or 6×12 tiles.
Installation Labour and Project Cost Factors
Labour cost differences between the 4×8 tile and 6×12 tile format are less intuitive than most clients expect. You might assume fewer, larger tiles equal faster installation — and in terms of unit count, that’s true. But the 6×12’s back-buttering requirement, tighter flatness tolerance, and longer joint runs typically offset that time saving in most residential applications. On projects under 200 square feet, experienced installers often complete 4×8 layouts faster than 6×12 because the smaller format is more forgiving during the setting process.
The calculus shifts on large commercial applications. At 500 square feet and above, the labour savings from handling fewer units — and the reduced grouting time from fewer joints — begin to favour the 6×12 meaningfully. Industry benchmarks suggest skilled crews can install 20–25% more net square footage per day with 6×12 tiles compared to 4×8 on open floor planes with clear access. Tile waste factors also diverge: 4×8 tile typically runs 8–10% overage for standard layouts, while 6×12 tile projects should budget 12–15% for the same pattern complexity due to the larger minimum cut-off size.
- 4×8 tile waste allowance: 8–10% for standard bond layouts, 12% for diagonal patterns
- 6×12 tile waste allowance: 12–15% standard bond, 18% diagonal — larger cut-offs waste more usable stone
- Labour rate per square foot is typically 10–15% higher for 6×12 on small residential projects under 200 square feet
- On larger commercial installations, 6×12 can reduce total labour cost by 8–12% due to lower unit-handling time
- Both formats require the same substrate prep cost — savings on tile handling don’t reduce mortar bed or waterproofing expenses
Elevation and Drainage Considerations for Outdoor Formats
Outdoor applications introduce a site-engineering dimension that indoor tile comparisons typically skip. On hillside terraces, elevated decks over fill material, or stepped garden installations, both tile formats must be evaluated against the site’s drainage design — not just the architectural drawing. The ASTM C1528 standard covers natural stone tile performance in exterior applications, but it doesn’t address the site-specific drainage engineering that determines whether any tile installation succeeds long-term on a graded site.
Your base preparation on sloped terrain should target a minimum 2% cross-slope across the tile field to ensure positive drainage at the surface. The 4×8 tile’s smaller format is more adaptable to the mortar bed adjustments needed to achieve and maintain that slope across a non-uniform substrate. The 6×12 tile demands a more precisely engineered screed bed — any deviation in bed flatness greater than 3/16 inch in 10 feet becomes immediately visible in the finished surface at the scale of a 6×12 unit. On fill-stabilised sites or any installation sitting above a drainage-sensitive elevation, consider specifying a vented substrate system that allows moisture evacuation from below — this applies equally to both formats but is especially critical under the larger tile area of the 6×12.
Low-lying sites and areas with seasonal high water tables add another dimension. The ASTM C1527 travertine dimension stone standard specifies absorption and freeze-thaw durability requirements that both format sizes must meet for outdoor applications in regions with significant moisture exposure. Tiles with absorption rates above 6% should not be specified for direct ground-contact applications in high-moisture environments regardless of format.
Long-Term Maintenance and Performance Expectations
The 4×8 tile vs 6×12 tile comparison looks different over a 15-year horizon than it does at installation. The 4×8 format’s higher joint density creates more surface area for grout maintenance — more linear feet of joint per square foot means more frequent regrouting as joint material breaks down under traffic and UV exposure. Exterior applications in high-UV conditions typically see grout degradation begin at 5–8 years, which means a 4×8 installation will have roughly 30–35% more joint to address at that maintenance interval than a comparable 6×12 installation.
The 6×12 tile carries a different maintenance profile: fewer joints but more consequential individual tile failures. A cracked 6×12 tile is harder to remove and replace without disturbing adjacent tiles because the larger format engages more of the substrate bond area. In high-traffic commercial applications, this makes the 4×8 format a more practical long-term maintenance choice — individual tile replacement is faster, less disruptive, and less technically demanding for maintenance crews.
- 4×8 tile: more joint maintenance area per square foot — budget regrouting at 7–10 year intervals for exterior applications
- 6×12 tile: fewer joint maintenance events but more complex individual tile replacement if cracking occurs
- Natural stone sealing applies equally to both formats — penetrating impregnating sealers every 2–3 years depending on stone porosity and traffic
- Efflorescence risk is format-neutral — it depends on mortar selection and moisture management, not tile size
- Thermal cycling stress accumulates differently: the 6×12 experiences higher internal stress per tile in high-temperature-swing environments due to greater face area expansion
4×8 Tile vs 6×12 Tile: Getting the Specification Right
Between the 4×8 tile and 6×12 tile, there’s no universal winner — the right format is the one that matches your substrate conditions, space scale, and maintenance reality honestly. Small to medium spaces under 150 square feet, high-traffic commercial floors where individual tile replacement is a maintenance priority, and graded or sloped outdoor applications all argue for the 4×8’s flexibility and field adaptability. Open residential floors over 200 square feet, linear hallways, and installations where a cleaner joint pattern is a design priority argue for the 6×12’s visual efficiency and reduced grout maintenance burden over time. USGS dimension stone data confirms that natural stone tile in both formats represents a material category with decades of documented service life when specified and installed correctly — the format decision should be driven by your specific project conditions, not marketing preference.
As your project scope comes together, pricing and availability for the 6×12 format in travertine is a practical next step — 6×12 travertine tile pricing gives you the current cost context you’ll need before finalising your specification. Stone for nationwide projects ships from select natural stone quarries worldwide, letting Citadel Stone match either format to your design scale.
Related reading: rectangular travertine tile sizes compared · natural stone tile thickness guide · is tile a stone.