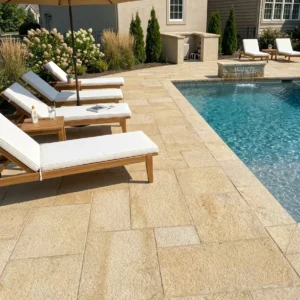
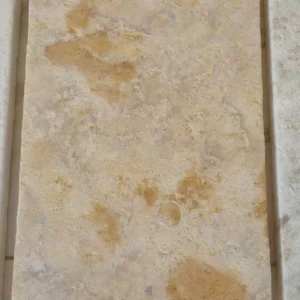
Most DIY stone paver projects fail not because of poor material choice, but because the base gets rushed. You can select the most beautiful flagstone or limestone on the market, but if the compacted aggregate beneath it shifts even half an inch, you’ll be resetting stones within two seasons. Understanding the mechanical realities underneath your DIY stone pavers before the first piece is placed separates installations that hold for decades from ones that become an annual maintenance task.
Choosing the Right Stone for Your Project
Your material decision drives everything downstream — joint width, base depth, sealing schedule, and edge restraint design. Flagstone and limestone are the two most common choices for DIY stone paver installations, and they behave very differently under load and weather exposure.
Flagstone is a broad category covering sedimentary and metamorphic slabs — sandstone, quartzite, slate, and some limestone all get sold under the flagstone label. Limestone pavers are a more specific product: calcium carbonate sedimentary stone, typically cut to consistent thickness and available in both irregular and dimensional formats. According to limestone formation and characteristics, the stone’s composition and pore structure directly affect how it handles moisture, freeze-thaw cycling, and surface wear — details that matter enormously once your installation is exposed to real weather.
The practical split comes down to your project’s tolerance for variation. Flagstone’s irregular shapes create a handcrafted aesthetic, but they demand more skill during layout and more precision during base preparation to achieve a consistent finished plane. Limestone cut to 12×12, 18×18, or 24×24 formats installs more predictably and gives you tighter joint control — an advantage in any application where drainage direction and surface uniformity matter.
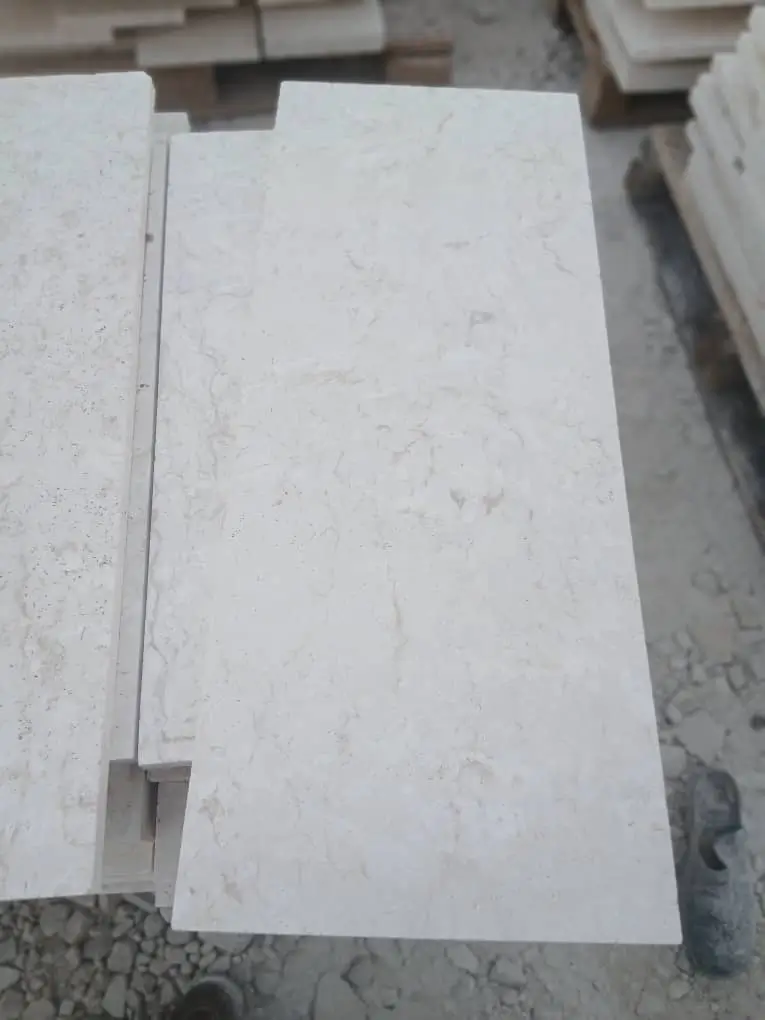
Limestone Pavers for Pool Decks: What Changes Underwater
Laying limestone pavers for pool deck applications introduces variables that a standard patio installation doesn’t face. Chlorine splash, constant wet-dry cycling, and bare-foot slip resistance all factor into your specification before you pull the first stone off the pallet.
Honed limestone sits at a static coefficient of friction between 0.6 and 0.8 when wet — comfortably above the 0.6 minimum threshold most safety standards reference for wet outdoor surfaces. Tumbled or brushed finishes push that number higher, at the cost of a slightly coarser texture underfoot. The key detail most homeowners miss: pool deck limestone should be sealed with a penetrating, breathable sealer — not a topical coating. Topical sealers trap subsurface moisture and cause spalling when thermal cycling creates pressure differentials in the stone’s pore network.
- Specify limestone pavers for pool decks at 1.25 inches minimum thickness — thinner slabs flex under point loads near the pool edge and eventually crack along natural bedding planes
- Maintain a 1% slope minimum away from the water — adequate for sheet drainage without creating a trip hazard at the coping edge
- Use a non-sanded, polymer-modified joint compound in pool deck applications — standard polymeric sand degrades faster under repeated chlorine exposure
- Apply penetrating sealer before grouting joints, not after — this sequence protects the stone face during the grouting process
For dimensional limestone in 24×24 formats, you’ll find the larger slab area dramatically reduces the number of joints — which means fewer pathways for pool water to undercut your base. our stone pavers for DIY projects include 24×24 limestone options that work well in both pool surround and general patio applications, with consistent thickness tolerances that simplify base preparation.
Red Stone Pavers: Working With Color-Rich Natural Stone
Red stone pavers draw a lot of attention in design discussions, but they’re worth understanding technically before you commit. The red and rust tones in sandstone and certain quartzite flagstones come from iron oxide content in the stone’s mineral matrix. That same iron content influences how the stone weathers over time — and how it responds to acidic cleaners.
Field experience shows that red sandstone pavers are highly resistant to surface abrasion but more susceptible to exfoliation in freeze-thaw regions than denser igneous or metamorphic alternatives. The layered sedimentary structure that creates the stone’s distinctive color also creates planes where moisture can intrude and expand during freeze cycles. This doesn’t disqualify red stone pavers for use in colder climates, but it does mean your sealing protocol becomes non-negotiable — annual reapplication in freeze-thaw regions versus biennial in milder conditions.
- Avoid muriatic acid-based cleaners on red stone — the acid reacts with iron oxide and can bleach or streak the surface permanently
- Use pH-neutral stone cleaners for routine maintenance — available from most stone supply distributors
- Confirm the stone’s water absorption rate before purchase — look for values below 3% for outdoor applications in wet climates
- Red quartzite is generally denser and more dimensionally stable than red sandstone — confirm the specific material, not just the color family
Base Preparation: The Layer That Determines Everything
Your base preparation determines whether your DIY stone pavers last 10 years or 30. This isn’t a detail you can shortcut — it’s the one variable that field professionals consistently identify as the difference between a callback job and a referral job.
Standard residential base depth for natural stone pavers starts at 6 inches of compacted crushed aggregate. In clay-heavy soils, extend that to 8 inches and consider a geotextile fabric layer at the subgrade interface to prevent clay migration upward into the aggregate over time. The aggregate itself should be angular-crushed material — not rounded river gravel. Angular particles lock together under compaction; rounded ones shift. According to USGS dimension stone production and use data, proper subbase specification is among the most critical factors in the long-term performance of natural stone paving systems.
On top of the compacted aggregate base, you’ll install a 1-inch setting bed of coarse concrete sand — not stone dust, and not fine mason’s sand. Stone dust compacts poorly and retains moisture at the interface between the base and the stone. Coarse concrete sand provides the drainage pathway that keeps your setting bed from becoming a retention pond after heavy rain. Screed the sand bed to a uniform depth using 1-inch diameter conduit pipe as guides, then slide them out after screeding — a classic field technique that produces a consistent setting surface without mechanical equipment.
Laying Flagstone Pavers: Layout Strategy Before You Set the First Stone
Laying flagstone pavers successfully starts with a dry-lay run across your entire project area before any sand touches the base. Pull all your flagstone slabs out of the pallets and sort them by size and thickness. Group large anchor pieces, medium fill pieces, and small cut-fill candidates separately — this visual inventory prevents the beginner mistake of using up all your large slabs at the start and being left with awkward gaps to fill in the final section.
Your joint width target for flagstone is 1.5 to 2.5 inches — wide enough to accommodate the natural size variation between irregular slabs, narrow enough to maintain a cohesive finished appearance. Avoid joints wider than 3 inches in high-traffic areas; wide joints collect debris, destabilize adjacent slabs, and create trip hazards where edge height differential develops over time. According to the ASLA natural stone and flagstone outdoor paving guidance, properly detailed joint spacing and edge restraint are fundamental to the long-term structural performance of any natural stone pathway or patio installation.
- Start your layout from the most visible corner or the entry point — work outward so cut pieces land at less-visible edges
- Check thickness variation across your slab collection before setting — slabs more than 0.5 inches thinner than your average will need additional sand beneath them to achieve a flush surface
- Use a 4-foot level across every three adjacent stones as you set them — minor variation is acceptable, but consistent high or low spots create drainage problems
- Mark cut lines on flagstone with chalk, not pencil — pencil lines disappear on rough stone surfaces before you get to the saw
Edge Restraint, Joint Integrity, and Storm Performance
Here’s a detail most DIY guides underplay: edge restraint is a structural component, not a cosmetic finish. Under wind-driven rain events and storm conditions, the combination of lateral hydrostatic pressure at joints and hydraulic lift beneath the slab can migrate sand out of your setting bed within a single severe weather event if your perimeter containment isn’t engineered correctly.
For DIY stone pavers without rigid mortar joints, the perimeter edge restraint does the mechanical work of keeping the entire system cohesive. Plastic snap-edge restraint products are adequate for light residential foot-traffic applications. For any area exposed to vehicle loads, storm-water channeling, or sloped grades above 2%, switch to concrete haunch edge restraints — a 6-inch wide, 4-inch deep poured concrete border keyed into undisturbed subgrade. This restraint system resists the lateral displacement forces that storm runoff creates along permeable paving edges.
Joint fill selection also affects storm resilience. Standard polymeric sand performs well in typical conditions but can be displaced by high-velocity wind-driven water across open patio surfaces during intense storm events. Hybrid polymeric products with higher polymer content resist washout more effectively and are worth the modest additional cost in exposed, storm-prone installations. Check that your joint fill is fully cured — typically 24 to 48 hours — before any rain exposure after application.
Ordering, Delivery, and Warehouse Logistics
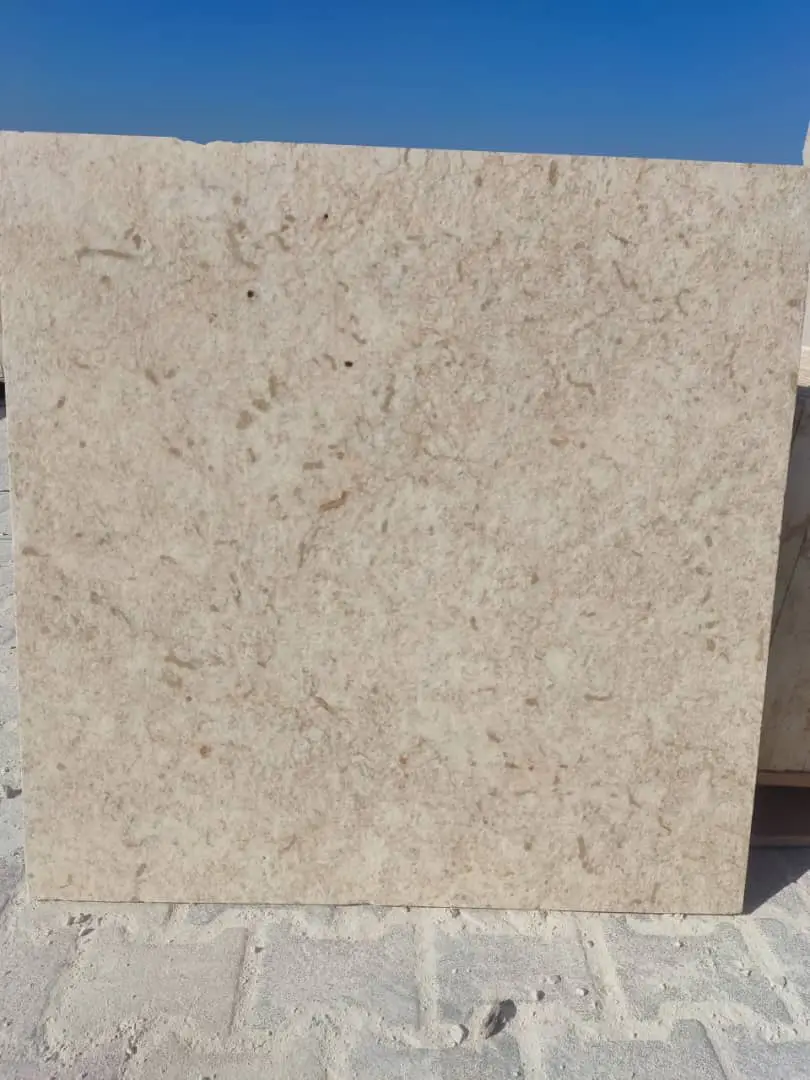
Your material order should be placed 2 to 3 weeks ahead of your installation start date for most natural stone paver projects. Citadel Stone cuts every order at its selected quarries, and the lead time for your specification is quoted with the order. Confirm warehouse availability for your specific stone selection when you place your order — high-demand formats like 24×24 limestone and large-format flagstone can move quickly during peak installation season.
Plan your delivery access before finalizing your order. A standard flatbed truck delivering stone on pallets requires a drivable surface that can support 30,000 to 40,000 pounds of vehicle-plus-load weight. If your project site doesn’t have paved access, discuss delivery staging options with your supplier — partial pallet drops at the street with hand-carry to the project area add labor time but protect finished surfaces and soft landscaping. Factor this into your project schedule if access is limited.
- Order 10% above your calculated square footage for a standard rectangular patio — increase to 15% for irregular flagstone layouts where cuts generate more waste
- Inspect each pallet on delivery before the truck leaves — note any breakage or color variation that falls outside acceptable range on the delivery paperwork
- Store pallets on a hard, level surface — uneven storage surfaces cause slab-to-slab contact stress that can crack thin material during the days between delivery and installation
- Keep pallets covered if rain is expected before installation — wet stone is significantly heavier and more slippery to handle than dry material
Sealing and Long-Term Maintenance
Natural stone pavers need sealing within 30 days of installation completion — before the first full rainy season if your project timing allows. A penetrating impregnating sealer is the correct product category for exterior paving: it enters the stone’s pore structure and cures from within, leaving the surface breathable while significantly reducing liquid absorption. The Natural Stone Institute limestone technical specifications confirm that absorption rate is a primary performance variable for exterior limestone — sealing reduces this rate and extends the maintenance interval considerably.
Resealing frequency depends on finish and exposure. Honed limestone in a covered outdoor area can go 3 to 4 years between applications. Tumbled flagstone in full sun and rain exposure typically needs resealing every 18 to 24 months. The simple test: drop a small amount of water on the stone surface. If it beads up, the sealer is still active. If it absorbs within 30 seconds, it’s time to reseal. This takes less than a minute and gives you a clear maintenance trigger without guesswork.
Final Considerations for Your DIY Stone Paver Installation
Every DIY stone paver project comes down to patience at three specific moments: the base compaction check, the dry-lay layout review, and the joint cure time before first use. Rushing any one of these three steps creates the problems you’ll be diagnosing later — settled slabs, awkward joint gaps, and displaced polymeric sand. Take the extra hour at each of these checkpoints and your installation will reflect the quality of the stone you selected, not the shortcuts you took installing it.
As you think through your broader hardscape plans, material decisions in adjacent areas can inform how you detail your paver installation. paver spacing and rock-fill drainage ideas covers a complementary approach to joint treatment and drainage design that pairs well with the techniques described here. Getting a flat, compacted base is the step most beginners underestimate, and Citadel Stone recommends confirming depth requirements before the first stone is placed.
Related reading: how limestone is made · french pattern limestone pavers · slab vs pavers.