Why Travertine Develops Holes in the First Place
Travertine stone filler addresses a structural reality baked into the material itself — travertine forms through rapid calcium carbonate precipitation around gas bubbles and organic matter, leaving behind a network of voids that ranges from pinhole-sized cavities to channels measuring half an inch across. What you’re filling isn’t damage; it’s the natural geology of the stone. That distinction matters enormously when you’re choosing the right filler system, because the wrong product won’t just look bad — it’ll fail mechanically within two to three seasons.
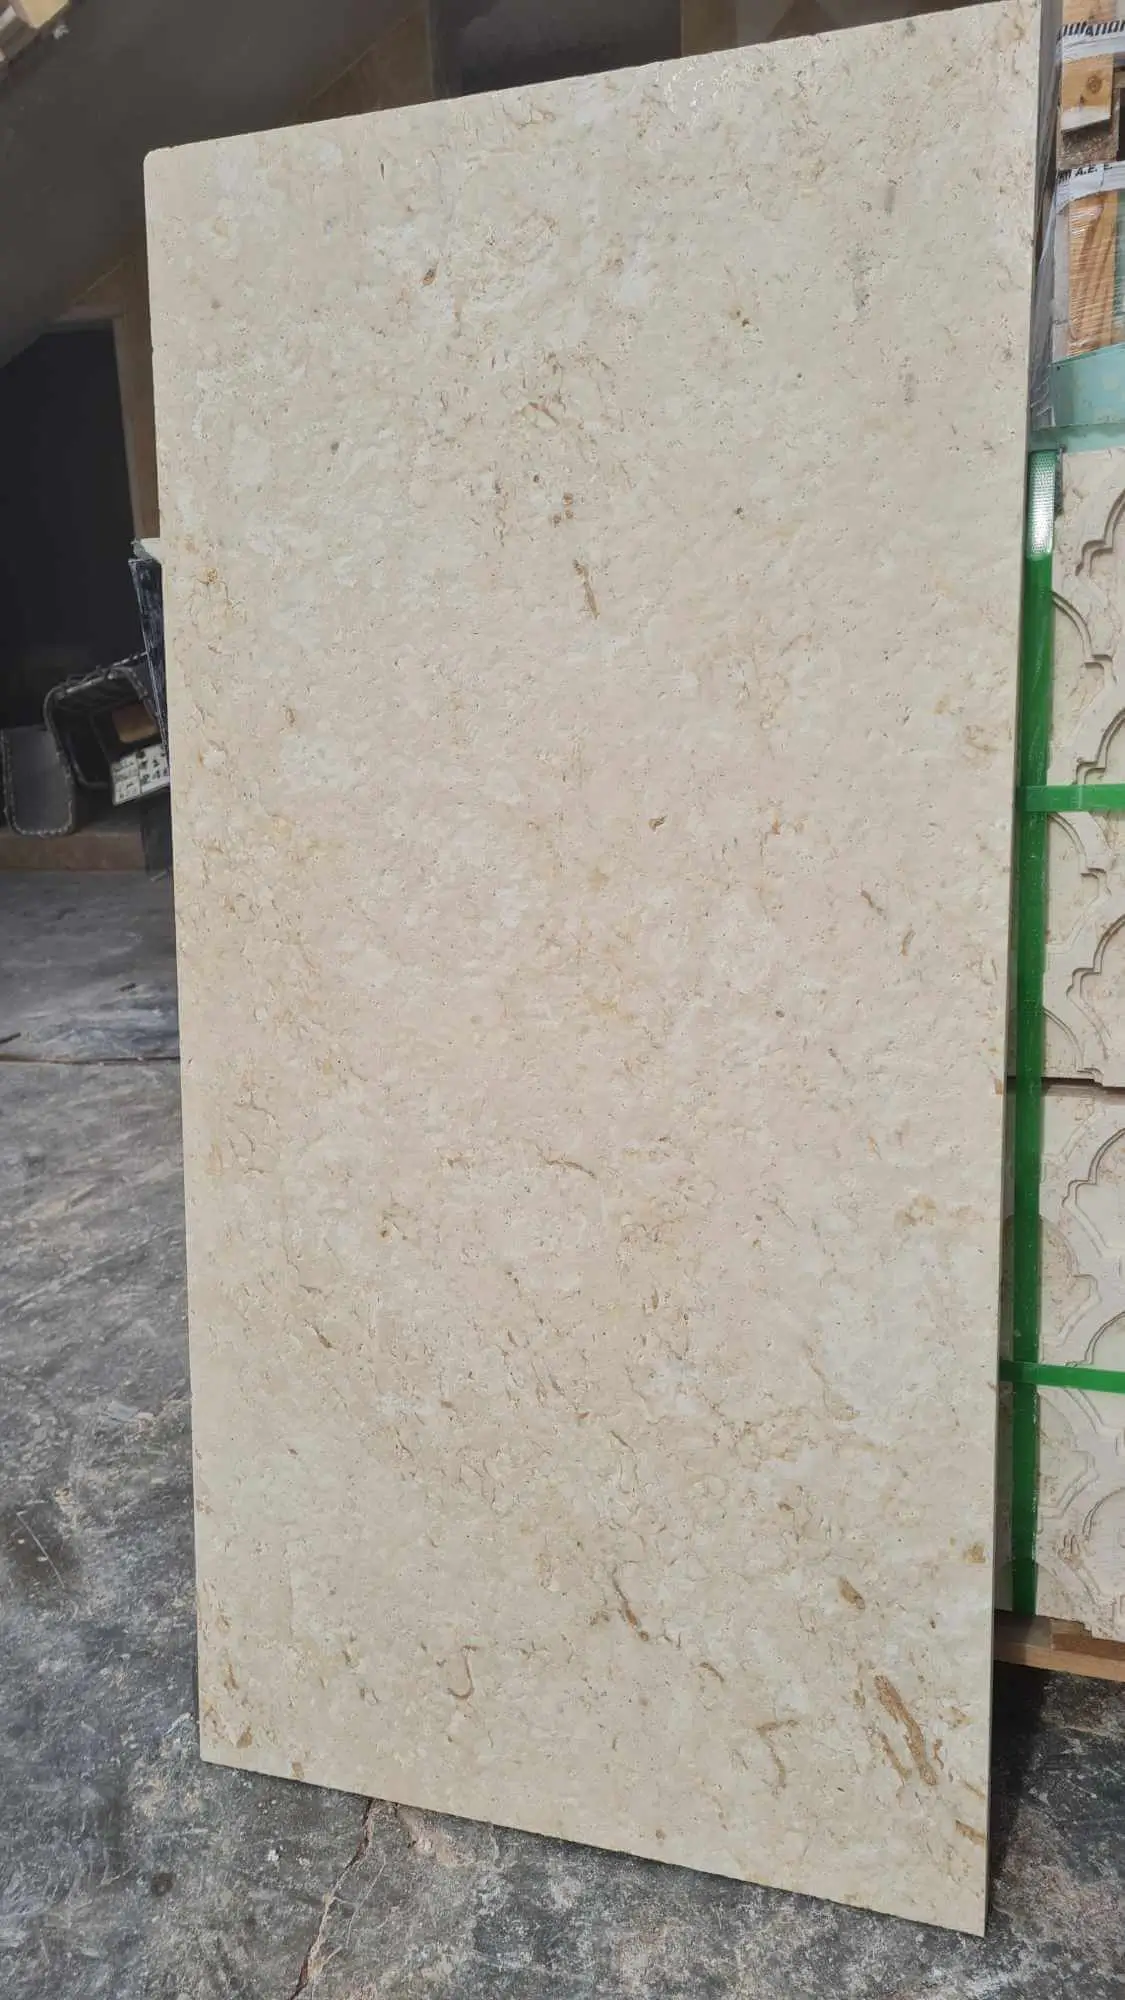
Travertine comes out of the quarry in two broad categories: unfilled, where those voids are left open, and filled, where the factory has injected grout or epoxy before the tile or paver is cut and honed. Your filler strategy depends entirely on which type you’re working with and what application it’s going into. Exterior pavers exposed to weather cycles behave completely differently from interior floor tiles in a controlled environment, and conflating the two is where most repair jobs go wrong.
Filled vs. Unfilled Travertine: What the Difference Means for Repairs
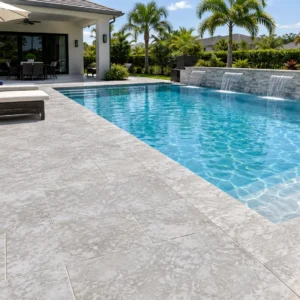
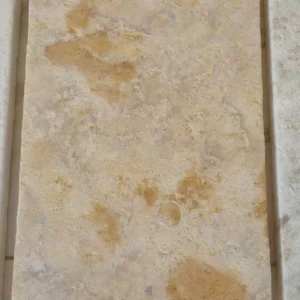
Unfilled travertine is the version you see in rustic and tumbled installations — raw travertine stone with its characteristic texture and open pores intact. It’s visually compelling, but those open voids collect debris, moisture, and biological growth over time. Factory-filled travertine, by contrast, arrives with a cementitious or epoxy compound already pressed into the holes, giving you a denser, more uniform surface that’s easier to seal and maintain.
The repair approach diverges significantly between the two. Filled travertine that’s losing its factory grout needs a filler that matches the original compound in hardness and porosity — use something too rigid and it telegraphs every thermal expansion cycle as a hairline crack at the joint between stone and filler. Use something too soft and it compresses under foot traffic, leaving a depression that shadows under raking light. According to Natural Stone Institute travertine properties and outdoor suitability, travertine’s porous calcium carbonate structure requires filler systems that accommodate movement without delaminating from the substrate.
For unfilled travertine, the decision is whether to fill at all. Many designers deliberately leave the voids open to preserve character. Your call should be driven by application: high-traffic floors benefit from filling to prevent edge chipping, while accent wall panels in a sheltered interior can remain unfilled indefinitely without performance issues.
Choosing the Right Travertine Stone Filler Material
The filler material category splits into three main options, each with genuine trade-offs:
- Unsanded grout — works well for smaller voids under 1/8 inch; blends cleanly with honed finishes; sets with a surface hardness close to cementitious factory fill
- Epoxy-based filler — superior bond strength and near-zero water absorption; ideal for wet areas and exterior travertine pavers subject to freeze-thaw cycling; can be tinted to match stone tone
- Polyester resin filler — the system most stone yards use for factory filling; fast cure, excellent color stability, but requires careful surface preparation or adhesion fails at the void walls
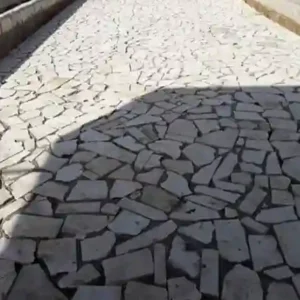
For travertine ledger stone silver — the linear-stacked wall application — epoxy filler is almost always the right call. Those panels face direct weather exposure, wind-driven rain penetrating open voids, and the mechanical stress of differential movement between the thin ledger veneer and the substrate behind it. A cementitious grout fill in that context will start wicking moisture within one wet season and spalling by the second.
Surface Preparation Before Filling
Your travertine stone filler is only as good as the surface you’re bonding it to, and this is where most DIY repairs fall apart. The void walls in travertine are typically coated with saw-cut dust, sealer residue, or biological growth — none of which bond well with filler compounds. You need to clean the voids mechanically before you touch a filler product.
- Use a stiff nylon brush or a vacuum with a narrow attachment to clear loose debris from each void
- Apply a stone-safe degreaser and let it dwell for five minutes before rinsing — this removes sealer residue that would otherwise prevent filler adhesion
- Allow the stone to dry completely — epoxy fillers are particularly sensitive to residual moisture in the void walls, which causes micro-bubbles and adhesion failure
- For exterior travertine pavers, check the forecast: don’t attempt filling if rain is expected within 24 hours or if ambient temperature is below 50°F
At Citadel Stone, we recommend a dry time of at least 48 hours after cleaning before applying any filler system to exterior installations. That window accounts for moisture sitting deeper in the stone’s interconnected pore structure, which surface drying alone won’t reveal.
Application Technique That Actually Works
The technique varies depending on whether you’re filling individual scattered voids or resurfacing a heavily pitted slab. For spot repairs, overfilling deliberately — leaving the compound proud of the surface by about 1mm — gives you material to work back when you sand or hone flush. Try to fill exactly level and you’ll almost always end up with a slight depression once the compound cures and shrinks.
For larger void networks in raw travertine stone, a squeegee or grout float lets you work filler across the whole surface in a single pass, pressing compound into voids while keeping surface coverage thin. This method is faster and produces more consistent results than chasing individual holes. Pull the float diagonally across the tile face — not parallel to the edge — so you don’t drag material back out of the voids you’ve just filled.
The ASTM C1527 travertine dimension stone standard specifications establish dimensional tolerances that inform how much surface relief is acceptable after filling. Knowing those limits helps you decide whether a filled surface needs secondary honing or whether the fill height falls within spec.
Curing and Sanding Filler Flush
Cure time is non-negotiable, and rushing it is the single most common mistake in travertine filler work. Cementitious fillers need a minimum of 24 hours before sanding; epoxy systems typically reach workable hardness in 4–8 hours but benefit from a full 24-hour cure before any abrasive contact. Sanding too early pulls material out of the void rather than cutting it flush, which leaves a recessed scar that’s harder to fix than the original hole.
- Use 120-grit diamond hand pads for honed finishes — they cut efficiently without scratching the surrounding stone face
- For polished travertine, progress through 220, 400, and 800 grit before the final buff to restore gloss continuity across filled and unfilled areas
- Keep the pad flat on the stone surface — rocking it concentrates abrasion at the edge of the filler, which creates a bevelled depression that catches light
- Wipe the surface clean between grits to check fill height — you’ll see remaining high spots as dull patches against the surrounding honed surface
How Filler Performs Under Weather and Storm Stress
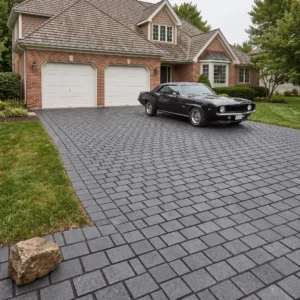
Exterior travertine installations face mechanical stresses that interior applications never encounter, and your filler choice needs to account for them explicitly. Wind-driven rain is particularly aggressive — it forces water laterally into any surface discontinuity, including the interface between filler and void wall. A filler that bonds primarily through mechanical keying (like unsanded grout) can delaminate from this repeated hydraulic pressure within a few storm seasons.
Hail impact is an underappreciated failure mode for filled travertine pavers. A direct hail strike on a shallow-filled void concentrates stress exactly at the filler-to-stone bond line. Epoxy fillers handle this better than cementitious systems because their higher modulus of elasticity distributes the impact load across a wider area rather than concentrating it at the bond perimeter. For travertine installations in regions with frequent severe weather, check your filler’s published impact resistance rating before specifying — the better epoxy systems list drop-weight impact data in their technical datasheets.
Joint integrity around filled areas also matters under wind loading. Your filler work on the stone face means nothing if the grout joints between pavers are allowing water ingress — wind-driven rain at an angle of 45 degrees or more finds joint failures that vertical rain misses entirely. Inspect and repoint joints at the same time you’re filling the stone surface.
Sealing After Filling: Timing and Product Selection
Applying sealer too soon after filling is one of the subtler ways repair work fails. The filler needs to complete its full cure and any residual off-gassing before a penetrating sealer is applied — sealing over incompletely cured epoxy traps volatiles and causes the sealer to cloud or delaminate in patches. Wait the full cure period specified by the filler manufacturer, then add 24 hours as a buffer.
Penetrating impregnating sealers are the right choice for travertine stone filler repairs — they don’t change the surface appearance and they don’t bridge across the filler-to-stone interface the way topical sealers do. A topical coating applied over a filled surface can peel at the filler boundary because the filler and the surrounding stone have slightly different absorption rates, which creates differential adhesion under the coating film. For reference on installation standards that govern these decisions, TCNA natural stone tile installation standards provide useful guidance on setting materials and surface treatment compatibility.
Checking warehouse stock of your chosen sealer before you begin the filler work saves a potentially costly delay. You want to seal within 48 hours of completing and sanding the filler — leaving freshly worked voids unsealed for a week while you wait on a product order exposes the repair to contamination that’s difficult to remove without re-opening the voids.
When Filler Isn’t the Right Answer for Raw Travertine Stone
For deeper coverage on the broader specification context — including how raw travertine stone performs across different applications and what sourcing decisions affect surface consistency — our travertine repair advice covers those decisions in detail worth reviewing before you finalize your specification.
There are situations where travertine stone filler is the wrong solution entirely. A void that extends through the full thickness of the tile or paver isn’t a filler candidate — that’s a structural defect that requires replacing the unit. Similarly, if you’re seeing widespread filler loss across a large field of travertine pavers, the problem is almost certainly base movement or moisture infiltration from below, not a filler compatibility issue. Filling over an unstable base will give you a repair that looks good for one season before the movement cycles pop the new filler out again.
- Replace rather than fill any tile where the void network exceeds 40% of the tile face area — structural integrity is compromised
- Investigate drainage and base stability before filling any installation where filler loss is widespread rather than isolated
- For travertine ledger stone silver panels on exterior walls, inspect the substrate for moisture behind the veneer before filling face voids — trapped moisture will work against any repair you make at the surface
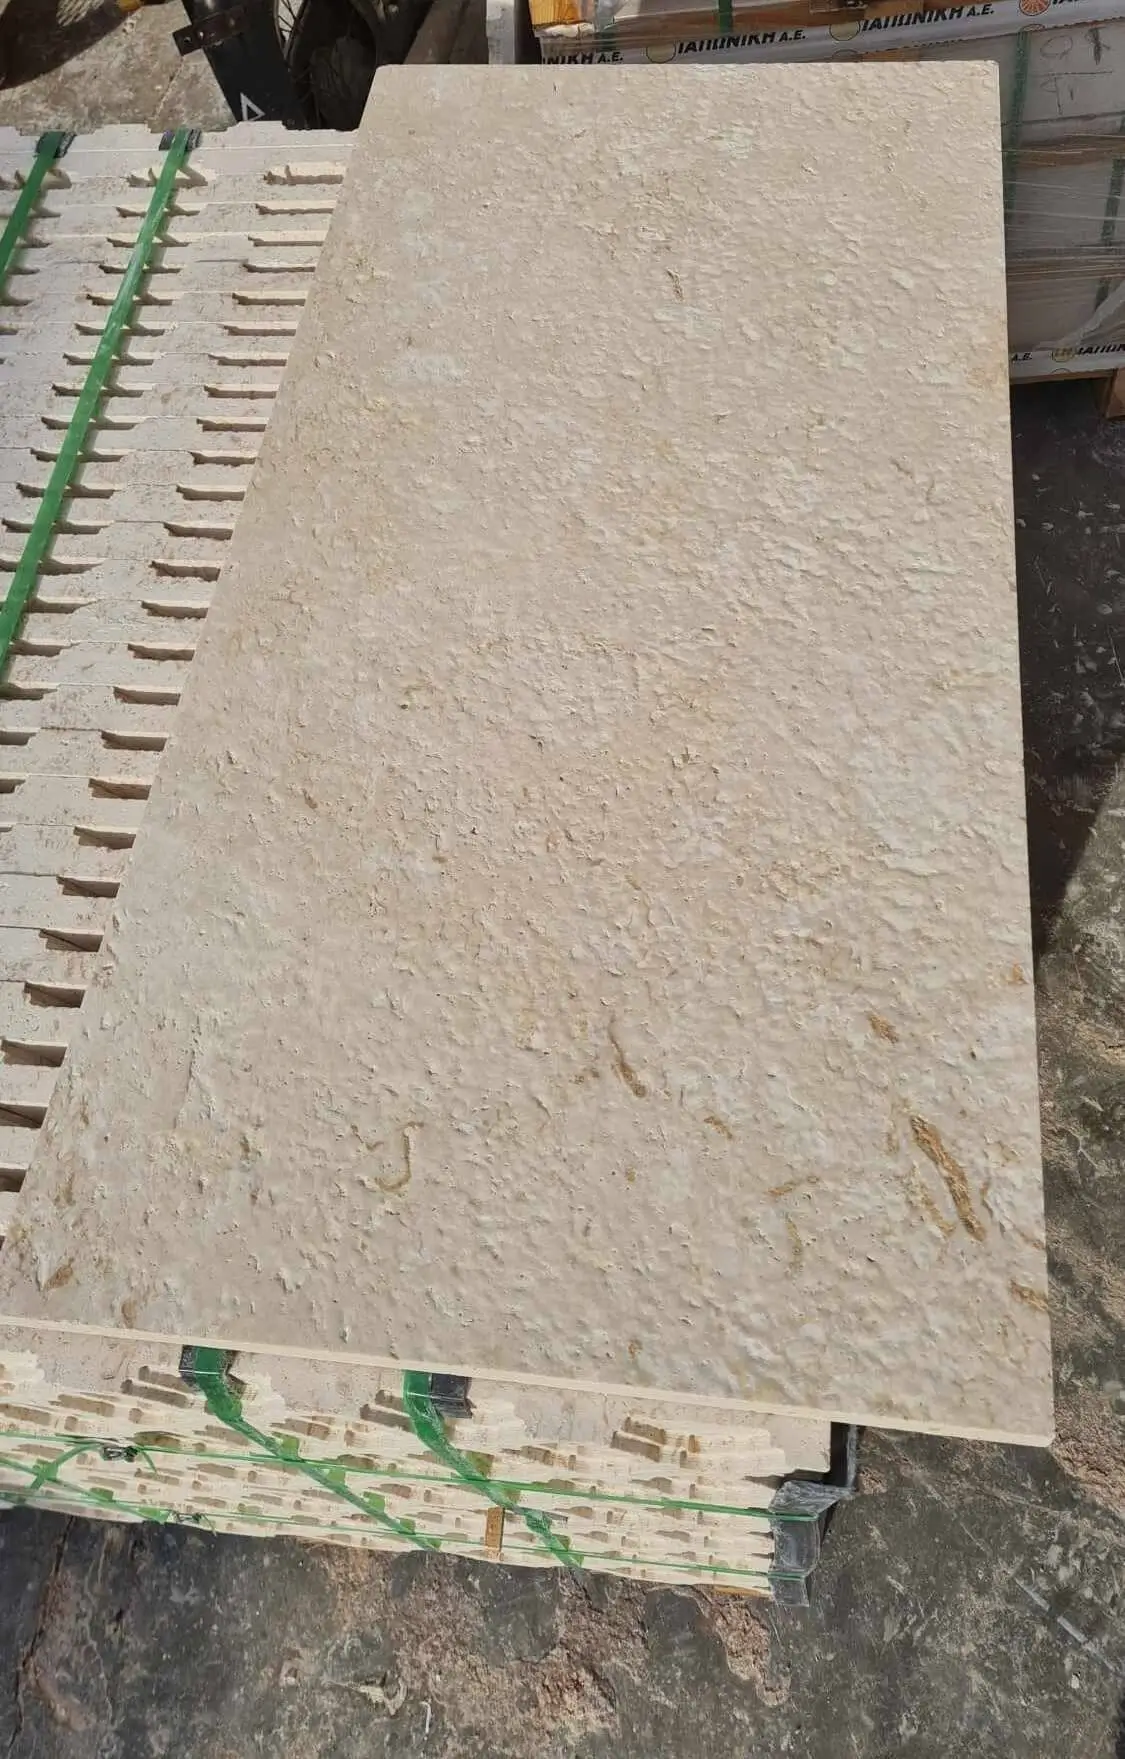
Getting Travertine Stone Filler Specifications Right
Successful filler work comes down to three decisions made in the right order: identify what type of travertine you’re working with, select a filler system whose mechanical properties match the application demands, and prepare the surface properly before any product touches the stone. Skip any one of those steps and the repair will look acceptable for a season before revealing exactly where the process broke down. Citadel Stone sources travertine directly from Middle East quarries and maintains warehouse inventory that supports fast project turnaround — our technical team can advise on filler compatibility for the specific travertine grade in your project before you commit to a product. If your project extends beyond the floor or paver context into wet environments, travertine shower waterproofing approaches covers how moisture management changes the specification in ways that affect your filler and sealer choices. Filler recommendations from Citadel Stone cover unfilled and factory-filled travertine selected for consistent surface density.
Related reading: travertine stone fireplace · travertine stone backsplash · what type of stone is travertine.