

Thickness and compressive strength determine whether pavers for walkway projects hold up over years of pedestrian loading — yet these are the two specifications most buyers skip when ordering. A 1.25-inch nominal paver handles light residential foot traffic comfortably, but step down to anything under an inch and you’re building in a replacement cycle, not a pathway. The stone type matters too, but it matters less than getting the structural grade right from the start. This guide walks you through every decision that separates a walkway that looks great at year one from one that still performs at year twenty.
Stone Type and Grade Fundamentals for Walkways
Your first specification decision isn’t the color or texture — it’s the material family. Each stone type carries a distinct combination of density, absorption rate, and surface finish behavior that determines real-world walkway performance. Limestone is the most forgiving choice for temperate and hot-dry climates: its moderate density (typically 145–165 lb/ft³) means it doesn’t retain surface heat the way dense granite does, and its natural cleft or honed finish leaves a matte, unpolished surface without additional treatment — request the wet DCOF test report for the finish you specify. Travertine brings a slightly open pore structure that adds warmth underfoot but requires more disciplined sealing than limestone if you’re working in a region with wet seasons.
Granite is the performance ceiling — compressive strength above 19,000 PSI, water absorption often below 0.4%, and negligible thermal expansion. The trade-off is cost and the fact that polished finishes create serious slip hazards when wet. For walkway applications, flamed or bush-hammered granite surfaces are the correct specification; anything smoother than a fine hone introduces liability. Flagstone-cut limestone and flat-cut bluestone round out the practical options for most residential and light commercial walkway projects.
Grade classifications within each material family matter as much as the material itself. Most natural stone suppliers tier their product into first-grade (consistent thickness tolerance within ±1/8 inch, minimal veining variation, no through-fractures), commercial grade (wider tolerances, acceptable for pattern walks where variation reads as character), and seconds or tumbled product for informal pathways where precision fit isn’t required. Specify the grade in your purchase order — not just the material name — or you’re leaving the decision to whoever pulls from warehouse stock that day.
Thickness and Sizing: What the Numbers Actually Mean
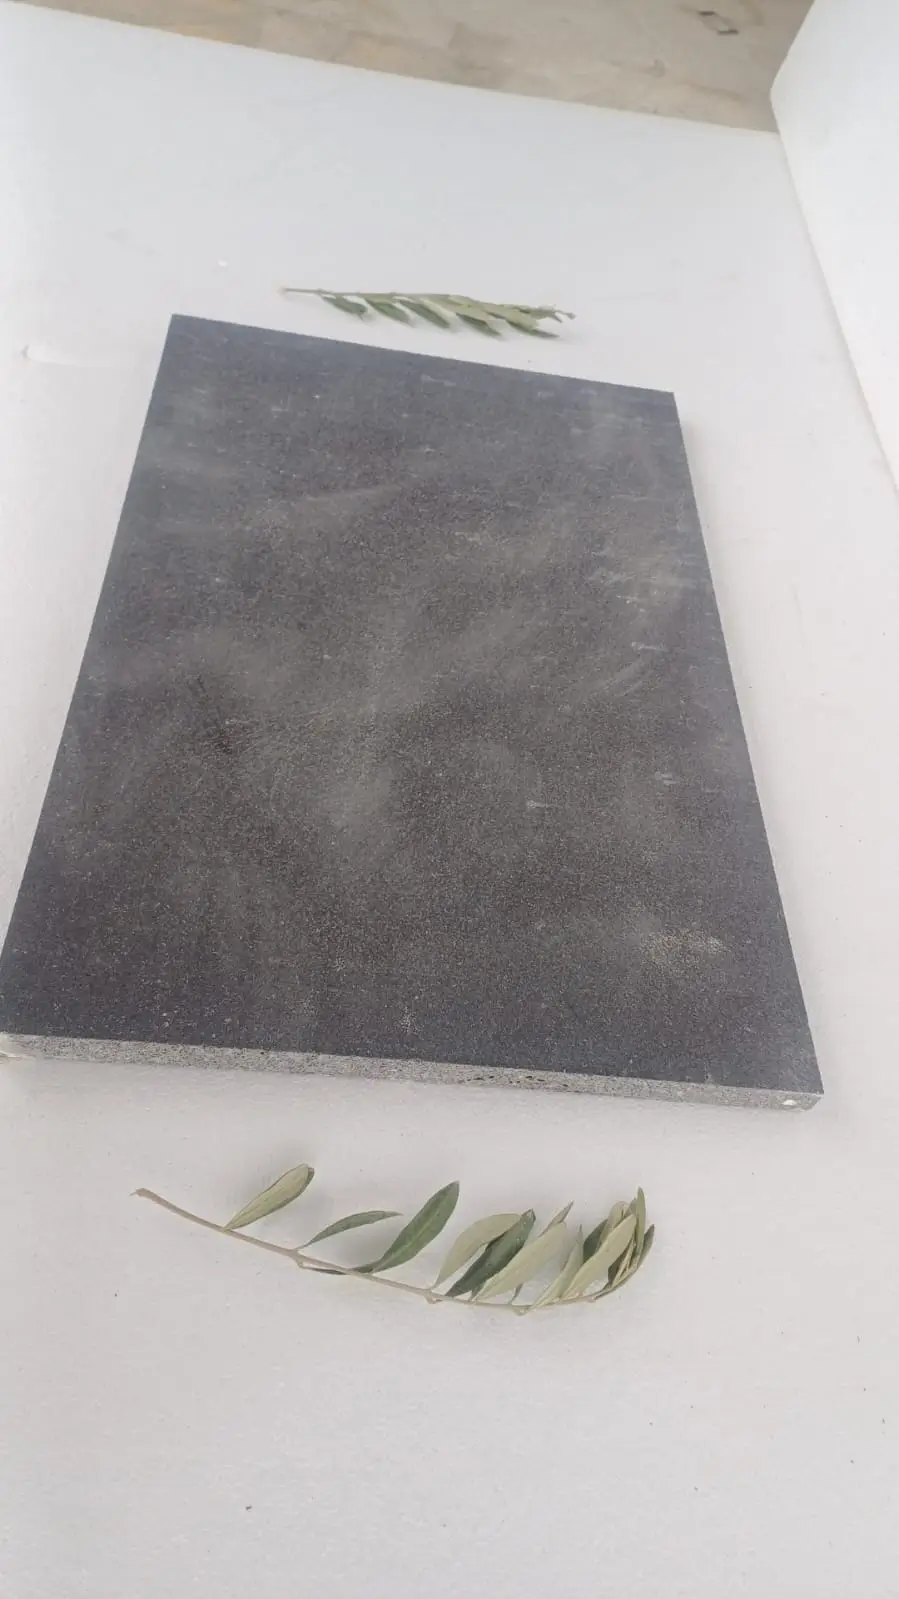
The standard sizing grid for walkway pavers runs from 12×12 to 24×24 in square formats, with rectangular options at 12×24 and 16×24 being the most popular for running-bond patterns. Patio stones 12 x 12 remain the baseline for most residential projects because they’re easy to handle solo and the weight per piece stays manageable on a cart. Larger formats — 24×24 and above — require two-person lifts and a flatter, more precisely prepared base; any base deviation above ¼ inch per 10 linear feet will produce visible rocking on large-format stone.
- 1-inch nominal thickness: suitable for dry-set stepping stone applications only, embedded in decomposed granite or mulch with minimal lateral loading
- 1.25-inch nominal: the practical minimum for a mortared or sand-set residential walkway with normal pedestrian use
- 1.5-inch nominal: recommended for high-traffic residential entry walks and any installation where occasional wheeled loads (bikes, dollies) are expected
- 2-inch nominal: commercial grade, appropriate for public pathways, heavy foot-traffic zones, and installations over unstable subgrade where additional structural mass helps distribute load
Thickness tolerances vary by stone type. Limestone and travertine from Middle East quarries typically hold ±3mm on calibrated product; uncalibrated natural split stone can run ±8–10mm, which affects your mortar bed depth calculations significantly. Always confirm whether the product is calibrated or natural-thickness before calculating bed depth — mixing the two in the same pathway section is the fastest way to create an uneven surface that looks worse every year as it settles.
Base Preparation: The Work That Determines Longevity
The pavers for walkway installations that fail early share a common root cause: inadequate compacted base depth relative to the native soil. Clay-heavy subgrades need a minimum of 6 inches of compacted crushed aggregate base; sandy or well-draining soils can tolerate 4 inches, though 5 inches is the conservative professional standard. Seasonal movement is also a factor — even well-compacted bases in freeze-thaw regions shift 3–5mm annually, which is why expansion joints every 8–10 linear feet are non-negotiable in those zones, regardless of what the generic installation sheet recommends.
According to ASLA guidance on natural stone walkway materials, permeable base systems that allow drainage beneath the stone significantly reduce hydrostatic pressure buildup — one of the primary causes of mortar bond failure in high-rainfall installations. A permeable sub-base paired with open-joint sand-set installation is often more durable long-term than a full mortar bed on poorly draining soil, even though the mortar bed looks more finished at installation.
Sand-set installation uses a 1-inch screed bed of coarse concrete sand (ASTM C33 specification) over the compacted aggregate base. Mortar-set requires a 1.5–2 inch mortar bed at roughly 3:1 sand-to-Portland ratio, with the paver back-buttered for full adhesion. The choice between the two isn’t purely aesthetic — it’s a drainage and maintenance decision. Sand-set allows individual paver replacement without demolition; mortar-set locks the surface for decades but requires saw-cutting to access anything beneath.
Surface Finish Selection and Slip Resistance
Surface finish is the specification detail most homeowners treat as aesthetic and most experienced specifiers treat as safety-critical. The ADA walkway surface accessibility standards require outdoor walking surfaces to be stable, firm, and slip-resistant — and natural stone can meet or fail all three criteria depending on finish selection. Here’s the breakdown of how common finishes perform:
- Natural cleft (split face): the default for flagstone and irregular-cut material, with a coarse and highly variable surface texture, but the uneven surface can be problematic for wheeled mobility equipment
- Honed: smooth but not polished, appropriate for covered walkways or sheltered entries where wet exposure is limited; request the wet DCOF test report before using it anywhere rain reaches
- Sandblasted or flamed: heavily textured finishes and the usual choice for fully exposed walkways — request the wet DCOF test report for the finish you specify
- Tumbled: the rounded edges and roughened face make tumbled stone a popular all-weather surface, though the irregular profile requires more careful base leveling to avoid edge lippage
- Bush-hammered: achieves consistent texture depth across the slab face, the professional standard for high-traffic public walkways — request the wet DCOF test report for the finish you specify
One detail that rarely makes it into spec sheets: finish performance degrades over time if the stone isn’t maintained. A sandblasted limestone walkway loses surface texture to foot traffic and bio-film accumulation if it is not cleaned annually, so a wet DCOF result measured at handover is not the number you will have in five years. Plan maintenance into the project specification, not just the initial installation.
Connecting Your Walkway to the Patio: Material Continuity
Specifying flat stones for patio and walkway as a continuous material run is the most visually coherent approach — but it introduces a coordination challenge that catches many projects off-guard. The same stone from the same batch will read as identical in the warehouse and visually match at installation. Order walkway and patio material from different production runs, even a few months apart, and the color variation between them can be noticeable enough to undermine the design intent. Place your full-project order at once and request that it ship from the same production lot.
At Citadel Stone, we recommend confirming lot availability before signing off on a project timeline — particularly for lighter-toned stones like ivory limestone or cream travertine, where color batch variation is most visible. Our technical team can hold warehouse inventory for up to 60 days on confirmed orders, which gives your contractor the flexibility to phase walkway and patio installation without introducing mid-project sourcing gaps.
The transition detail between walkway and patio levels matters structurally too. Walkway bases typically sit 1–2 inches lower than patio bases because walkway loading is linear (sequential foot strikes) rather than distributed (simultaneous loading across a surface). Design the transition zone with a dedicated expansion joint rather than attempting a seamless mortar bed across the grade change — thermal movement at that junction will open cracks regardless of mortar quality if you don’t allow for it.
Working With Square Stones: Pattern Options and Alignment Precision
Square stones for patio and walkway applications offer one significant advantage over irregular formats: the ability to maintain consistent joint lines that read as intentional and refined from any viewing angle. The challenge is that square format stone reveals base and installation errors that irregular stone would absorb visually. A 2mm height differential between adjacent 24×24 slabs is glaring; the same differential between two pieces of irregular flagstone reads as natural variation. You’re trading installation tolerance for visual precision.
- Running bond (offset by half the unit width) is the most stable pattern for rectangular and square formats — it prevents continuous joint lines that can become crack propagation channels
- Grid pattern (aligned joints in both directions) requires the tightest installation tolerance and creates the most formal visual character; plan for 1/16-inch joint width maintained consistently across the field
- Diagonal layout at 45° to the walkway axis requires more cutting waste (typically 12–15% overage versus 8% for straight patterns) but can visually widen a narrow path
- Pinwheel and ashlar patterns combine multiple stone sizes and require precise pre-planning to avoid awkward cuts at the walkway edges
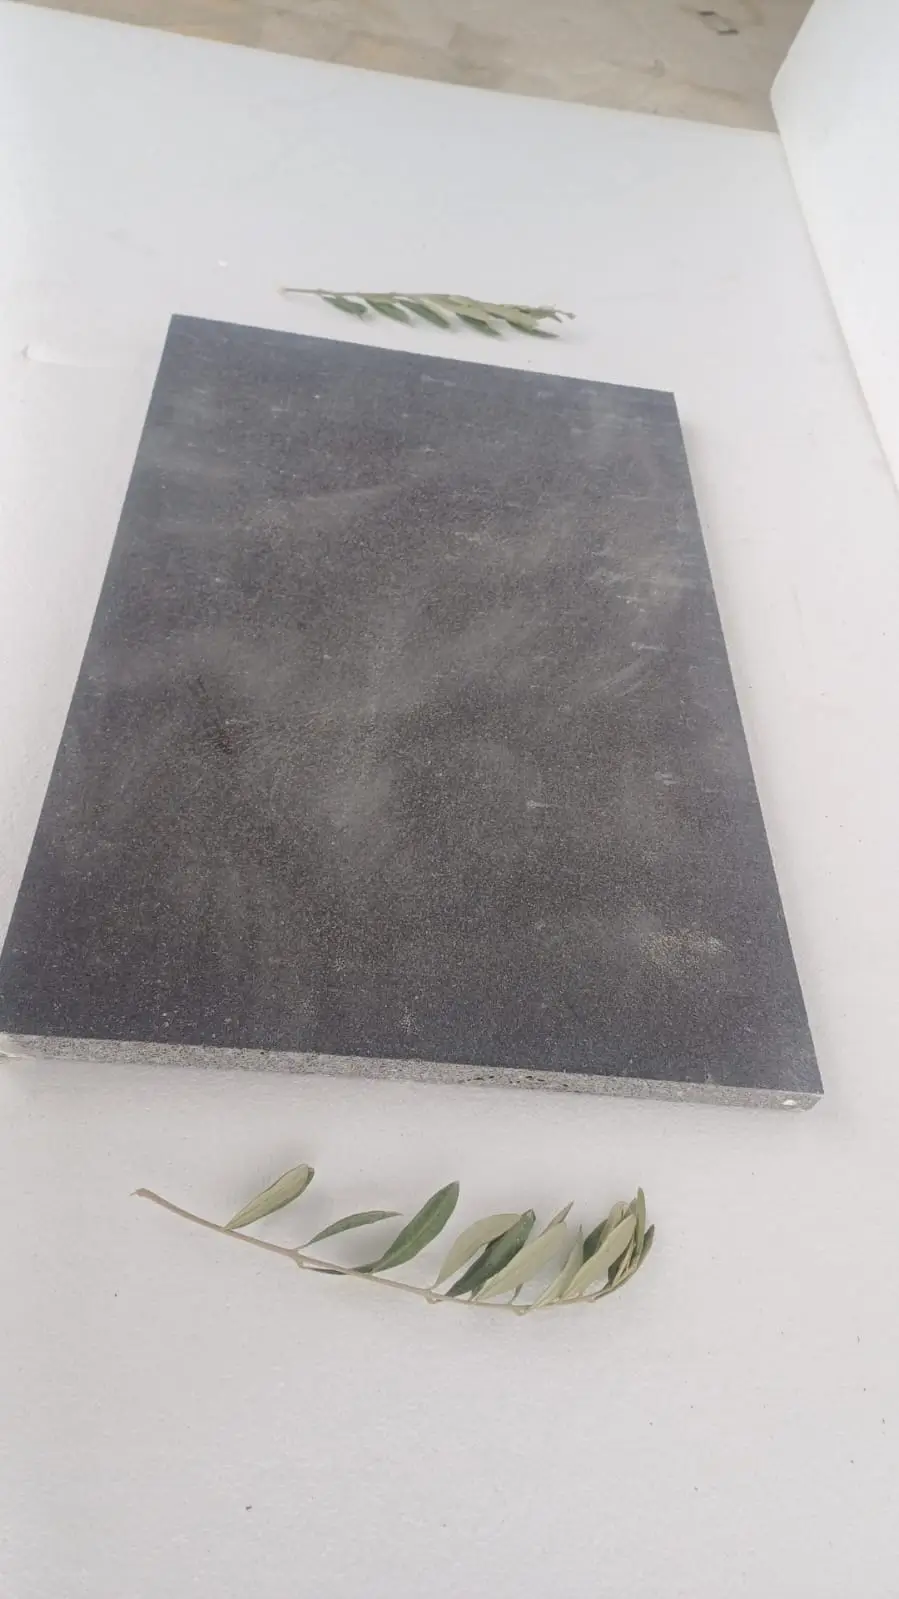
For any square or rectangular format walkway paver, maintain consistent joint width using tile spacers or purpose-cut wooden spacers during installation. Joint width for exterior walkway applications should run 3/8 to 1/2 inch — narrow enough to read as tight, wide enough to accommodate the dimensional variation inherent in natural stone without requiring individual piece selection at the installation stage. Patio stones 12 x 12 in square format are particularly well-suited to running-bond and grid layouts, as their standardized dimensions simplify spacing calculations across the full walkway field.
Seasonal Installation Timing: Scheduling for Best Results
Mortar and adhesive systems for natural stone walkways have performance windows that shift significantly with ambient temperature — and most installation failures tied to adhesion trace back to work performed outside those windows rather than product quality. Portland-based mortar beds cure optimally between 50°F and 90°F ambient; below 50°F, hydration slows to the point where early foot traffic (even within 48 hours) can disrupt the bond before it reaches design strength. Above 95°F surface temperature, rapid moisture evaporation from the mortar surface causes shrinkage cracking at the paver-to-bed interface.
Your scheduling window matters more than the calendar month. In hot, dry climates, plan stone installation for early morning starts — surface temperatures at 7:00 AM are often 20–30°F lower than at 2:00 PM, which extends your working window before evaporative loss becomes a problem. Dampen the aggregate base and the back of each paver with a light water mist before bedding in high-temperature conditions; this slows moisture loss without adding free water to the mortar mix. In cold seasons, keep mortar materials stored above 50°F overnight before mixing — cold aggregate dragged directly from an unheated truck bed will drop mix temperature below the effective cure threshold even if air temperature is borderline acceptable.
Joint polymeric sand also has temperature constraints that installers frequently underestimate. Most polymeric sand products require ambient temperatures above 32°F during application and an initial 24-hour curing window above that threshold to activate the binder properly. A late-autumn installation with nights dropping to the low 30s can result in joints that appear set but haven’t activated — they’ll wash out in the first heavy rain. The practical scheduling guidance: plan mortar-set walkway installations for the spring and early-fall windows in temperate regions, and schedule your material order to arrive at least one week ahead of installation so you’re not rushing a truck delivery to meet a contractor’s start date.
For projects in regions with extended warm seasons, the summer installation window is workable but requires additional site management. Shade the installation area with temporary canopy during peak afternoon hours, and never install over a base that has been baking in direct sun all day without first allowing it to cool — thermal mass in a dark aggregate base can hold surface temperatures above 110°F even after air temperature drops, and pressing stone into a super-heated mortar bed guarantees adhesion problems. These are the details that don’t appear on product data sheets but define whether a walkway stays level and bonded through its first ten seasonal cycles.
Sealing and Long-Term Maintenance
Sealing walkway pavers isn’t optional for porous stone types — it’s the difference between a surface that stains permanently with the first spilled coffee or leaf tannin contact and one that stays cleanable for decades. Limestone and travertine with absorption rates above 3% (ASTM C97 test) require initial sealing within 30 days of installation and resealing every 2–3 years under normal foot traffic. Granite with absorption below 0.5% can tolerate a 5–7 year resealing interval. According to Natural Stone Institute technical specifications for outdoor stone, penetrating impregnator sealers outperform topical coating sealers for exterior walkway applications because they don’t create a film that traps moisture beneath the stone surface — a critical consideration in any climate with wet-dry seasonal cycling.
- Apply sealer to clean, dry stone only — moisture content above 4% prevents full penetration and leaves a hazy residue on light-colored stone
- Two thin coats outperform one heavy coat; allow the first coat to penetrate for 20 minutes before applying the second
- Test the sealer on a small inconspicuous section first — some sealers slightly darken limestone, which may or may not align with your design intent
- Resealing intervals should be shortened after periods of heavy use, ice melt chemical application, or pressure washing
- Avoid solvent-based sealers on tumbled or heavily textured stone in high-UV climates — they can yellow with prolonged sun exposure
Joint sand maintenance deserves equal attention. Polymeric sand joints should be inspected annually for washout, weed infiltration, or ant activity. Spot-repairing joints within the first three years is far more cost-effective than allowing joint loss to progress to the point where pavers begin to shift laterally. A simple test: press your thumb firmly into a joint. Properly cured polymeric sand should feel firm and show no depression under moderate thumb pressure. Soft or crumbling joints need immediate attention before they compromise surrounding paver stability.
For a broader look at how Citadel Stone materials perform across different outdoor applications, Citadel Stone flat paving stones covers the full specification range for outdoor stone surfaces, including thickness options and finish grades that carry through from patio to walkway installations.
Complete Your Walkway Paver Specification
Every successful pavers for walkway project starts with a complete specification document — not just a material name and a square footage estimate. Your spec should lock in the stone type, grade classification, nominal thickness, surface finish, base depth, mortar or sand-set method, joint width, sealer type, and resealing interval. Missing any one of these creates a specification gap that the installer fills with whatever is fastest or cheapest on the day. The USGS dimension stone production data confirms that natural stone paving remains one of the most durable and widely specified exterior surface materials in residential and commercial construction — but durability is the outcome of correct specification, not an inherent guarantee of any particular stone type.
Verify warehouse stock availability before finalizing your contractor’s start date. Lead times from warehouse to project site vary from 1–2 weeks for in-stock material to 6–8 weeks for special orders or large-format product in non-standard finishes. Coordinating your truck delivery window with your base preparation schedule eliminates the costly scenario of a contractor waiting on material with a crew on site. Budget 8–12% material overage for square and rectangular formats, 12–15% for diagonal or complex pattern layouts, and confirm with your supplier that the overage will ship from the same production lot as the primary order. As your hardscape planning extends beyond the walkway itself, exploring budget-conscious stone options for surrounding areas can help keep the overall project on track — budget-friendly patio stone options explores how flat stones for patio applications perform at accessible price points without compromising outdoor durability. Sourced from select natural stone quarries worldwide, Citadel Stone walkway pavers hold tight dimensional tolerances for even path alignment.
Related reading: how to lay paver patio stones · types of patio stones · cost of patio stones.