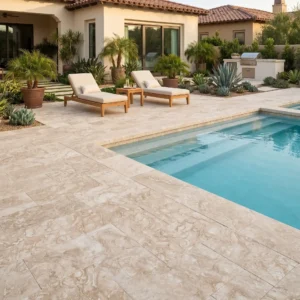
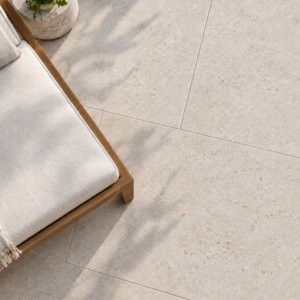
Travertine hole filling is one of those tasks that looks deceptively simple until you’re standing over a freshly set floor wondering why your grout color doesn’t match the filler you used last week. The pore structure in travertine isn’t random — it follows the original vein channels from the stone’s formation, which means the size, depth, and orientation of voids varies dramatically even within a single tile. Understanding that variability is what separates a travertine repair that holds for 20 years from one that pops out during the next cleaning cycle.
Why Travertine Has Holes in the First Place
Travertine forms through mineral-laden water depositing calcium carbonate around gas pockets and organic material. As those organics decompose and gas escapes, the voids remain — permanently baked into the stone’s character. What you’re looking at when you see holes in travertine isn’t damage. It’s geology. The distinction matters because it changes your entire approach to repair and specification.
Three travertine grades reach most project sites: filled, unfilled, and honed-and-filled. Filled travertine arrives from the quarry with factory-applied grout or epoxy packed into the voids. Unfilled travertine ships with the natural open pores intact. Honed-and-filled tiles have been ground flat after filling, which creates the smooth surface most interior floor specs call for. Here’s what most installers don’t flag upfront — factory fill shrinks. It happens slowly, usually over the first 12 to 24 months after installation, and it’s most visible in larger voids where there was more fill volume to contract.
Types of Voids and What They Tell You
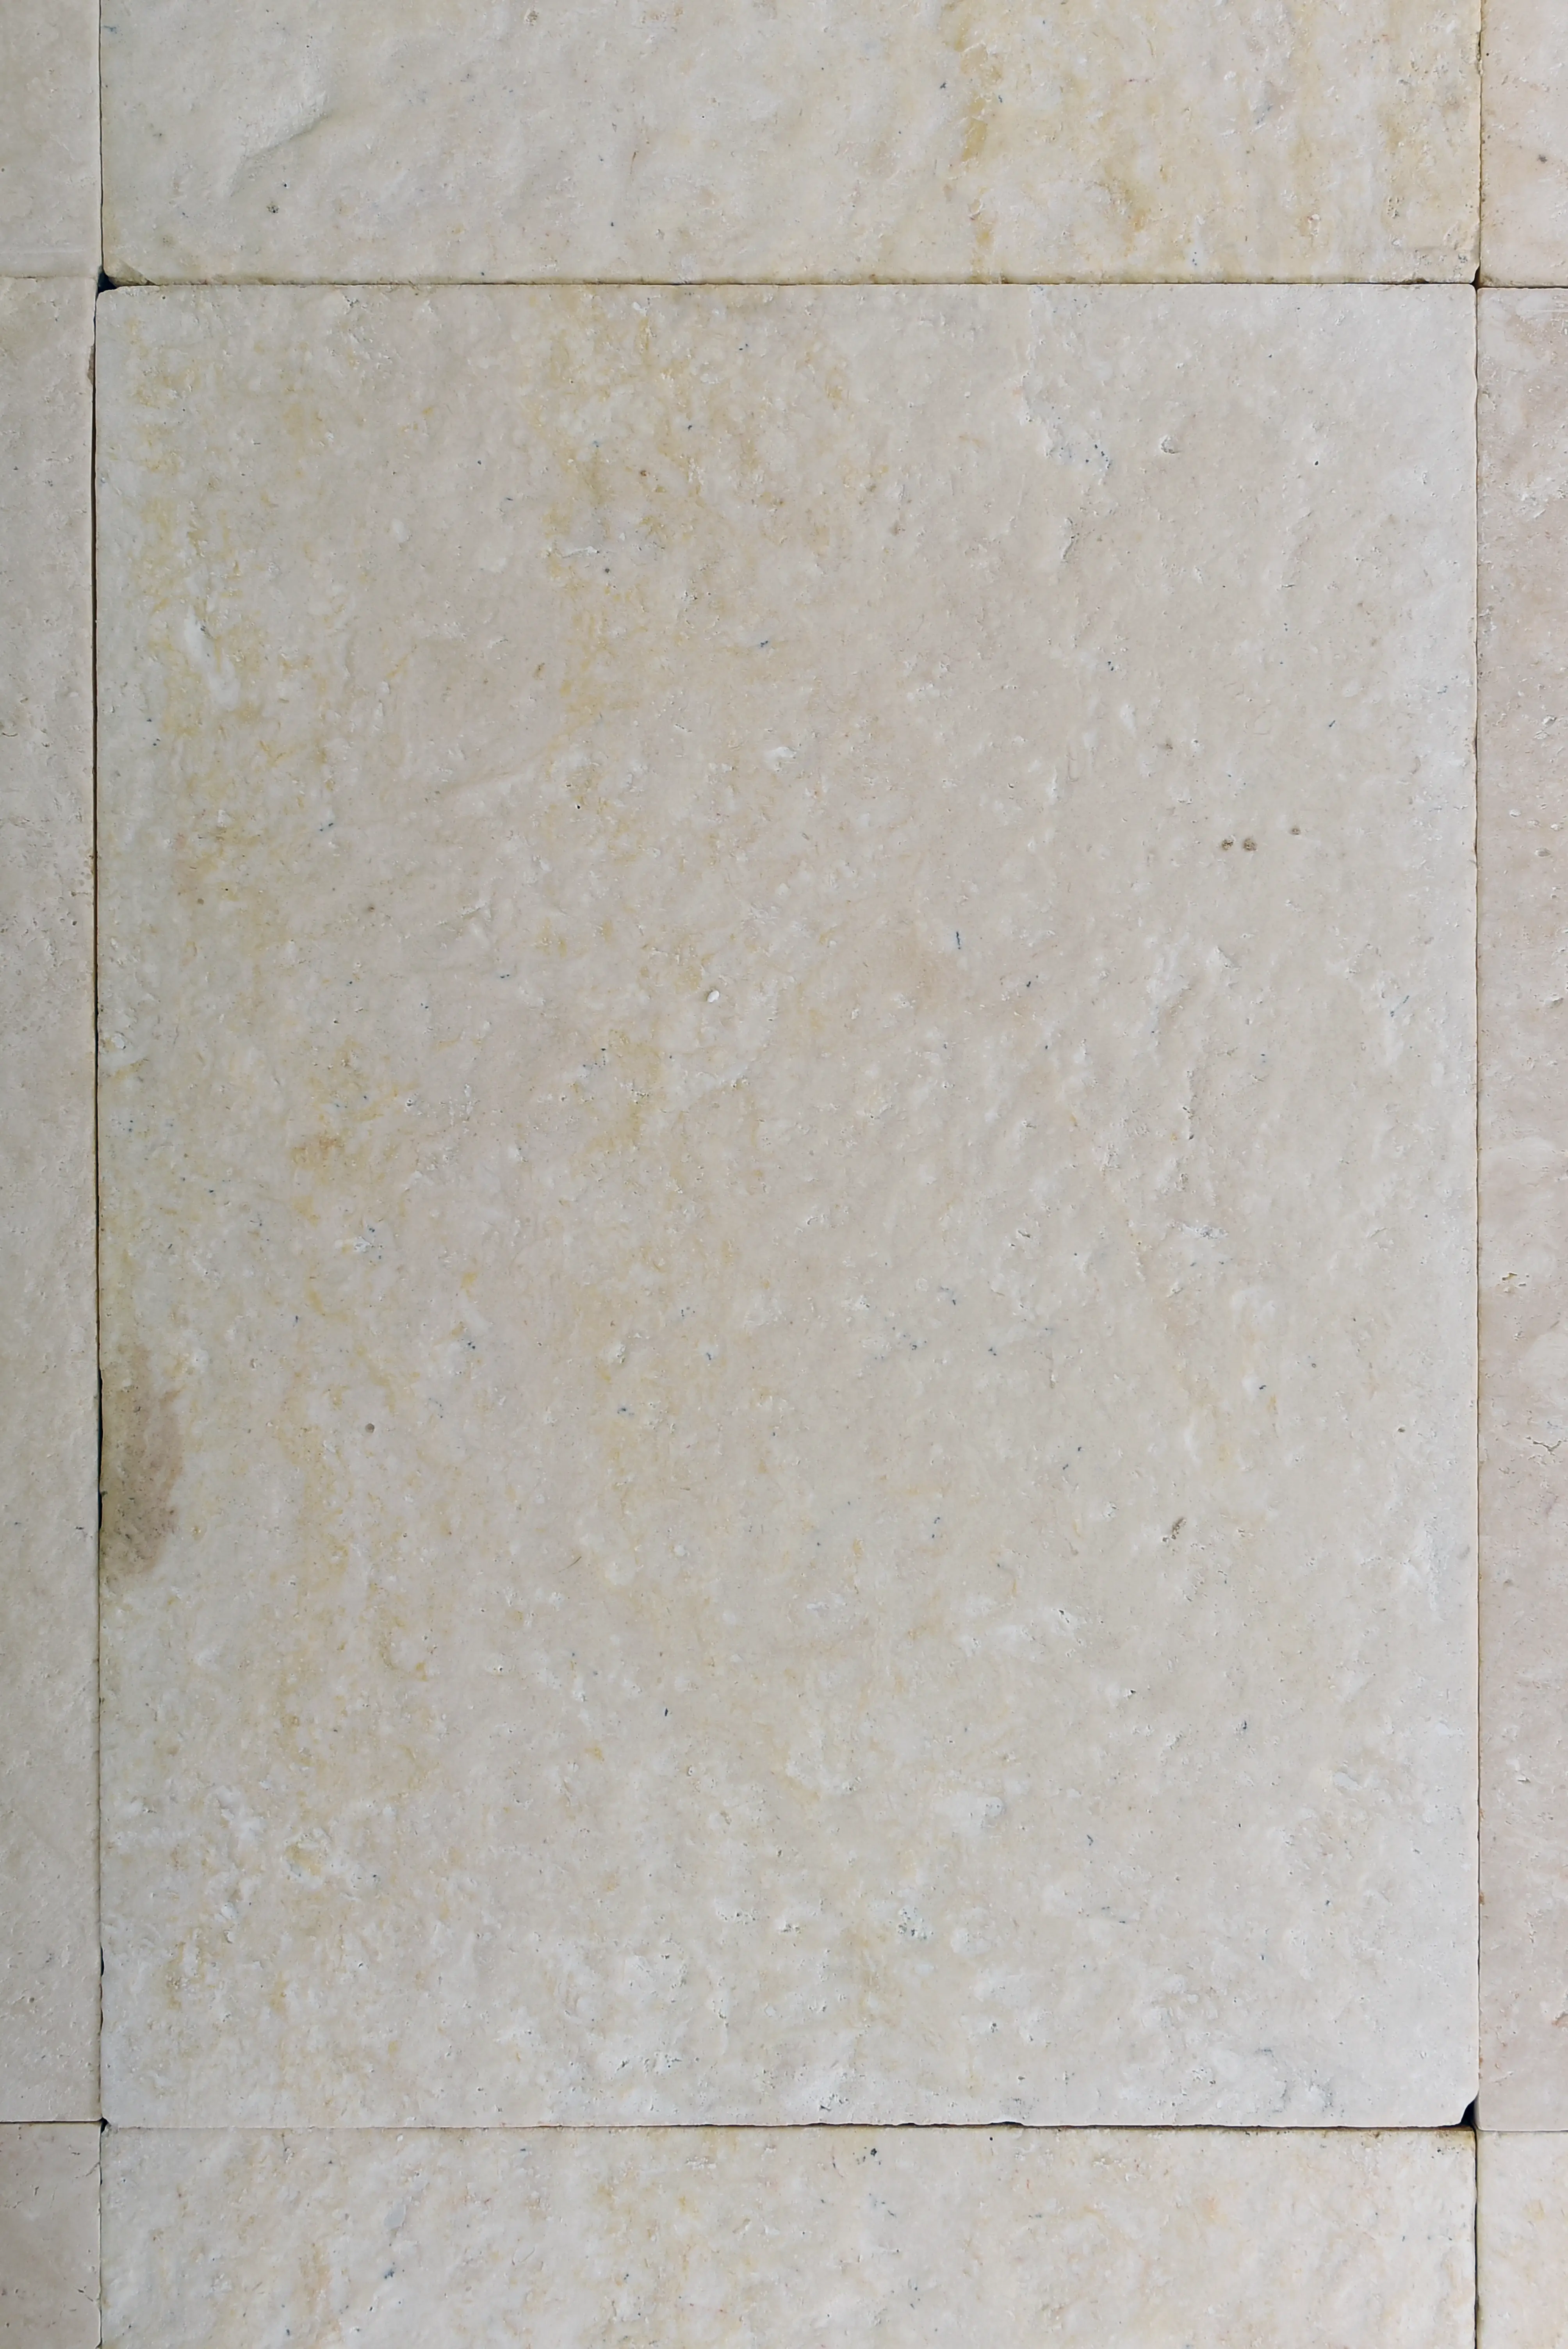
Not all holes in travertine behave the same way, and misidentifying the void type leads to the wrong filler selection every time. You’ll encounter three main categories on any project site.
- Surface pits: Shallow depressions, typically under 3mm deep, that open directly at the tile face. These are the most common and the easiest to address with a standard cementitious filler or unsanded grout.
- Through-voids: Channels that run the full thickness of the tile, sometimes creating visible openings on the back face. These require a staged filling approach — pack from below, allow cure, then finish the surface layer.
- Subsurface voids: Hollow areas beneath an intact surface skin. You’ll find these by tapping — a dull thud instead of a solid ring tells you the surface is bridging a cavity. These are structurally the most concerning and sometimes require tile replacement rather than filling.
- Failed factory fill: Old grout or epoxy that has shrunk, cracked, or debonded from the void walls. Attempting to fill over failed material without removing it first is the single most common cause of repeat travertine repairs.
Before committing to any travertine hole filling approach, probe every visible void with a pick tool. Knowing the depth and whether the walls are clean or contaminated determines your filler choice and application method.
Filler Material Options Compared
The filler market for travertine has expanded considerably, and not all products perform equally in field conditions. Your selection depends on void size, traffic load, finish type, and whether the installation is interior or exterior.
- Unsanded grout: Works well for surface pits up to about 4mm wide. Easy to color-match if you’re already grouting joints. The limitation is shrinkage — unsanded grout loses about 8–12% of its volume as it cures, so deeper voids need multiple applications.
- Epoxy filler: The strongest mechanical bond of any option. Epoxy fills are non-porous once cured, which is excellent for stain resistance but creates a visual difference on honed surfaces because the sheen level rarely matches the stone exactly. Best suited for commercial floor applications where durability outweighs aesthetics.
- Polyester resin: Standard in fabrication shops and increasingly used on-site for large-format travertine tile work. Resin can be tinted to match specific stone tones, sands cleanly, and accepts polish better than epoxy. The working time is short — typically 5 to 8 minutes at room temperature — so small batches are essential.
- Cement-based patching mortar: A solid choice for exterior installations and larger voids where slight texture variation is acceptable. Not recommended for polished or honed interior floors where any surface irregularity catches light.
- Color-matched grout: Often the most practical for filled travertine floors that already have grouted joints. Matching the grout joint color to the void fill creates visual continuity that looks intentional rather than repaired.
According to ASTM C1527 travertine dimension stone specifications, travertine intended for interior flooring can be supplied in filled or unfilled condition, and both are acceptable under the standard — which means the decision about filler type belongs entirely to you and the project specification, not the material itself.
Step-by-Step Travertine Hole Filling Process
Preparation determines 80% of your result. The travertine hole filling process fails most often not because the wrong filler was selected, but because the void wasn’t properly cleaned before application began.
- Clean the void thoroughly: Use a stiff brush or vacuum to remove dust, loose material, and any old fill. For failed factory fill, use a grout saw or oscillating tool to extract it completely before proceeding.
- Degrease the void walls: Any sealer residue inside the void will prevent adhesion. Apply a stone-safe degreaser, let it dwell for 5 minutes, then rinse and allow the stone to dry completely — minimum 2 hours at room temperature.
- Apply filler in layers: For voids deeper than 5mm, fill in two stages. First stage fills to approximately 60% of void depth, allowed to cure fully before the second application reaches the surface.
- Overfill slightly: Apply filler fractionally above the tile surface. As it cures and shrinks, it settles to flush. Attempting to fill exactly flush leaves a depression after cure.
- Sand and hone the surface: Once fully cured, use 220-grit wet-dry sandpaper to knock down the overfill, then match the existing finish. For honed tiles, progress through 400 to 800 grit. For polished surfaces, finish with a polishing compound appropriate for calcium carbonate stone.
- Seal after filling: Apply a penetrating sealer rated for travertine over the repaired area and ideally the full floor, since fresh filler is more porous than aged stone and will absorb stains faster without protection.
Color Matching the Right Way
This is where most travertine repair projects fall short — the filler cures a noticeably different tone than the surrounding stone. The reason is almost always that the test wasn’t done on a tile from the actual batch. Color in travertine varies significantly between quarry pulls, and a filler tinted to match a reference sample can look completely wrong against a different lot of stone.
Your best workflow is to test filler color on a cut-off or spare tile from the same shipment before working on the installed floor. Mix your tint, apply a small patch, allow full cure, then evaluate in the same lighting conditions as the finished room. Natural light and artificial light read stone tones very differently — a match that looks perfect under construction site lighting can look pale or yellow under warm interior LEDs.
For exterior travertine on sun-exposed terraces and pool surrounds, UV exposure introduces another variable. Pigments in polyester and epoxy fillers can shift under prolonged UV exposure, often fading at a different rate than the stone itself. This is worth flagging to the client before any travertine hole filling begins on exposed surfaces. A color-stable, UV-resistant pigment system in your filler makes a measurable difference in long-term appearance on fully exposed installations — the travertine itself will lighten gradually with sun exposure, and you want the filler to track that change proportionally rather than diverging over three to five years.
Exterior and Pool Deck Considerations
Filling holes in travertine on an exterior pool deck or terrace involves a different set of performance requirements than interior work. The Natural Stone Institute travertine properties and outdoor performance data confirms that travertine’s open pore structure creates both a thermal advantage and a maintenance requirement in outdoor settings — the same voids that moderate surface temperature under UV exposure also collect water, grit, and biological growth.
For exterior applications, epoxy filler is the preferred choice for its impermeability to water ingress and freeze-thaw cycle resistance. In regions that experience sustained freeze-thaw cycling, an unfilled void that retains moisture can cause the surrounding stone to spall at the void edge — even on tiles that are otherwise in excellent structural condition. Sealing the filled void with a penetrating sealer rated for wet environments adds another layer of protection. Resealing schedules for exterior travertine typically run every 12 to 18 months, more frequently on high-UV surfaces where sealer degrades faster than in shaded applications.
On pool decks specifically, the finish choice on repaired areas matters for safety as much as aesthetics. A filled and over-polished repair spot on a tumbled travertine deck creates a localized slippery zone that stands out from the surrounding texture. Match the existing finish exactly — tumbled to tumbled, brushed to brushed — to maintain consistent traction across the surface.
When to Fill Before vs. After Installation
The timing of travertine hole filling relative to installation is a decision that affects the final result significantly, and it’s one that doesn’t get discussed enough during project planning. Filling before installation gives you a flat, stable work surface, better access to void walls, and the ability to reject tiles whose voids are too large or structurally compromised before they’re set in mortar.
Filling after installation is often unavoidable when working with unfilled travertine that was specified for its natural aesthetic. In this scenario, grout application and void filling happen as part of the same process — the grout is worked into the surface with a float, filling both joints and surface pits simultaneously. This approach works well for floor installations on honed surfaces but requires a grout release agent applied to the tile face beforehand to prevent staining.
A note on timing relative to sealing: many contractors make the mistake of sealing the floor, then attempting to fill residual voids. Sealer inside the void prevents filler adhesion entirely. The correct sequence is fill first, cure completely, then seal. If a floor has already been sealed and travertine holes need attention, you’ll need to strip the sealer from the void interior before any filler will bond properly.
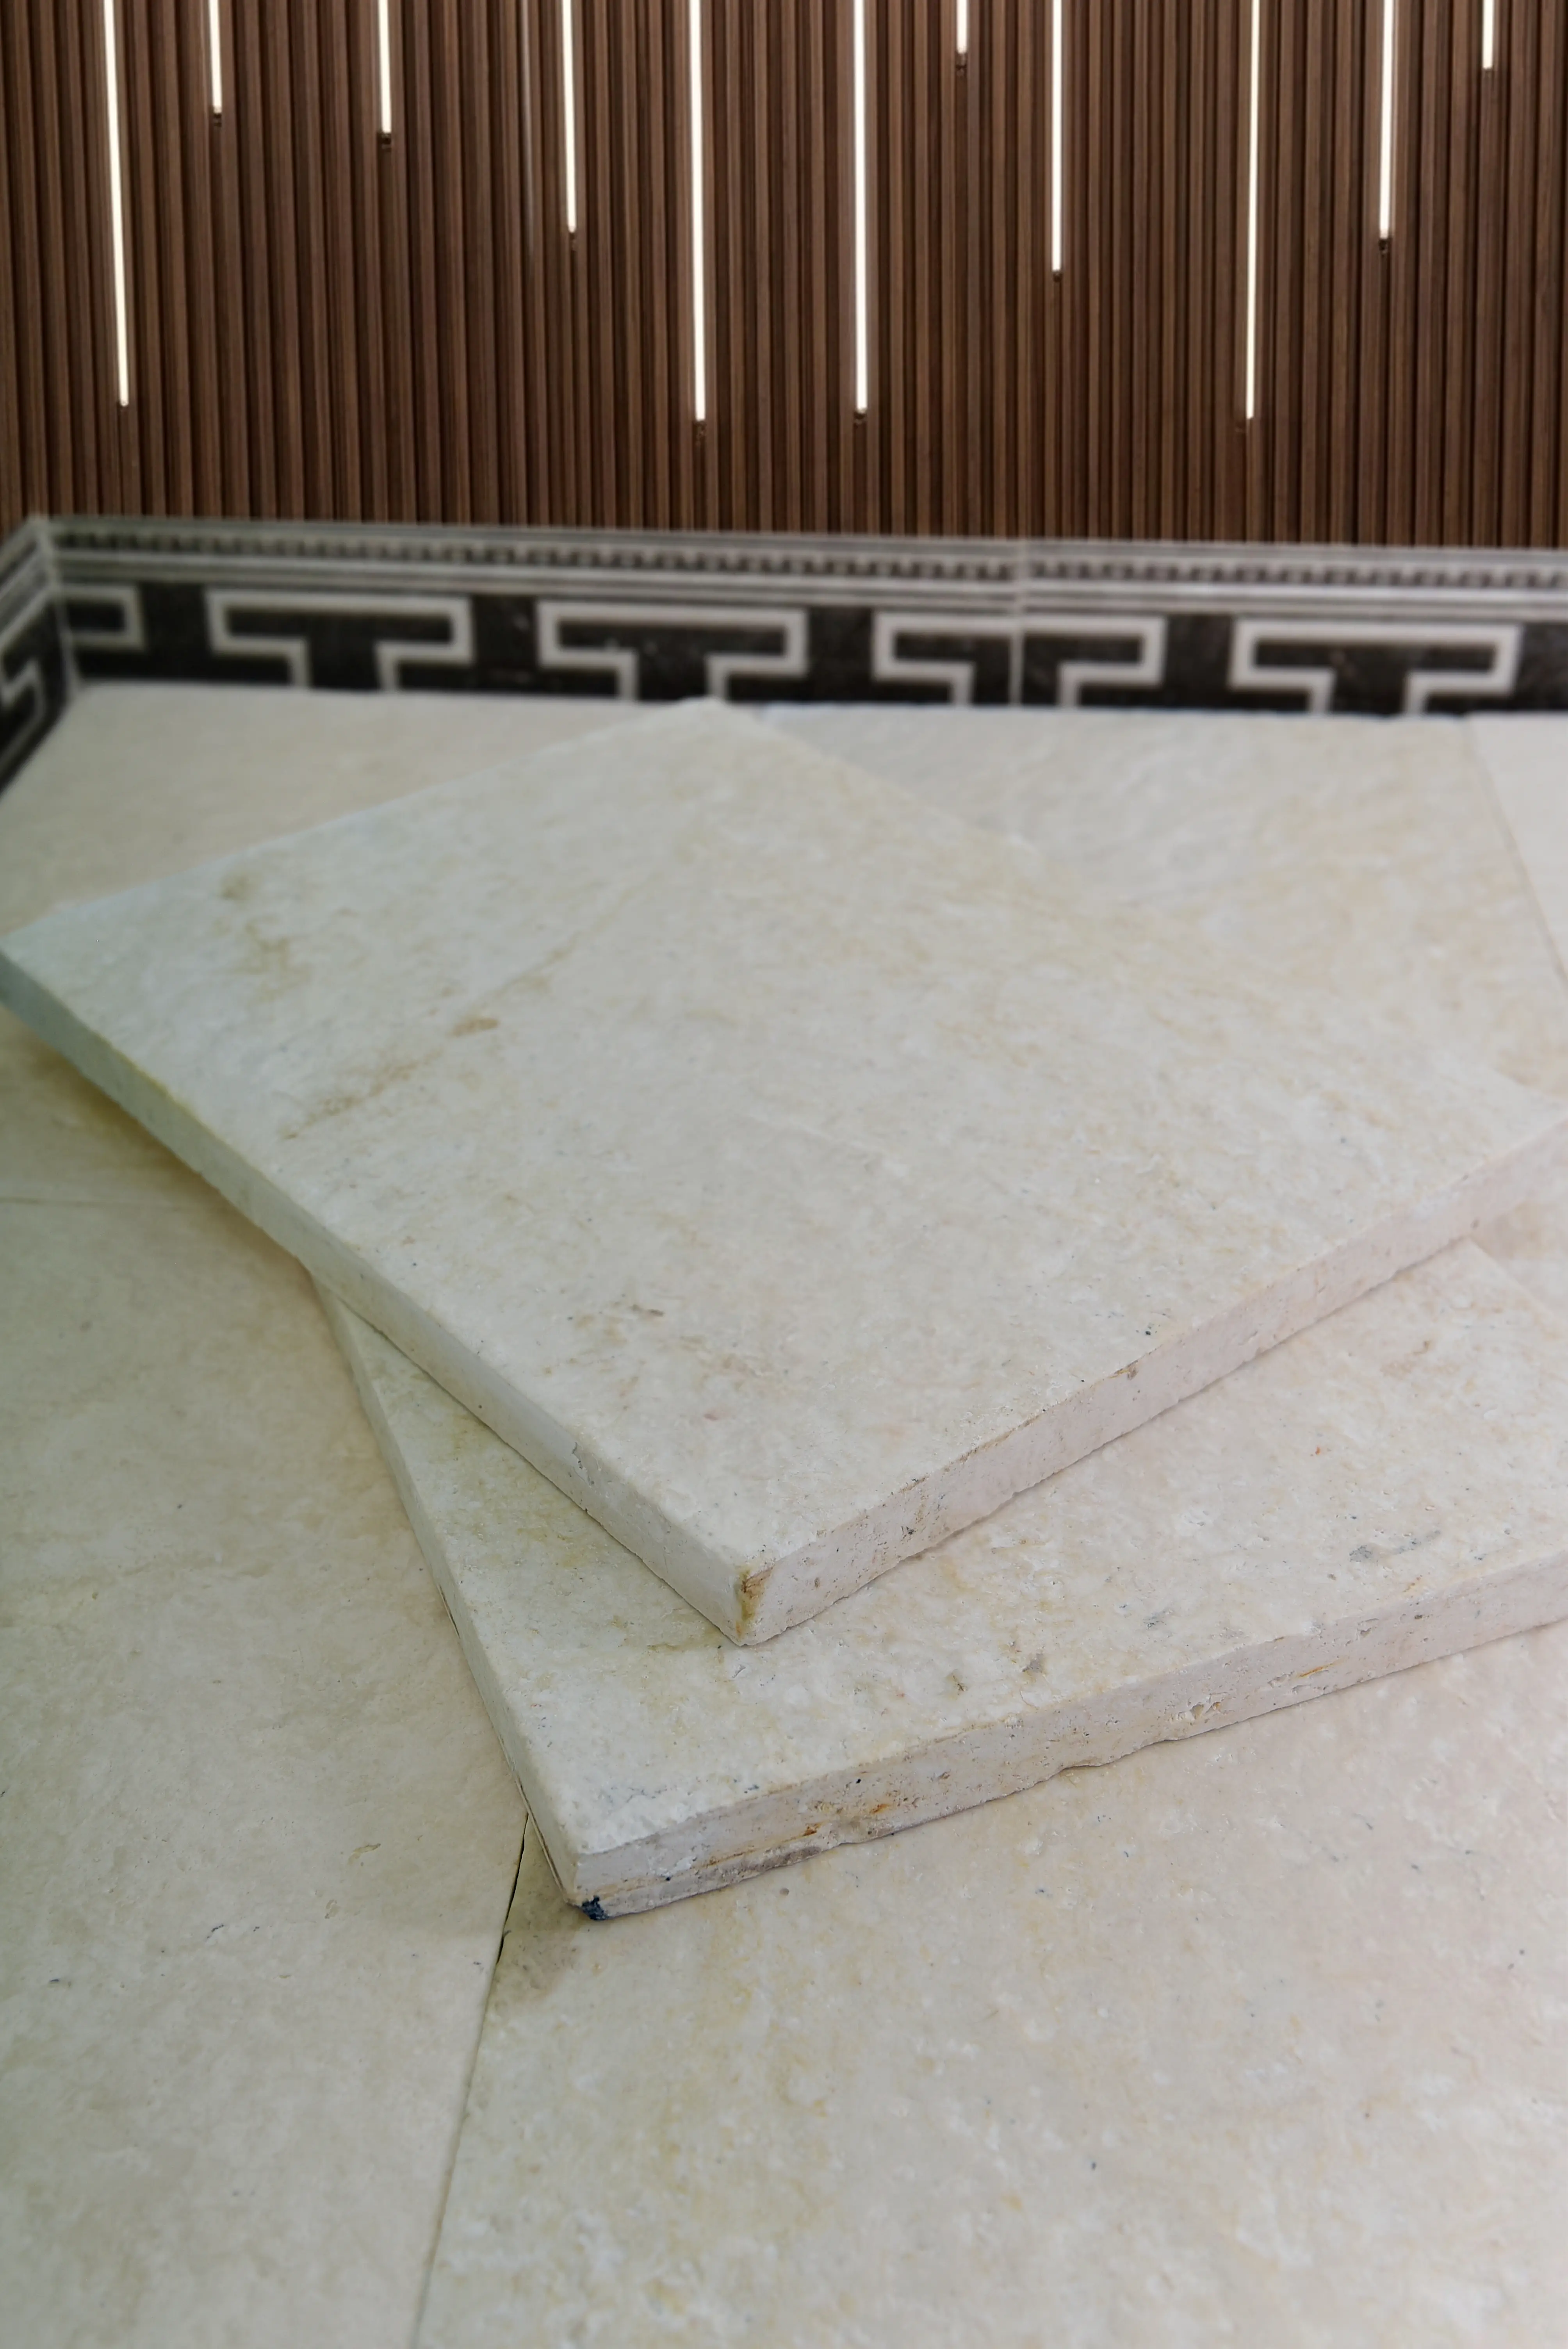
For projects ordering 18×18 Travertine Tile, confirming with your supplier whether tiles are pre-filled or unfilled before delivery eliminates surprises on installation day — the filling method, material selection, and labor allocation all change based on that single specification detail.
Common Mistakes and How to Avoid Them
Experience across dozens of travertine projects surfaces the same errors repeatedly. Recognizing them before your project starts saves rework.
- Using sanded grout in small voids: Sanded grout’s aggregate prevents it from penetrating pits under 3mm. You’ll end up with a surface crust over an unfilled void — it looks fine for a few months, then collapses under foot traffic.
- Skipping the degreasing step: Especially critical on travertine that has been handled during installation. Hand oils from placement are enough to prevent filler adhesion in small voids.
- Matching wet filler color to wet stone: Both will dry lighter. Always evaluate color match on fully cured, dry surfaces.
- Applying sealer before grout has fully cured: Grout takes 24 to 72 hours to cure fully depending on humidity. Sealing too early traps moisture in the grout and can cause efflorescence — white mineral deposits — to push through filled voids later.
- Neglecting subsurface voids: A tile that sounds hollow under tap testing needs evaluation, not cosmetic filling. Filling the surface void while a cavity exists beneath creates a stress concentration point that often leads to surface cracking within a year.
- Using one-part filler on deep voids: Any single-application fill in a void deeper than 8mm will shrink enough to crack on cure. Multi-layer application is non-negotiable beyond that depth.
According to TCNA natural stone tile installation standards, voids in natural stone tile should be addressed as part of the installation specification, not treated as a post-installation warranty issue — a distinction worth making clear in your project contracts.
Getting Travertine Hole Filling Specifications Right
Successful travertine hole filling comes down to three decisions made before any filler touches stone: identify the void type accurately, select the right filler for the location and finish, and sequence the work correctly relative to sealing and grouting. The repair that holds is the one where preparation wasn’t rushed and color matching was verified on a cured sample from the actual tile batch — not a reference card.
At Citadel Stone, we recommend confirming fill specification at the ordering stage, particularly for large-format travertine tile projects where unfilled material requires a complete on-site filling workflow. Our technical team can advise on filler compatibility based on the specific travertine variety you’re working with, since porosity and void character vary noticeably between ivory, walnut, and silver travertine grades. Your project’s timeline should account for filler cure time before foot traffic — typically 24 hours minimum for cementitious options and 4 to 6 hours for epoxy and polyester resin products at standard room temperatures. Planning for related stone specification decisions early also pays dividends — comparing travertine tile format options can inform void density expectations before material is ordered, since larger format tiles statistically carry more surface void area per square foot. For installations where voids are left natural, Citadel Stone recommends discussing grout joint width and filler compatibility before setting begins to avoid uneven color absorption later.