What Pebble Edging Actually Does for a Landscape
Pebble edging design ideas look deceptively simple in photos — a clean ribbon of stone separating lawn from planting bed — but the design decisions made before a single stone is placed determine whether that edge holds its line for a decade or starts drifting after the first wet season. Material size, base depth, and mortar or dry-set choice all interact in ways that aren’t obvious until you’ve watched an installation fail. Getting those foundational decisions right is where experienced specifiers separate themselves from guesswork.
Design Styles That Actually Work in Practice
The strongest pebble edging design ideas share one trait: they establish a visual language that reinforces the planting scheme rather than competing with it. Here are the distinct design directions worth considering for beds and pathways:
- Flowing mosaic rows — alternating pebble sizes in irregular arcs give a naturalistic, organic feel suited to cottage-style planting beds
- Linear flush-set bands — uniform 40–60mm pebbles set level with the turf line create a crisp, architectural edge for formal gardens and contemporary hardscapes
- Raised containment borders — pebbles set slightly proud of the soil surface act as physical mulch barriers, slowing material migration out of beds
- Colour-banded edging — alternating bands of white quartz and dark basalt pebbles produce graphic contrast that reads well from a distance
- Mixed-material transition strips — pebbles paired with granite setts or limestone cobbles at pathway junctions create a material handoff that feels intentional rather than abrupt
Your choice between these styles should be driven by the scale of the space and how much maintenance you’re prepared to do. Tight mosaic patterns look exceptional but require periodic re-setting after ground movement, while flush linear bands tolerate soil expansion and contraction better than complex layouts.
Choosing Pebble Size and Material for the Application
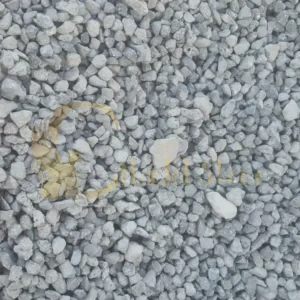
Size selection is more consequential than most people realise. Pebbles in the 20–40mm range are the most versatile for pathway edging — small enough to follow a curve without gaps, large enough to resist displacement from foot traffic and irrigation runoff. Go below 20mm for exposed pathway edges and you’ll be resetting stones every season as water movement shifts them.
Material density matters for longevity. Granite pebbles offer compressive strength above 160 MPa, which means they handle the lateral forces from root expansion and freeze-thaw cycling without fracturing. Quartz river pebbles are slightly softer but deliver excellent colour retention without sealing. According to NSI granite durability data, igneous stones consistently outperform sedimentary alternatives in high-abrasion, high-moisture edging applications — a key consideration when your beds are irrigated or in heavy-rainfall regions.
For planting bed edging specifically, consider the soil chemistry. If you’re working with acidic garden beds, avoid calcium-rich limestone pebbles as a dry-set edge — the acid runoff from compost-amended soil will gradually etch the surface and create a powdery residue that stains neighbouring pavers.
Base Preparation — The Step That Defines Longevity
You can select the most beautiful pebble edging for your project and still end up with a failed installation if base preparation is treated as an afterthought. The substrate beneath a pebble edge needs to address two competing demands: it must be firm enough to prevent settlement and flexible enough to accommodate minor ground movement without cracking a mortar bond.
- For dry-set pebble edging: compact a 75–100mm crushed aggregate base to 95% Proctor density before placing any pebbles — this is the layer that prevents the 15–20mm of settlement that makes edges look tired within two years
- For mortar-set edging in formal gardens: a 50mm concrete bedding course provides the rigidity that keeps individual stones from pivoting when walked on or caught by a mower blade
- Drainage channels behind the edging line are non-negotiable in areas with heavy or concentrated rainfall — water pooling behind a pebble edge saturates the base and accelerates lateral movement
- In freeze-thaw regions, extend base depth to 125–150mm and use open-graded aggregate that drains vertically rather than holding moisture against the stone base
The drainage angle also applies in regions with heavy monsoon cycles or prolonged wet seasons. A pebble edge sitting in a low point where water pools will migrate measurably faster than one installed with a 2–3% fall away from the bed. That small gradient is the difference between an edge that holds for fifteen years and one you’re resetting every spring.
Pebble Edging for Pathways — Specific Considerations
Pathway edging carries different performance demands than planting bed borders. The lateral force from regular foot traffic, combined with the expansion and contraction of adjacent paving materials, means your installation needs to be engineered slightly differently.
Your pebble edging design for pathways should account for thermal movement in the adjacent paving surface. Natural stone pathway pavers — granite, limestone, or bluestone — expand at rates between 5 and 9 × 10⁻⁶ per °F, and without an expansion gap between the paving field and the pebble edge course, you’ll see cracking in mortar-set installations within a few seasons. A 6–8mm compressible joint filled with kiln-dried sand resolves this without sacrificing the visual continuity of the edge.
For specifying pebble edging along curved pathways, the radius of curvature determines your maximum pebble size. As a working rule: divide the curve radius (in millimetres) by 15 to get the maximum stone diameter that will maintain a continuous line without visible gaps on the outer arc. A 600mm radius curve, for example, works well with pebbles up to 40mm — above that, the outer face of the edge starts to look gapped and unfinished. You can explore a range of Citadel Stone pebble and granite borders that are sized and sorted specifically for curved pathway installations.
Colour Palette and Visual Coordination with Stone Paving
Here’s what most landscape specifiers overlook: the colour of a pebble edge reads very differently wet versus dry. Dark basalt pebbles that appear almost black when dry will show their true charcoal-grey tones after rain, while white quartz can read as cream in certain light conditions rather than bright white. Always evaluate your pebble samples in both wet and dry states before committing to a palette for a finished project.
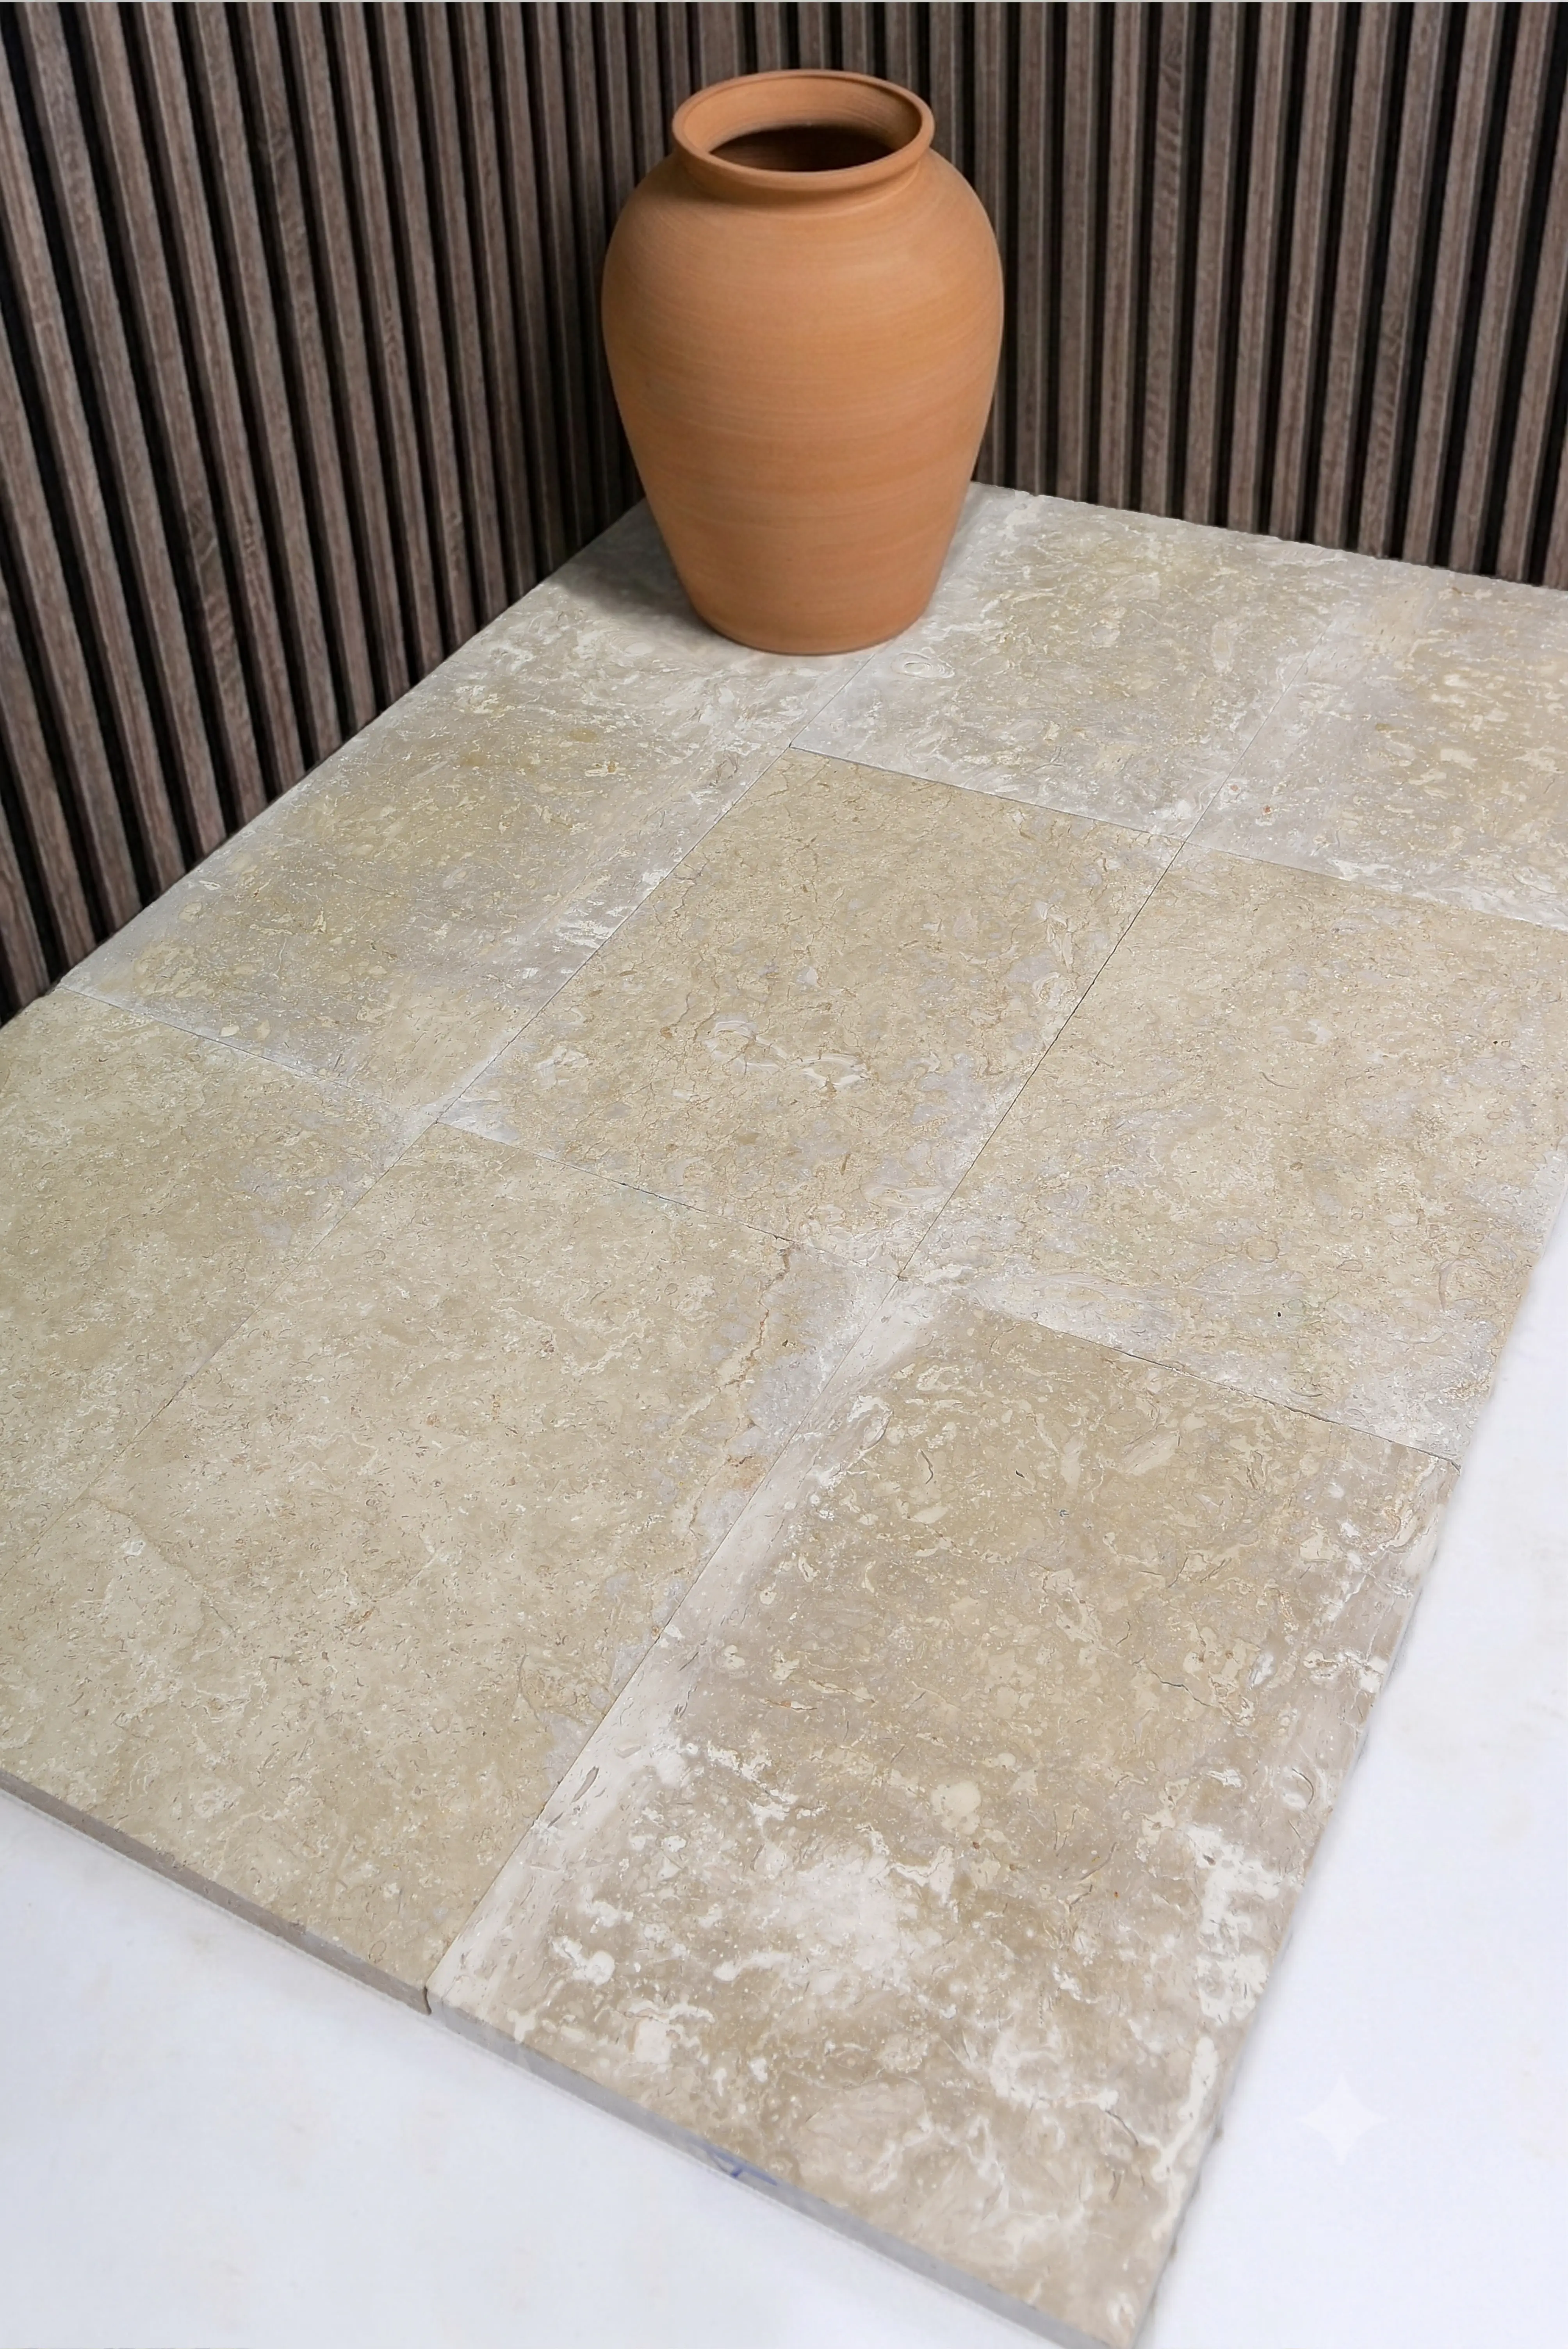
Coordinating pebble edging with adjacent hardscape stone is a straightforward exercise when you work within one material family. Granite pebble borders read naturally alongside granite stepping stones or sett pathways. River pebbles in warm buff tones complement sandstone or Jerusalem limestone paving surfaces. The pairing to avoid is a cool grey pebble edge against warm-toned travertine — the colour temperature contrast creates visual tension that most clients notice even if they can’t immediately identify why.
The ASLA landscape edging and border stone design guidance reinforces the principle that border elements should reinforce the primary hardscape material rather than introduce a competing visual element. That’s a useful framework when you’re helping a client choose between three seemingly similar pebble options — the answer is usually whichever stone shares the most tonal overlap with the dominant paving surface.
Installation Methods: Dry-Set vs. Mortar-Set
Both approaches have genuine merit depending on project context — the choice isn’t simply about aesthetics or budget.
- Dry-set pebble edging is faster to install, allows easy repairs when individual stones shift, and performs better in areas with significant ground movement or expansive clay soils
- Mortar-set edging delivers a more permanent, crisp finish suited to formal garden settings and areas where foot traffic risks dislodging loose stones
- Epoxy-bonded pebble panels — factory-bonded stone on a mesh backing — are increasingly used on commercial projects where consistent appearance and rapid installation matter more than natural variation
- Polymer-modified mortars outperform standard cement mixes for pebble edging because their flexibility accommodates the minor movement that occurs at the transition between planted soil and solid base
For commercial projects where access to Citadel Stone’s warehouse inventory allows ordering sorted pebble sizes in bulk, dry-set installation with a geotextile separation layer beneath the aggregate base gives the most durable result with the lowest long-term maintenance commitment. Confirming stock availability before mobilising your crew avoids the costly mid-project delays that occur when material runs short on larger linear edging runs.
Water Management Within Pebble Edging Design
Drainage integration is where pebble edging design ideas move from decorative to genuinely functional. A well-designed pebble edge can serve as a permeable break between an irrigated planting bed and a solid paving surface, managing the sheet flow that would otherwise undermine a mortar joint or erode topsoil.
In areas that experience intense rainfall seasons — whether driven by tropical weather patterns, elevated annual precipitation, or seasonal storm concentration — a 100mm wide pebble edging band over a gravel-filled trench functions as a linear French drain. Water filters down through the stone gaps, enters the aggregate trench, and discharges laterally away from the bed. According to USGS dimension stone production data, permeable stone applications in landscape settings have grown substantially as water management requirements become part of residential design briefs — particularly in areas with stormwater runoff restrictions.
Your edging specification should also account for the irrigation habits of the planting bed. Drip-irrigated beds with pebble edging dry out faster at the perimeter than soaker-hose systems — the open stone surface accelerates evaporation. In drought cycles or low-rainfall regions, this means drip emitter coverage may need to extend 150mm closer to the edging line than it would in a wetter climate, keeping moisture consistent across the full root zone.
Getting Pebble Edging Specifications Right
Getting pebble edging design right for beds and pathways comes down to three decisions made before any material leaves the truck: the right pebble size for the curve geometry, the right base preparation for the drainage conditions, and the right material pairing for the adjacent hardscape. Everything else — colour, pattern, mortar versus dry-set — follows naturally from those foundational choices. For projects where the surrounding stone palette includes formal elements, it’s worth reviewing how other natural stone borders perform under similar conditions. marble edging for formal gardens covers how different stone types compare when design precision is the priority.
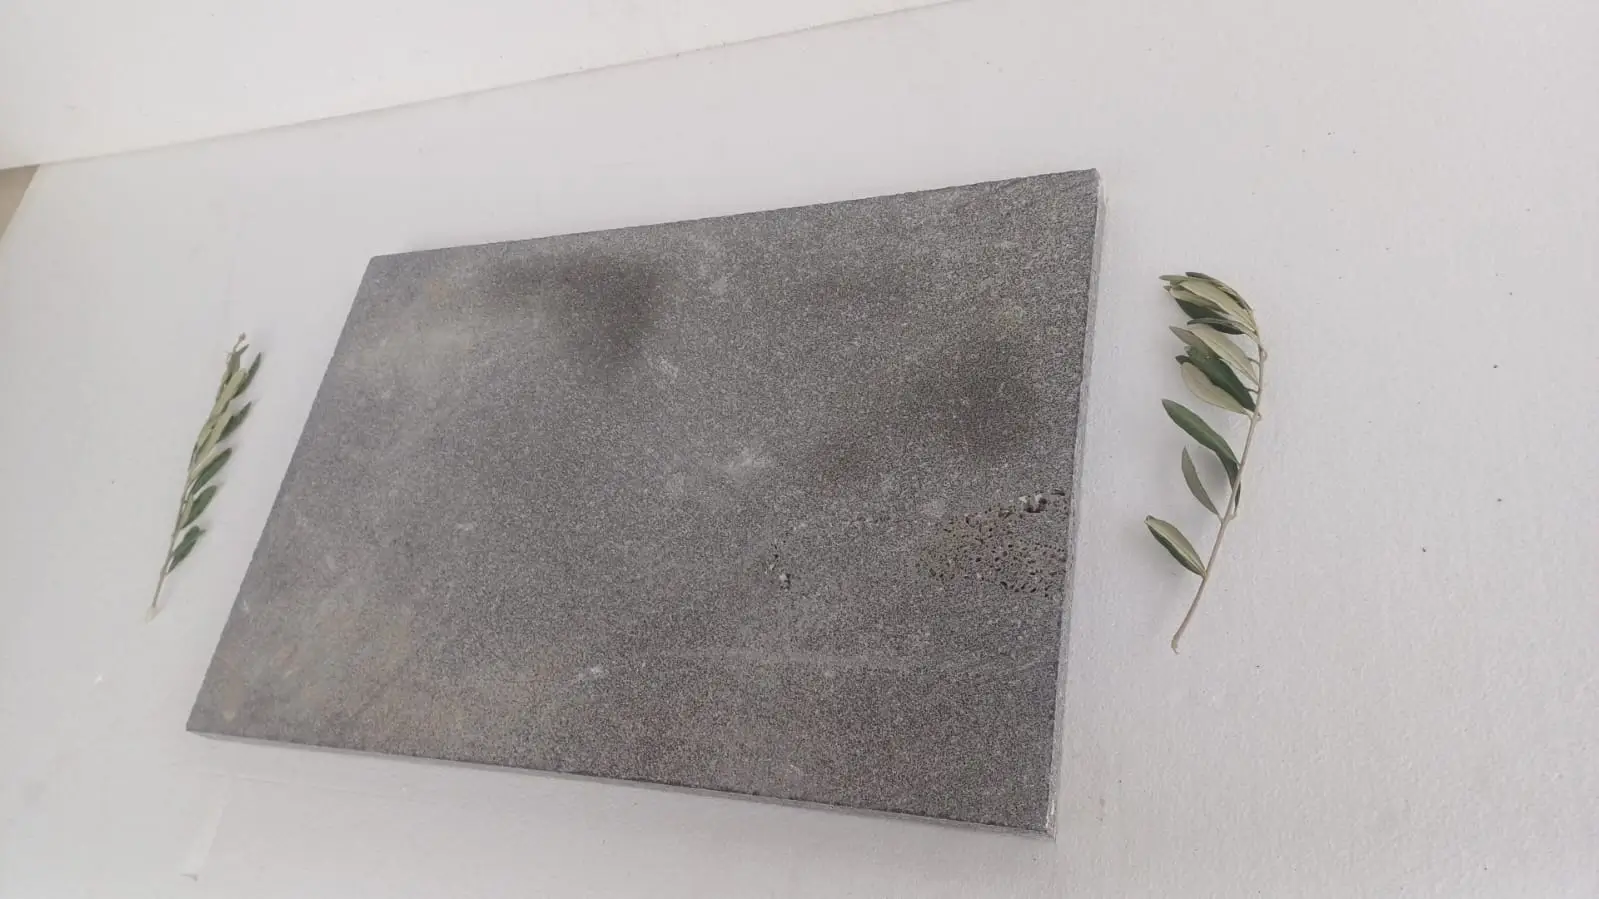
Citadel Stone pebble edging paired with granite stepping stones creates defined pathway borders that soften the visual line between lawn and structured hardscape areas.
Related reading: how to install edging stones · why edging stones keep shifting · cobblestone edging buyer guide.