Specifying garden wall stones correctly comes down to understanding the relationship between unit mass, mortar bond, and drainage geometry — three variables that interact in ways most project guides never mention. Get the stone selection right but shortchange the drainage layer, and you’ll watch mortar joints crack within two winters. The weight class of your chosen material also determines whether you need a concrete footing or a compacted aggregate base, and that decision alone can swing your materials budget by 30 percent. This guide covers what actually separates a long-performing garden wall from an early rebuild, from stone characteristics through to logistics that affect your real project cost.
Understanding Garden Wall Stone Types
Your first structural decision is whether you’re building a dry-stack wall, a mortared wall, or a gravity retaining wall — because each demands a different stone profile. Dry-stack walls rely on friction and mass for stability, so irregular shapes with a wide bearing face actually outperform cleanly sawn blocks. Mortared walls need consistent bed heights so the mortar courses bond evenly across the run. Gravity retaining walls require units heavy enough that the wall resists lateral earth pressure through sheer weight, which shifts you toward denser stone types like granite or basalt.
The most common stone families used for garden wall construction each bring a distinct performance profile:
- Limestone: compressive strength typically in the 4,000–8,000 PSI range, excellent for ornamental and low-to-medium retaining walls, weathers to a refined patina over time
- Granite: compressive strength above 19,000 PSI, highly frost-resistant, ideal for heavy-duty retaining applications and long walls where dimensional consistency matters
- Sandstone: more porous than granite or limestone, works well in dry-stack applications where visual texture is a priority, requires sealing in freeze-thaw regions
- Basalt: dense and low-absorption, performs strongly in wet climates, cleaves into natural flat faces that stack predictably
- Fieldstone: irregular, highly variable, adds a naturalistic aesthetic but requires skilled placement to maintain wall stability
The Natural Stone Institute wall stone installation guidance provides detailed absorption and strength benchmarks that help you match stone type to your wall’s functional load. Always cross-reference those specs against your specific unit dimensions — a nominal 6-inch-deep stone behaves very differently at 8 inches of bed depth when lateral pressure is involved.
Large Garden Wall Stones: Performance vs. Handling
Specifying large garden wall stones gives you a significant structural advantage — longer units bridge minor base irregularities and reduce the total number of vertical joints in the wall face, which is where most water infiltration starts. A unit measuring 18 inches or longer creates what’s called a pinning effect in a dry-stack wall, locking adjacent courses against horizontal displacement even without mortar.
The trade-off is handling and placement. Units above 80 lbs per piece move into mechanical placement territory on most commercial sites, and even residential projects with tight garden access may require a compact tracked machine. You’ll want to discuss truck access to your site early — a delivery that can’t get the pallet within reasonable reach of the installation area adds measurable labor cost to every unit placed. Plan for a clear 10-foot-wide access path if you’re receiving standard pallet delivery, and confirm whether your site requires a smaller intermediate vehicle for the final haul.
- Units 12–18 inches long: manageable by two-person teams, good for residential-scale walls up to 3 feet high
- Units 18–24 inches long: often require a third handler or mechanical assistance, excellent structural performance in walls over 3 feet
- Units 24 inches and above: mechanical placement standard, best reserved for retaining walls where structural mass is the primary design driver
Stone Garden Wall Blocks vs. Natural Split Stone
The distinction between sawn or manufactured stone garden wall blocks and naturally split fieldstone or quarried split-face stone matters more than most buyers realize at the specification stage. Sawn blocks give you predictable bed heights, which simplifies mortar joint calculations and keeps coursing level across long wall runs. Natural split-face stone gives you a more organic visual texture but introduces height variability that requires more adjustment work per course.
Field performance data on stone garden wall blocks across varied installation types shows that the sawn-block format reduces mortar waste by approximately 15–20% compared to irregular natural split work, because the mason isn’t shimming and packing to compensate for inconsistent bearing faces. On a 40-linear-foot wall at 3 feet high, that efficiency difference translates into real labor savings. The tradeoff is that the cleaner, more geometric profile of sawn blocks reads as a landscape architectural element rather than a naturalistic one — and that’s a valid design choice, but it should be intentional.
You can explore our garden wall stone range to compare sawn-block profiles, split-face options, and mixed-finish formats across available stone types — it’s a useful reference point when you’re matching visual texture to your planting scheme and surrounding hardscape.
Drainage and Base Preparation: The Detail That Defines Longevity
Here’s what most buyers overlook when specifying garden wall stones: the base and drainage layer are more important to long-term wall performance than the stone type itself. A premium granite wall built on an undrained, compacted clay base will start showing bulge and lean within five years. A modest limestone wall properly seated on compacted aggregate with a gravel drainage core behind it will hold straight for 20 years or more.
For mortared walls, your footing should sit below the frost line in freeze-thaw regions — typically 12–18 inches in colder zones. For dry-stack walls under 3 feet, a 6-inch compacted aggregate base is usually sufficient, but you’ll want the first course of stone to be your heaviest and widest units, functioning as a buried base course. The masonry industry’s standard guidance under IBC Chapter 21 masonry and natural stone wall requirements is worth reviewing if your wall is part of a permitted project — retaining walls above a certain height trigger engineering review requirements in most jurisdictions.
- Install a continuous gravel drainage layer (minimum 6 inches wide) behind any retaining wall to relieve hydrostatic pressure
- Use geotextile fabric between native soil and the drainage aggregate to prevent clay migration into the gravel void
- Set weep holes every 6–8 feet in mortared retaining walls — omitting these is the single most common cause of retaining wall failure
- Compact your base in 3-inch lifts using a plate compactor, not a hand tamper, for walls over 2 feet high
- Allow the compacted base to settle for 48 hours before beginning stone placement if the native soil has been recently disturbed
Mortar Selection and Joint Profiles for Garden Walls
Your mortar mix matters more than most specifications acknowledge. A mortar that’s too strong — meaning a higher Portland cement ratio than the stone requires — will actually cause spalling in softer stone types because the mortar won’t flex with the stone’s thermal movement. The classic field rule is that mortar should be weaker than the stone it bonds, so that any movement-related cracking occurs in the replaceable mortar joint rather than in the stone face.
For limestone and sandstone, a Type S mortar (1 part Portland, 0.5 part lime, 4.5 parts sand) provides the right balance of strength and flexibility. For granite and basalt, Type S or Type M is appropriate. Avoid ready-mix “all-purpose” mortars on natural stone garden walls — they’re formulated for concrete block, and the higher water absorption in many natural stones causes premature joint failure when the wrong mix is used.
- Raked joints (slightly recessed) shed water better than flush joints and accentuate the stone texture visually
- Flush joints are easier to execute and reduce the risk of standing water in the joint itself in high-rain environments
- Tooled concave joints provide the best water-shedding profile and are standard in premium mortared garden wall work
- Allow mortared walls to cure under damp burlap for 72 hours in hot weather — rapid drying causes shrinkage cracks in the joints
Garden Paving Stones: Integration with Wall Design
Designing garden paving stones as part of the same specification as your wall stones creates a material palette that reads as intentional and cohesive — but the technical coordination matters as much as the visual match. Your paving and wall stone should ideally share the same geological family so that weathering and patina develop in parallel. Mixing limestone paving with granite walling, for example, will result in the limestone aging visibly faster, creating a material mismatch that becomes more pronounced over time.
The Masonry Society’s natural stone wall and paving standards address compatibility between wall and paving materials, particularly around expansion joint placement where a paved terrace meets a wall base. This is a detail that’s easy to skip during design but becomes a leak point if omitted — thermal movement in the paving slab will crack any mortar fillet that ties it rigidly to the wall footing. A 10–12mm expansion joint filled with a flexible backer rod and sealant is the correct detail here.
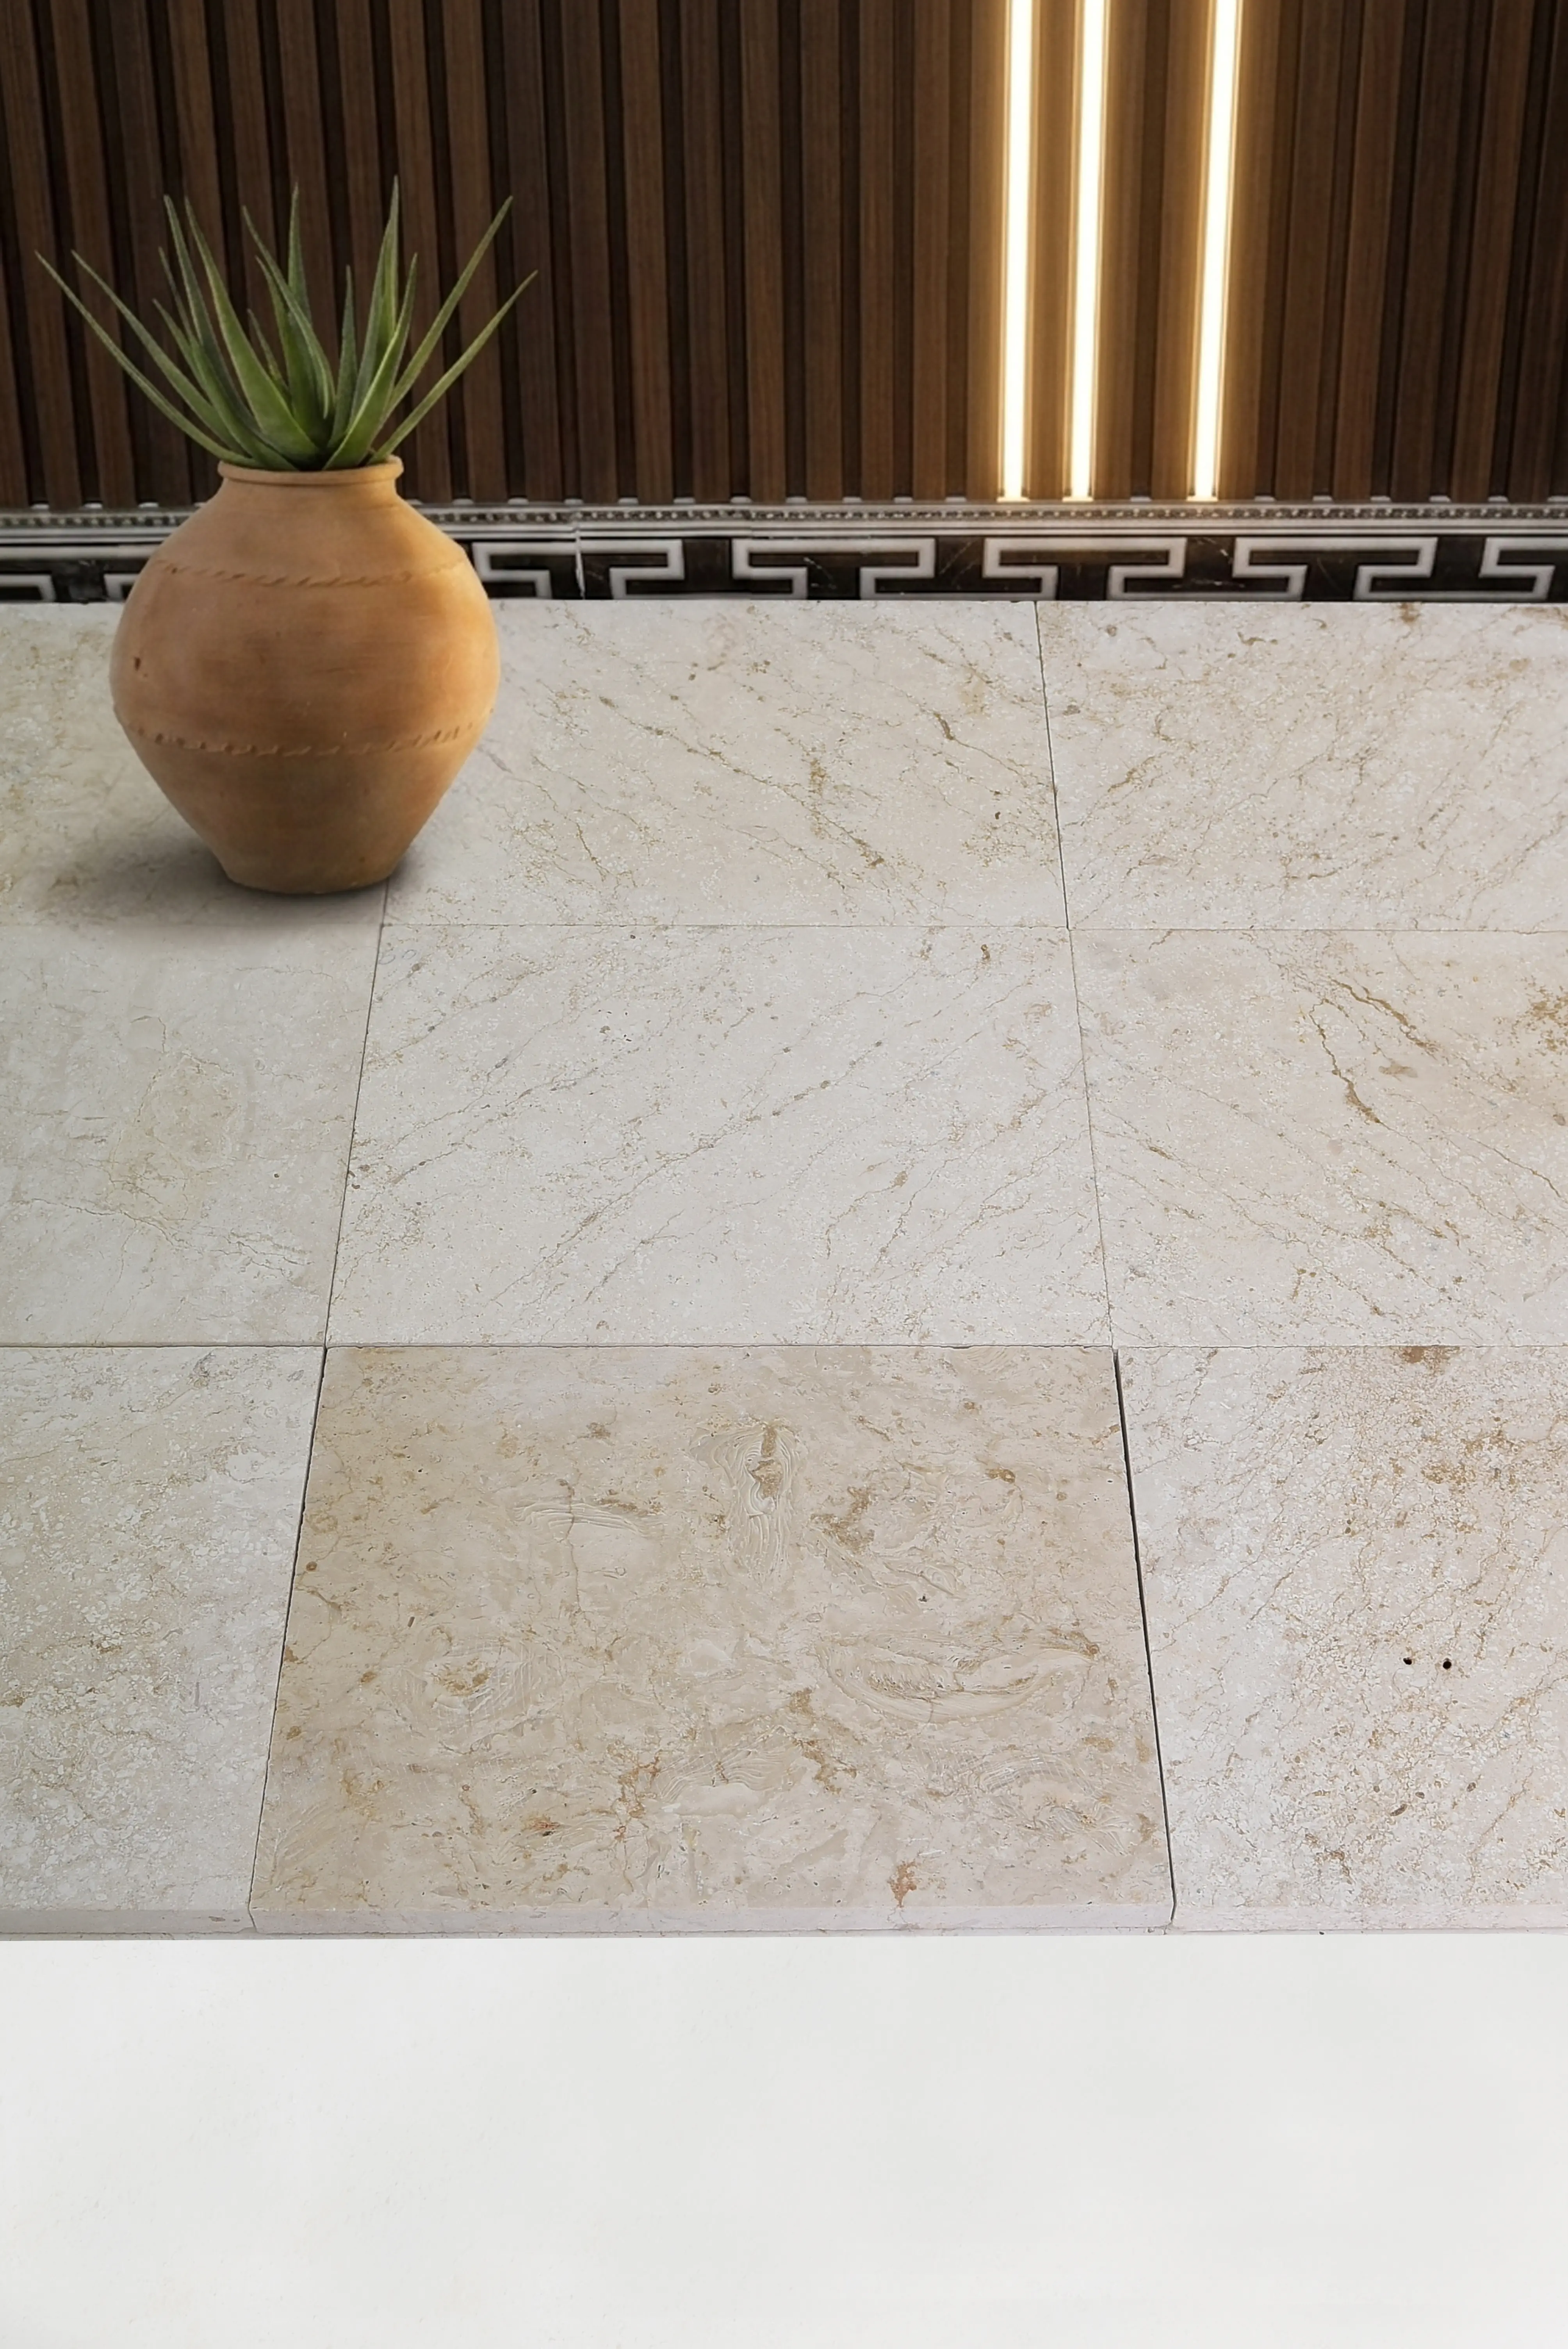
At Citadel Stone, we recommend ordering wall stone and coordinating garden paving stones from the same material batch where possible. Stone quarried in the same run shares consistent veining and color saturation — something that becomes obvious when you set paving slabs next to a wall built from a different batch of nominally the same stone.
Cost Factors, Sourcing, and Budgeting Your Wall Project
Material-to-labor cost ratios for garden wall work vary significantly depending on stone type and wall format. Natural split fieldstone and irregular rubble walls are labor-intensive — a skilled mason may set only 8–12 square feet of face area per hour because each unit requires fitting and adjustment. Sawn block walls move faster, often 20–30 square feet per hour on straight runs, which is why sawn-block walling sometimes comes out cheaper in total project cost even when the material unit price is higher.
Freight distance is a real budget variable that many buyers underestimate. Stone is heavy, and truck freight rates are weight-based — a 20-ton load of garden wall stones shipped 800 miles costs substantially more per ton than the same load shipped 200 miles. If you’re sourcing from a national supplier with warehouse inventory already positioned in your region, your freight cost can drop by 20–35% compared to arranging import from an overseas quarry. That saving often covers the sealing materials, drainage aggregate, and jointing sand for the entire project.
- Request per-ton freight quotes for your destination before finalizing material selection — the delivered price is what matters, not the ex-warehouse price
- Pallet minimums typically run 1–2 tons for standard wall stone, so budget for slight overage rather than running short mid-project
- Labor markets vary — in some areas, natural stone masons command premium rates that can push labor to 60–70% of total wall cost, making material selection a secondary budget lever
- Value engineering option: use larger, sawn wall blocks on the lower courses (higher structural load, less visible) and reserve split-face statement pieces for the top two courses at eye level
- Batch-matching your order is free when you purchase from warehouse stock — splitting an order across two separate stock pulls often results in shade variance that’s only visible after installation
Citadel Stone ships wall stone nationwide in coordinated pallet configurations, which helps you keep material costs predictable on multi-stage projects where you’re taking delivery in phases rather than all at once.
Sealing, Maintenance, and Long-Term Care
Sealing protocols for garden wall stones differ from standard concrete maintenance because natural stone is a living material — it continues to absorb and release moisture seasonally, and the wrong sealer can trap that moisture behind an impermeable barrier and cause spalling. Always use a breathable, penetrating impregnator rather than a topical film-forming sealer on exterior wall applications. Film-forming sealers are appropriate for interior floors; on outdoor walls exposed to freeze-thaw cycling, they’re a liability.
Limestone and sandstone walls in exposed positions benefit from sealing every 3–5 years. Granite and basalt walls are dense enough that sealing is optional unless the wall is in constant contact with organic matter like soil and leaf debris, which can introduce tannin staining. The practical test: pour a small amount of water on the stone face after installation. If it absorbs within 60 seconds, the stone is porous enough to benefit from impregnating sealer treatment.
- Apply impregnating sealer in two thin coats rather than one heavy application — the first coat primes the pore structure, and the second provides the functional barrier
- Allow 28 days after mortar installation before sealing mortared walls — fresh mortar continues off-gassing alkaline salts that can react with sealer chemistry
- Efflorescence (white salt deposit) on new walls is normal and typically resolves within the first weathering season — do not seal over active efflorescence
- Annual inspection of weep holes and drainage outlets prevents the buildup that forces water to find alternative paths through the wall structure
- Repoint mortar joints at the first sign of hairline cracking — small joint repairs cost a fraction of the rebuild cost if water infiltration is allowed to continue
Getting Your Garden Wall Stone Specification Right
Garden wall stones perform at their best when the specification process treats stone selection, base preparation, drainage, and mortar chemistry as an integrated system rather than a series of independent decisions. The stone type you choose sets the visual and structural character, but it’s the details behind the wall face — the drainage layer, the footing depth, the mortar flex tolerance — that determine whether your project looks as good in year 15 as it does on day one. Budget realistically for freight, plan your batch order before breaking ground, and don’t undervalue skilled mason labor: the craft behind the placement is what turns good stone into a great wall. As your stone project evolves, you may find complementary hardscape elements worth exploring — stone garden bench selection guide covers how natural stone performs in garden furniture applications, which pairs naturally with a well-specified garden wall design. Stone for nationwide projects ships in coordinated pallet lots, letting buyers match garden wall stones across multiple courses without color drift.
Related reading: faux vs natural stone garden wall · how to build dry stone wall · raised garden stone wall build.