Format matters more than material when choosing stone for garden borders — and most projects get it backwards. Specifiers tend to pick a stone they like the look of, then try to force it into a format that doesn’t suit the installation context. The real decision tree for choosing stone for garden borders runs in the opposite direction: identify your edge geometry, your base conditions, and your maintenance tolerance first, and the right format reveals itself from those constraints. Get that sequence right and you’ll avoid the two most common field failures — rocking units and color inconsistency that shows up 18 months after installation.
Why Format Drives the Stone Border Decision
Natural stone garden borders aren’t a single product category — they’re a collection of very different formats that happen to share the same raw material. Cobble sets, sawn kerb sections, irregular flagstone shards, and tumbled rounds all qualify as natural stone garden borders, but they perform completely differently in the field. Your installation base, the radius of your border curves, the soil movement you’re dealing with, and how much variation you can tolerate in finished height all determine which format is actually appropriate.
Here’s what often gets overlooked: thin-set formats fail in garden borders. The ground moves, roots push, and freeze-thaw cycling in colder regions lifts and shifts units over seasons. The formats that perform over 15 to 20 years are those with enough mass and depth to resist displacement without relying on adhesive bonding. That means you’re almost always looking at dry-set or bedded-in-aggregate installation, with unit thickness of at least 2 inches for residential applications and 3 inches for anything that takes edge loads from equipment or vehicles.
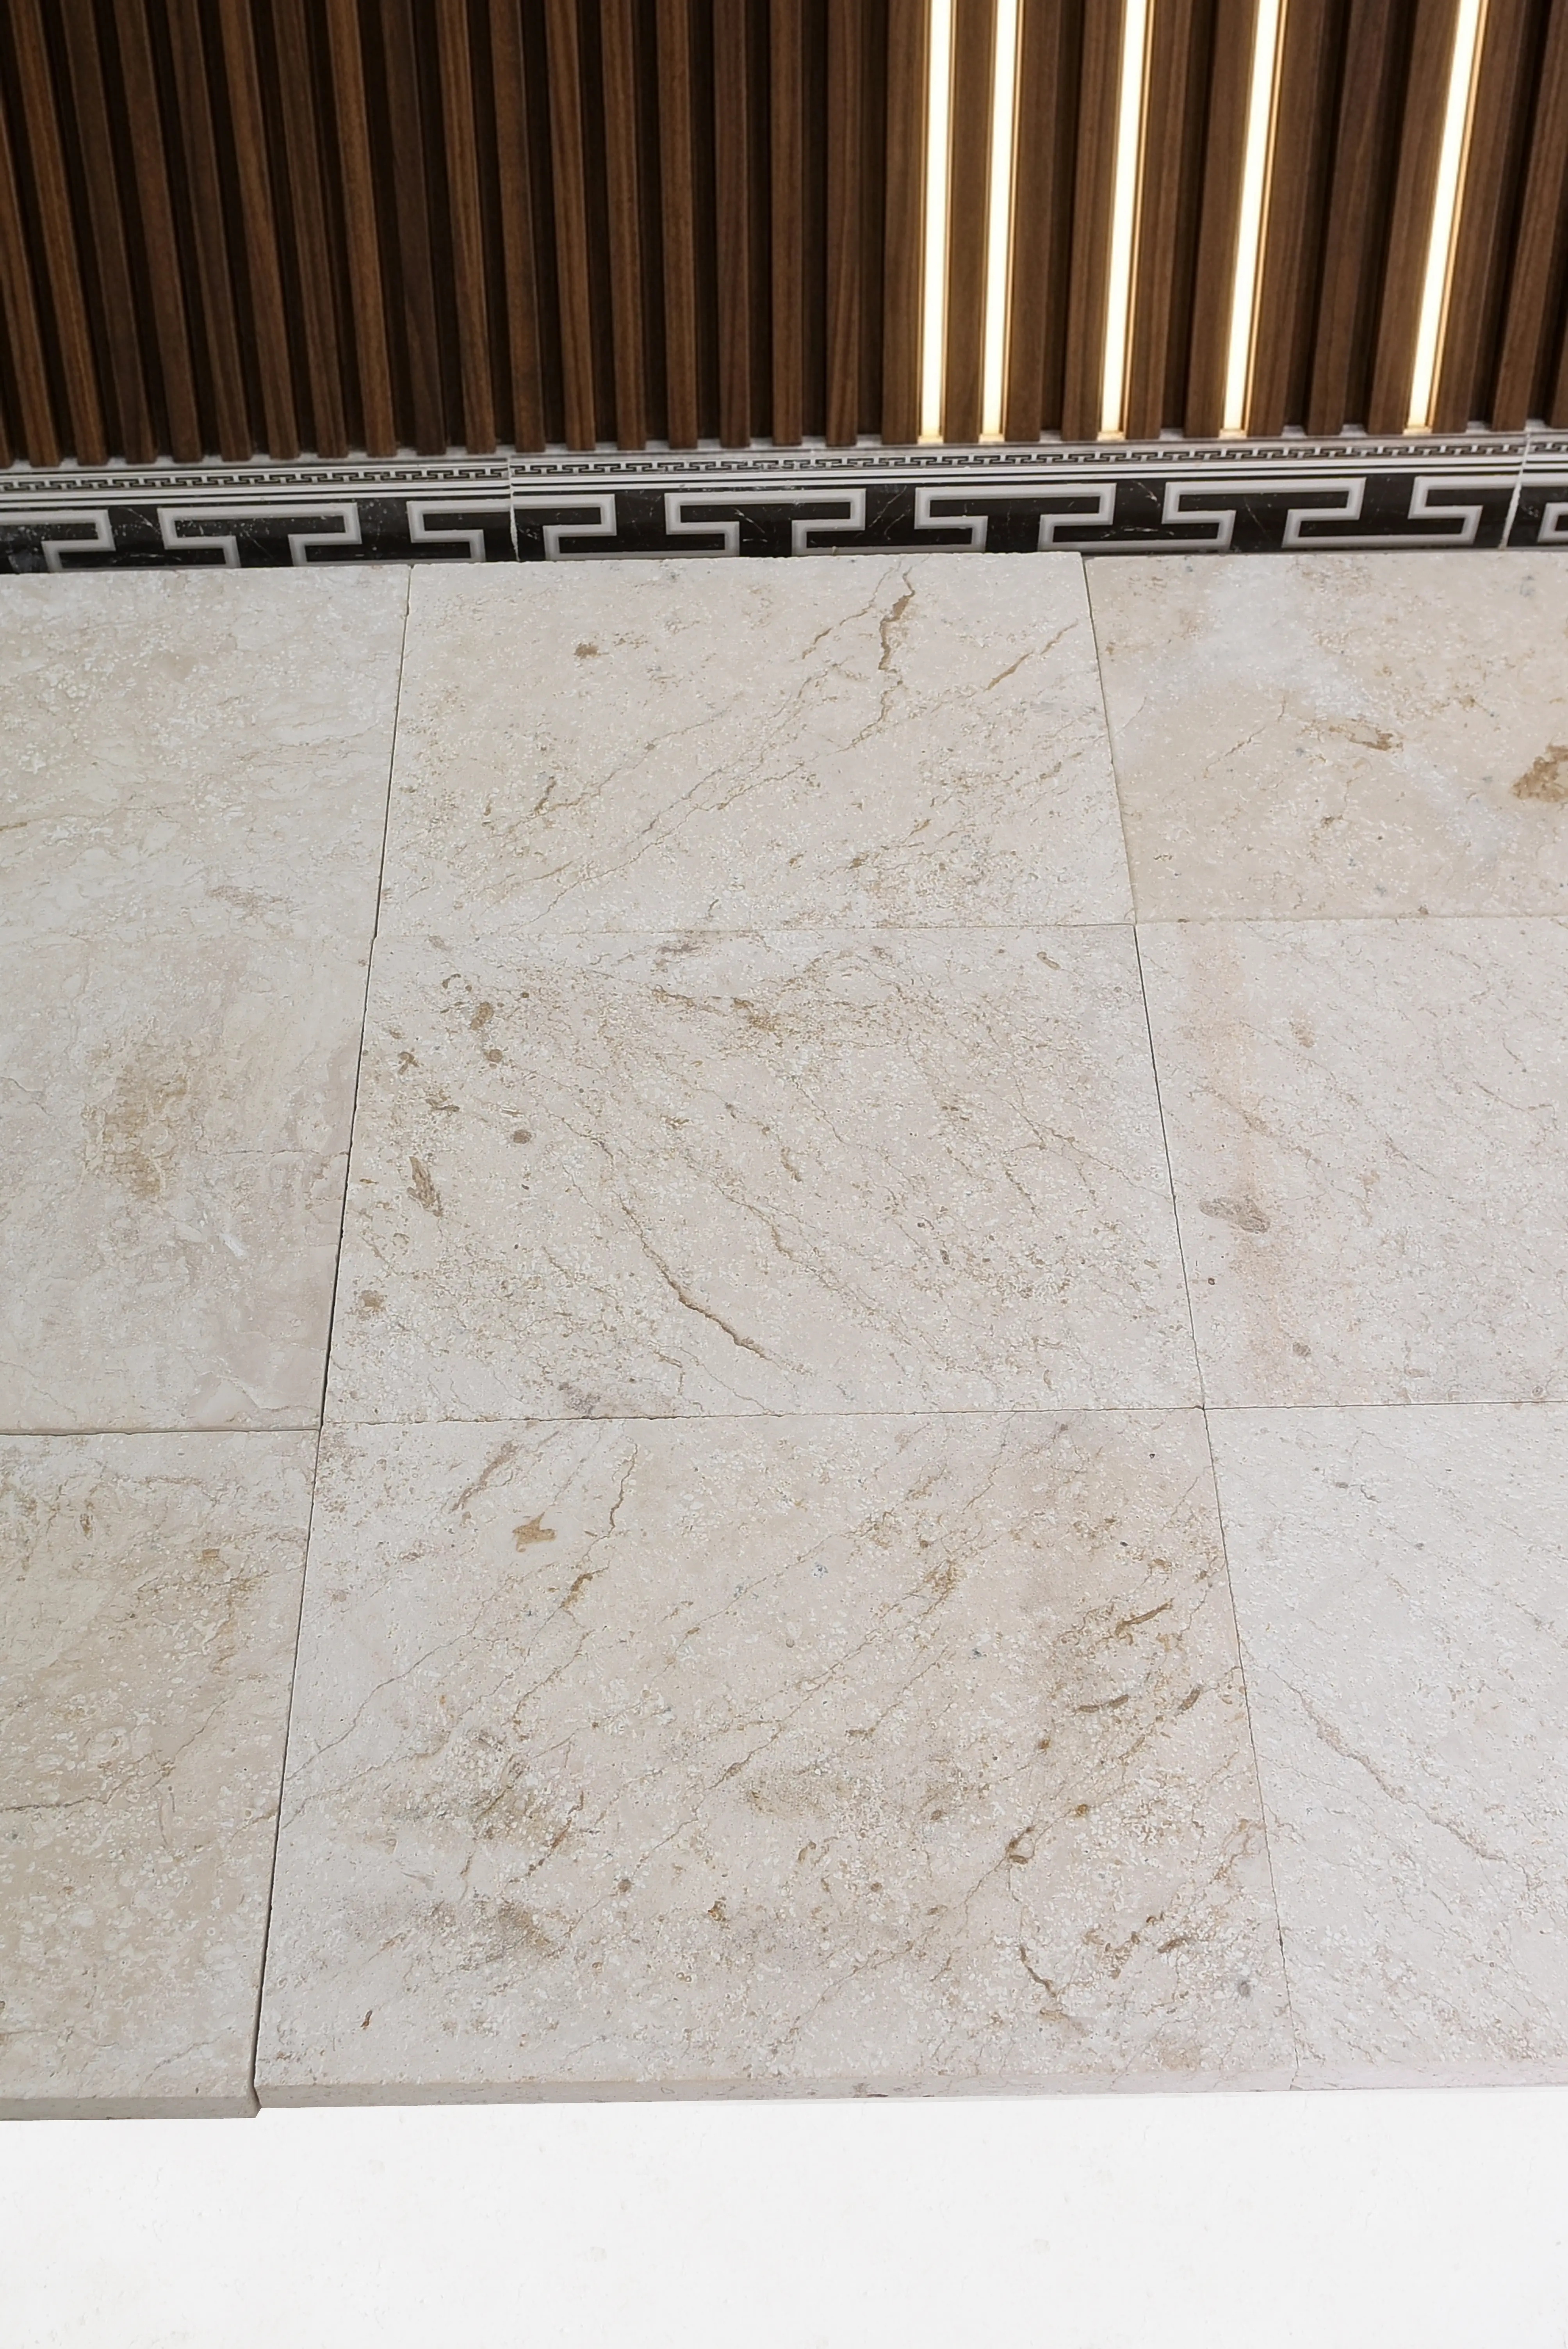
Stone Format Comparison for Garden Borders
Understanding the strengths and limits of each format before you specify saves significant rework cost. The four principal formats used in natural stone garden borders each have a distinct performance profile.
Sawn Kerb Sections
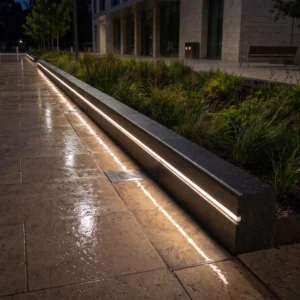
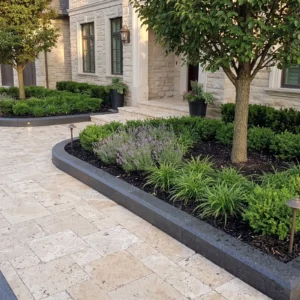
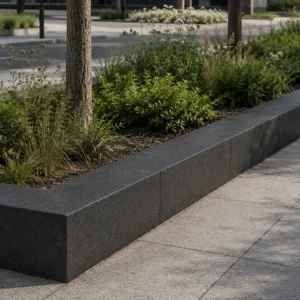
Sawn kerb sections are the workhorse of formal garden borders. You get a consistent finished height, clean vertical faces, and tight joint control that works well with gravel, turf, and planted beds. The tradeoff is that sawn units don’t flex — your base needs to be level and your soil stable, or differential settlement will telegraph immediately as height variation in the finished line. In expansive clay soils, you’ll want to add a 4-inch compacted aggregate base under your bedding sand to buffer seasonal movement.
- Finished height consistency typically within 3–5mm across a run, when properly bedded
- Works best on straight or gently curved borders where a formal edge is the design intent
- Granite and limestone are the two dominant materials in this format — granite for high-traffic areas, limestone where a softer aesthetic suits the planting scheme
- Joint spacing of 8–12mm allows for minor ground movement without cracking individual units
- Requires a stable, compacted aggregate base — do not set directly into native soil in any climate
Tumbled Cobble Sets
Tumbled cobble sets bring a naturalistic character that sawn formats can’t replicate. The rounded, worn profile reads as organic in planting-forward garden designs, and the irregular top surface actually helps disguise minor height variation — which is why they’re more forgiving in unstable soil conditions. The catch is that tumbled cobbles don’t create a hard, defined edge the way kerb sections do. If you need a clean separation between a gravel path and a planted bed, cobbles will let fines migrate through the gaps over time.
- Unit size typically 4–6 inches across, set in compacted sharp sand at 70–80mm depth
- Better suited to informal, curved border layouts — cobbles can follow tight radii that sawn units can’t accommodate
- Natural stone garden borders using tumbled cobbles benefit from a geotextile membrane underneath to suppress weed intrusion through gaps
- Granite cobbles offer exceptional freeze-thaw resistance — basalt cobbles deliver comparable hardness in a darker palette
- Expect some height variation of 10–20mm across a run — this is normal and part of the aesthetic
Flagstone Shards and Irregular Pieces
Irregular flagstone pieces used as garden edging work best as accent borders rather than functional containment edges. You’ll get a distinctive, layered look when pieces are set vertically on edge, with 30–40% of the unit buried in compacted base material for stability. The vulnerability is frost heave — vertically set thin pieces have a lot of surface area for freeze action to work against, and units that aren’t buried deeply enough will shift over a single winter cycle.
- Minimum burial depth of 40% of unit height for vertically set pieces in any climate subject to ground movement
- Limestone and sandstone shards work well in cottage-garden contexts — slate delivers a sharper, more contemporary edge profile
- Thickness matters: pieces under 1.5 inches are prone to fracture at the soil line, especially in clay soils that move seasonally
- This format requires more on-site sorting and selection — budget time for laying out pieces before committing to installation
Sawn Stepping-Stone Format
Larger sawn slabs used as continuous flat borders — essentially stepping stone format applied to edging — are gaining traction in contemporary landscape design. You get a wide, flat cap that reads as a ground-level border without vertical height. These work particularly well transitioning between lawn and planted areas, and they’re surprisingly stable when set on a compacted base because the footprint-to-height ratio is high.
- Typical dimensions: 400–600mm length, 150–250mm width, 30–40mm thickness for this application
- Limestone in this format requires sealing to prevent moss and organic staining at soil level — unsealed limestone in constant contact with moist soil will absorb organic matter and discolor within 12–18 months
- Set pieces with a slight outward cant (2–3 degrees) to direct surface water away from the planted bed
- Granite in this format is the lowest-maintenance option — high density, low absorption, and virtually no staining risk
Material Selection by Border Type
Choosing stone for garden borders involves matching material properties to the functional demands of each specific border type. A border separating a lawn from a gravel path faces different stresses than one retaining a raised planting bed, and the material choice should reflect that.
Granite holds the edge of every comparison when functional durability is the priority. Compressive strength above 19,000 PSI, water absorption below 0.4%, and exceptional resistance to abrasion from mower blades and foot traffic — granite garden borders are a specification for decades, not years. The NSI Natural Stone Institute granite durability specifications confirm granite’s low absorption and high compressive strength make it the benchmark for high-traffic natural stone garden border applications.
Limestone is the material to reach for when aesthetics are driving the specification. It reads warmer and softer than granite, it works beautifully in planting-forward garden schemes, and it’s available in a wider range of natural colors. The performance tradeoff is that limestone is more porous — absorption rates of 3–8% depending on the specific deposit are common, compared to granite’s sub-0.5% figures. That porosity matters in borders that sit in constant contact with moist soil. Sealing is not optional for limestone in this application; it’s a maintenance schedule item you build into the specification from day one.
Base Preparation: The Variable That Determines Performance
Your base preparation is where 80% of long-term performance is won or lost. Natural stone garden borders transfer load differently than a patio or driveway — they’re narrow, elongated, and subject to lateral pressure from soil movement on one side and edge loads on the other. The standard patio base specification doesn’t translate directly.
For sawn kerb-format borders, the industry standard is a 100mm compacted MOT Type 1 base (or equivalent crushed aggregate) beneath a 30–50mm sharp sand bedding layer. In clay soils or any ground with high shrink-swell potential, increase the base depth to 150mm and add a geotextile separation layer between the subgrade and the aggregate. The aggregate does two things: it distributes load and it provides free-draining conditions that prevent water accumulation at the unit base — a critical detail in regions subject to freeze-thaw cycling.
- Compact aggregate base in 75mm lifts, not all at once — single-lift compaction of 150mm aggregate produces uneven density
- Check base level with a spirit level across multiple points before setting units — errors in base level are amplified in the finished edge line
- For borders adjacent to turf areas, set the finished top of the border unit 5–10mm above the adjacent lawn level to facilitate mowing without blade contact
- In areas with significant root systems nearby, install a root barrier membrane vertically along the planted-bed side before setting units
Decorative garden edging stones in cobble formats can tolerate a slightly more relaxed base specification — the irregular character of the format absorbs minor settlement variation. But even cobble borders benefit from 75mm of compacted aggregate under their bedding sand. Skip the base in a clay-heavy garden and you’ll be resetting units after the first wet season.
UV Exposure, Finish Selection, and Long-Term Appearance
Sun-exposed garden borders face a weathering mechanism that most specifications underestimate: UV degradation of the stone surface itself. This isn’t just about color fading — it’s about surface oxidation that changes the texture and light-reflectance profile of the stone over time, which affects how the border reads visually in the landscape.
Honed and sawn finishes are the most vulnerable to UV-driven color change in full-sun installations. The smooth, close-cut surface has less light scatter, which means any surface oxidation — particularly the iron-oxide leaching that produces orange-brown staining on iron-bearing stones — is immediately visible. Tumbled and rough-split finishes have more surface texture that diffuses light and partially masks the color shift that occurs over the first 3–5 years of outdoor exposure. The ASLA guidance on landscape material performance supports selecting surface finishes that maintain appearance integrity under sustained outdoor exposure conditions.
Sealing schedules for sun-exposed natural stone garden borders should be more aggressive than the manufacturer’s minimum recommendation. A penetrating silane-siloxane sealer applied at installation and refreshed on a 2-year cycle provides the most consistent UV and oxidation protection for limestone and sandstone formats. For granite borders in full sun, a sealer is more about stain resistance than UV protection — granite’s crystalline structure doesn’t oxidize the way sedimentary stones do. That said, granite borders in areas with heavy leaf litter or acidic soil contact still benefit from a penetrating sealer to block tannin staining.
- Light-colored limestone borders in full sun should receive a UV-stable penetrating sealer before any soil contact — not after installation is complete
- Iron-bearing stones (some sandstones, certain granites) will develop surface rust tones under prolonged UV and moisture exposure — this is a natural process, not a defect, but you should discuss it with clients before specification
- A matte-finish sealer maintains the natural stone appearance better than a gloss sealer in garden border contexts — gloss reads as artificial at ground level
- Reapplication intervals should be shortened from 3 years to 2 years for borders receiving more than 6 hours of direct sun per day
Ordering, Quantities, and Delivery Planning
Getting your quantities right before ordering natural stone garden borders matters more than people realise. Stone is a heavy, bulky material — split deliveries because of under-ordering are expensive, and overstock that can’t be returned represents real cost. For linear border projects, calculate your running metre requirement, add 8–10% for cuts and waste, then convert to tonnage using the format-specific coverage figures your supplier provides.
Verify warehouse stock levels before committing to project timelines, especially for less common materials like basalt cobbles or specific limestone kerb profiles. Citadel Stone maintains national warehouse inventory across its range of decorative garden edging stones, which typically allows 1–2 week lead times on stocked formats rather than the 6–8 week cycle associated with direct quarry imports. That said, specific sizes or premium-grade material in higher volumes may require a lead-time check before you finalize your construction programme.
For projects requiring truck delivery of stone, site access is a genuine planning variable. Full-pallet stone deliveries arrive on flat-bed or curtain-side trucks that need a clear 3-metre access width and level ground within a reasonable distance of the installation area. Confirm your truck access conditions when placing the order — it avoids the field-day frustration of a delivery that can’t be placed where you need it. For our decorative garden edging stone range, product dimensions and pallet weights are confirmed at the time of order, so you can plan your truck access requirements accurately in advance.
Installation Tolerances and Jointing
Natural stone garden borders are more tolerant of minor variation than interior stone applications, but that tolerance has limits. A height variation of more than 15mm across a 3-metre run reads as unsettled and unfinished — even in informal cobble-format borders where some variation is expected. Your bedding sand layer is your primary tool for achieving consistent finished height, and it needs to be consistent in its compaction state before you set units.
Jointing material selection is a decision that affects both drainage and weed control. Open sand joints allow water to drain freely but also provide a seed bed for weed germination between units. Polymeric jointing sand addresses the weed problem by curing to a semi-rigid state, but it also reduces the drainage capacity of the joint. For garden borders in contact with planted beds, the weed suppression benefit of polymeric sand is generally worth the reduction in drainage — the last thing you want is established weeds forcing units apart from below.
- Joint width for sawn kerb formats: 8–12mm for standard installations, widened to 15mm in expansive soil conditions to allow for seasonal movement
- For tumbled cobble borders with irregular joint widths, apply polymeric sand with a vibrating plate over dry units — the plate helps work the sand into irregular joints that hand-packing misses
- Brush excess jointing sand off unit faces before activating — polymeric residue on stone surfaces bonds and is difficult to remove once cured
- In full-sun installations, activate polymeric jointing sand in the early morning or late afternoon — heat from direct sun can cause the sand to cure before it settles fully into the joint
According to USGS dimension stone production data, granite and limestone account for the dominant share of dimension stone used in landscape edging and border applications across the USA — a reflection of both availability and the proven performance of these materials in outdoor, soil-contact conditions.
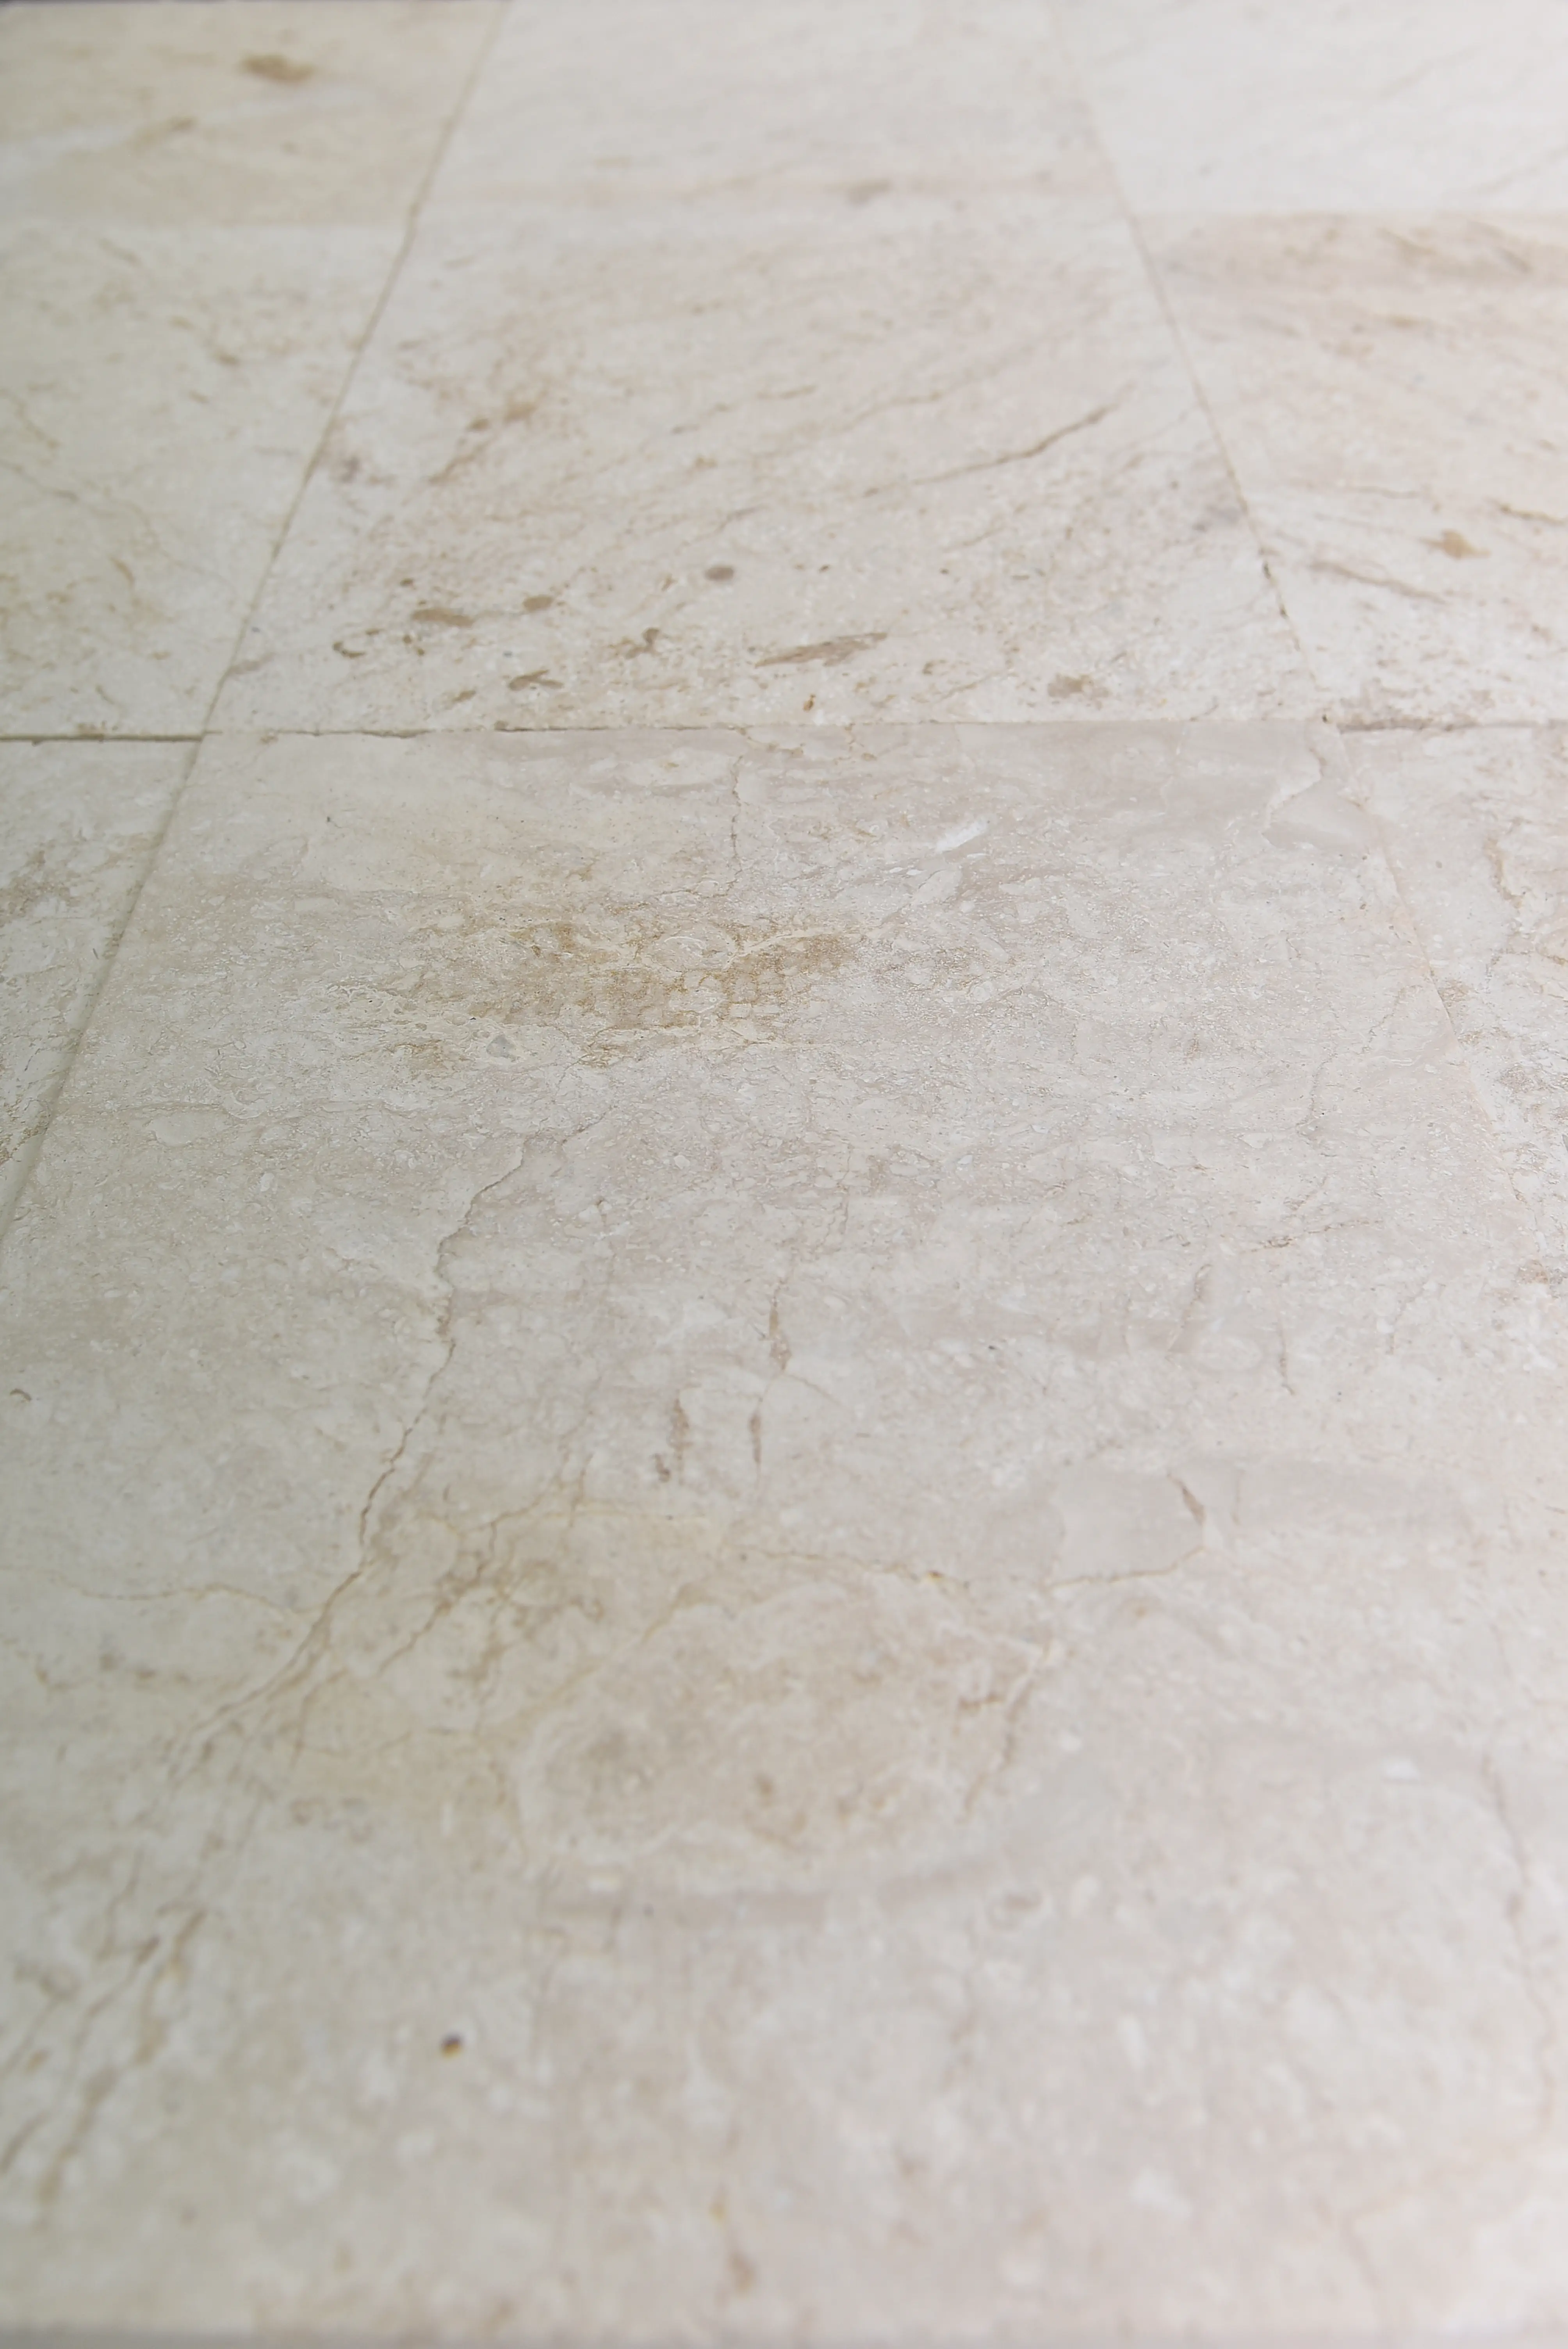
Maintenance Schedule for Natural Stone Borders
A natural stone garden border that’s properly installed needs very little maintenance — but the maintenance it does need is time-sensitive. Defer it and you pay a higher remediation cost later.
The first-year inspection is critical. After the first full seasonal cycle — including any freeze-thaw events, wet season soil movement, and summer drying — inspect the full run of the border for unit displacement, joint sand loss, and any signs of efflorescence. Minor joint sand loss is normal and should be topped up before the second season. Efflorescence — the white calcium salt deposit that appears on stone surfaces in the first 12 months — can be brushed off dry in most cases. Acid washing should be a last resort and should only be used on materials confirmed to be acid-compatible. Do not acid-wash limestone.
- Year 1: Post-seasonal inspection, joint sand top-up, efflorescence removal if present, sealer check on limestone and sandstone formats
- Year 2: First full resealing cycle for limestone and sandstone borders in sun-exposed conditions
- Year 3+: Biennial sealing, annual joint inspection, spot-reset any displaced units before seasonal movement worsens the displacement
- Granite borders in stable soil conditions may only need joint inspection and occasional cleaning — sealing on a 3–4 year cycle is adequate
The Natural Stone Institute stone care and maintenance guidance provides material-specific cleaning and sealing protocols that align with the maintenance intervals described here — it’s a useful reference for clients who want a written maintenance schedule to follow.
Getting Your Stone for Garden Borders Specification Right
Choosing stone for garden borders rewards the specifier who slows down on format selection before making a material commitment. The format — sawn kerb, tumbled cobble, irregular flagstone shard, or flat slab — determines your base requirements, your installation tolerances, your jointing approach, and how the border performs over the first decade. Material selection (granite, limestone, basalt, sandstone) comes second, informed by the format and the specific functional demands of your border type. Get that sequence right and the rest of the specification follows logically.
UV exposure and sun orientation deserve a place in the specification decision for any border in a full-sun position. Finish selection — tumbled over honed for sun-exposed conditions — and a proactive sealing schedule are the two levers that protect long-term appearance. Iron-bearing stones in particular need the sealing commitment, and clients should understand the natural surface oxidation that occurs over time as part of the material’s character, not a performance failure.
Your project may also involve level changes or raised bed transitions that call for more than a simple stone for garden border solution. For guidance on how natural stone edging integrates with terraced hardscape layouts, tying patio levels with retaining walls covers the structural and aesthetic decisions that connect border work to the broader hardscape scheme. When comparing edging types, natural stone from Citadel Stone generally outperforms plastic and composite options on stability and visual weight over time.
Related reading: natural stone garden wall · how to build dry stone wall · Raised Garden Stone Wall Build: A Step-by-Step Guide.