

Pattern Fundamentals That Define the Final Look
Travertine tile pattern ideas rarely fail because of the stone itself — they fail because the layout decision gets treated as an afterthought rather than a foundational specification. The pattern you choose controls grout joint alignment, waste percentages, structural load distribution, and ultimately the visual scale of the entire space. Get this decision right before anything goes to the warehouse for staging, and your installation starts from a position of strength.
Most specifiers understand that a running bond or stack pattern affects aesthetics, but fewer account for how pattern complexity drives material waste. A standard 4×4 stack layout wastes roughly 5–7% of material. A true Versailles pattern — mixing four tile sizes in a prescribed ratio — can push waste to 12–15% depending on room geometry. Order accordingly, and always verify warehouse stock for all four size components before committing to a Versailles layout on a tight timeline.
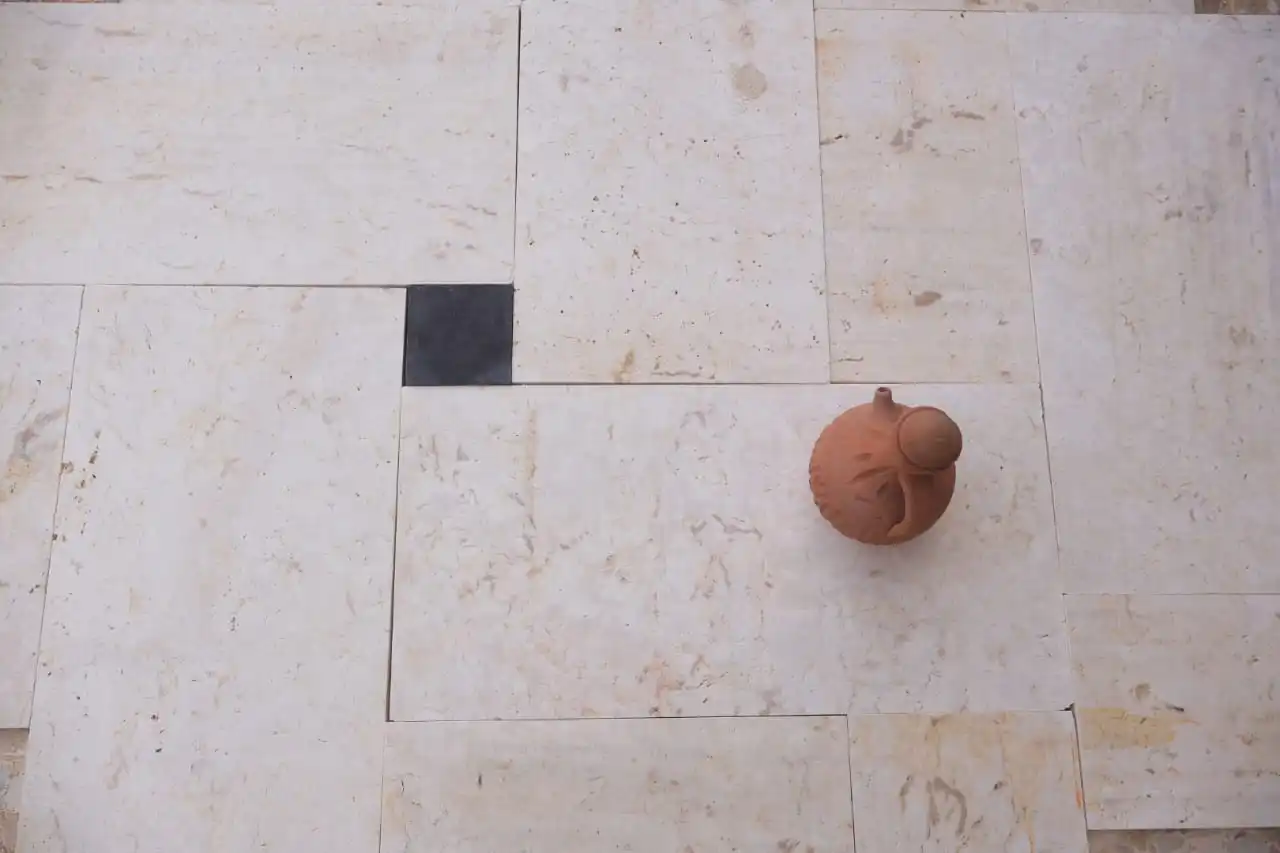
The Versailles Pattern: What It Demands and What It Delivers
The Versailles pattern — sometimes called French pattern — is the most requested of all travertine tile pattern ideas, and it earns that status. The layout combines four tile sizes (typically 16×16, 16×8, 8×8, and 8×4 inches) in a repeating geometric module that eliminates long grout lines and creates a richly varied surface rhythm. Visually, it reads as old-world European stone flooring, and it translates equally well into modern minimalist interiors when paired with a tight grout joint and a honed finish.
What the Versailles pattern demands in return is precision. The four-piece module must be set in the correct orientation — rotate it 90 degrees incorrectly and the repeat breaks down within three modules, creating a visual stutter that no amount of grouting will fix. According to Natural Stone Institute travertine properties and outdoor suitability, travertine’s open-pore structure and variable density mean that tile-to-tile thickness variation can reach 1–2mm even within a single batch, so your thin-set bed needs to accommodate that variation rather than fight it.
- Always dry-lay a full Versailles module before committing to adhesive — verify tile sizes against each other, not just against the spec sheet
- Start your layout from the center of the longest uninterrupted wall surface and work outward to minimize cut-piece exposure at perimeters
- Use a notched trowel at 3/8 inch for the base coat and back-butter each tile individually — the size variation in a Versailles set demands full mortar coverage, not spot coverage
- Mark your module orientation on the subfloor before the first tile goes down — a simple chalk arrow prevents the rotation error that derails entire installations
Stack Bond vs. Running Bond: Choosing the Right Grid
Beyond the Versailles pattern, the two most common travertine tile patterns are the stack bond (grid) and the running bond (brick offset). Each creates a fundamentally different visual experience, and each has technical implications worth understanding before you finalize your specification.
Stack bond aligns all grout joints in both directions, creating a clean, contemporary grid. It reads as modern and geometric, which makes it the default choice for minimalist interiors, large-format tiles (18×18 or 24×24), and spaces where the stone’s vein movement is meant to be the visual star. The trade-off: long continuous grout lines are more vulnerable to differential movement, so expansion joint placement becomes critical. Per TCNA installation standards, expansion joints in bonded stone tile floors should be placed every 20–25 linear feet in interior conditions — closer in exterior or high-thermal environments.
Running bond offsets each row by 50%, breaking up continuous lines and distributing point loads more effectively across the substrate. It’s the more forgiving pattern for subfloors with minor deflection variation, and it works particularly well with longer rectangular tiles (12×24 or 16×32). The offset creates a horizontal directionality that can elongate or widen a space visually depending on tile orientation relative to the room’s long axis.
- Stack bond works best with large-format square tiles — small tiles in a grid read as busy rather than clean
- Running bond with a 1/3 offset (rather than 1/2) reduces the lippage risk that appears in long rectangular tiles on imperfect substrates
- Consider the grout joint width alongside the pattern — a 1/16-inch joint in running bond reads entirely differently from a 3/8-inch joint in the same layout
- Diagonal patterns (45-degree rotation of either grid or running bond) add visual complexity but increase waste to 15–20% — factor this into your material order
How Grout Color Transforms Every Pattern
Grout color is the variable most specifiers underestimate in travertine tile pattern ideas. The same Versailles layout in the same travertine looks like two entirely different floors depending on whether you pair it with a matching travertine-tone grout or a sharp white.
Travertine tile with white grout is the highest-contrast option available, and it produces a graphic, tile-by-tile emphasis that makes each piece read as a distinct unit. This approach works powerfully in spaces where the individual tile shapes — particularly in a Versailles pattern — are part of the design intent. The contrast highlights vein movement and pore texture, pulling the stone’s natural character into focus. In landscape-influenced interiors that draw from desert xeriscaping aesthetics or tropical planting palettes, travertine tile with white grout against warm ivory stone creates a crisp delineation that echoes the contrast between stone hardscape and lush plantings outdoors.
Tone-on-tone grout — matching the travertine’s warm beige or ivory base — does the opposite. It reads as a seamless stone field, where the pattern exists as subtle geometry rather than graphic emphasis. This approach suits spaces aiming for the appearance of continuous stone, and it forgives minor grout joint irregularities that white grout would expose immediately. The practical consideration: tone-on-tone grout requires color-matching across the grout joint width, which means wider joints (3/16 inch or more) are easier to match consistently than hairline joints.
Finish Selection and Its Effect on Pattern Perception
Your finish choice interacts directly with your pattern choice in ways that aren’t always obvious until the installation is complete. A polished travertine in a stack bond reflects ceiling light uniformly, creating a mirror-like plane that reads as continuous even with visible grout joints. The same tile in a brushed or tumbled finish absorbs and scatters light differently across each surface, making the pattern geometry more pronounced and the individual tile character more visible.
For travertine paver tile used in interior-to-exterior transitions — a common specification where indoor flooring extends through glass doors to an outdoor terrace — finish selection becomes a slip-resistance and visual-continuity decision simultaneously. Polished finishes are unsuitable for exterior use regardless of pattern. Honed travertine (ground to a flat matte surface) sits in the middle ground: low enough reflectance for outdoor use in dry conditions, but its dynamic coefficient of friction drops significantly when wet. Brushed and tumbled finishes consistently perform better in wet-zone applications, and ASTM C1527 travertine dimension stone specifications provide the absorption and compressive strength benchmarks that separate appropriate exterior grades from interior-only material.
Travertine Tile Patterns That Integrate With Landscape Design Styles
Travertine’s warm calcium carbonate palette positions it as one of the most versatile hardscape materials across diverse landscape design traditions. For outdoor travertine paver tile installations, the pattern you select should respond to the broader design language of the landscape — not just the architecture.
In modern minimalist landscapes with clean planting lines and geometric water features, a large-format stack bond in 24×24 honed travertine reads as intentional and restrained. In tropical planting schemes with layered canopy, the Versailles pattern in a tumbled finish echoes the organic complexity of the planting without competing with it. Traditional colonial garden designs — structured boxwood hedges, formal symmetry — pair naturally with a running bond in a mid-tone travertine that references historic European stone courtyards. For xeriscaping palettes where drought-adapted planting and warm-colored aggregate mulch dominate, an irregular flagstone-cut travertine paver tile in a random ashlar layout bridges the gap between the geometry of hardscape and the looseness of naturalistic planting.
- Consider the dominant color temperature of surrounding plantings when selecting travertine tone — warm ivory works with ochre and rust planting palettes, cooler silver travertine reads better against grey-green foliage
- Pattern scale should match garden scale — a Versailles module reads correctly on a large terrace but overwhelms a 6×8 foot courtyard
- Travertine paver tile used in transition zones between planting beds and paved areas benefits from a consistent pattern that reads as designed rather than accidental
- In naturalistic landscape designs, the filled-and-honed finish creates a smoother surface that contrasts intentionally with organic planting textures
Specifying Travertine Tile: Technical Decisions That Matter
Pattern selection drives your specification in several concrete ways. The Citadel Stone travertine floor tile range covers the size combinations required for Versailles layouts as well as the large-format pieces suited to stack and running bond applications — verifying warehouse availability across all sizes before finalizing your pattern choice prevents mid-project substitutions that disrupt your layout sequence.
Thickness matters more in pattern-driven installations than single-size layouts. Versailles patterns mix four tile sizes that may come from different production runs, and production-run thickness variation of 1–2mm is normal for natural travertine. Specifying a minimum 3/4-inch tile thickness (rather than the nominal 1/2-inch) gives you more consistent dimensional behavior across the pattern module and simplifies your setting bed calibration. For travertine paver tile in exterior applications, 1.25-inch thickness provides the structural margin for foot traffic, outdoor furniture loading, and freeze-thaw cycles in colder regions.
Grout Joint Width by Travertine Tile Pattern Type
Joint width recommendations change with pattern type, and the conventional 1/8-inch default doesn’t apply universally to travertine. Here’s what field performance actually suggests:
- Versailles pattern: 3/16 to 1/4 inch — the size variation between the four tile components makes tighter joints unreliable and forces minor adjustments that accumulate into visible error over a full floor
- Stack bond, large format (18×18 and above): 1/16 to 1/8 inch — tight joints emphasize the seamless-field look this layout is specified to create
- Running bond, rectangular tiles: 1/8 to 3/16 inch — the offset geometry tolerates moderate joint width without disrupting the horizontal rhythm
- Diagonal patterns: 3/16 inch minimum — the angled cuts at perimeters are never perfectly clean, and tighter joints expose the cut-edge variation
- Travertine paver tile in exterior stack bond: 1/4 to 3/8 inch — wider joints accommodate thermal expansion and allow drainage in outdoor settings
Getting Your Travertine Tile Pattern Specification Right
Every element of a travertine tile installation — pattern geometry, grout width, finish type, tile thickness — connects back to a single question: what does this floor need to do, and for how long? Treat those decisions as a system rather than independent choices, and the installation logic becomes much clearer. Citadel Stone’s national warehouse network means your full pattern specification — including all four Versailles sizes or the large-format pieces needed for a true stack bond — ships from consolidated inventory rather than multiple sourcing points, reducing the lead-time risk that disrupts pattern-critical projects. As you plan your travertine specification, related surface decisions across the project deserve the same technical attention — tumbled travertine finish and texture guidance covers how surface treatment affects performance and slip resistance across different installation contexts, complementing the pattern decisions covered here. White grout with Citadel Stone travertine creates a high-contrast finish that emphasizes the stone’s natural vein movement across a floor.
Related reading: renovation pool coping · Pool Tile Installation Guide: Thinset, Prep & Grouting · how to fix pool tile.