

Pool tile repair trips up even experienced contractors when the root cause gets misdiagnosed. Knowing how to fix pool tile correctly means understanding why tiles fail — not just how to reattach them — because a repair that addresses only the surface symptom will repeat itself within a season. If the bond failure stems from hydrostatic pressure cycling behind the shell rather than surface adhesive breakdown, regrouting a loose tile solves nothing.
Why Pool Tiles Fail in the First Place
Most tile failures trace back to one of three causes: bond coat deterioration, substrate movement, or water infiltration behind the tile face. The bond coat between the pool shell and tile is typically a polymer-modified thinset, and it degrades over time when water migrates through micro-cracks in the grout joints. Once water gets behind the tile, you’re dealing with a thermal cycling problem that the original installation never accounted for.
Substrate movement is the other major culprit, and it’s more common than people expect. Pool shells expand and contract with water temperature changes, and if the original tile installation didn’t incorporate adequate movement joints at the waterline, the entire tile field can develop progressive bond failure. You’ll typically see this as a horizontal band of loose or popped tiles running along the waterline — not random isolated failures.
- Grout joint cracking allows water infiltration behind the tile face, accelerating bond failure
- Inadequate movement joints cause stress to accumulate in the tile field, leading to popping
- Calcium scale buildup beneath tiles weakens the thinset bond over time
- Improper original thinset selection — using a non-pool-rated adhesive — causes premature delamination
- Freeze-thaw cycling in colder climates pushes moisture behind tiles and fractures the bond coat
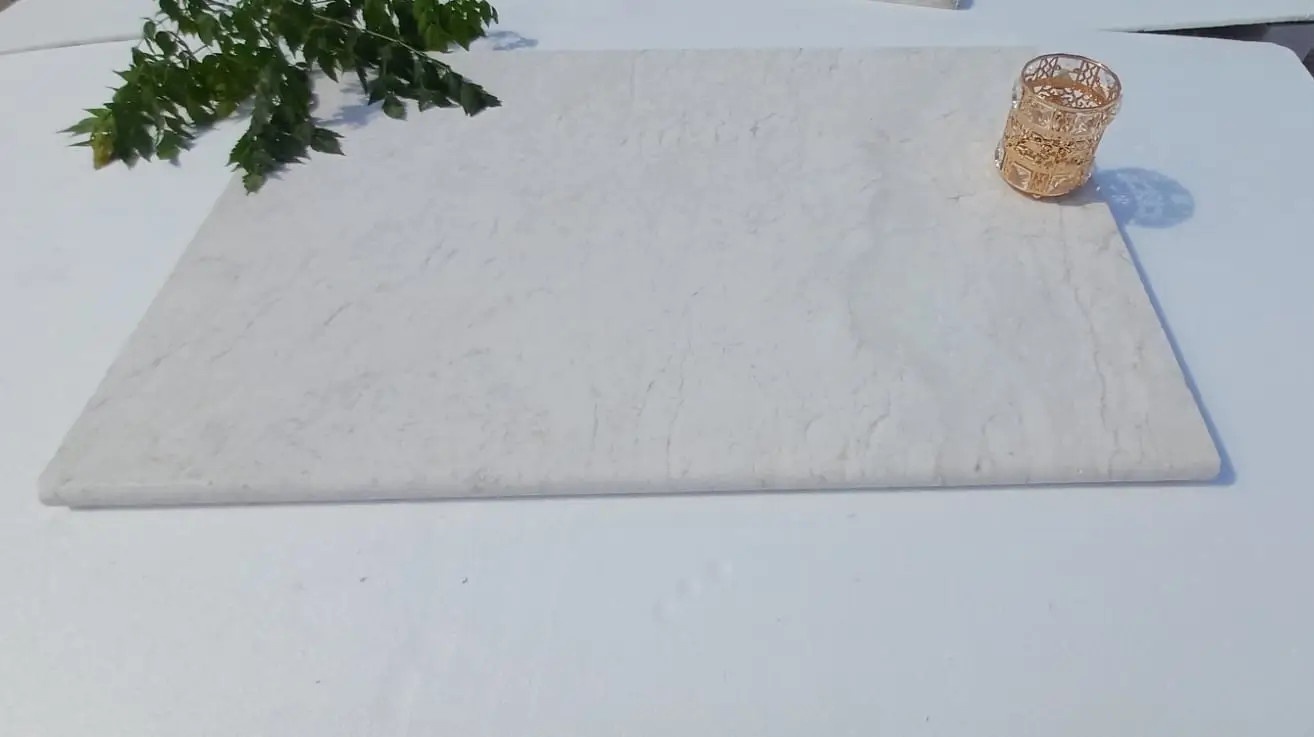
Marble pool tile failures often follow a specific pattern: because marble is more thermally reactive than ceramic or porcelain, it expands and contracts more aggressively across daily temperature swings. That movement stress, compounded over several seasons, eventually overcomes the bond.
Assessing the Damage Before You Start
Before you touch a single tile, you need an honest damage assessment. Grab a rubber mallet or the handle of a screwdriver and tap every tile in the repair zone. A hollow sound indicates the tile has debonded from the substrate — it may look fine but has no adhesion. Solid tiles produce a dense, consistent thud. This tap test takes 20 minutes and saves you from doing a partial pool tile repair that fails within a year because you left compromised tiles in place.
Document every hollow tile with tape or a grease pencil. You’ll almost always find that the failed area is larger than what’s visually obvious. Pool tile repair scopes routinely expand by 30–50% once the tap test is complete. Plan your material order accordingly — warehouse stock at Citadel Stone means you can usually get matching replacement tile within one to two weeks, which is faster than trying to source from a specialty importer mid-project.
- Tap test the entire waterline band, not just visually cracked areas
- Check grout joints for cracking, recession, or discoloration — these are early-stage failure indicators
- Inspect the coping junction where pool pavers and coping meet the tile field — this transition point is a common stress concentration
- Look for efflorescence (white mineral deposits) on tile faces, which indicates active water movement through the substrate
- Assess whether the pool shell itself shows cracking, which would indicate structural movement requiring engineering review before any tile repair
Draining and Surface Preparation
Proper pool tile repair requires draining to at least 6 inches below the lowest failed tile — ideally to the full depth of the repair zone. Working on wet or damp substrate is the single fastest way to guarantee re-failure. The thinset bond depends on mechanical adhesion to a clean, dry substrate, and any residual moisture in the shell concrete will compromise that bond before it can cure.
Surface preparation is where most DIY repairs fail. After removing loose tiles, you need to grind or chip out all residual thinset back to the bare pool shell. A 4-inch angle grinder with a diamond cup wheel is the right tool for this — trying to chisel off old thinset leaves high spots that prevent full tile contact with the new adhesive. According to TCNA installation standards, the substrate must be plumb, level, and free of contaminants to within 1/8 inch over 10 feet before setting tile.
- Remove all hollow tiles completely — never set new tile over debonded existing tile
- Grind substrate flat, removing all adhesive residue and calcium deposits
- Vacuum and wipe the substrate with a damp sponge to remove grinding dust before applying new thinset
- Let the exposed substrate dry fully — 24 to 48 hours minimum depending on shell thickness and ambient humidity
- Prime the substrate with a suitable bonding agent if the pool shell is older or shows surface porosity
Choosing the Right Thinset and Adhesive
Standard gray thinset has no business being used in a pool repair. You need a polymer-modified, waterproof thinset rated for submerged or continuously wet applications. The product should meet ANSI A118.4 or A118.11 for polymer-modified mortar, and the manufacturer must explicitly rate it for pool environments. Using interior-grade thinset in a pool is a guarantee of re-failure — the material swells when saturated and loses cohesive strength within months.
For marble pool tile specifically, use a white polymer-modified thinset rather than gray. Gray thinset telegraphs through translucent marble, especially lighter varieties, creating a muddy visual appearance that’s impossible to correct after installation. The ASTM adhesive testing standards for pool-rated mortars also require minimum shear bond strength after prolonged water immersion — confirm your product meets this before purchasing.
- Specify ANSI A118.4 or A118.11 polymer-modified thinset for pool tile applications
- Use white thinset under marble, glass, or light-colored ceramic tile
- Epoxy thinset offers superior bond strength for high-movement areas but requires faster working time and experience to use correctly
- Back-butter each tile individually AND apply thinset to the substrate — dual adhesion coverage prevents hollow spots
- Comb the substrate with a 3/16-inch V-notch trowel for mosaic tile, or 1/4-inch square-notch for larger format tile
How to Fix Pool Tile: The Installation Sequence
The actual setting sequence for pool tile repair follows the same logic as new installation, but with a few critical differences. You’re working in sections, typically replacing a linear run of waterline tile, so maintaining a level reference line is essential. Snap a chalk line along the bottom edge of the repair zone before setting a single tile — getting 10 tiles in and realizing your course has drifted is a frustrating and time-consuming correction.
Apply thinset to the substrate in manageable sections of 2 to 3 square feet. Thinset begins to skin over in 20 to 30 minutes in warm conditions, and setting tile into skinned thinset creates a weak bond. Back-butter each tile individually, press it firmly into the substrate with a slight twisting motion, and use plastic tile spacers to maintain consistent grout joints. For pool tile applications involving natural stone, minimum 1/8-inch grout joints are recommended to allow for thermal movement — tighter joints look cleaner but accumulate stress over time.
- Establish a level reference line before setting the first tile
- Work in small sections to prevent thinset from skinning before tile placement
- Apply thinset to both the substrate and the back of each tile for full coverage
- Use plastic spacers and check level and alignment every 3 to 4 tiles
- Allow full thinset cure — typically 24 to 48 hours — before grouting
- Beat each tile with a rubber mallet and a flat beater board to ensure full contact with the thinset bed
Your repair will benefit from sourcing tile that matches the original as closely as possible. Citadel Stone replacement pool tile options include natural stone varieties specifically selected for pool environments, including low-porosity travertine that resists calcium infiltration at the tile face.
Grouting Pool Tile Repairs Correctly
Grout selection for pool tile repair is as critical as thinset selection. Standard sanded or unsanded grout will deteriorate rapidly in a submerged pool environment. You need either a polymer-modified portland cement grout rated for wet immersion, or a 100% epoxy grout for maximum chemical resistance and durability.
Epoxy grout is the premium option for pool tile repair — it’s waterproof, stain-resistant, and resists the chlorine and algaecide chemistry that degrades standard grout over time. The trade-off is working time: epoxy grout sets faster than cement grout, particularly in warm weather, so you need to work in small sections and clean the tile faces frequently with the manufacturer’s cleaning solution. Pool tile repair done with quality epoxy grout typically outperforms the original installation in grout durability.
- Use polymer-modified or epoxy grout — standard grout fails in pool environments within 2 to 3 seasons
- Pack grout joints fully with no voids — incomplete fill allows water infiltration and accelerates re-failure
- Tool grout joints slightly concave to promote drainage and prevent standing water in the joint
- Clean tile faces before grout hazes dry — epoxy haze is extremely difficult to remove once set
- Allow full grout cure before refilling the pool — minimum 72 hours for most polymer-modified grouts, longer for epoxy
How Site Terrain Affects Pool Tile Repair Outcomes
Here’s something that doesn’t get discussed enough in standard pool tile repair guidance: the site’s grade and drainage conditions have a direct impact on how long your repair holds. Pools installed on sloped or hillside sites experience uneven hydrostatic pressure behind the shell — water in the surrounding soil doesn’t drain uniformly, so the pressure pushing against the shell varies around the perimeter. Tiles on the downhill side of a pool on a grade often fail earlier and more repeatedly than tiles on the uphill side, because that’s where groundwater accumulates.
Drainage management around the pool perimeter is worth addressing during a major tile repair. If your pool sits in a low-lying area or on a slope that channels runoff toward the pool shell, installing perimeter drainage before completing the repair extends the life of the work significantly. This isn’t always visible in the repair scope, but it’s the kind of site-specific factor that determines whether a repair lasts 5 years or 15. Grade conditions also affect how your pool pavers and coping drain, and poor drainage at the coping-to-tile junction is a documented failure point for waterline tile.
Preventing Calcium Buildup and Scale Damage
Calcium scale is one of the most destructive forces acting on pool tile over time, and it’s almost entirely preventable with proper water chemistry management. Scale forms when calcium carbonate precipitates out of the water column and deposits on tile surfaces and grout joints. Over time, scale builds up behind and under tile edges, physically lifting tiles off the substrate and breaking the thinset bond. This is why pool tile repair jobs on older pools almost always reveal thick calcium deposits on the back of removed tiles and on the exposed substrate.
The PHTA pool water chemistry standards specify maintaining the Langelier Saturation Index between -0.3 and +0.5 to minimize scale formation. Pools running a consistently high LSI — typically due to elevated pH and alkalinity — will develop calcium buildup significantly faster, and tile repairs in those pools will fail faster too. Water chemistry isn’t just a comfort issue; it’s a tile longevity issue.
- Test and balance pool water chemistry monthly, not just during active swim season
- Maintain LSI within the PHTA-recommended range to prevent calcium precipitation
- Apply a penetrating sealer to natural stone pool tile to reduce calcium infiltration through the tile face
- Use a pumice stone or calcium remover regularly at the waterline — removing light scale before it builds up prevents the mechanical lifting that causes tile failure
- During draining for repairs, clean all calcium deposits from existing tiles before refilling — residual scale telegraphs back through new grout joints
Decision Points
Pool tile repair reaches a fork when the failure scope exceeds roughly 25% of the tile field. At that threshold, a full tile replacement typically delivers better long-term value than patching — the labor cost differential is smaller than it appears, and you eliminate the aesthetic mismatch between new and aged tile. Partial repairs on older pools also carry the risk of triggering adjacent failures as you remove tiles and disturb the surrounding thinset.
Your material choice for the replacement deserves serious attention. Dense, low-porosity natural stone — particularly well-sourced travertine and marble pool tile — outperforms standard ceramic in pool environments because the surface chemistry resists calcium adhesion and the material tolerates thermal cycling better than glazed tile. The same logic applies when evaluating pool pavers and coping materials at the perimeter: dense, low-absorption stone performs more predictably at the coping-to-tile junction than softer alternatives. At Citadel Stone, we select pool tile inventory based on absorption rates and surface density specifically, not just aesthetics. When you’re planning the scope of a repair or full replacement, our technical team can help you match existing tile profiles or identify a compatible replacement. For detailed guidance on adhesive selection, substrate prep, and joint spacing, our pool tile installation guide covers the complete technical sequence. Getting the repair right the first time comes down to honest damage assessment, correct material specification, and not cutting corners on substrate preparation — those three factors account for the majority of repair longevity outcomes. Calcium buildup is a leading cause of tile bond failure, and Citadel Stone’s dense pool tile selections are chosen for low surface porosity.
Related reading: Pool Coping Materials Compared: Stone vs Porcelain · Pool Coping Types Explained: Bullnose, Cantilever & More.