

Why Cobblestone Setts Sink in the First Place
Cobblestone sett settling problems rarely announce themselves early — by the time you notice a rocking stone or a visible dip in the surface, the failure has usually been developing for months underneath. The root cause in the vast majority of cases isn’t the stone itself; it’s what happens beneath it. Inadequately compacted sub-base material, insufficient bedding depth, or a base aggregate that was too fine to resist lateral creep under load — these are the conditions that allow individual setts to migrate downward or sideways over time.
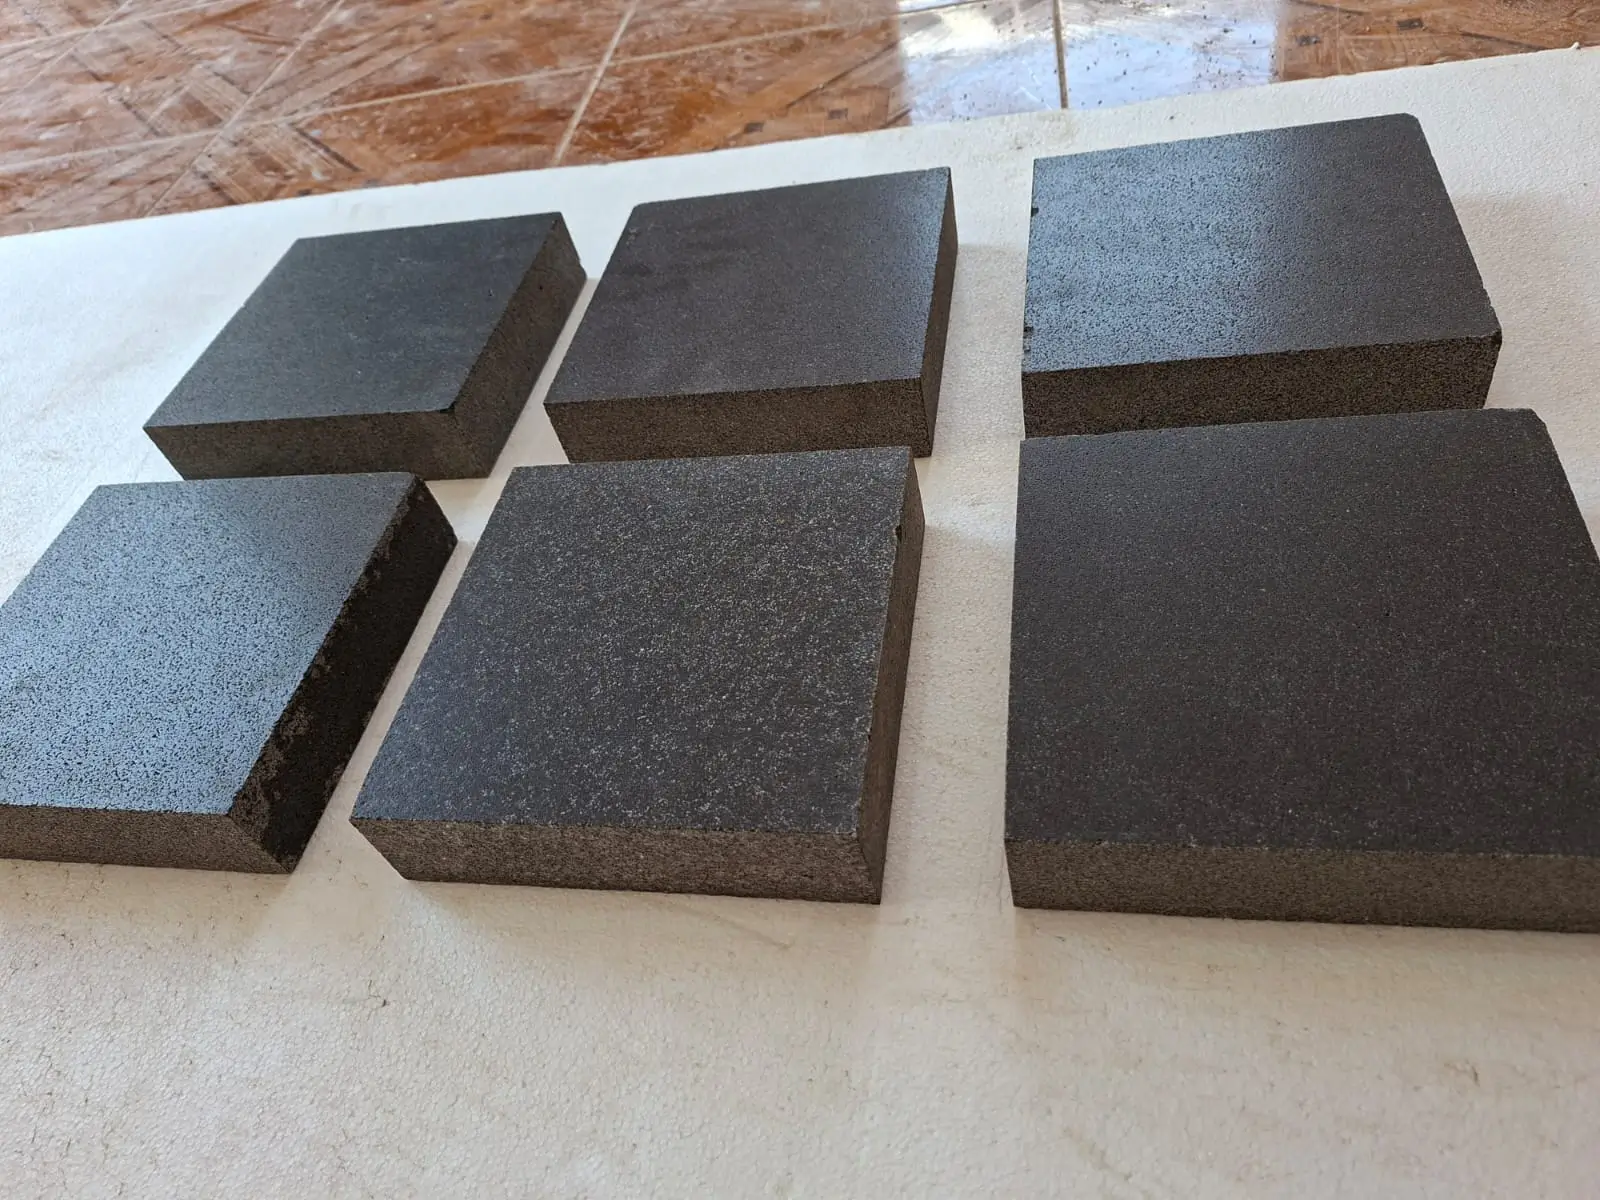
Understanding the mechanics helps you fix the problem correctly rather than just resetting the obvious offenders. Setts move because the load they carry has nowhere uniform to go. Point loading concentrates stress at individual stones, and if the bedding layer beneath isn’t compacted to at least 95% Proctor density, the material displaces gradually under repeated traffic. Cobblestone sett settling problems appear first at entry points, turning areas, and drain edges — anywhere load concentration or water infiltration compromises the base.
Reading the Failure Pattern Before You Start Repairs
The settling pattern tells you more about the cause than the symptom itself. Isolated sunken setts surrounded by stable neighbors usually indicate a localized void — often a filled animal burrow, a utility trench that wasn’t properly backfilled, or a soft spot in the subgrade that was never detected during installation. Widespread, gradual sinking across a large zone points to inadequate sub-base depth for the traffic load the area actually receives.
- Diagonal settlement lines often follow underground drainage paths where fine material has washed out of the base over time
- Rocking setts that haven’t dropped in elevation typically have inadequate bedding depth rather than a failed sub-base
- Settlement concentrated near drain edges signals that water is undermining the base — a drainage design issue, not just a compaction failure
- Setts that rise at the edges while the center drops indicate frost heave or expansive soil pressure working from below
Probe the area with a steel rod before committing to a repair scope. Push it into the joints near the settled zone — if it sinks more than two inches without resistance, you’re dealing with a void or severely depleted base, and surface-only repairs won’t hold. You need to excavate and rebuild from the correct depth.
Base Preparation: The Step That Determines Whether the Fix Lasts
Lifting the affected cobblestone setts is straightforward — a wide-blade chisel and a rubber mallet handle most removals without damaging the stone. What you do next determines whether you’re making a permanent repair or setting yourself up to repeat this job in two years. Stack the removed setts in order so you can relay them with the same orientation; the worn surface profile of a used sett fits best in its original position.
- Excavate at least 50mm below the existing bedding layer to expose undisturbed subgrade
- Compact the exposed subgrade with a plate compactor before adding any new material — skipping this step is the single most common cause of repair failure
- Add angular crushed aggregate, not rounded gravel — angular material interlocks under compaction and resists lateral movement under load
- Build the base back in 75–100mm lifts, compacting each lift separately before adding the next
- Allow for a bedding layer of coarse, sharp sand or a dry mortar mix at 25–30mm depth — this gives you the final adjustment range to set setts perfectly flush
According to NSI granite sett specifications, the bedding layer beneath natural stone setts is a critical performance variable — not a shortcut zone. The depth and material quality of this layer directly controls long-term settlement resistance, particularly under vehicle loads or in freeze-thaw exposure regions.
Resetting Granite Setts and Cobblestone Pavers to a True Surface
Your reset process needs a reference plane before the first sett goes back in. Stretch a string line across the settled zone at the height of the surrounding undisturbed surface — this is your control. Don’t trust your eye alone; minor differences in bedding depth compound across a patched area and become obvious once the surface is complete.
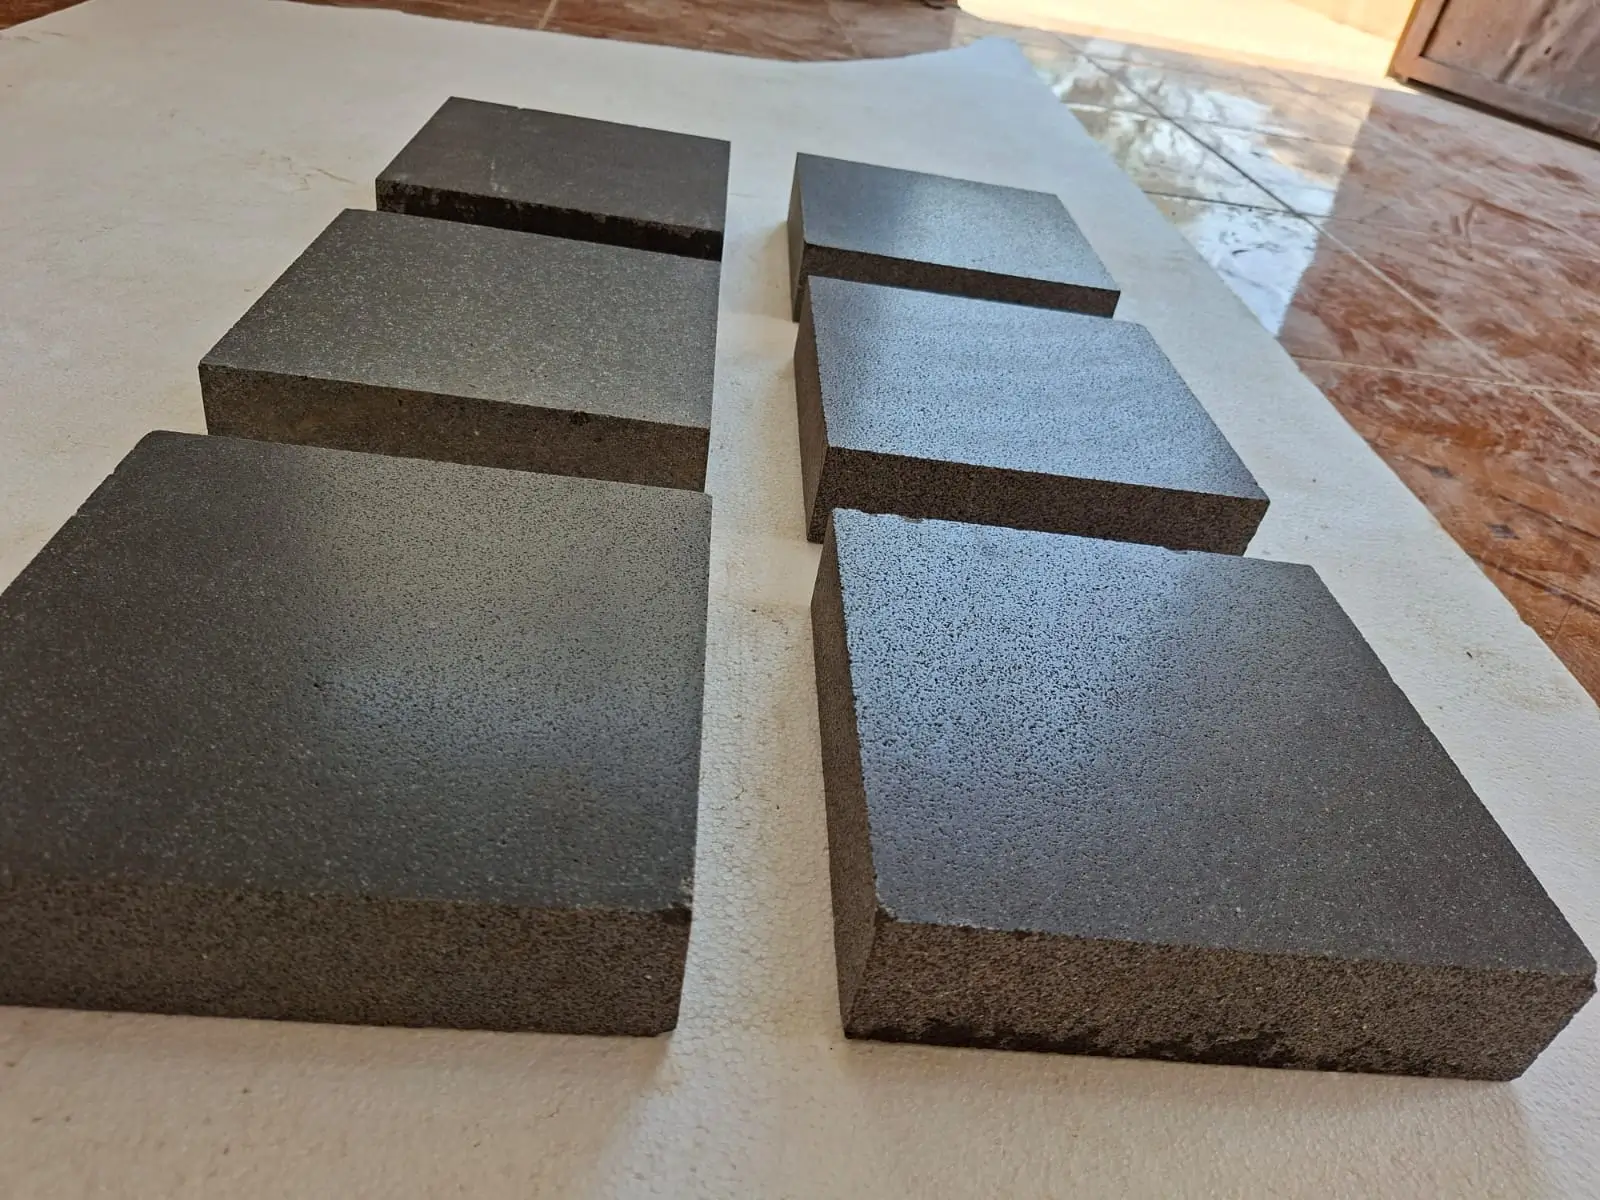
Set a perimeter row first, working from stable cobblestone setts inward. This gives you fixed reference points and prevents the bedding layer from shifting as you work toward the center. Tap each sett down with a rubber mallet rather than a steel hammer — natural stone setts, whether granite setts paving or limestone variants, can develop hairline fractures from sharp impact, and those cracks won’t be visible until a season of freeze-thaw cycling opens them up. Verify each sett against the string line before moving to the next; adjusting a bedding layer after three or four setts are in place is far more disruptive than catching it one stone at a time.
Jointing and Locking: What Keeps Setts From Migrating Again
Jointing material is the element most people underestimate in cobblestone sett repair. The joints aren’t decorative — they transfer load between adjacent setts, resist lateral displacement, and keep the surface acting as a unified structural layer rather than a collection of individual stones. Sweep polymeric sand into the joints and compact it with a plate compactor over a rubber mat to protect the stone surface. A single pass isn’t enough; compact, apply more sand, compact again until the joints are filled to within 3mm of the surface.
- Standard building sand washes out of joints during heavy rain and is not suitable for traffic-bearing cobblestone sett installations
- Polymeric jointing sand activates with water and cures to a semi-rigid mass that resists both wash-out and insect intrusion
- For vehicle-grade applications, a dry mortar joint (3:1 sand-to-cement ratio) provides superior lateral restraint — but it makes future removal significantly harder
- Leave 3mm of joint unfilled at the surface to allow for the final polymeric sand application after compaction settles the fill
Edge restraints deserve attention here too. Cobblestone setts on mesh installations in decorative contexts often fail at the perimeter first because the mesh backing doesn’t provide adequate lateral confinement at borders. Install a rigid edge restraint — steel, aluminium, or a concrete haunch — along any free edge before you relay the sett field. Without it, the perimeter row will creep outward under load and the settlement cycle begins again within a year.
UV Exposure, Surface Finish, and Long-Term Appearance
Here’s what often gets overlooked when repairing sun-exposed cobblestone sett installations: the reset stones may sit perfectly flush, but their surface finish will look noticeably different from the surrounding weathered material unless you account for UV-driven color change. Natural stone — particularly granite setts — develops a patina under prolonged UV exposure that affects the surface to a depth of 1–2mm through oxidation of iron-bearing minerals. Newly exposed sett faces from a repair patch can appear significantly lighter or more saturated in color compared to the aged surrounding surface, and this difference can persist for one to two seasons outdoors.
Accelerate surface blending by applying a UV-stable penetrating impregnator to both the repaired zone and the surrounding setts after the repair is fully cured — typically 28 days after any mortar work. This equalizes the surface porosity and reduces the contrast between old and new. The USGS dimension stone production and use data confirms that granite and similar igneous stone exhibit measurable surface oxidation changes under sustained UV exposure, which is why sealing schedules matter beyond just stain resistance. For installations in high-sun-exposure environments, plan a resealing cycle every two to three years to maintain color consistency and reduce UV-driven mineral oxidation at the surface.
- Flamed or sawn sett finishes tend to show UV-driven color change more gradually than honed or polished surfaces, which can oxidize more visibly
- A solvent-based penetrating impregnator with UV-stabilizer additives outperforms water-based products in direct-sun applications
- Apply sealer in the early morning or late afternoon — midday heat causes the product to flash off before adequate penetration depth is achieved
For full technical guidance on repair options specific to your material type, our stone sett repair resources cover limestone and granite sett variants with product-specific recommendations.
Repairing Cobblestone Setts on Mesh Installations
Mesh-backed sett panels create a specific repair challenge that differs from individually laid setts. The mesh backing holds adjacent stones in a fixed spatial relationship, which is excellent for installation speed but complicates repairs because you can’t lift a single sett — you have to remove the entire panel section. Cutting the mesh between panels with an angle grinder allows you to isolate the affected area, but be precise; cutting into the surrounding mesh will destabilize adjacent panels that are currently performing correctly.
- Identify the full extent of the settled zone before cutting — you’re likely dealing with at least one full mesh panel
- Once lifted, inspect the mesh backing for delamination or cracking; compromised mesh should be replaced rather than relaid
- Source replacement panels from the same production batch where possible — panel dimensions can vary slightly between batches, creating height mismatches at panel edges
- Compact the base under the full panel area, not just the visibly settled portion
Citadel Stone maintains warehouse stock of standard cobblestone sett panel formats, which typically reduces repair lead times to one to two weeks — far shorter than the import cycle for custom or specialty formats. Coordinate your material order before excavating the repair zone so you’re not leaving an open base exposed to weather for extended periods. Truck delivery lead times and warehouse availability are worth confirming early, especially for larger repair scopes requiring multiple panels.
Preventing Future Cobblestone Sett Settling Problems
The most reliable prevention strategy starts with an honest load assessment. Most cobblestone sett settling problems in residential applications trace directly to a sub-base specification that was designed for foot traffic but is now carrying vehicle loads — parked cars on a front path, delivery vehicles crossing a decorative apron. The standard 100mm compacted aggregate sub-base adequate for pedestrian use is undersized for regular vehicle loading; you need a minimum 150–200mm compacted base for light vehicles, and 250mm-plus for anything heavier.
- Install a geotextile fabric between the subgrade and base aggregate to prevent fine soil migration upward into the base over time
- Specify angular crushed stone at 20–40mm grade for the lower base lift and a finer 10mm angular material for the upper lift — this gradation creates maximum interlock under compaction
- Design surface drainage to direct water away from the sett field rather than through it — subsurface drainage should be capable of handling a 1-in-25-year storm event for vehicle-grade installations
- Inspect joint fill depth annually and top up polymeric sand before winter in freeze-thaw regions — depleted joints are the primary entry point for the water that undermines the base
According to ASLA cobblestone and block paving landscape design guidance, the long-term performance of stone sett installations is more strongly correlated with base design and drainage provision than with the stone specification itself. The stone is almost always not the problem — the system supporting it is.
Parting Guidance
Cobblestone sett settling problems are fixable at any stage, but the repair scope and cost scale directly with how long the failure is allowed to progress. A single rocking sett addressed within the first season is a two-hour job. The same problem left through two winters of freeze-thaw cycling can mean excavating and rebuilding a substantial portion of the installation. Build a habit of walking the surface twice a year — once in spring after the ground has thawed, once in autumn before it freezes — and mark any stone that moves under foot pressure. Early intervention is always the more economical path. As you refine your stone selection for future installations or replacement sections, understanding finish differences matters — tumbled versus sawn sett finishes covers how surface texture and profile affect both performance and appearance over the long term.
Citadel Stone’s cobble setts are dimensioned to sit flush within a properly compacted bed, which reduces the lateral movement that leads to joint gaps and long-term settling.
Related reading: cobblestone paver cost guide · cobblestone pavers vs natural stone · stone pattern.