

Bullnose tile gets specified as an afterthought far too often — and that single oversight is responsible for more edge failures, chipped corners, and structural callbacks than most installers want to admit. The geometry of a finished edge isn’t decorative window dressing; it’s a load-transfer point, a moisture barrier junction, and a long-term durability variable all at once. Getting the bullnose tile specification right means understanding not just which profile fits the aesthetic, but how the edge interacts with substrate movement, joint behavior under impact, and the mechanical demands of foot traffic at step noses.
What Bullnose Tile Actually Does at the Edge
The rounded or eased profile of bullnose tile serves a mechanical purpose that goes beyond aesthetics. At any step nose or ledger edge, the tile terminus is the highest-stress concentration point in the field — it bears the brunt of heel strikes, rolling loads, and lateral shear from foot placement. A sharp-cut field tile left exposed at that junction will chip progressively under normal use, and the exposed raw edge opens an unprotected absorption pathway into the setting bed. A properly profiled bullnose tile distributes that impact force across a curved radius, reducing the point-load intensity that causes edge spalling.
The profile also closes the gap between the tile face and the substrate edge. Without it, water migrates directly into the mortar bed at the most vulnerable location on the installation — the transition between horizontal and vertical surfaces. In freeze-thaw regions, that moisture pathway becomes a structural liability within two or three winter cycles.
Your specification needs to account for all three functions simultaneously: impact distribution, moisture exclusion, and visual continuity. Any profile that solves two out of three creates a future problem.
Bullnose Profiles and When to Use Each
There are three primary profile families in common specification use, and each has a distinct structural application envelope. Choosing the wrong one for the loading condition is as problematic as choosing the wrong tile thickness.
- Single bullnose (SBN): One finished long edge, field tile on the remaining three sides — used for wall caps, shower niches, and countertop edges where only one edge is exposed
- Double bullnose (DBN): Two finished long edges — specified for columns, peninsula caps, and outside corners where two edges meet in view
- Stair nose or step bullnose: Extended overhang profile specifically engineered for step treads — the extra projection provides the visual tread return and protects the riser joint
- Coved base bullnose: Concave lower radius used at floor-to-wall transitions in wet areas — directs water back onto the field surface rather than into the corner joint
- Quarter-round trim: Smaller radius used as accent transitions between tiles of differing planes or thicknesses
For step applications, the stair-nose variant is non-negotiable in any high-traffic or commercial installation. The extended overhang isn’t just aesthetic — it provides a visual tread line for depth perception and prevents the riser-to-tread grout joint from acting as a debris trap and moisture channel.
Black Limestone Bullnose Steps: Specification Considerations
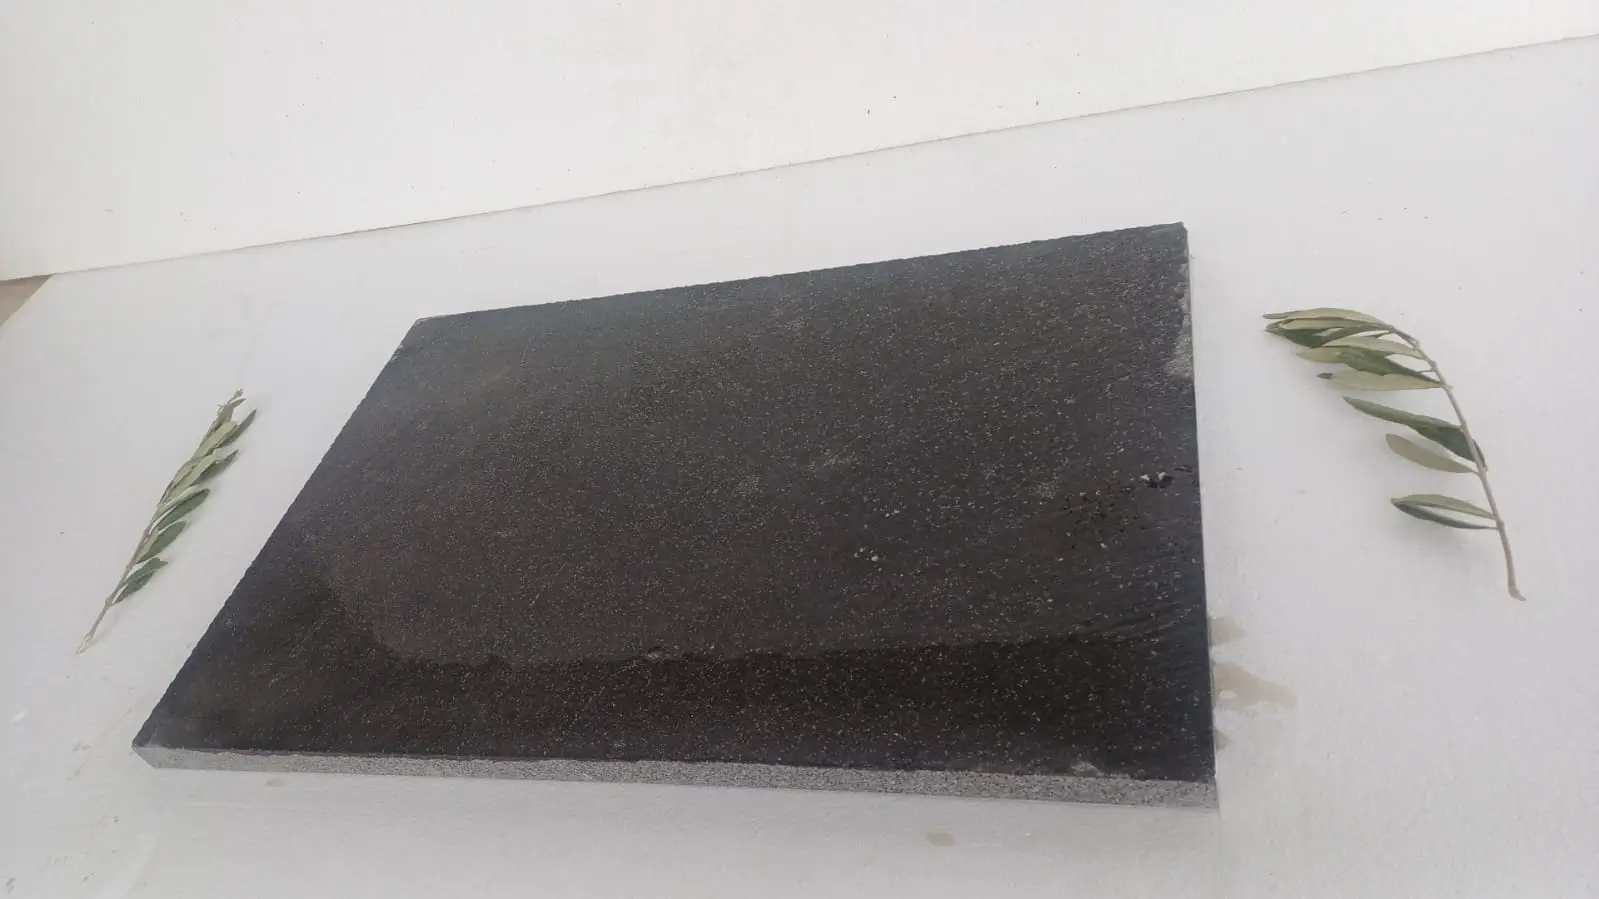
Black limestone bullnose steps occupy a specific performance tier that makes them worth discussing in detail. The material’s density — typically 160–165 lb/ft³ for quality dark limestone — gives it compressive strength in the 8,000–12,000 PSI range depending on quarry source, which puts it well above the minimum threshold for step treads under pedestrian loading. The dark coloration comes from organic carbon content and iron mineral distribution in the stone matrix, and those same mineral inclusions affect how the surface responds to honing and profiling.
The profile milling on black limestone steps requires careful attention to grain orientation. Dark limestone often has subtle bedding planes, and milling across those planes rather than parallel to them can cause micro-fracturing at the bullnose radius during fabrication. Quality fabricators orient the cut so the radius runs parallel to the natural bedding, which keeps the curved edge intact under impact loading. Ask your supplier for this confirmation specifically — it’s one of those details that separates a 20-year installation from a 7-year one.
According to NSI limestone technical data, limestone’s absorption rate and flexural strength vary significantly by source formation, which is why specifying compressive strength minimums rather than relying on material name alone gives your project more durable protection. For step treads, target a minimum flexural strength of 1,200 PSI alongside your compressive specification.
- Specify minimum 1-¼ inch (32mm) thickness for step treads — thinner profiles flex under point loads at the overhang
- Confirm grain orientation in milling documentation before fabrication begins
- Require honed finish rather than polished for exterior step applications — the open surface carries visible texture — request the wet DCOF test report for the finish you specify
- Request absorption rate data from the quarry — values above 3% warrant sealing before installation, not after
You can explore the Citadel Stone step tile range to review available profiles and thicknesses before finalizing your tread specification.
Natural Stone Tile Thickness and Edge Geometry
The relationship between tile thickness and bullnose radius is something that trips up even experienced specifiers. The radius of the eased edge should be proportional to the tile thickness — a ⅜-inch radius on a ¾-inch tile looks correct and performs structurally; the same radius on a 1-¼-inch tread looks unfinished and leaves too much raw material exposed on the edge face. Industry standard proportions run at approximately 30–35% of tile thickness for the radius dimension.
For natural stone tile in step applications, thickness drives the overhang capacity. A 2-inch nominal tread can safely project 1-¼ to 1-½ inches beyond the riser face without requiring additional mechanical anchoring at the overhang. Push that projection beyond 1-¾ inches on standard 2-inch material and you’re introducing bending stress at the nosing that the stone’s flexural strength rating won’t reliably absorb — particularly if the setting bed has any void beneath the overhang.
- ¾-inch tile: suitable for wall applications and indoor non-load-bearing edges only
- 1-¼-inch tile: minimum for residential step treads with supported nosing
- 1-½ inch to 2-inch tile: recommended for commercial step treads and exterior applications
- Overhang projection: cap at 1-¼ times the tile thickness for unsupported nosing
- Setting bed support: full-coverage mortar mandatory under any step bullnose — voids beneath the nosing accelerate edge failure
The NSI stone steps and treads design specifications provide additional technical benchmarks for step tread geometry that align directly with what field performance data shows. These aren’t conservative guidelines — they reflect where actual installation failures occur in the field.
Finishes for Bullnose Tile Edges and Their Field Performance
The finish on the bullnose face — the curved or eased surface itself — matters as much as the profile geometry. This is an area where the specification often says nothing at all, leaving the fabricator to match whatever finish the field tile carries. That default works for wall applications but creates problems in wet or exterior conditions.
Polished finishes on step-nose bullnose tile create a specular hazard at exactly the wrong location — the leading edge of the tread, where wet-foot contact is most likely. A honed finish on the same tile face leaves a more open, matte surface at that edge. The ASTM stone tile slip resistance standards cover how slip resistance is measured; the published minimum for level surfaces expected to be walked on wet is a wet DCOF of 0.42, set by ANSI A326.3, and most polished natural stone falls below that threshold when wet. Honed black limestone is specified for treads because the honed face stays open rather than specular — request the wet DCOF test report for the lot you specify and check it against 0.42.
- Polished: suitable for vertical bullnose faces on wall caps and countertops — not for step nosing in wet or exterior conditions
- Honed: the correct default for any step tread bullnose — keeps an open, matte surface without sacrificing visual refinement
- Brushed or antiqued: appropriate for rustic and exterior applications — surface texture is pronounced and needs minimal maintenance
- Tumbled edge: softened radius from mechanical tumbling — a rounded, micro-undulating surface — good for casual outdoor steps, but check the wet DCOF test report before using it in wet areas
One detail that often gets missed: the finish transition between the field tile surface and the bullnose radius. Some fabricators break the finish at the radius — honed field, polished edge curve. That inconsistency catches light differently and reads as a fabrication error. Specify continuous finish from field face through the radius and onto the edge return.
Installation Method and Setting Bed Requirements
Bullnose tile edge performance is inseparable from what’s happening at the substrate level. The setting bed under a step nose carries a moment load — not just compression — and that changes your mortar specification significantly compared to a standard field tile installation.
For natural stone tile treads with bullnose nosings, the minimum mortar coverage requirement under TCNA guidelines is 95% for exterior and wet applications, with zero voids permitted within 2 inches of the tread edge. That’s a tighter standard than the 80% coverage acceptable for interior field tile. Any void beneath the bullnose overhang creates a lever point: foot impact on the nosing transfers force to the void edge, and cyclic loading cracks the mortar bond progressively until the nosing separates. This failure mode typically shows up at years 3–5 on installations that used standard coverage rather than full-coverage setting.
- Use polymer-modified mortar with flexural strength above 400 PSI for all natural stone step installations
- Back-butter the tile in addition to combing the substrate — this guarantees full coverage at the nosing
- Allow the setting bed to cure a minimum of 72 hours before allowing foot traffic on step treads
- Grout joints at the riser-to-tread transition should not exceed ⅛ inch — wider joints compress under cyclic loading and fail the mortar bond at the nosing
- Use epoxy grout at riser-to-tread junctions in commercial applications — standard cementitious grout will crack within 2–3 years under the joint movement at that transition
Storage temperature during material handling affects mortar open time significantly. Material stored below 50°F requires mortar with extended open time to compensate for the slower hydration rate — verify storage conditions with your supplier before scheduling installation in cooler months.
Storm and Impact Resistance for Exterior Bullnose Steps
Exterior step installations face mechanical stresses that interior specifications don’t account for, and the bullnose nose is the most exposed element on the entire assembly. Wind-driven debris — particularly during storm events — impacts step nosings at angles that create point-load concentrations the standard drop-test spec doesn’t simulate. Hail impact is similarly undersimulated in standard thickness tables: a 1-inch hailstone at terminal velocity delivers an impulse load that can micro-fracture a polished edge on material below 1-¼-inch thickness, even if the tread face remains visually intact.
Joint integrity under wind-driven rain is the other critical factor. Wind-driven water penetrates joints at positive pressure — it’s actively forced into the riser-to-tread joint rather than relying on gravity drainage. That changes the waterproofing requirement at the step assembly entirely. Epoxy grout at the riser junction isn’t just about mechanical strength; it’s the only joint material with zero water absorption under positive pressure conditions.
- Minimum 1-½-inch material thickness for exterior bullnose steps in storm-exposed locations
- Edge restraint at the tread return should be mechanically anchored rather than adhesive-only in wind-exposed installations
- Specify honed finish to prevent surface spalling from hail impact — polished surfaces micro-crack under impact at the surface layer first
- Seal all riser-to-tread mortar joints with a penetrating siloxane sealer rated for positive-pressure water exposure
- Black limestone’s density provides natural impact resistance — the higher the density specification, the better the material withstands mechanical stress from weather events
Black slate rock is occasionally specified as an alternative for exterior steps in high-impact environments because of its cleavage plane structure, but its layered metamorphic nature makes edge profiling more difficult and the bullnose radius less stable under repeated impact. For clean edge performance over time, dense limestone consistently outperforms black slate rock in step-nose applications.
Ordering, Lead Times, and Project Logistics
Bullnose tile fabrication adds time to your project schedule that field tile orders don’t require. A profiled edge requires secondary fabrication after the stone is cut to size — the radius milling, edge honing or polishing, and quality inspection add 5–10 business days to standard warehouse fulfillment cycles. Plan accordingly. If your field tile ships in 1–2 weeks from domestic warehouse stock, your bullnose pieces may need 3–4 weeks from the same order date.
The sequencing error that creates real problems is ordering field tile and bullnose tile separately on different schedules. Both need to be on-site before installation starts, not the field tile first and the bullnose tile later. Attempting to complete field tile installation and return for nosings after a 2-week gap almost always results in mortar cure problems at the step edge junction and color variation between separately-sealed stone batches.
- Order field tile and all bullnose profiles in the same purchase order — same quarry batch, same color lot
- Add 10–15% overage on bullnose tile specifically — edge pieces are more vulnerable to breakage during truck delivery and handling on-site
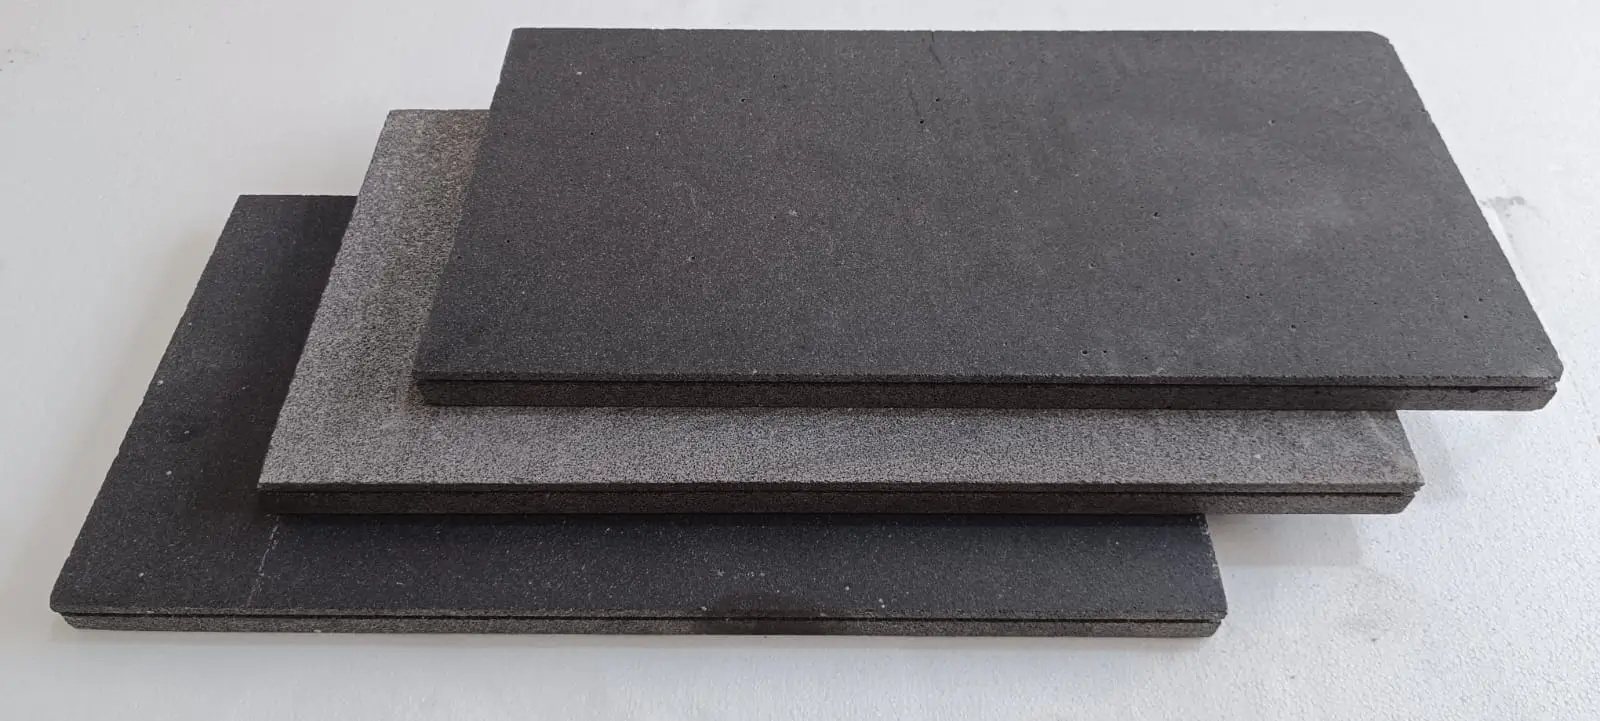
- Confirm truck access at the project site before scheduling delivery — step tile in 2-inch thickness is heavy, and hand-carry from street to installation point adds risk of edge chipping
- Verify that the specific profile you need is stocked at warehouse level, not custom-order only — this changes your lead time from 2–3 weeks to potentially 8–10 weeks
- At Citadel Stone, we recommend confirming stone lot numbers and requesting sample chips from the fabricated bullnose radius before approving full production — the milled edge can read slightly lighter or darker than the field surface depending on how the stone’s mineral structure intersects the cutting plane
Beyond the current step project, if you’re also specifying indoor flooring adjacent to these stairs, it’s worth reviewing limestone flooring trade-offs for interior use — understanding how the same material performs underfoot indoors helps you make a coherent material decision across both applications.
Bullnose Tile Specification: Getting It Right
Bullnose tile specification is where precision separates durable, professional installations from projects that generate callback calls at year three. Your profile choice, edge finish, tile thickness, mortar coverage, and joint specification all interact — and getting any one of them wrong affects the performance of the others. The detail most often missed is the setting bed coverage requirement at the nosing: 95% with zero voids is the standard, and it’s the standard for a reason that field failure data makes abundantly clear.
Black limestone steps represent one of the highest-performance options in this application category — the material’s density, naturally textured honed surface, and fabrication stability give it a genuine edge over alternatives at comparable price points. Verify your thickness specification, confirm grain orientation in fabrication, and match your field tile and bullnose orders to the same quarry lot. Those three checkpoints alone eliminate the majority of specification errors that lead to premature edge failures. Stone for nationwide projects includes bullnose tile milled to match adjoining pavers, keeping step transitions visually seamless from Citadel Stone.
Related reading: paver patio ideas · natural stone tile flooring · how to build a stone patio.