

Base preparation is where most stone patio failures begin — not at the surface, not during the stone selection phase, but in those first few inches of compacted aggregate beneath everything else. Knowing how to build a stone patio correctly means accepting that 70% of the work happens before a single stone is placed: getting the base depth, drainage geometry, and material sequencing right is what separates a patio that stays level and tight for two decades from one that starts rocking and settling within the first three winters.
Site Assessment and Planning Before You Break Ground
Your site conditions dictate every specification decision that follows, so walking the ground before you start is non-negotiable. Identify the direction of natural drainage, note any slopes greater than 2%, and probe the soil type at your intended depth — clay-heavy subgrade behaves completely differently from sandy or gravelly native soil under load and moisture cycling. A patio installed over expansive clay without proper aggregate isolation will telegraph every freeze-thaw cycle directly into your stone surface.
You’ll also need to confirm underground utility locations before excavation. Most jurisdictions require a utility locate call a minimum of three business days before any digging, and this step has saved more than a few projects from costly delays. Confirm your finished patio elevation relative to any door thresholds, adjacent lawn grades, and downspout discharge points — water management is a performance specification, not just an aesthetic consideration.
- Confirm slope direction — minimum 1% fall away from structures, 2% preferred for natural stone paving
- Identify soil bearing capacity — weak or organic soils require deeper excavation and possible geotextile separation fabric
- Mark utility locations at least 72 hours before breaking ground
- Note any tree root zones within 10 feet — roots can compromise sub-base integrity over time
- Measure finished elevation requirements relative to doors, steps, and lawn areas
Excavation and Sub-Base Depth: Getting the Numbers Right
The excavation depth for a standard residential stone patio typically runs 10 to 14 inches below finished grade — that accounts for 6 to 8 inches of compacted aggregate base, a 1-inch bedding layer, and your stone thickness. In freeze-thaw regions, increasing your aggregate depth to 10 inches provides significantly better frost protection. Don’t underestimate this: shortcutting the base by even 2 inches to save on aggregate costs is one of the most predictable ways to engineer a callback job.
Your excavated area should extend 6 to 8 inches beyond your planned patio perimeter on all sides. This edge overage is critical — it allows your compacted base to properly support the perimeter stones, which carry the most vulnerability to edge subsidence. Compact the native subgrade with a plate compactor before adding any aggregate. Two passes in perpendicular directions give you consistent density without creating compaction channels.
According to ASLA outdoor patio material selection guidance, proper sub-base preparation is the primary determinant of long-term natural stone paving performance in residential and commercial applications. That aligns precisely with what experienced installers observe in the field — the sub-base is the specification that either holds or fails everything above it.
Aggregate Base and Compaction Technique
Crushed stone aggregate — typically ¾-inch clean crushed or processed gravel — is your base material of choice. Avoid rounded river gravel for load-bearing base applications; angular crushed stone interlock under compaction, where rounded material shifts. Install your aggregate in lifts no deeper than 4 inches, compacting each lift before adding the next. Attempting to compact 8 inches of aggregate in one pass produces a dense surface layer over a loosely consolidated lower zone — that’s exactly the failure pattern that causes patio sections to drop unevenly after the first heavy rain.
Target a minimum of 95% Proctor density for your compacted base. You won’t always have a density gauge on a residential project, but the practical field test is straightforward: the plate compactor should no longer leave visible track marks after two overlapping passes, and walking the compacted surface should produce zero deflection underfoot. If you can feel movement, add another pass.
- Use angular crushed stone aggregate, not rounded river gravel
- Install in maximum 4-inch lifts — never attempt to compact the full depth in one pass
- Compact each lift with at least two perpendicular passes using a plate compactor
- Target 95% Proctor density — no surface deflection under foot traffic after final compaction
- Extend compacted base 6 to 8 inches beyond finished patio perimeter
Bedding Layer Selection: Sand Versus Dry-Set Mortar
The bedding layer sits between your compacted aggregate base and the stone, providing final leveling and a setting surface. For most natural stone patio applications, a 1-inch screeded sand bed (coarse concrete sand, not fine mason sand) delivers the flexibility you need for minor height adjustments and the drainage performance that keeps moisture from pooling beneath the stone. Polymeric sand in the joints above controls washout and weed intrusion after installation.
Dry-set mortar bedding is appropriate when you’re working with thinner stone formats — anything under 1.25 inches nominal — or when the installation is on a concrete substrate. On a compacted aggregate base with adequate stone thickness, screeded sand outperforms mortar for long-term maintainability: individual stones can be lifted and releveled without demolishing adjacent sections. For natural stone patio pavers in the 1.5- to 2-inch range, sand-set on compacted aggregate is the professional standard.
The Natural Stone Institute outdoor stone variety specifications outline how different stone thicknesses and porosity characteristics interact with bedding layer choices — a useful reference when specifying thinner formats or premium stone finishes where surface integrity is critical.
Stone Selection, Thickness, and Performance Expectations
Natural stone patio pavers in the 1.5- to 2-inch range handle standard residential foot traffic and outdoor furniture loads without issue. Thinner formats — particularly anything in the ¾-inch range — require either a continuous mortar bed or a concrete substrate for structural support. Specifying ¾-inch stone on sand-set aggregate is a mismatch of format to method and produces a high edge-chip failure rate within the first season.
For most residential how to build a stone patio projects, limestone, bluestone, and irregular flagstone are the practical front-runners. Limestone delivers excellent workability, a consistent surface hardness above 6,000 PSI compressive strength, and a naturally honed surface that ages gracefully without requiring aggressive maintenance. Bluestone provides exceptional durability and a tighter pore structure that reduces absorption in wetter climates. Your landscape design priorities also influence this choice — the stone’s surface colour and texture should complement your architecture and planting scheme, not just meet structural requirements.
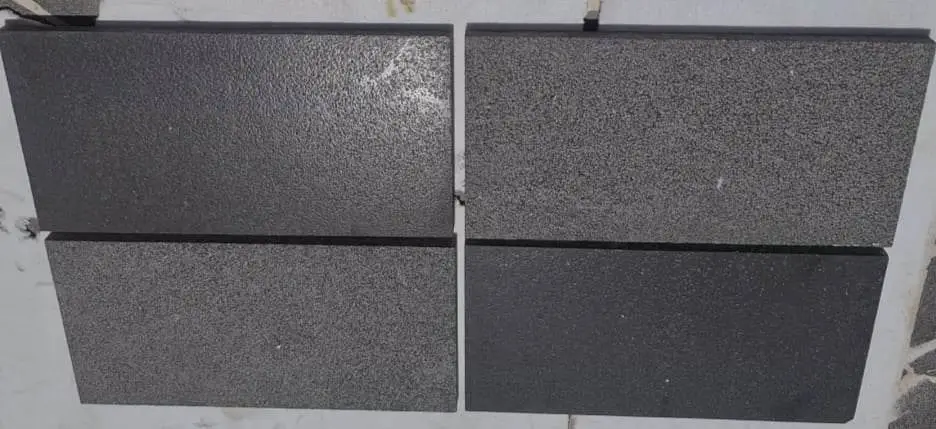
Design integration matters more than many specifiers acknowledge at the selection stage. A limestone house with black trim creates a specific colour relationship that rewards continuation into the patio surface — warm buff limestone paving or a grey-toned slab works with that palette in a way that complements, rather than competes against, the trim elements. Similarly, a limestone house with black windows reads most cohesively when the patio stone has enough tonal contrast to define the transition between architecture and landscape. These aren’t aesthetic preferences alone — they’re specification decisions that affect long-term property value and design coherence. Black river limestone, for instance, introduces strong tonal contrast and works particularly well in designs where a limestone house with black trim or dark window frames calls for a grounding element in the hardscape.
- 1.5- to 2-inch nominal thickness for sand-set applications on compacted aggregate base
- Under 1.25-inch formats require mortar bed or concrete substrate
- Limestone: good workability, 6,000+ PSI compressive strength, honed surface ages well
- Bluestone: tighter pore structure, superior performance in wet conditions, harder surface finish
- Irregular flagstone: naturalistic aesthetic, requires more cutting labour for tight joints
- Match stone tone and texture to architectural palette — trim colour, window frames, and facing materials all inform the right selection
Layout, Pattern Planning, and Cutting
Your pattern choice affects both the visual outcome and the difficulty of installation. Running bond, stacked bond, and ashlar patterns all have different cutting requirements and different structural behaviours at the joints. Running bond — where each course offsets by half the stone length — distributes load across more joints and produces a more stable installation than full stacked bond, which aligns joints continuously and creates a potential fault line under settlement.
Dry-lay your entire patio pattern before committing any stone to the bedding layer. This step catches sizing inconsistencies, allows you to balance cut pieces across the field rather than clustering them at one edge, and lets you confirm that your joint widths remain consistent. For natural stone patio projects using irregular or semi-irregular material, dry-laying is the difference between a balanced, professional-looking installation and one that reveals all its compromises at the perimeter.
Use a wet saw with a diamond blade rated for the specific stone type — limestone and bluestone cut cleanly with standard masonry blades, but denser basalt and certain granites benefit from blades with higher segment height. For guidance on permeable paving approaches with natural stone, the ASLA permeable paving guidance recommends cutting stone at joints rather than through field stones wherever possible to maintain visual continuity.
Setting Stone and Checking Level
Set each stone by placing it directly on the screeded sand bed, pressing firmly, and checking level in two directions. A rubber mallet seated against a wooden block distributes the seating force without chipping surface edges — never strike stone directly with a steel hammer. Check your running slope as you go: that 1-2% drainage pitch must be maintained consistently, not just at the perimeter. Stones set too flat in the field create low points where water pools and freeze-thaw action concentrates.
For your how to build a stone patio workflow, set field stones first and work toward the perimeter cuts. This approach lets you establish your pattern and level reference from the most visible, highest-traffic area and manage the irregular cut pieces at the edges where minor variations are less visible. Use temporary 3/8-inch or ½-inch spacers to maintain consistent joint width across the field — inconsistent joints are the most visible sign of an amateur installation.
Verify your work every 8 to 10 square feet with a long straightedge — 6 feet minimum. Lippage above 1/16 inch between adjacent stones creates a tripping hazard and accelerates edge wear on the raised stone. If you find a high stone after setting, lift it, remove or add sand, and reset — don’t try to pound it level through the bedding layer.
Jointing, Edge Restraints, and Initial Sealing
Polymeric sand is the professional standard for patio jointing. It activates with water to bind the joint and resists washout, weed intrusion, and ant excavation better than plain sand. Apply it dry, sweep it into joints, and activate with a fine mist — not a full stream — to avoid washing the sand out of narrower joints. Allow 24 hours of cure time before allowing foot traffic, and avoid rain exposure during the first 4 to 6 hours after activation.
Edge restraints keep your perimeter stones from migrating outward under lateral load. Spiked plastic edge restraint systems work adequately for residential applications, but poured concrete edging or cut stone border courses provide superior long-term performance on patios larger than 200 square feet. For projects where the patio design integrates with planting beds, a raised stone edge course also creates a clean visual boundary that improves the landscape design transition between hardscape and softscape.
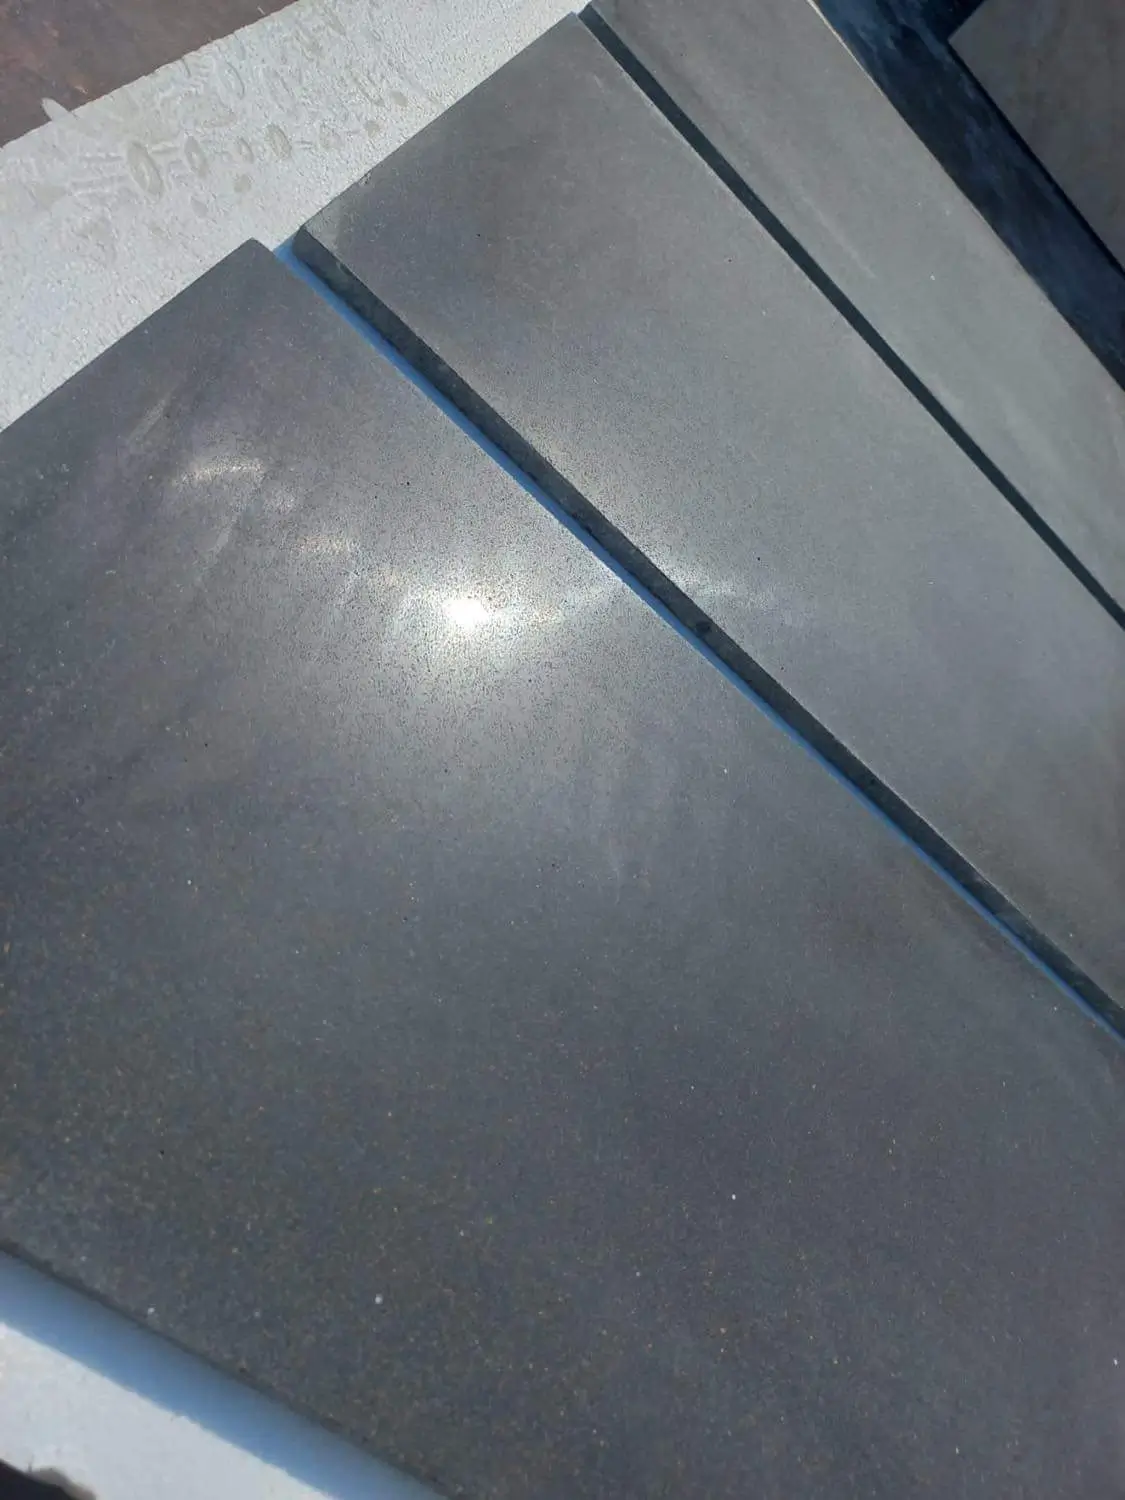
Sealing is a choice, not a requirement — but for limestone and sandstone-based patio materials, a penetrating sealer applied within 30 days of installation and reapplied every 3 to 5 years substantially improves stain resistance without altering the surface appearance. Black river limestone is a denser, darker-toned option worth considering when the design calls for strong contrast against light-coloured surrounding materials. Its tight grain structure means lower absorption than standard limestone, which translates directly to easier maintenance in areas exposed to organic staining from leaves, soil, or pooling water. For patio borders or accent banding, black river limestone adds design weight without requiring a full-surface specification of a premium material. For detailed guidance on stone layout and finish options in outdoor applications, explore the Citadel Stone patio paving guide for practical specification support.
Final Recommendations for a Durable Stone Patio
The most durable stone patio installations share a common profile: a properly excavated and compacted base, consistent bedding depth, appropriate stone thickness for the setting method, and disciplined jointing. Skipping any one of these steps — even the unsexy ones like compacting in proper lifts — tends to surface as a visible problem within two to four seasonal cycles. The stone itself is rarely the failure point; it’s almost always the system beneath it.
Your material selection should balance structural performance with the aesthetic language of your property. A naturalistic flagstone layout suits an informal garden setting or a traditional landscape design; a coursed rectangular format in honed limestone reads as refined and controlled, appropriate for modern minimalist or formal colonial architectural contexts. Neither is objectively better — they serve different design intentions, and the best outcome comes from aligning material format, finish, and colour to the overall landscape design intent rather than treating them as separate decisions.
Plan your truck access route and confirm warehouse availability before finalising your project timeline — lead time verification prevents the mid-project delays that cause costly re-sequencing. Citadel Stone maintains national warehouse inventory that allows most stone patio projects to confirm stock and schedule delivery within a standard project window. As you extend your natural stone specification work beyond the patio surface, natural stone tile flooring options covers how similar materials perform in interior and transitional applications — a useful reference when a project carries the same stone family from the outdoor patio into connected interior spaces. Sourced from quarries across multiple regions, our stone patio units are batch-matched to reduce color variation during a build.
Related reading: black limestone rock explained · patio floor tiles · installing patio pavers.