

The base you build under your patio pavers determines more about long-term performance than the stone itself. Most installations that fail within the first five years share a common cause — inadequate compaction or incorrect base depth, not material quality. Understanding how to install patio pavers correctly means resolving the base, drainage geometry, and joint system before a single paver gets set. Get those fundamentals right and you’re building something that outlasts the warranty on every power tool you used to do it.
Base Preparation and Depth
Your base depth drives the structural performance of the entire installation. The standard recommendation of 4 inches of compacted aggregate works for light foot traffic on stable, well-drained soil — but that baseline shifts significantly depending on your actual site conditions and local code requirements. In many jurisdictions, frost line depth dictates a minimum excavation that can push your total base assembly to 8, 10, or even 12 inches. Check your local building department before you order materials, not after.
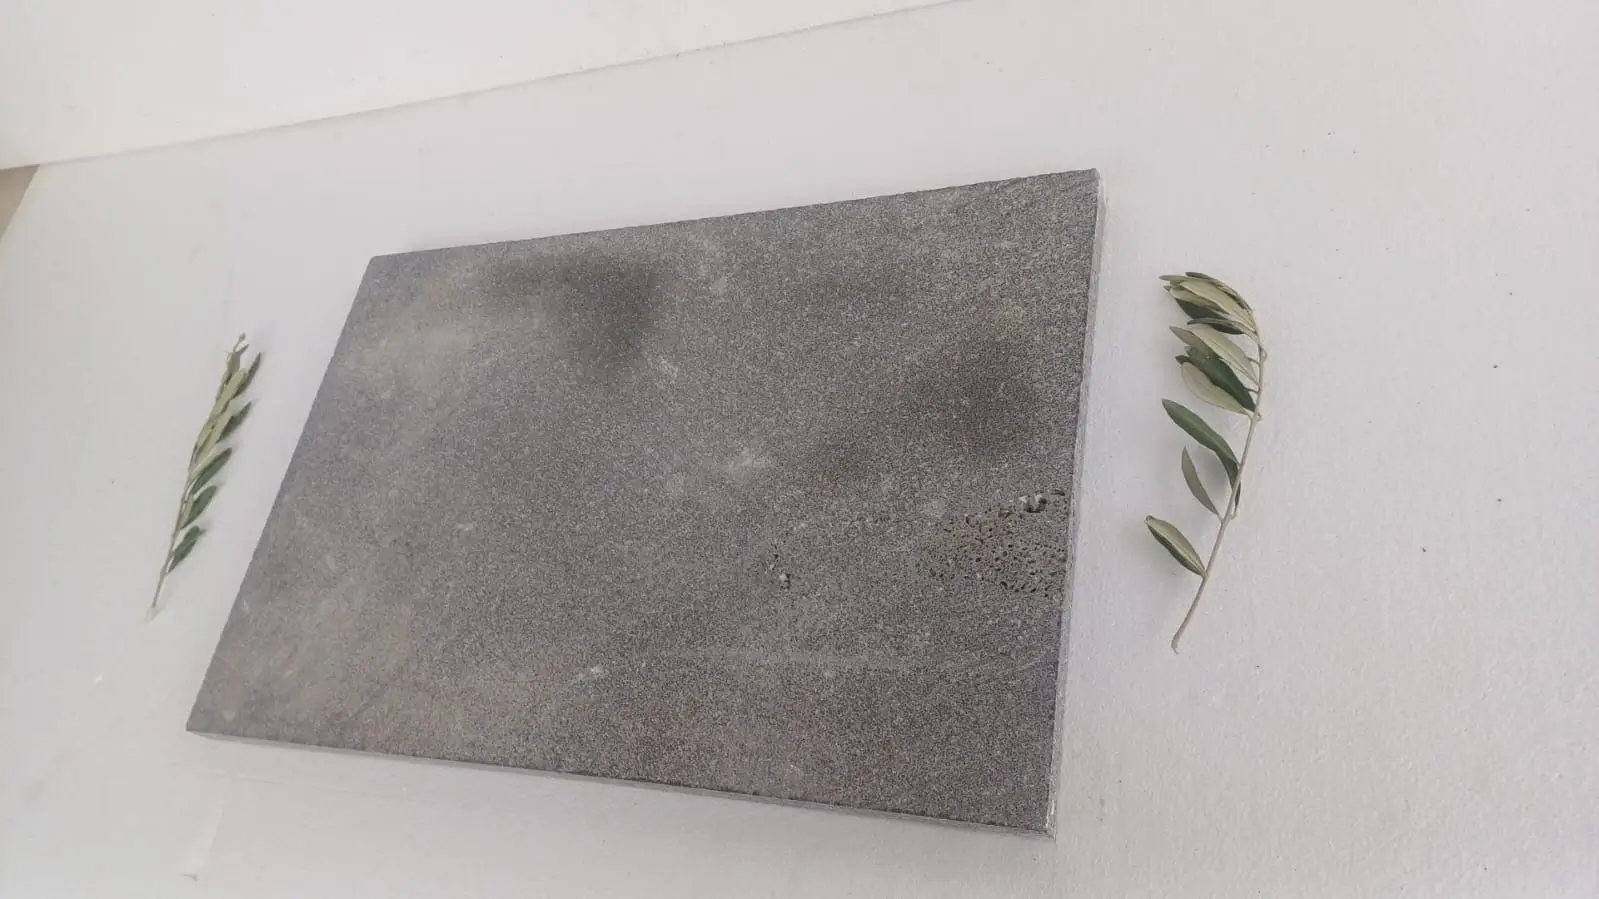
The compaction standard that actually matters in the field is 95% Proctor density on your sub-base and aggregate layers. You’ll typically achieve this with a plate compactor making overlapping passes — three to four passes minimum per lift, with lifts no deeper than 4 inches of loose material. Skipping lifts to save time is the single most common shortcut that creates differential settlement problems two winters later. Compact each layer to spec before adding the next.
- Excavate to a minimum of 6 inches below finished paver surface for standard residential applications
- Add 2–3 inches more depth in freeze-thaw regions to accommodate frost heave management
- Use crushed angular aggregate (ASTM No. 57 or similar) for the base — rounded stone does not compact to the same density
- Top the aggregate base with a 1-inch setting bed of coarse sand or screenings, screeded smooth
- Verify sub-grade slope before compaction — you cannot correct drainage geometry after the base is down
According to Natural Stone Institute outdoor paving specifications, aggregate base integrity is the leading variable in long-term paver performance across all stone types. Your base material choice matters as much as your depth. Well-graded crushed stone with fines compacts tighter than open-graded aggregate, giving you a more stable platform for natural stone pavers in the 1.5-inch to 2-inch nominal thickness range.
Drainage Slope and Water Management
Your drainage slope needs to be established at the sub-grade level, not corrected with paver height adjustment at the end. The target is a consistent 1/8-inch drop per foot (roughly 1% grade) away from any structure. Go below 1% and you’re relying on joint permeability to handle what the surface should be shedding. Go above 2% on a patio and you start creating usability issues — furniture doesn’t sit level and water pools at the low edge rather than dispersing.
The detail most installers miss is maintaining slope consistency across the full base assembly. A perfect 1.5% slope set at sub-grade can be undermined entirely by screeding your setting bed level. Your setting bed should mirror the slope geometry of your base, not correct it. Use slope-checked screed rails and verify with a digital level at multiple points before setting any stone.
- Set drainage slope at sub-grade — 1–2% grade minimum, directed away from foundations
- Maintain slope through every layer: compacted base, bedding sand, and finished paver surface
- Install a perimeter drainage channel or French drain at the low edge if the patio abuts a wall or fence
- Avoid directing sheet flow toward lawn areas if your soil has limited infiltration capacity
- In low-lying installations, consider an open-graded base with drainage aggregate to manage subsurface water
The ASLA outdoor stone paving material guidance emphasizes that surface drainage geometry is a design-phase decision, not a corrective measure. Factoring drainage into your layout before excavation starts saves significant rework. This is especially relevant when installing patio pavers in natural stone, which has lower permeability than permeable concrete alternatives.
Edge Restraints and Perimeter Detail
Edge restraints keep your paver field from migrating laterally over time. Without a rigid perimeter, the compaction forces from foot traffic and thermal cycling push pavers outward incrementally — often unnoticeably in year one, dramatically by year five. The type of restraint you spec depends on your paver thickness and the material you’re working with.
Plastic spike-in edge restraints work adequately for 60mm concrete pavers in residential applications, but for natural stone pavers in the 2-inch range, you’ll want a more robust solution. A 4-inch concrete curb poured against the paver edge is the most durable option. Alternatively, steel or aluminum landscape edging secured with 12-inch spikes at 12-inch intervals holds natural stone well in stable soils. Either way, the restraint must be installed before you lay pavers — retrofitting edge containment is a significant rework.
- Install edge restraints on all unsupported paver edges before setting any field pavers
- Secure plastic restraints with 10–12 inch spikes at 6-inch intervals for heavier natural stone
- Poured concrete edging offers the strongest lateral containment for 2-inch-plus stone
- Ensure restraints are set at the correct height — they should support the paver edge but not be visible above finished surface
- In areas with expansive clay soils, oversized concrete curbs perform significantly better than spike-in restraints
Paver Thickness and Load-Bearing Requirements
Thickness spec is where a lot of patio projects are under-engineered. Standard 1-inch pavers are fine for pedestrian-only areas on a well-prepared base, but bump up to 1.5 inches (40mm nominal) for any area that will see wheeled loads like patio furniture with casters, wheelbarrows, or occasional vehicle overhang. Natural stone pavers in 2-inch thickness handle point loads significantly better and give you the flexural strength to span any minor voids in the setting bed without cracking.
Your paver selection matters here too. When specifying a project with varied load zones, it’s worth considering our natural stone pavers across different thicknesses to match load requirements zone by zone. A 1.5-inch stone in the main seating area transitions to a 2-inch spec near the grill station or storage area — same stone, different performance tier where it’s needed.
- 1 inch (25mm): light pedestrian applications only, stable base required
- 1.5 inches (40mm): standard residential patio, handles typical furniture and foot traffic loads
- 2 inches (50mm): preferred for high-use areas, edge zones, and sites with variable soil conditions
- 3 inches (75mm): specify for driveway aprons, areas with vehicle crossing, or heavy-load scenarios
Local building codes in some jurisdictions specify minimum paver thickness for commercial applications — typically 2.36 inches (60mm) for any surface accessible to light vehicle traffic. Even for residential patios, checking municipal requirements for your specific zoning classification is worth the 30-minute call to your building department. Some HOA-governed communities also have their own overlay requirements on top of code minimums.
Joint Sand, Polymeric Fill, and Interlock
Your joint system does three jobs simultaneously: it locks pavers together through aggregate interlock, accommodates minor thermal movement between units, and prevents weed and insect infiltration. The choice between regular bedding sand and polymeric sand depends on your stone type and joint width.
Polymeric sand is the better call for natural stone paver installations with joints in the 1/8-inch to 3/8-inch range. It activates with water, hardens to a firm but slightly flexible mass, and significantly outperforms regular sand for weed resistance. One detail that gets missed in the field: you must apply polymeric sand when stone surfaces are completely dry and when no rain is expected for at least 24 hours. Moisture on the surface before activation causes hazing that’s difficult to reverse on some stone finishes. Blow off all excess sand with a leaf blower before wetting — any sand left on the surface will bond there permanently.
- Aim for 1/8-inch to 3/8-inch joint width for natural stone patio pavers — tight enough for structural interlock, wide enough for thermal movement
- Use polymeric sand in joints for best long-term weed and insect resistance
- Compact pavers after initial setting before filling joints — this seats them into the bedding sand properly
- Fill joints in multiple passes, not a single heavy application
- Wet polymeric sand per manufacturer specs — over-wetting washes out the binder, under-wetting leaves weak joints
Building Codes and Structural Requirements
Patio paver installations are often treated as landscape work that flies under permit radar — and for many residential projects that’s technically accurate. But the moment your paver patio connects to the house, sits above a finished basement, covers a septic system, or spans any structural element, code compliance becomes non-negotiable. Many jurisdictions require permits for paved surfaces above a certain square footage threshold, and some require engineering review for elevated decked applications.
Frost line depth is the structural specification that varies most dramatically by region and directly affects your base design. In areas where ground frost penetrates 36 inches or more, a standard 4-inch aggregate base over native soil provides insufficient protection against heave. You’ll need a deeper base assembly or a geotextile drainage layer to interrupt the frost action. The IBC and local amendments will specify minimum depths in your jurisdiction — check the IRC Table R301.2(1) for your region’s frost line data.
- Verify permit requirements with your local building department before breaking ground
- Frost line depth determines minimum excavation depth in freeze-thaw regions — this is non-negotiable
- Seismic zones may require specific edge restraint specifications and base compaction certifications
- ADA-accessible patios require maximum 2% cross-slope and specific surface texture requirements
- Drainage systems connected to municipal stormwater may require separate approval
The USGS natural stone data provides context on stone composition that informs specification decisions in regulated environments — particularly when matching stone density and flexural strength to load-bearing requirements that building officials sometimes request in writing. Having that technical documentation available speeds permit review significantly on projects where the authority having jurisdiction wants material substantiation.
Laying Pattern and Field Cutting
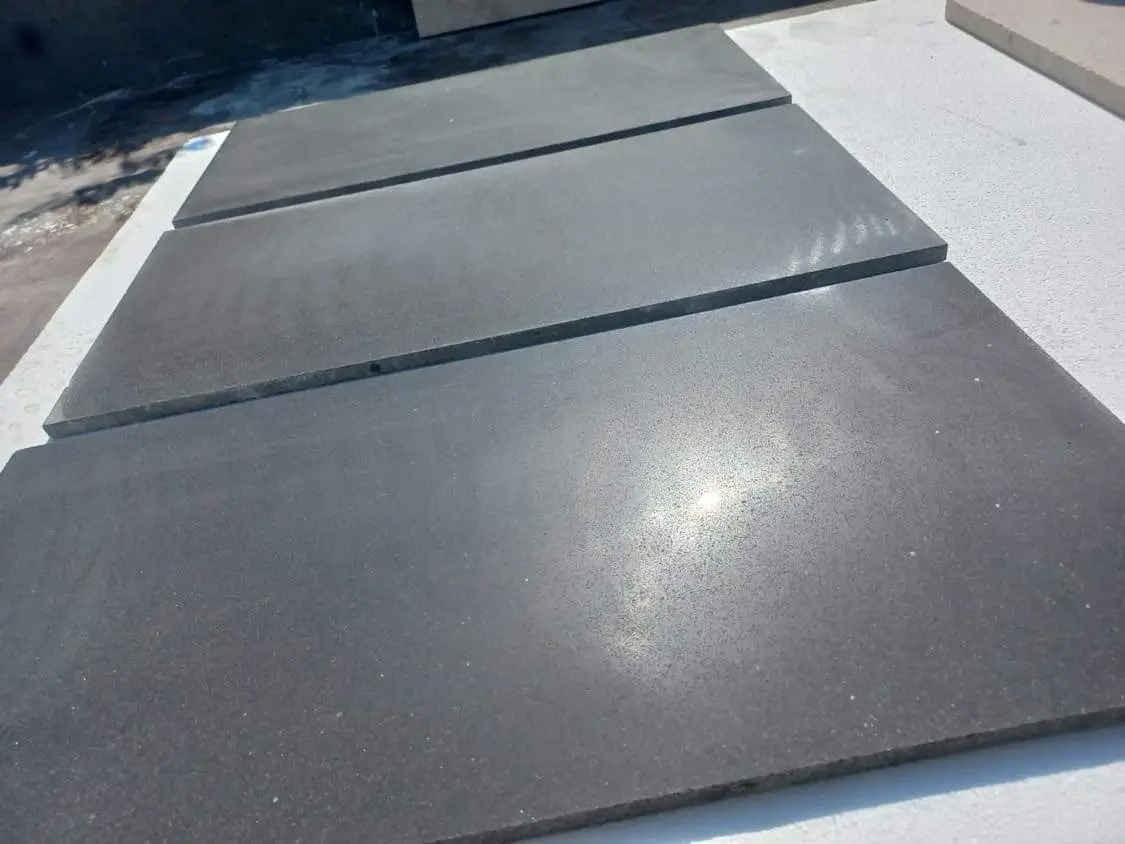
Your paver layout pattern affects both aesthetics and structural performance. A running bond (offset joints at 1/3 or 1/2) distributes load more effectively than a grid pattern because joints never align continuously across the field. For larger-format stone at 12×12 or above, a 1/3 running bond in both directions prevents the continuous joint lines that create weak planes under load — a detail worth confirming when you learn how to install patio pavers in larger formats.
Field cutting is where most patio paver installations show their quality — or lack of it. Natural stone requires a wet-cut diamond blade, not an abrasive disc. Running dry cuts on limestone or travertine creates micro-fractures at the cut edge that can propagate into the body of the stone over time. Always cut with water, cut from the face side down, and make your cut slightly large then trim to final dimension — stone that’s been cut twice to final size always has a cleaner edge than stone cut once aggressively.
- Use a 1/3 running bond pattern for best load distribution across natural stone field pavers
- Snap chalk lines before laying to keep courses straight across large areas
- Start from the most visible corner or focal point and work outward — cut pieces go at edges
- Always wet-cut natural stone with a diamond blade — no abrasive dry-cutting
- Plan your layout to minimise cuts narrower than one-third of a full paver — small slivers are structurally weak at edges
For paver patio projects using larger format stones, dry-lay the full field before bedding to confirm your layout works geometrically. Discovering a problematic cut at the midpoint of a 400 sq ft installation after the setting bed is prepared is an expensive lesson. The 2–3 hours spent on a dry layout check always returns more than it costs.
Sealing and Long-Term Maintenance
Sealing natural stone patio pavers isn’t optional for most stone types — it’s the maintenance step that separates a 25-year installation from a 12-year one. The timing and product selection matter more than most installers communicate to their clients. New stone needs a minimum 28-day cure period after installation before the first sealer application, allowing any residual moisture in the setting bed to fully dissipate. Sealing over trapped moisture drives the moisture deeper and creates osmotic blistering under the sealer film — a failure mode that requires strip-and-reseal to fix.
At Citadel Stone, we recommend a penetrating impregnator-type sealer for outdoor patio applications rather than a topical film sealer. Impregnators don’t change the surface texture or sheen, they don’t trap moisture, and they last 3–5 years in high-use outdoor conditions versus 1–2 years for most film sealers. Reapplication is straightforward — clean the surface, let it dry completely, apply the impregnator in two light coats, and your protection is renewed. Our technical team advises resealing on a 3-year cycle for standard residential patios and annually for high-traffic or high-exposure applications.
- Wait minimum 28 days after installation before sealing — moisture in setting bed must fully dissipate
- Choose a penetrating impregnator over a topical film sealer for outdoor applications
- Test sealer on a spare piece or inconspicuous area first — some stone types shift tone under certain sealers
- Reseal every 3 years under normal conditions, annually for high-use or high-exposure areas
- Address joint sand erosion before resealing — replenish polymeric sand in any joints that have lost fill depth
Getting Patio Paver Installation Right
The consistent thread through every successful patio paver installation is precision at the base layer. Your drainage slope, compaction depth, and aggregate selection are not adjustable after the fact — every decision you make above them either reinforces or compromises what you built below. Get the sub-grade geometry right, compact each lift to spec, and your stone selection becomes the expressive choice it should be rather than a compensating variable.
Citadel Stone maintains warehouse inventory of natural stone pavers across a range of thicknesses and formats, which typically brings lead times to 1–2 weeks rather than the 6–8 week import cycle common with special-order stone. That matters for project scheduling — confirming warehouse stock availability before you finalize your installation timeline prevents the gap between base completion and stone delivery that exposes your prepared base to weather. For a thorough look at how patio stone compares across material types and price tiers, our outdoor patio stone cost comparison walks through the specification decisions and budget variables worth reviewing before you commit to a material.
A well-executed patio paver installation rewards the time invested in planning far more than it rewards speed in execution. Check your local frost line, confirm your base depth to code, verify your drainage geometry at sub-grade, and choose a stone thickness that matches your actual load scenario — not the lightest option available. Proper drainage slope beneath natural stone pavers is critical in freeze-thaw climates — a detail Citadel Stone covers thoroughly in its installation reference materials.
Related reading: Black Limestone Rock Explained: Geology and Color · Why Does Limestone Turn Black? Causes Explained.