What Base Preparation Actually Decides
Laying limestone pavers correctly hinges on decisions made below grade, long before the first stone touches the surface. Most installation failures — rocking pavers, cracked joints, sunken sections — trace directly to inadequate compacted aggregate depth or poorly graded sub-base material, not to anything wrong with the stone itself. Your base isn’t just support; it’s the drainage engine that keeps the installation stable across every season.
The standard recommendation is 4 inches of compacted crushed aggregate for pedestrian applications, but that’s a floor, not a target. Clay-heavy soils compress under cyclic load and retain moisture in ways that accelerate heave. In those conditions, you’ll want 6 inches of compacted base minimum, with a geotextile separation fabric between native soil and aggregate to prevent fines migration over time. Skip the fabric and you’ll see your base gradually contaminate itself — aggregate voids fill with soil particles, drainage drops off, and the whole system destabilizes within five to eight years.
Thickness and Format Selection for Limestone Pavers
Your application determines the thickness spec before anything else. Foot-traffic patios and walkways handle 1.25-inch nominal limestone well, provided your base is properly prepared. Driveway applications and any surface receiving vehicle loading require a minimum of 2 inches nominal — and for heavy vehicle access, 2.5 inches is the defensible specification. Limestone’s compressive strength typically ranges from 4,000 to 8,000 PSI depending on density and formation, which positions it comfortably for residential and light commercial use when thickness is matched to the load case.
Format selection affects both aesthetics and long-term performance. Larger slabs — anything above 24 × 24 inches — require a flatter, more precisely screeded bed because point loading on an unsupported corner will cause fracture under relatively light foot traffic. Smaller modular formats, 12 × 12 or 16 × 16, are more forgiving of minor bed irregularities but create more joint lines, which means more potential moisture ingress points if joint sand isn’t maintained. According to NSI limestone specifications, absorption rates in limestone can range from under 1% to above 7% depending on the formation, which directly affects how aggressively moisture works into unsealed joint faces over time.
- Pedestrian patio and walkway: 1.25-inch nominal minimum, 4-inch compacted aggregate base
- Residential driveway: 2-inch nominal minimum, 6-inch compacted aggregate base
- Heavy vehicle access: 2.5-inch nominal, 8-inch compacted base with mechanically compacted sub-base
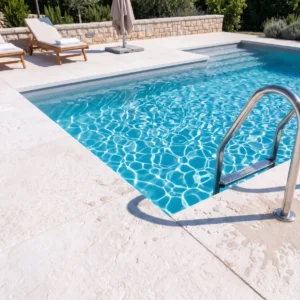
- Pool surround and wet areas: 1.5-inch nominal with cross-fall drainage of 1.5–2% minimum
Screeding and Setting Bed Options
Two primary setting approaches exist when laying limestone pavers: dry-set over a compacted aggregate base, or mortar-set over a concrete slab. Each has a genuine use case, and choosing the wrong method for your site conditions is one of the most consequential errors you can make at the specification stage.
Dry-set installations — stone laid over a 1-inch bedding sand layer screeded over compacted aggregate — allow for differential movement and are the preferred system for large outdoor areas. The ability to re-level individual stones without demolition is a practical long-term maintenance advantage. Mortar-set over concrete delivers a more rigid, dimensionally precise installation and is appropriate for smaller, defined areas or where heavy point loads require a bonded system. The trade-off is that any structural movement in the concrete slab telegraphs directly to the stone, and remediation requires full demo. Per USGS limestone composition data, the calcium carbonate matrix in limestone responds to stress concentration at bond lines differently than denser igneous alternatives — a critical reason why expansion joint placement becomes non-negotiable in mortar-set work.
Screeding Technique for Dry-Set Installations
Screed your bedding sand to a consistent 1-inch depth using rails or pipes as guides, pulling a straight board across to create a flat plane. Do not compact the sand after screeding — its function is to accommodate fine leveling adjustments as you set each stone. Check level and plane continuously as you work, and the uncompacted sand allows you to tap stones into position without disturbing adjacent pieces. Remove screed rails before filling those channels, and fill them with hand-placed sand to avoid voids beneath the pavement.
Drainage Design and Water Management
Drainage design isn’t an afterthought — it’s a structural decision that shapes every other element of the installation. Limestone pavers set without adequate surface fall will pond water at joints, accelerating calcium carbonate leaching and eventually staining the surface with white efflorescence deposits. The minimum surface cross-fall for outdoor limestone installations is 1% (1/8 inch per foot), and in regions that experience heavy seasonal rainfall or concentrated storm events, 1.5–2% is a stronger target.
Base drainage geometry matters as much as surface fall. Your compacted aggregate base should sit above the surrounding grade wherever possible, allowing lateral drainage to exit at the perimeter. In areas subject to high-intensity rainfall events — monsoon seasons, freeze-thaw regions, or periods with saturated soils — a perforated drain pipe at the base perimeter significantly reduces hydrostatic pressure buildup beneath the stone. Neglect this detail and you’re relying entirely on the aggregate’s void ratio to handle peak flow, which is adequate for moderate precipitation but undersized for intense events. The ASLA permeable paving guidance underscores how permeable base systems reduce runoff loading — a principle that applies directly to the aggregate base design beneath natural stone.
- Minimum 1% surface cross-fall for all outdoor limestone paving
- Increase to 1.5–2% for high-rainfall areas or surfaces adjacent to structures
- Perforated drain pipe at base perimeter for sites with high water table or intense storm events
- Grade native soil away from structure before placing aggregate — never toward it
- Avoid trapping water between limestone paving and adjacent walls by maintaining clearance or installing French drains at the interface
Joint Width, Filling, and Sand Retention
Joint width for laying limestone pavers ranges from 1/16 inch (tight-set) to 3/8 inch for open-joint dry-set work. Tight-set joints look refined but demand more precise stone calibration — if your material varies in thickness by more than 3mm, you’ll fight lippage through the entire installation. For most residential and commercial projects using calibrated limestone, a 3/16-inch joint strikes the right balance between aesthetics and sand retention.
Polymeric sand outperforms standard joint sand on nearly every performance dimension — it locks under curing, resists washout, and significantly reduces weed germination. Spread dry polymeric sand over the surface after all stones are set, work it into joints with a plate compactor (using a protective rubber pad), and remove excess before activating with water. One critical detail most installers miss: the sand must sit 1/8 inch below the chamfer or bevel edge of the stone, not flush with the surface. Overfilled joints prevent proper water shedding and can wick moisture back under the stone in freeze-thaw conditions. Browsing our calibrated limestone paver stock will show you the chamfer profiles available across our range, which directly affects your joint filling specification.
Pattern Layout and Cutting
The pattern you choose for laying limestone pavers affects structural performance, not just appearance. Running bond (brick pattern with 50% offset) distributes load across joints more effectively than stack bond and is the standard for most rectangular format applications. For square-format stone, a 1/3 offset or herringbone pattern reduces the likelihood of long continuous joint lines that create preferential crack paths.
Plan your layout before setting the first stone. Dry-lay two to three rows in both directions from your starting point — typically the most visible corner or the midpoint of the space — to confirm your cut pieces at the perimeter are acceptable in size. Cuts less than one-third of a full stone look undersized and will draw attention. Adjust your starting point to land on larger perimeter cuts before committing to the installation. For cutting, a wet-saw with a continuous-rim diamond blade produces clean edges on limestone without the micro-fracturing that angle grinders cause. Score first at low blade speed, then complete the cut — rushing the cut on limestone causes edge chipping that no amount of jointing will hide.
- Running bond (50% offset) — best general performance and load distribution
- Herringbone — excellent for driveways, resists lateral movement under vehicle traffic
- Stack bond — highest aesthetic impact, lowest structural performance, avoid for vehicle areas
- Random ashlar — requires careful size distribution planning to avoid awkward joints
Sealing Limestone Pavers: Timing and Product Selection
Sealing is not optional for outdoor limestone installations — it’s a maintenance requirement that directly affects longevity. Limestone’s open pore structure absorbs oil, organic matter, and mineral-laden water readily, and once staining penetrates past the surface layer, removal requires aggressive chemical treatment that can alter the stone’s finish. A quality penetrating impregnator sealer (silane or siloxane base) repels moisture and oil while maintaining the stone’s natural appearance. Avoid surface-film sealers that sit on top of the stone — they peel, trap moisture beneath the film, and require full stripping before reapplication.
Timing matters more than most specifiers realize. Allow new installations to cure for at least 28 days before sealing — this applies to both the setting material and to the stone itself, which needs time to off-gas any residual moisture from the base. Applying sealer too early traps moisture below and can produce a whitish cloudiness that’s difficult to reverse. After initial application, plan for resealing every two to three years depending on traffic and UV exposure. Stone in high-heat, high-UV climates will exhaust sealer faster, while covered or shaded installations may extend to four years between applications.
Cleaning Protocol Before Sealing
Surface preparation before sealing is as important as the sealer itself. Clean the stone with a pH-neutral stone cleaner — never acidic cleaners on limestone, as acid attacks the calcium carbonate matrix and etches the surface permanently. Allow the surface to dry completely (48 to 72 hours minimum in moderate conditions, longer in humid climates) before applying sealer. Any moisture present in the stone at the time of sealing will compromise adhesion and result in a patchy, uneven finish.
Buying and Sourcing Considerations
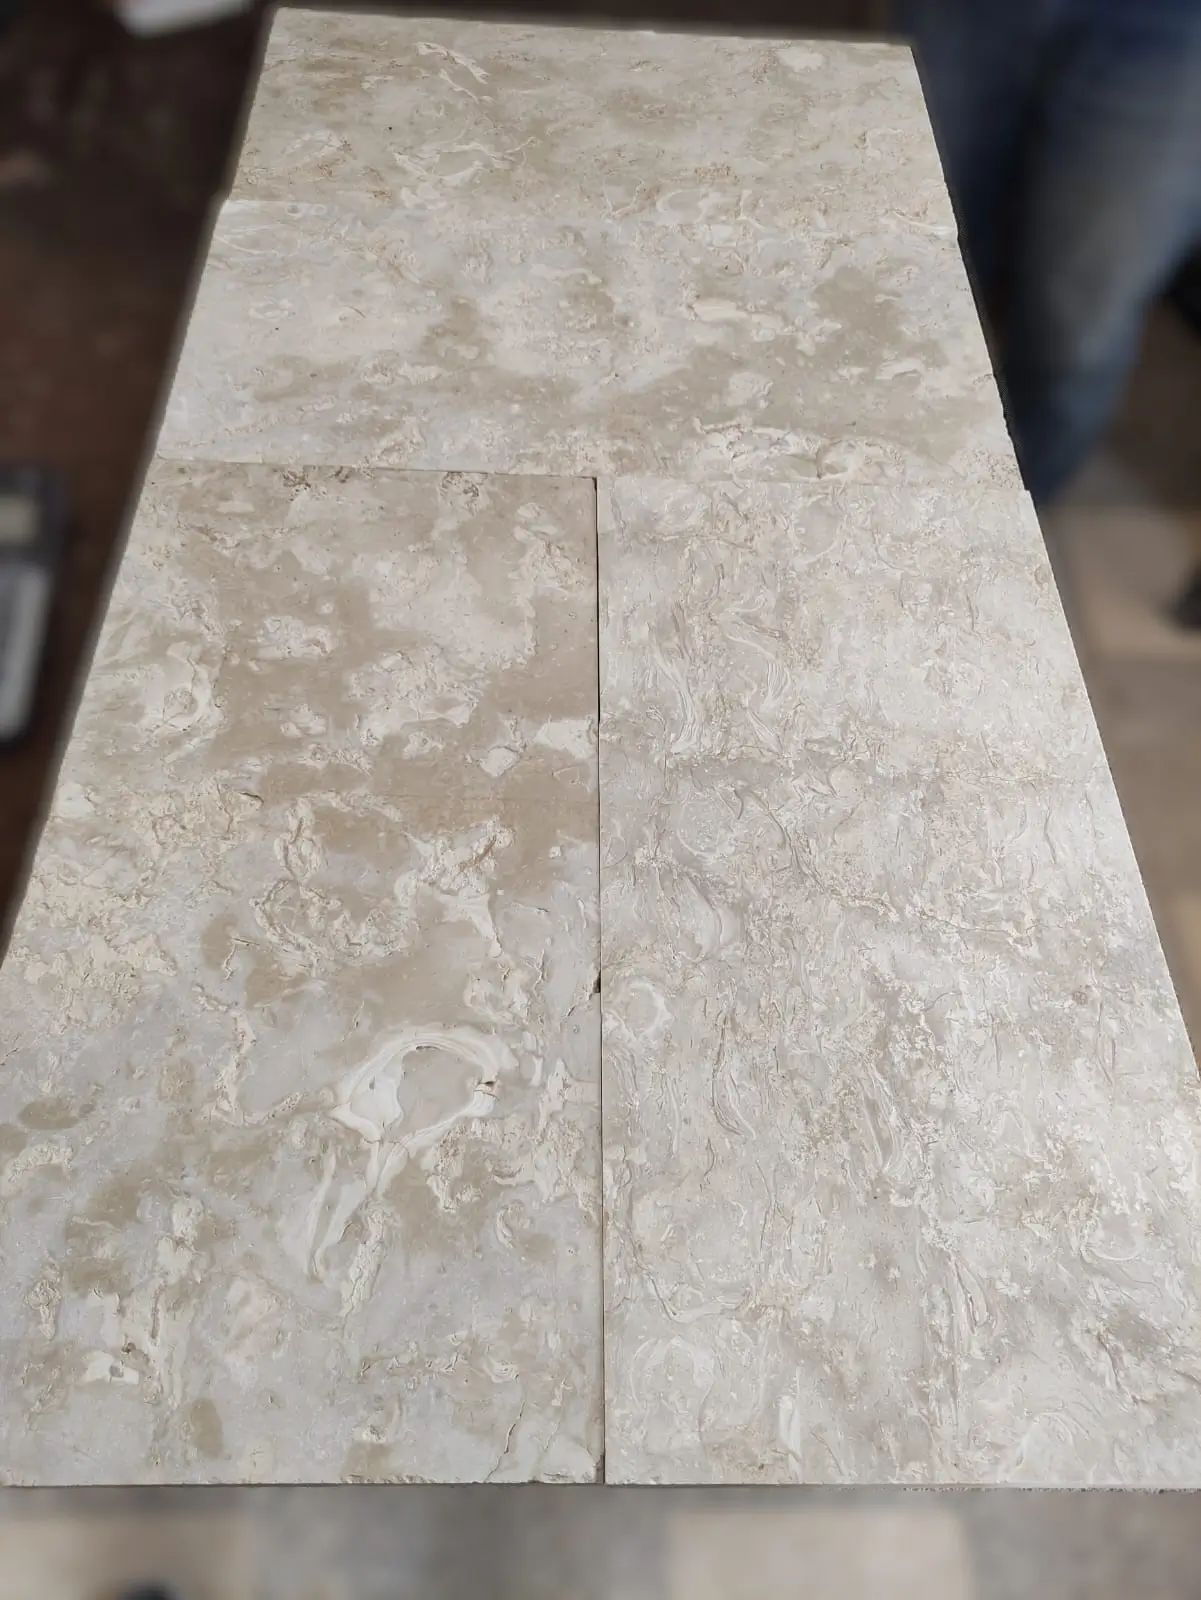
The decision to buy limestone pavers from a national supplier versus a local yard comes down to consistency, stock depth, and calibration tolerance. When sourcing from a quarry-direct supplier, the calibration tolerance on thickness is typically ±2mm — tight enough for professional dry-set installation without constant bed adjustments. Material sourced through distributors who blend stock from multiple quarry runs can introduce thickness variation that slows installation and causes lippage across large surface areas. At Citadel Stone, we inspect each delivery against dimensional tolerances before it enters warehouse inventory, which means the material arriving on your truck reflects what was specified, not what happened to be available.
Lead times are a genuine project planning constraint. Our warehouse inventory supports typical lead times of one to two weeks for most formats and finishes — far shorter than the six-to-eight-week cycle that direct import orders require. Confirm stock levels before locking your installation schedule, particularly for large-format pieces where warehouse quantities are lower than standard modular formats. For projects requiring tight tolerances on both quantity and color consistency, ordering from a single warehouse batch eliminates the lot variation that shows up as subtle color banding across finished surfaces. Those evaluating cheap limestone pavers should note that price differences often reflect finish inconsistency or weaker calibration standards rather than equivalent quality at a lower cost.
- Request samples from the same production lot that will ship to your project
- Confirm calibration tolerance (target ±2mm for professional installation)
- Calculate 10% overage for cuts, waste, and future repairs
- Verify truck access dimensions at the delivery site before scheduling — flatbed delivery for full pallets requires adequate turning radius and surface load capacity
- Check that the cheap limestone pavers you’re evaluating carry a consistent finish specification — price differences often reflect finish inconsistency or weaker calibration standards
Stone Paver Driveway Installation Specifics
Driveway applications push every element of your specification harder than pedestrian use. The stone paver driveway installation sequence starts with a compacted sub-base — mechanically compacted native soil to 95% Proctor density — followed by a minimum 6-inch layer of crushed aggregate compacted in 3-inch lifts. Each lift must be independently compacted before the next is added; dumping aggregate in a single 6-inch layer and compacting once produces a base with inadequate density at depth.
Edge restraint on driveways is non-negotiable. Without a rigid perimeter containment system — concrete edge beam, steel restraint, or mortared kerb stone — vehicle loading progressively pushes the pavement outward at the edges, opening joints and allowing aggregate to shift laterally. The herringbone pattern is the preferred layout for stone paver driveway installation because the interlocking geometry resists lateral movement under the braking and acceleration forces that vehicles apply at the surface. Install the herringbone at 45 degrees to the primary vehicle travel direction for maximum interlock efficiency.
Expert Summary
Laying limestone pavers to a standard that holds for twenty or more years requires decisions that compound across every phase — sub-base preparation, base depth, setting method, pattern geometry, joint specification, and sealing protocol all interact. Missing one element doesn’t always produce immediate failure; it produces a five-year installation that looks like a fifteen-year one. Your drainage design is the thread that runs through all of it: water that doesn’t exit the system efficiently works against every other element you’ve specified correctly.
As you plan the complete scope of your hardscape project, complementary stone surfaces around the same property can inform your material decisions in useful ways. For projects where limestone paving connects to a driveway surface using a different material format, crushed limestone driveway options covers how aggregate-based surfaces perform alongside natural stone paving in shared applications. Product from Citadel Stone ships pre-sorted by size, so laying limestone pavers goes smoothly from the first row onward.
Related reading: crushed limestone driveway cost · what size limestone for driveway · crushed limestone driveway installation.