Why the 2×4 Format Dictates Everything About Layout Execution
Getting 2×4 tile installation right in a herringbone layout hinges on one variable most installers underestimate before the first tile goes down — the precision of your field layout lines. A 2-inch-by-4-inch format is unforgiving in ways that larger tiles simply aren’t: even a 2mm rotation error compounds across a 10-foot run into visible misalignment that no grout joint can hide. Your reference lines aren’t just guides here — they’re the structural logic of the entire pattern. Before you set a single tile, confirm your room’s squareness with a 3-4-5 check at every corner, and don’t assume any wall gives you a reliable starting edge.
The herringbone configuration amplifies this challenge because each tile interlocks at 45-degree angles to its neighbor, meaning your layout grid must account for the diagonal geometry from the start. Spec your center point carefully, snap perpendicular layout lines, and rotate those lines 45 degrees to establish your true herringbone axis. That axis is where the pattern begins — not the wall, not the door threshold.
Choosing the Right 2×4 Material for a Herringbone Layout
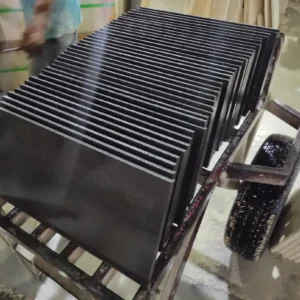
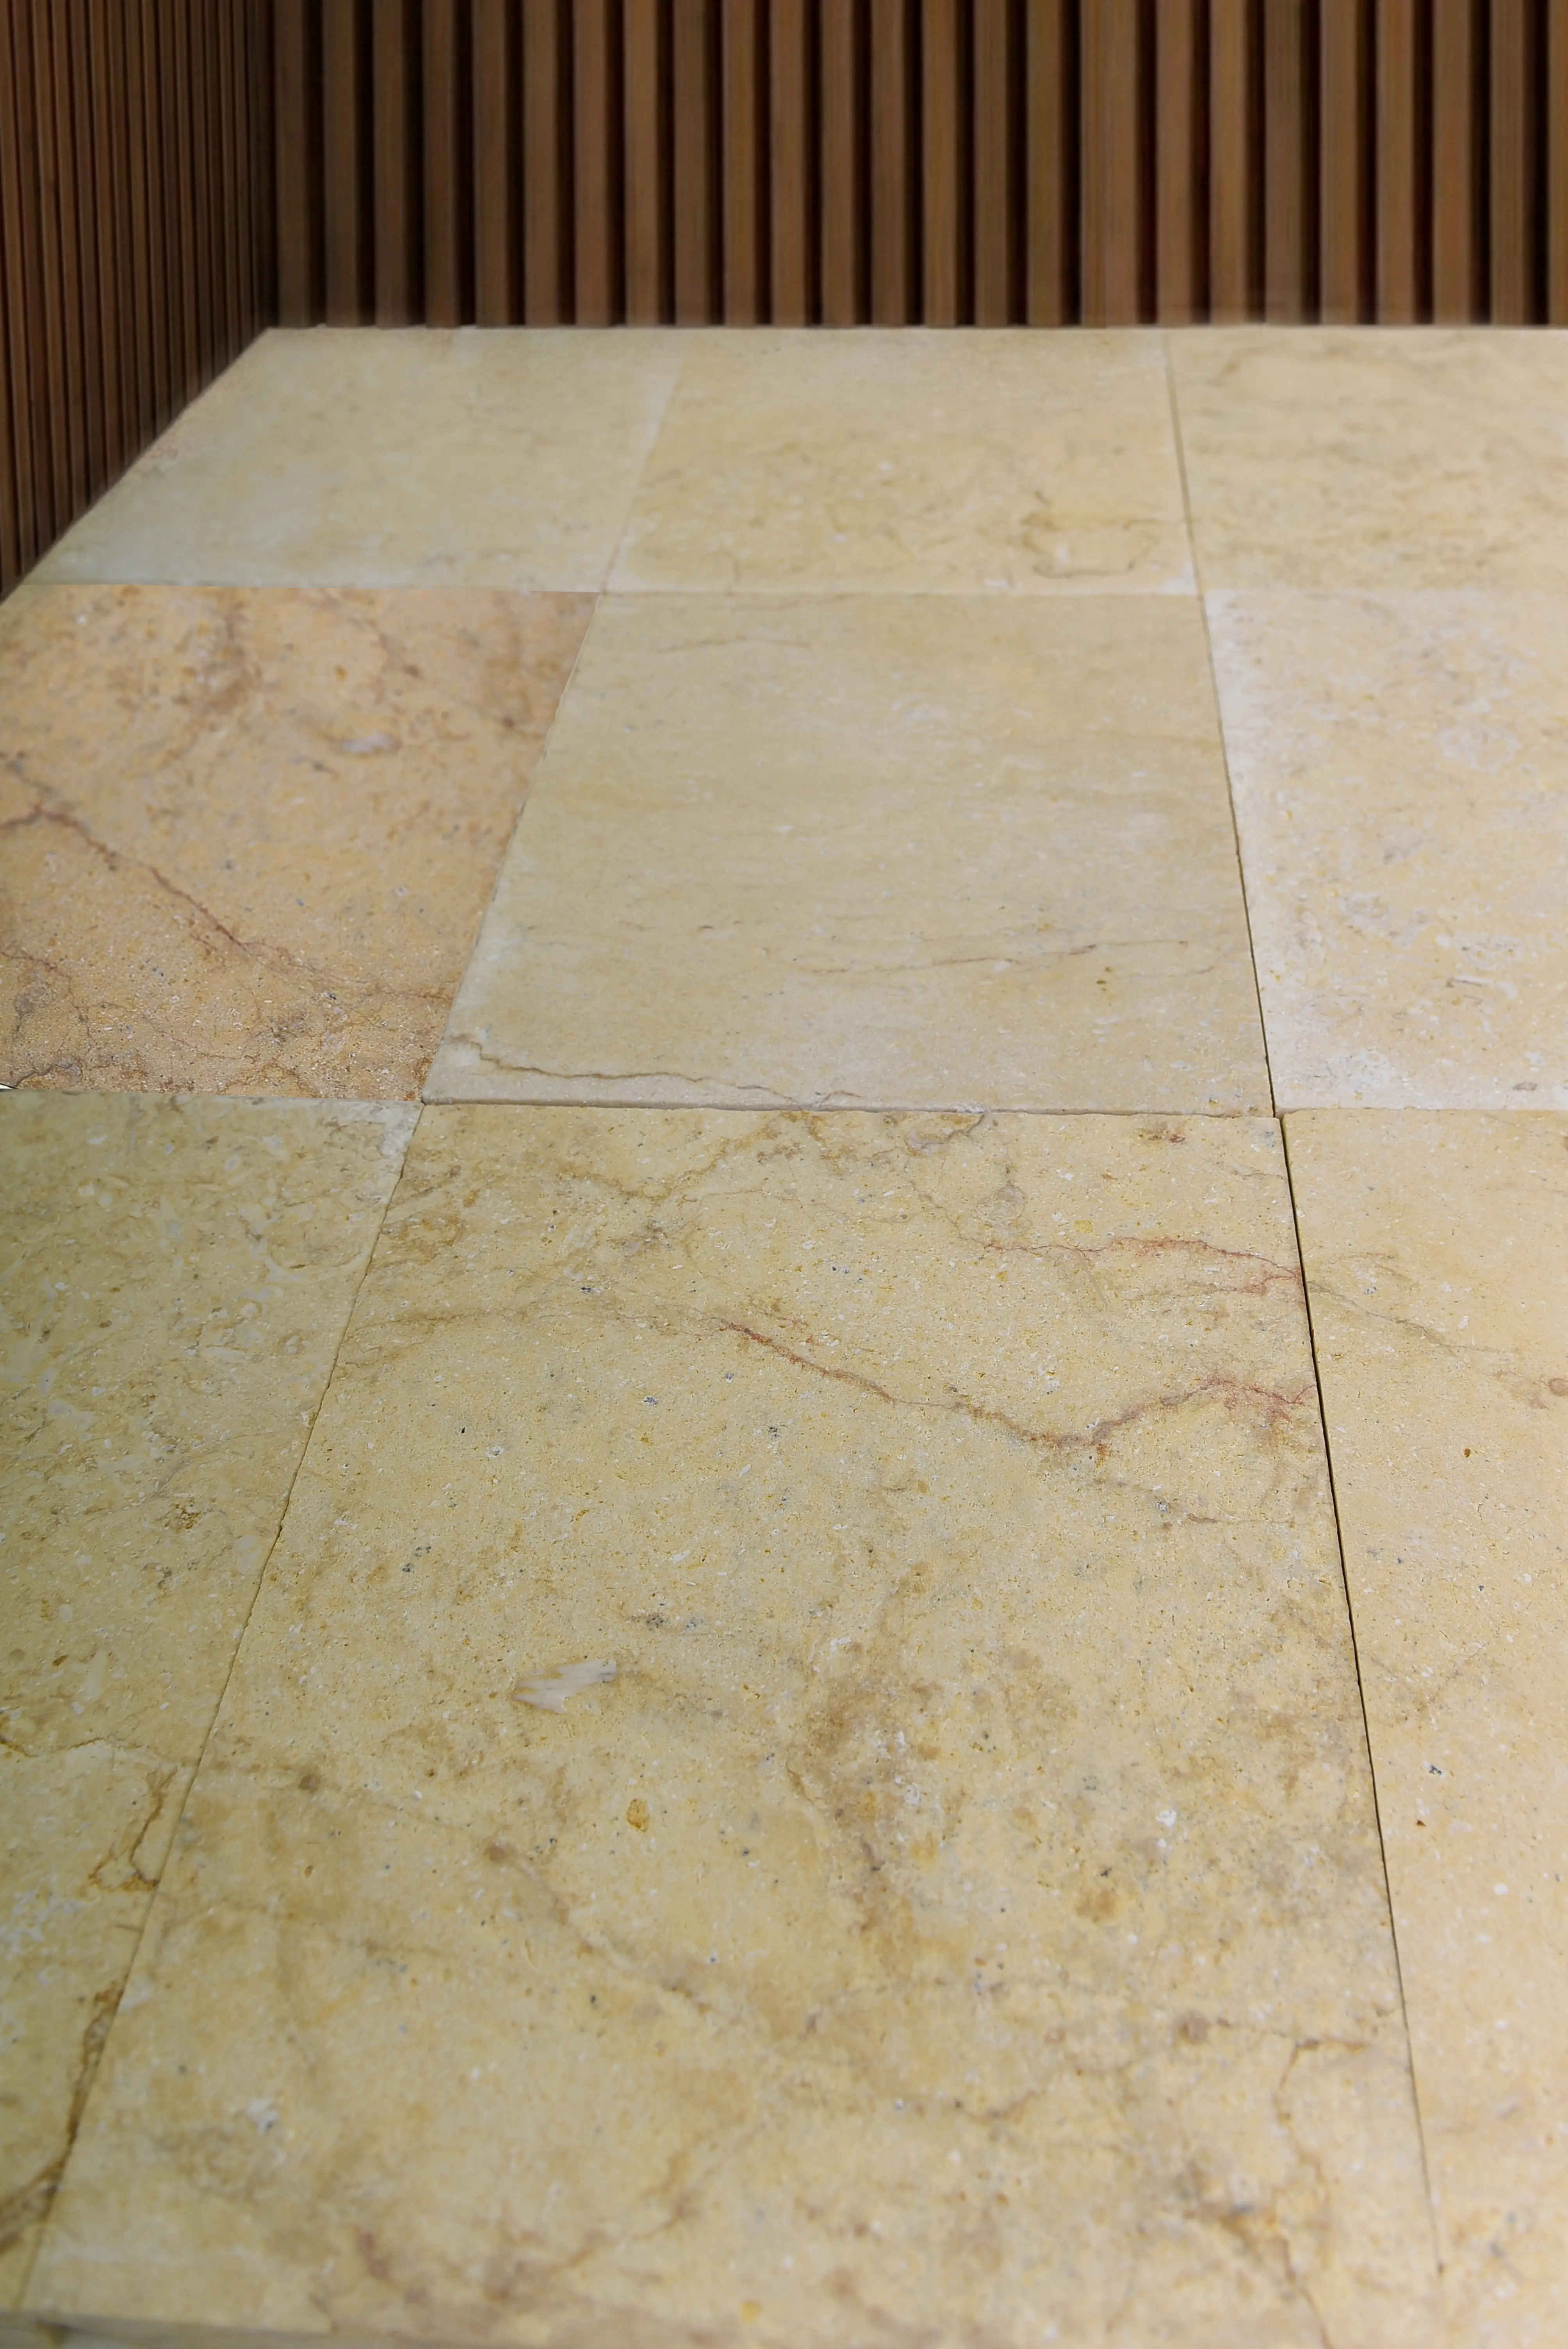
The 2×4 tile installation format pairs well with several natural stone options, but your material choice affects everything from setting time to long-term performance. Travertine in 2×4 format is a strong performer indoors — its consistent thickness across a calibrated tile helps maintain a flat plane when you’re working the herringbone diagonal. Marble brings a refined visual weight to the pattern, though its lower abrasion resistance means you’ll want to reconsider it in high-traffic corridors. Natural stone in this format also responds differently to adhesive coverage than ceramic alternatives, requiring back-buttering on every piece to eliminate voids beneath the diagonal seating angle.
Tudor stone tile offers a textural character that suits herringbone layouts particularly well — the slight variation in surface finish catches light differently across the interlocking rows, adding visual depth that flat, uniform tiles don’t produce. That textural quality also helps disguise minor grout joint inconsistencies in the field, which is a practical benefit when you’re managing a complex pattern across a large floor. Tudor stone tile is worth specifying early in the project so calibration data can be confirmed against your batch before setting begins. According to NSI tile stone specifications, calibrated natural stone tiles are held to dimensional tolerances that make herringbone layout geometry far more predictable than field stone or irregular cuts.
Your selection should also factor in tile thickness. The 2×4 herringbone pattern creates diagonal load paths that differ from a standard grid, so nominal thickness consistency matters more here. A tile with a manufacturing tolerance of ±0.5mm is manageable; ±1.5mm across a batch creates lippage that you can’t fix with adhesive adjustment alone. Check warehouse stock documentation for thickness calibration data before committing a full project quantity to a single batch.
Substrate Prep That Makes or Breaks the Pattern
Your substrate is the foundation that the herringbone geometry depends on completely. A 2×4 tile installation in herringbone will telegraph every high spot, low hollow, and deflecting substrate through the diagonal joints — often more visibly than a standard grid layout would. The industry standard for tile substrate flatness is no more than 3mm variation in 10 feet (per TCNA guidance), but for a herringbone pattern with tiles this small, tightening that to 2mm in 10 feet is a smarter target. You’ll need a long straightedge and patience during the screeding process, not just a quick eyeball check.
For interior applications on concrete slabs, a self-leveling underlayment rated to 3,500 PSI compressive strength gives you the flat, consistent base the herringbone layout needs. Uncoupling membranes are worth specifying where in-slab heating systems or minor substrate movement are expected — they interrupt the transfer of substrate flex into the tile layer, which is especially relevant for a pattern where every tile is locked diagonally against its neighbors. According to TCNA natural stone tile installation standards, proper substrate preparation is the single greatest predictor of tile installation longevity, ahead of tile quality and adhesive selection.
- Check slab moisture vapor emission rate (MVER) before setting — readings above 3 lbs per 1,000 sq ft per 24 hours require a vapor-control membrane
- Prime concrete substrates with a penetrating primer before applying self-leveling compound to prevent rapid moisture loss from the compound
- Allow self-leveling underlayment to reach full cure (typically 24 hours at 70°F) before beginning tile setting
- For wood subfloors, confirm deflection is within L/360 minimum — herringbone small-format tile is particularly sensitive to subfloor flex
Establishing Layout Lines for a True Herringbone Geometry
The layout line process for a 2×4 herringbone installation has fewer shortcuts than most installers expect. Start by finding the room’s true center — measure both axes and snap intersecting chalk lines. From that center point, rotate your working lines 45 degrees to establish the herringbone axis. A 1:2 tile ratio (2 inches by 4 inches) means your diagonal axis must align precisely with the long dimension of each tile, or the interlocking chevron pattern won’t resolve cleanly at its junctions.
Dry-lay at least six to eight rows from the center point in each direction before mixing a single batch of mortar. This dry run accomplishes three things: it reveals how the pattern resolves at the walls, confirms your layout lines are accurate, and shows you where cut tiles will fall. Aim to keep cut tiles at perimeter edges, not at doorways or in the visual center of the room. A cut tile at a threshold smaller than half the tile’s width looks incomplete and is structurally weaker at the edge — a concern in high-traffic entries.
Mark your layout lines on the substrate with a permanent marker after confirming your dry-lay is satisfactory. Chalk lines disappear under thinset and adhesive contact, and losing your reference mid-set is a serious problem in a herringbone pattern where each tile references the angle of the one before it.
Mortar and Adhesive Selection for Small-Format Natural Stone
The adhesive decision for a 2×4 tile installation in herringbone carries more consequence than most product literature communicates clearly. For natural stone in this format, a polymer-modified large-format tile mortar (rated to ANSI A118.15) gives you the open time and working flexibility that the herringbone setting sequence demands. You’ll be setting tiles at alternating 90-degree orientations from each other repeatedly — that rhythm is slower than a grid layout, and a standard-speed mortar can skin over before you’ve completed each row cleanly.
Trowel selection matters significantly here. A 3/16-inch V-notch trowel is appropriate for most calibrated 2×4 natural stone tiles, but if your stone shows any back variation (common in some travertine batches), upgrade to a 1/4-inch square-notch and back-butter each tile to ensure full contact. Voids beneath tiles set at a diagonal create stress concentration points that lead to cracking under point loads — a particular concern in kitchens and bathrooms where furniture legs and appliance feet apply localized pressure. The ASTM natural stone tile testing standards document minimum bond strength requirements that underscore why full mortar coverage — not just corner contact — is the non-negotiable target for natural stone.
- Target minimum 80% mortar contact coverage for indoor dry areas — 95% for wet areas and exterior applications
- Use a non-sag mortar formulation for wall installations to prevent tile slippage before the adhesive sets
- Allow mortar to fully cure before grouting — typically 24 hours for standard mortar, 48 hours in cool or humid conditions
- Test a tile for adhesion by lifting a freshly set piece after 10 minutes — mortar should cover at least 95% of the back, with the trowel ridges fully collapsed
The Setting Sequence That Keeps Herringbone Honest
Your setting sequence in a 2×4 herringbone installation controls whether the pattern stays true across a large field or drifts visibly by the room’s midpoint. Work from your center-axis layout line outward in quadrants — don’t try to set an entire room working from one wall to the other. The quadrant method keeps each section’s alignment anchored to your original reference lines rather than accumulating error from one edge of the space.
Set each tile by pressing and slightly rotating it into the mortar bed — the rotation technique collapses trowel ridges completely and ensures full contact across the tile’s back. For the herringbone pattern, alternate the long axis of each successive tile at 90 degrees to its neighbor. Maintain consistent joint width using tile spacers — 1/16-inch spacers are standard for a refined herringbone look in a residential interior; 1/8-inch spacers give a more relaxed joint that’s slightly more forgiving if your tiles have minor dimensional variation. At Citadel Stone, we recommend checking dimensional consistency across tiles from different boxes before setting begins, since even calibrated stone can show subtle batch variation that affects joint uniformity across a large floor.
For a natural complement to the 2×4 herringbone format at a different scale, Citadel Stone mosaic-scale tile provides an interesting contrast option for feature insets or border bands within the same installation.
Water Management Considerations for Herringbone Tile Applications
The water management dimension of a 2×4 tile installation varies significantly by application zone. In interior bathroom and kitchen settings, the herringbone pattern’s tight interlocking joints create a relatively low-permeability surface — but that doesn’t eliminate the need for a waterproofing membrane beneath the tile layer in wet zones. Shower floors, wet-room entries, and mud-room floors all warrant a sheet-applied or liquid-applied waterproofing membrane installed and cured before the setting bed goes down.
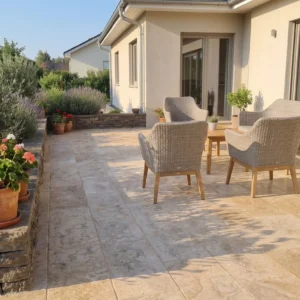
Outdoor herringbone applications in 2×4 format face a more demanding drainage brief. The small tile format and tight joint geometry can trap standing water in climates with intense rainfall patterns — monsoon regions, hurricane-prone coastal zones, and areas with heavy spring rain seasons all present conditions where poor drainage design becomes a setting-bed failure mechanism. Your substrate slope for outdoor herringbone work should target a minimum 1/8-inch per foot fall toward drainage channels, with 1/4-inch per foot in areas subject to ponding risk. In freeze-thaw regions, trapped water in grout joints expands on freezing and progressively dislodges tiles — a failure mode that an improperly sloped outdoor installation makes inevitable within a few seasons.
- Specify an epoxy grout or highly water-resistant cement grout for outdoor herringbone installations in high-rainfall climates
- Install a linear drain or channel drain at the low point of any outdoor herringbone field to prevent water from backing up into the setting bed
- In drought-cycle climates, thermal expansion and contraction in outdoor tile fields demands a movement joint every 8 to 10 feet — the herringbone diagonal requires these joints to be planned into the layout before setting begins
- Verify your mortar’s water-resistance classification — exterior-rated mortars differ substantially from interior products in freeze-thaw resistance
Grouting and Sealing a 2×4 Herringbone Installation
The grouting stage of a 2×4 tile installation in herringbone demands more precision than grouting a standard grid layout, for one straightforward reason — the diagonal joint intersections are geometrically complex, and incomplete grout packing at those intersection points creates voids that collect debris and moisture. Pack grout firmly into joints using a firm-rubber float held at a 30-degree angle to the tile surface, and work diagonally across the joint lines rather than parallel to them. This cross-float technique forces grout into the acute-angle intersections that the herringbone pattern creates at every tile junction.
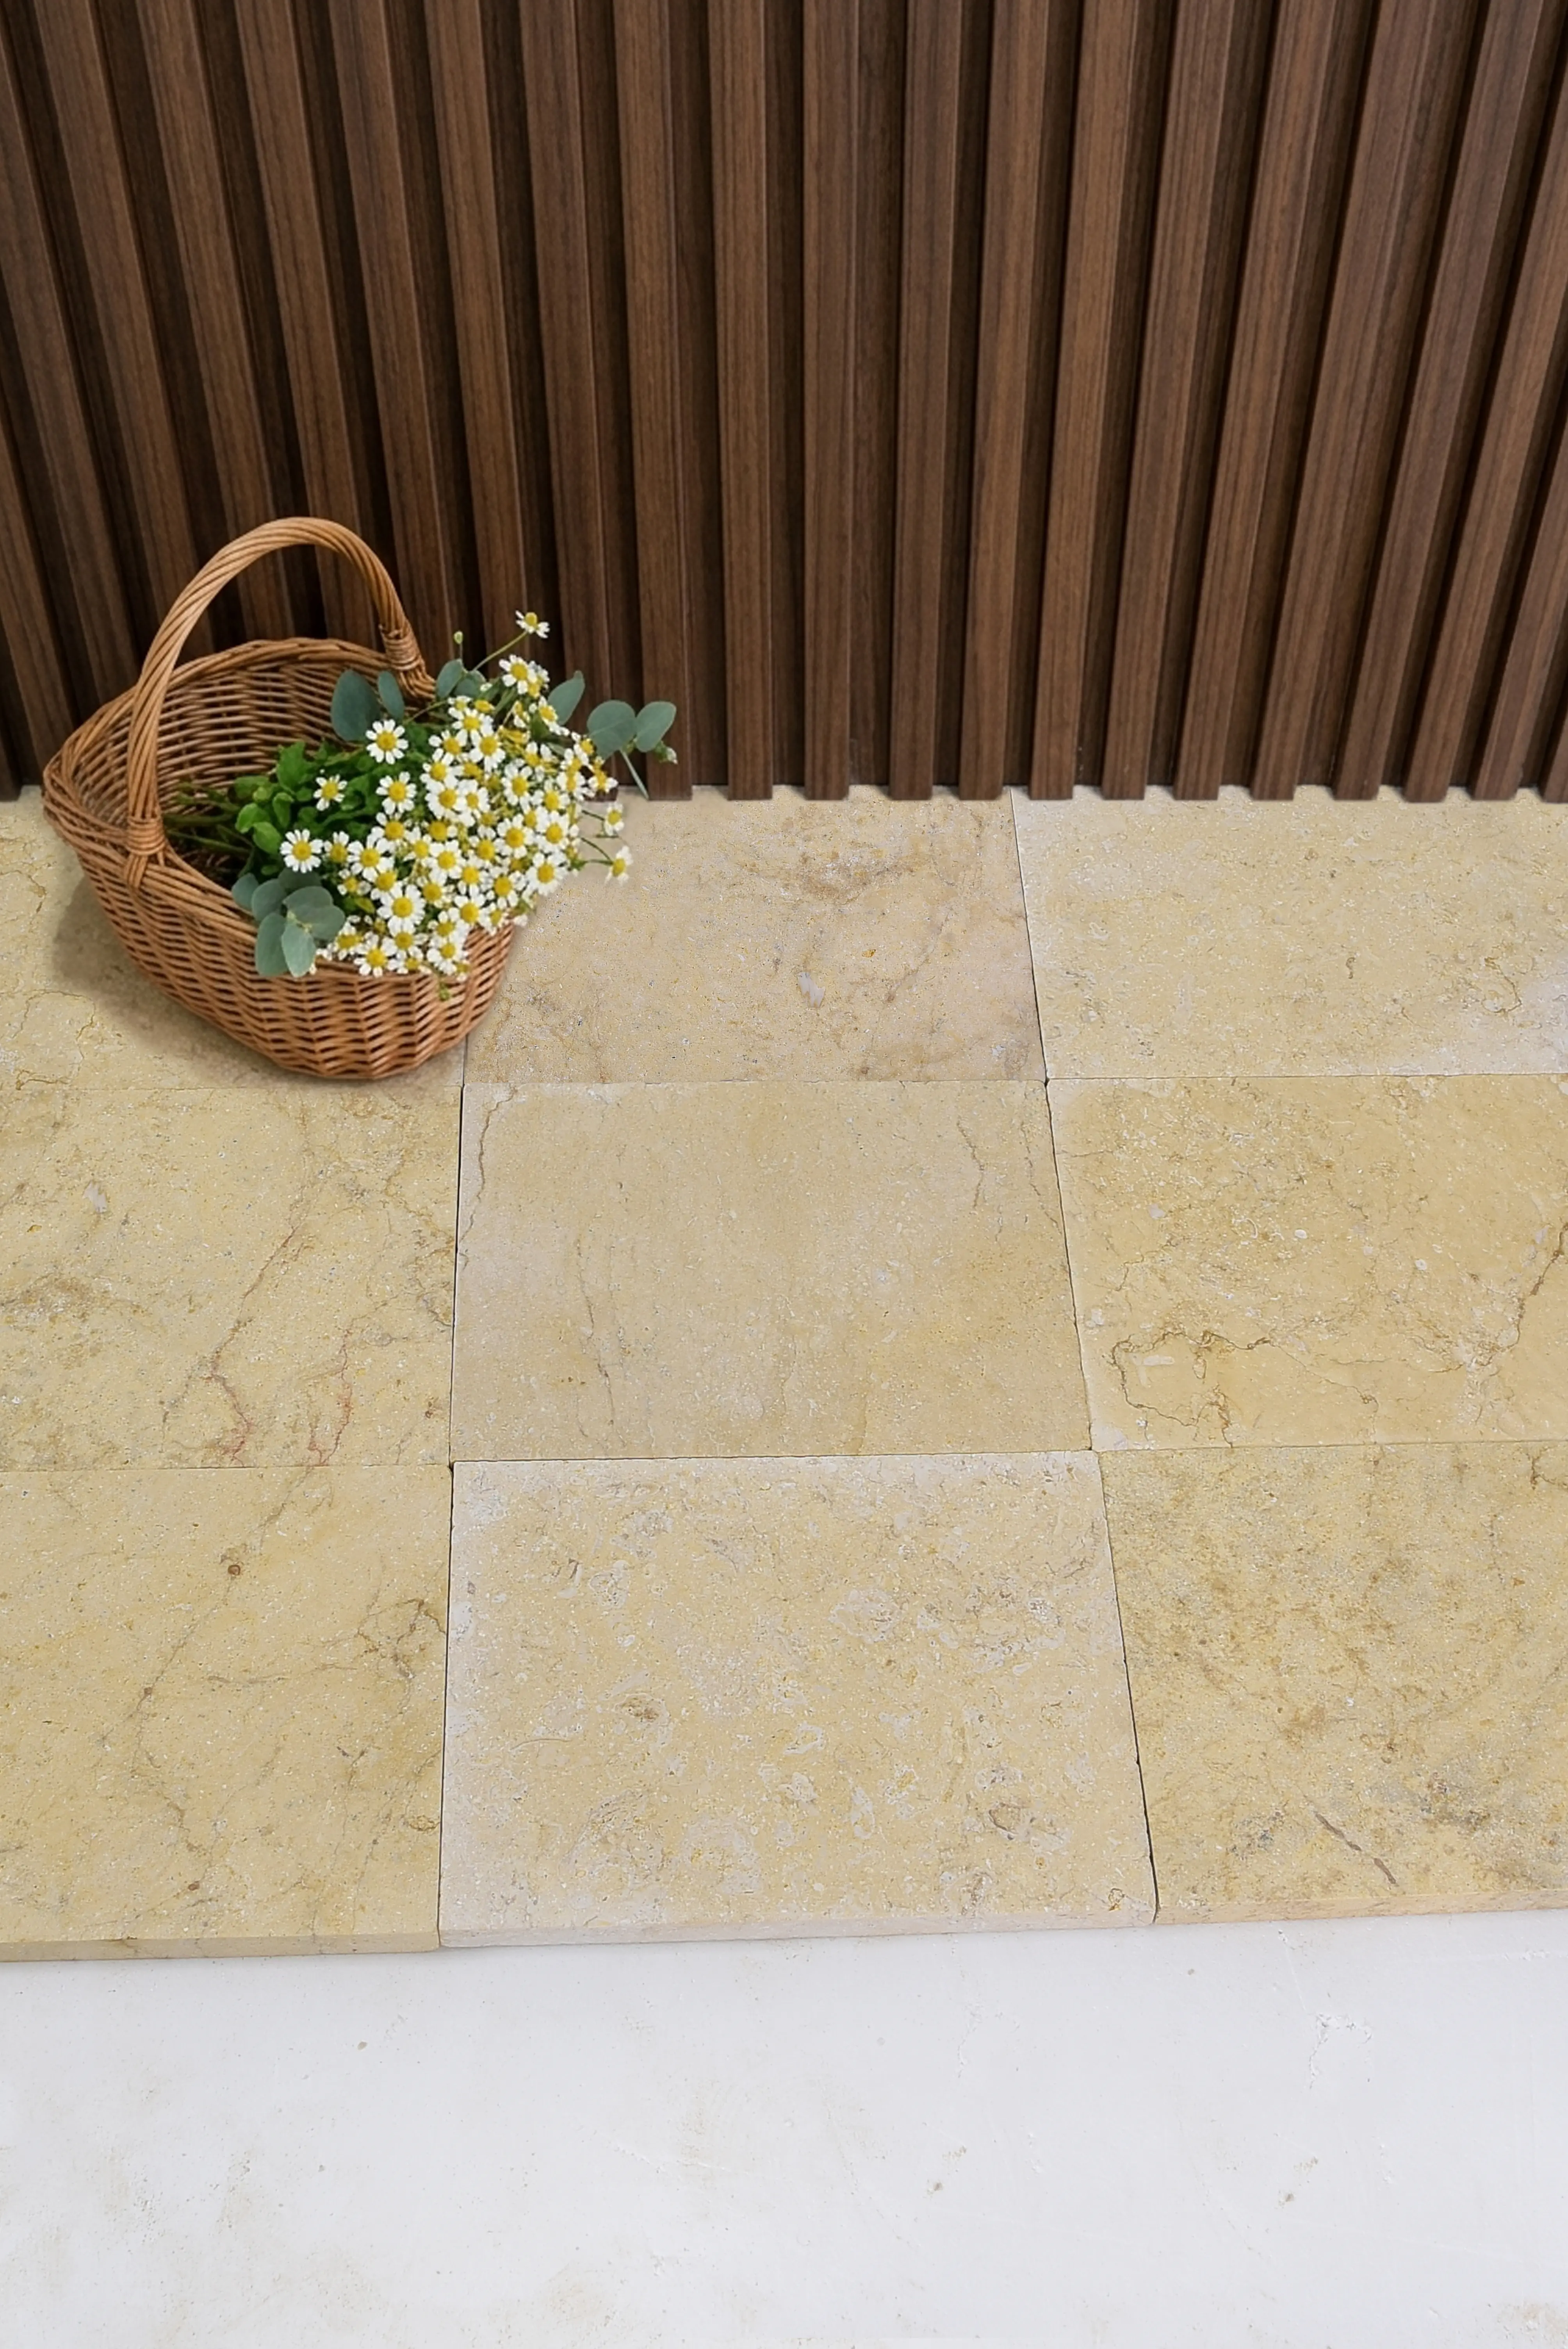
For natural stone tiles, always apply a penetrating sealer to the tile surface before grouting — particularly for porous stones like travertine and some limestone varieties. A pre-grout sealer prevents grout haze from bonding to the stone surface, which in a herringbone pattern means significantly less cleanup time across the many joint intersections. After grouting, allow a full 72-hour cure before applying your final topical or penetrating sealer. Sealing frequency depends on stone porosity and use intensity — a honed travertine herringbone floor in a high-traffic kitchen entry typically warrants resealing every 18 to 24 months to maintain its moisture resistance.
Travertine in 2×4 tile installation herringbone layouts benefits from consistent sealer penetration — but travertine’s open pore structure means the first sealer application is often partially absorbed before full coverage is achieved. A second coat applied within 5 minutes of the first, while the surface is still tacky, builds the protective layer that single-coat applications often miss. Your sealer manufacturer’s data sheet will specify coverage rates — actual field consumption on travertine is typically 15 to 20 percent higher than the published rate on non-porous test surfaces.
Before You Specify Your 2×4 Herringbone Installation
A well-executed 2×4 herringbone layout rewards the specification decisions made well before the first tile is set — material calibration, substrate preparation, layout axis confirmation, and drainage planning are the variables that determine whether the installation performs for decades or starts showing distress within a few years. Your project timeline should build in verification stages at each of these points, not treat them as assumptions. Confirm your tile batch calibration data from the warehouse documentation, verify substrate flatness with a proper straightedge check rather than a visual pass, and plan your setting sequence on paper before the mortar opens.
As you finalize your tile format decisions, comparing formats side by side helps clarify performance and visual trade-offs — how 4×8 and 6×12 formats compare explores another dimension of tile sizing worth reviewing alongside your 2×4 herringbone specification. Citadel Stone’s technical team is available to assist with batch selection and thickness verification before your order ships — that pre-order check, confirmed against warehouse stock records, has resolved more field problems than any post-installation adjustment could. Direct from quarries in Turkey, the Mediterranean, and beyond, Citadel Stone provides 2×4 tile calibrated for consistent thickness during setting.
Related reading: small travertine tile installation problems · Rectangular Travertine Tile Patterns: Herringbone Tips · 6×12 tile cost.