What Base Depth Actually Decides
Garden cobble stones are only as stable as the foundation beneath them — and that foundation is where most installations fail within the first three years. The compressive load of a cobble sits differently than a flat paver; its rounded or semi-rounded profile concentrates force on a smaller contact area, which means any soft spot in your sub-base translates directly into rocking, settlement, or edge displacement. Your aggregate base needs to hit a minimum of 4 inches of compacted crushed stone for pedestrian garden paths, and 6 inches for areas receiving occasional vehicle traffic or heavy garden equipment.
Understanding Your Material Before You Lay a Single Stone
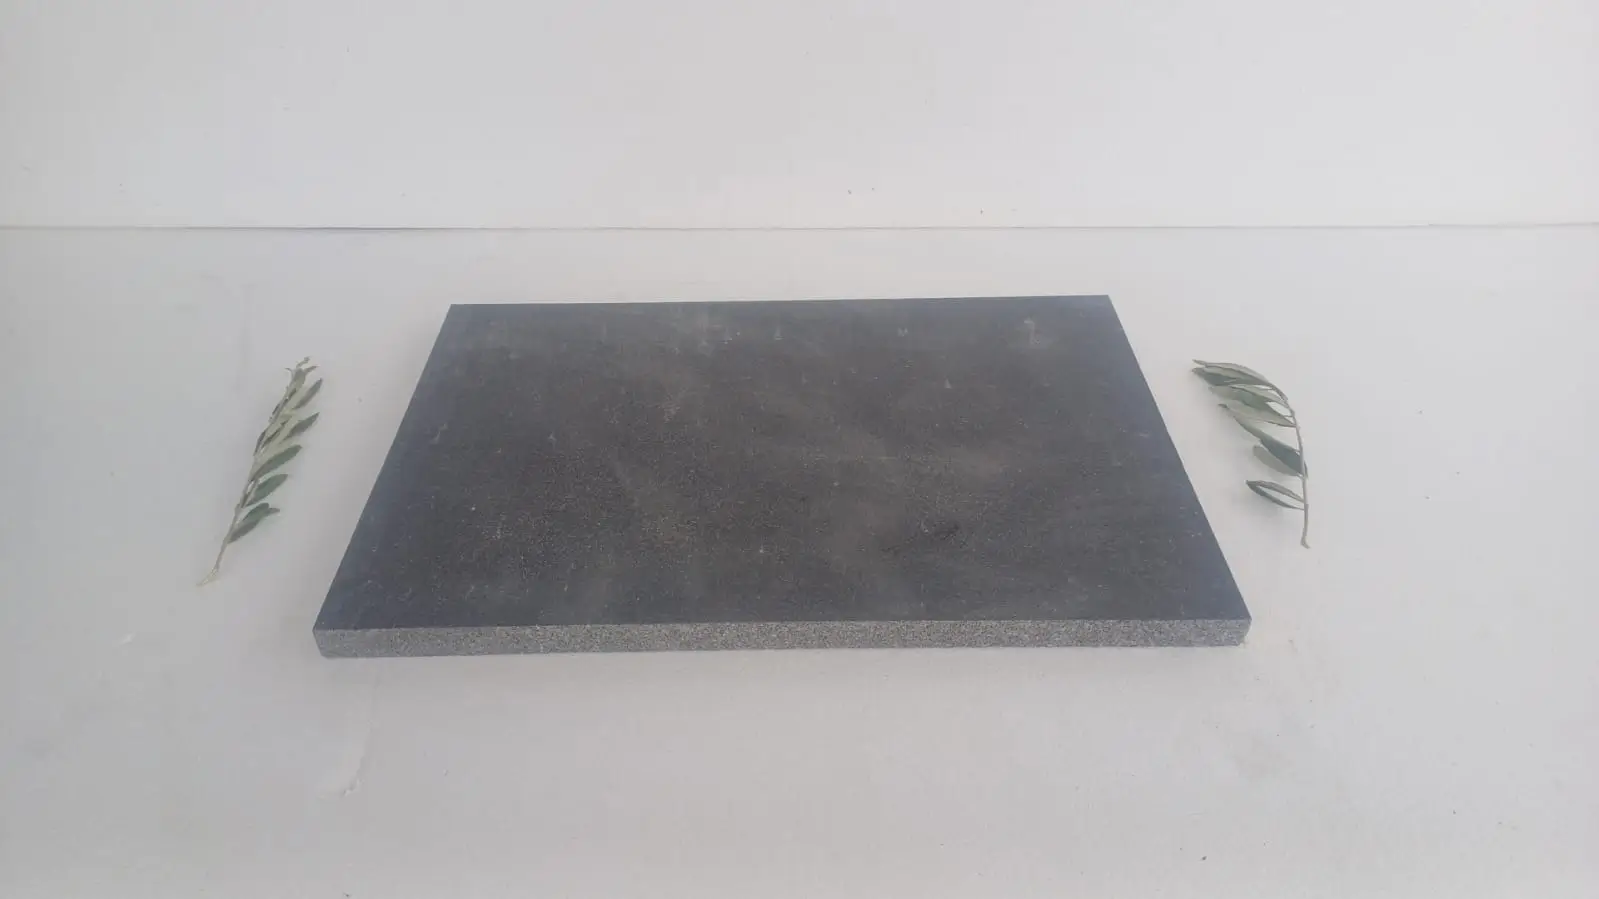
Natural stone garden pavers don’t behave like manufactured concrete units — and garden cobble stones in particular demand that you understand their dimensional variation before setting out your first course. You’ll encounter size tolerances of 5–10mm across a single pallet, which is completely normal for natural stone but requires a different bedding approach than cut pavers. Your bedding sand layer should sit at 30–40mm uncompacted, allowing you to fine-tune individual stone heights as you work across the area.
The porosity of natural stone also varies significantly by material. According to Natural Stone Institute granite cobblestone and sett specifications, granite-based cobbles typically exhibit water absorption rates below 0.5%, making them among the most freeze-thaw resistant options available — a genuinely important performance characteristic in regions that experience repeated seasonal temperature swings. Limestone and basalt cobbles occupy different points on the absorption spectrum, so your material choice directly affects long-term joint stability and moss management.
Density matters too. Denser cobbles — particularly basalt and harder granites — resist surface spalling under compaction, which is especially relevant when you’re using a plate compactor for final seating. Softer stones can chip at the edges during mechanical compaction, so you should always use a rubber pad or foam buffer between the plate and the stone surface.
Excavation and Sub-Base Preparation
Your excavation depth is non-negotiable: dig to sub-base + bedding sand + stone thickness, plus 20mm clearance below your finished level target. For a typical 80–100mm cobble, you’re looking at a total dig of around 220–260mm from finished grade. Mark that depth on a stake at the center and corners of your area before any digging starts — it sounds obvious, but it’s the single check that prevents under-excavation on sloped sites.
- Remove all organic material from the excavated zone — roots and topsoil compress unpredictably under load
- Compact the native subgrade with a vibrating plate before adding any aggregate
- Add compacted hardcore or Type 1 aggregate in maximum 100mm lifts — compacting each lift separately
- Check compaction with a steel bar probe: firm resistance at 150mm depth indicates adequate compaction
- Ensure a minimum 1.5–2% cross-fall for surface water drainage — flat installations create pooling problems within the first wet season
In clay-heavy soils, consider a geotextile separation layer between subgrade and aggregate. This prevents fine clay particles from migrating upward into the crushed stone over time, which gradually softens your base and leads to the sinking you’ll see in poorly specified installations after 5–7 years.
Setting Out Patterns That Actually Work
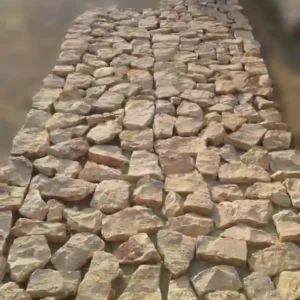
The setting-out stage is where you’ll save yourself hours of remediation work downstream. Garden cobble stones lend themselves to several distinct laying patterns, and your choice affects both the visual outcome and the structural performance of the finished surface.
- Coursed rows running perpendicular to the primary foot-traffic direction distribute load more effectively than diagonal patterns
- Random placement requires a detailed layout pre-sort to avoid size clustering, which creates uneven joint widths and weakens the surface matrix
- Fan or radial patterns suit circular features well but require precise center-point fixing and patience with the tapered joint geometry
- Straight parallel runs are the easiest to maintain consistent joint width and are the best choice for first-time installers
Use a string line and level pegs across the full area before placing a single stone. Your string line is your reference for both level and pattern alignment — and it should be checked every 1.5 metres as you work, not just at the start. Drift accumulates gradually and is almost invisible until you step back and look at the finished surface from a distance.
Bedding and Seating Garden Cobble Stones Correctly
The bedding layer is where most of the real skill lies in a cobble installation. Spread your sharp sand to an even 30–40mm depth using a screed board guided by rails set at the correct finished height. Your sand bed needs to be loose — not compacted — at this stage; the act of seating each cobble individually is what achieves the correct embedment depth of 50–60% of the stone’s height.
Press each cobble firmly by hand first, checking that it doesn’t rock before you move to the next. A rocking cobble means either an uneven bed below it or a size mismatch with its neighbours. Correct it now — once you’ve plate-compacted a section, re-lifting stones becomes genuinely difficult and risks disturbing adjacent stones. For ASLA cobblestone and block paving landscape design guidance, proper embedment and joint material selection are consistently flagged as the two factors most directly linked to long-term surface integrity.
At Citadel Stone, we advise setting out a dry trial section of at least 1 square metre before committing to full bedding — particularly with irregular-shaped natural cobbles where size variation is highest at the pallet edges. This trial reveals size sorting issues and pattern problems before they’re locked into mortar or compacted sand.
Jointing: The Detail That Determines Longevity
Joint filling is not a finishing touch — it’s a structural component of the installation. Open joints allow vertical movement between individual stones, which progressively widens gaps and destabilises the surface. Your target joint width for garden cobble stones is 10–20mm, filled with either kiln-dried jointing sand for flexible installations or a polymeric sand product that resists washout and weed infiltration.
- Kiln-dried sand works well for stable, well-drained sub-bases but requires reapplication after heavy rain events in the first season
- Polymeric jointing sand sets to a semi-rigid state that resists ant colonisation and weed root penetration — worth the additional cost for formal garden areas
- Mortar pointing is appropriate for cobbles set on a concrete slab or in permanently wet environments, but it removes the surface’s flexibility and can crack in freeze-thaw regions
- Fill joints in two passes: brush in the first layer, compact lightly with the plate (using a foam pad), then top up and brush off the excess
Joints should never sit more than 5mm below the top surface of the cobbles. That recess depth is the threshold at which water retention in the joint accelerates frost damage to both the joint material and the stone edges.
Budgeting and Sourcing Considerations for Your Project
Material cost is only part of the budget equation for a cobble project. Freight distance from the distribution warehouse to your site is a meaningful variable — particularly for natural stone, which is dense and heavy. A tonne of granite cobbles that costs the same at the point of origin can represent a 15–25% total cost difference depending on trucking distance and access constraints at your property. When you’re pricing a garden cobble stones project, always get a delivered-to-site quote rather than an ex-warehouse price.
The material-to-labour cost ratio for cobble installation also deserves attention. Cobbles are more labour-intensive to lay than flat-format natural stone garden pavers — installation rates run at approximately 4–6 square metres per hour for an experienced installer versus 8–10 square metres per hour for standard paving slabs. In markets where skilled labour rates are higher, this ratio can flip the budget balance significantly. Value engineering through pattern simplification — choosing coursed rows over complex fan patterns — can reduce installation time by 20–30% without compromising the visual character of the finished surface.
Your truck access logistics also affect scheduling. At Citadel Stone, we maintain warehouse inventory ready for dispatch, which typically compresses lead times to 1–2 weeks rather than the 6–8 week import cycle common with direct-order stone. That lead time advantage directly reduces holding costs and allows tighter project scheduling — a real budget factor on time-sensitive landscaping contracts. Confirm pallet quantities against your area calculation before placing the order, and add a 7–10% wastage allowance for cut pieces at edges and pattern adjustments.
Drainage Design and Edge Restraints
Edge containment is a prerequisite for any cobble installation that’s expected to last. Without a fixed perimeter, the outer course of stones migrates laterally under foot traffic and compaction forces — it’s a slow process, but within three to five seasons you’ll have visible spreading at the edges and corresponding looseness across the field. Install your edge restraint before laying any cobbles: concrete haunching to the back of a steel or composite edging board, or a mortared stone edge course set on a concrete strip footing.
Drainage integration for garden patio stones needs to account for both surface water and sub-surface movement. Your 1.5–2% surface fall should discharge to a permeable border, a planted edge, or a linear drain — not against a building wall or a fence base. In garden settings, a permeable gravel channel at the low edge of the cobbled area is often the cleanest drainage solution and avoids the cost and complexity of a formal linear drain system.
Sealing and Maintenance Expectations
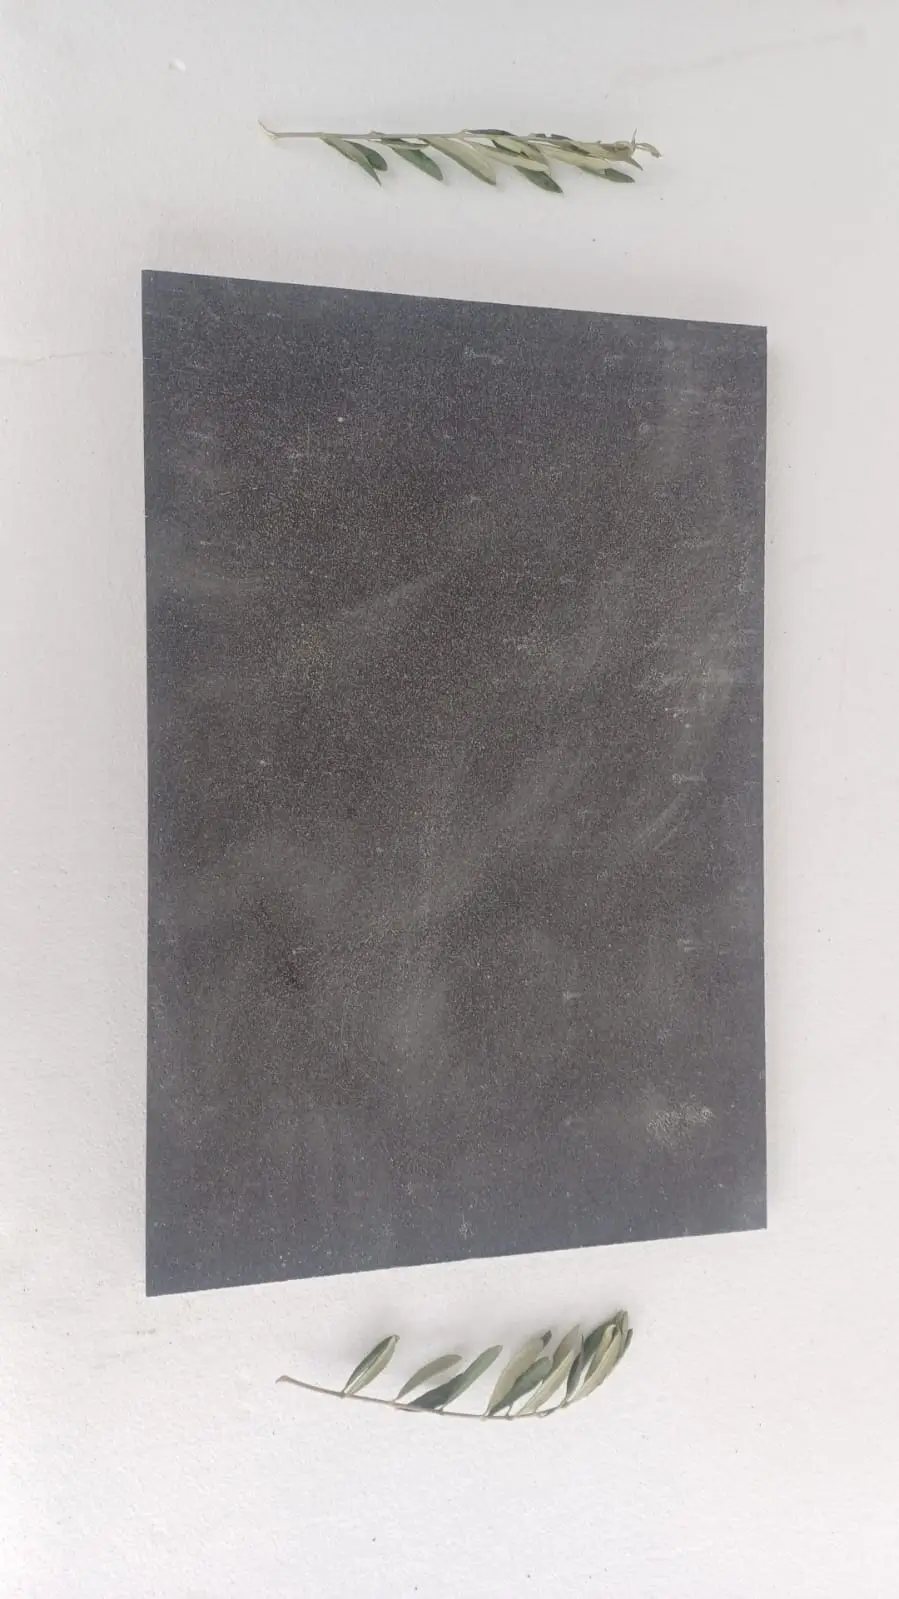
Sealing garden cobble stones is a choice rather than a requirement, but it’s one worth making deliberately based on your material and context. Dense igneous cobbles — basalt, granite — have low enough porosity that sealing primarily offers a cosmetic benefit: enhanced colour depth and a modest reduction in organic staining from algae and leaf tannins. Limestone and sandstone cobbles genuinely benefit from a penetrating impregnator sealer because their higher absorption rates make them more susceptible to freeze-thaw moisture infiltration and biological growth.
According to USGS cobblestone and granite sett dimension stone data, natural stone dimension products exhibit significantly varied absorption characteristics by rock type — a distinction that should directly inform your sealing specification. Apply a penetrating impregnator to clean, dry stone 48–72 hours after installation; don’t seal during the first 30 days if a mortar bed was used, as residual alkali from the curing mortar interferes with sealer adhesion.
- Reapply penetrating sealer every 3–5 years depending on UV exposure and cleaning frequency
- Clean cobbles annually with a pH-neutral stone cleaner — avoid acidic or bleach-based products that attack joint material and surface texture
- Check joint levels each spring and top up any depleted areas before the growing season drives weed establishment
- Re-compact any rocking stones promptly — early intervention prevents the progressive joint failure that makes large-area remediation necessary
Common Installation Mistakes Worth Knowing
The detail most specifiers underestimate is thermal movement at the perimeter. Natural stone garden pavers expand and contract with temperature — for a 10-metre run of cobbles, the cumulative movement can reach 6–8mm across a full seasonal cycle. Your edge restraint and perimeter joints need to accommodate this, or you’ll see heaving at the edges of the installation during the first hot summer. Leave a 5–8mm expansion gap at any fixed boundary: building walls, permanent planting borders, and concrete structures.
Explore our natural garden cobbles to see the range of material options available, from basalt and granite through to limestone cobble profiles in varying size formats.
- Don’t skip the sand screeding rails — eyeballing the bed level leads to uneven finished heights and rocking stones
- Avoid wet or frozen sub-base conditions during installation — moisture in the sub-base during compaction traps hydrostatic pressure that emerges as heaving once the stone load is applied
- Don’t plate-compact without a protective pad — surface chipping on the top face of natural cobbles is irreversible
- Don’t assume all cobbles on the pallet are the same size — sort by height before laying and use size-matched groups within each section for a consistent finished plane
Getting Garden Cobble Stone Specifications Right
A well-executed garden cobble stones installation comes down to preparation discipline, material understanding, and patience at the bedding stage — the three variables that separate a surface that looks good on day one from one that still looks good in year fifteen. Your sub-base quality, joint fill consistency, and edge restraint details do the structural work; the stone itself provides the character. Garden centre decorative stones can vary widely in dimensional consistency and material density, so confirming specification details with your supplier before ordering protects both your budget and your finished result. For projects where the hardscape extends beyond the garden surface into vertical applications or boundary features, natural stone exterior wall options provide further specification guidance on how Citadel Stone materials perform across different outdoor contexts. Take the time to sort your cobbles before laying, confirm your drainage fall with a level rather than by eye, and don’t rush the joint filling stage — these are the details that installers with a decade of experience still give the same attention to on every project. Sourced from premium quarries in Turkey and the broader Middle East region, Citadel Stone garden cobble stones hold color in full sun.
Related reading: Choosing Stone for Garden Borders: A Complete Guide · pavers for garden beds · Stone Garden Wall Ideas for Every Yard Style.