

The guide covers problems ranging from simple joint maintenance to structural settling issues. Most repairs can be completed with common tools, though some require specialized equipment rental.
Quick Tools & Materials Checklist (Before You Start)
Essential Tools:
- Plate compactor (walk-behind, 150-200 lbs)
- Diamond blade wet saw (7″ or 14″ depending on paver thickness)
- Angle grinder with diamond cutting disc
- Hydraulic jack or paver lifting tools
- Pry bars and flat spades
- Hand tamper and rubber mallet
- Stiff-bristled brush and shop vacuum
- Garden hose with adjustable nozzle
- Wheelbarrow or mixing tub
- Measuring tape and chalk line
Materials Inventory:
- Polymeric sand (various colors to match joints)
- Bedding sand (concrete sand, angular)
- Crushed stone base (3/4″ minus)
- Geotextile fabric (if needed for soft subgrades)
- Two-part epoxy or polyurethane repair compound
- Penetrating sealer (breathable, natural look)
- Jointing mortar for wide joints
- Replacement basalt pavers (order 5-10% extra)
Safety & Testing Equipment:
- Safety glasses, dust masks, work gloves
- Moisture meter for substrate testing
- 4-foot straightedge and spirit level
- Infrared thermometer for thermal expansion assessment.
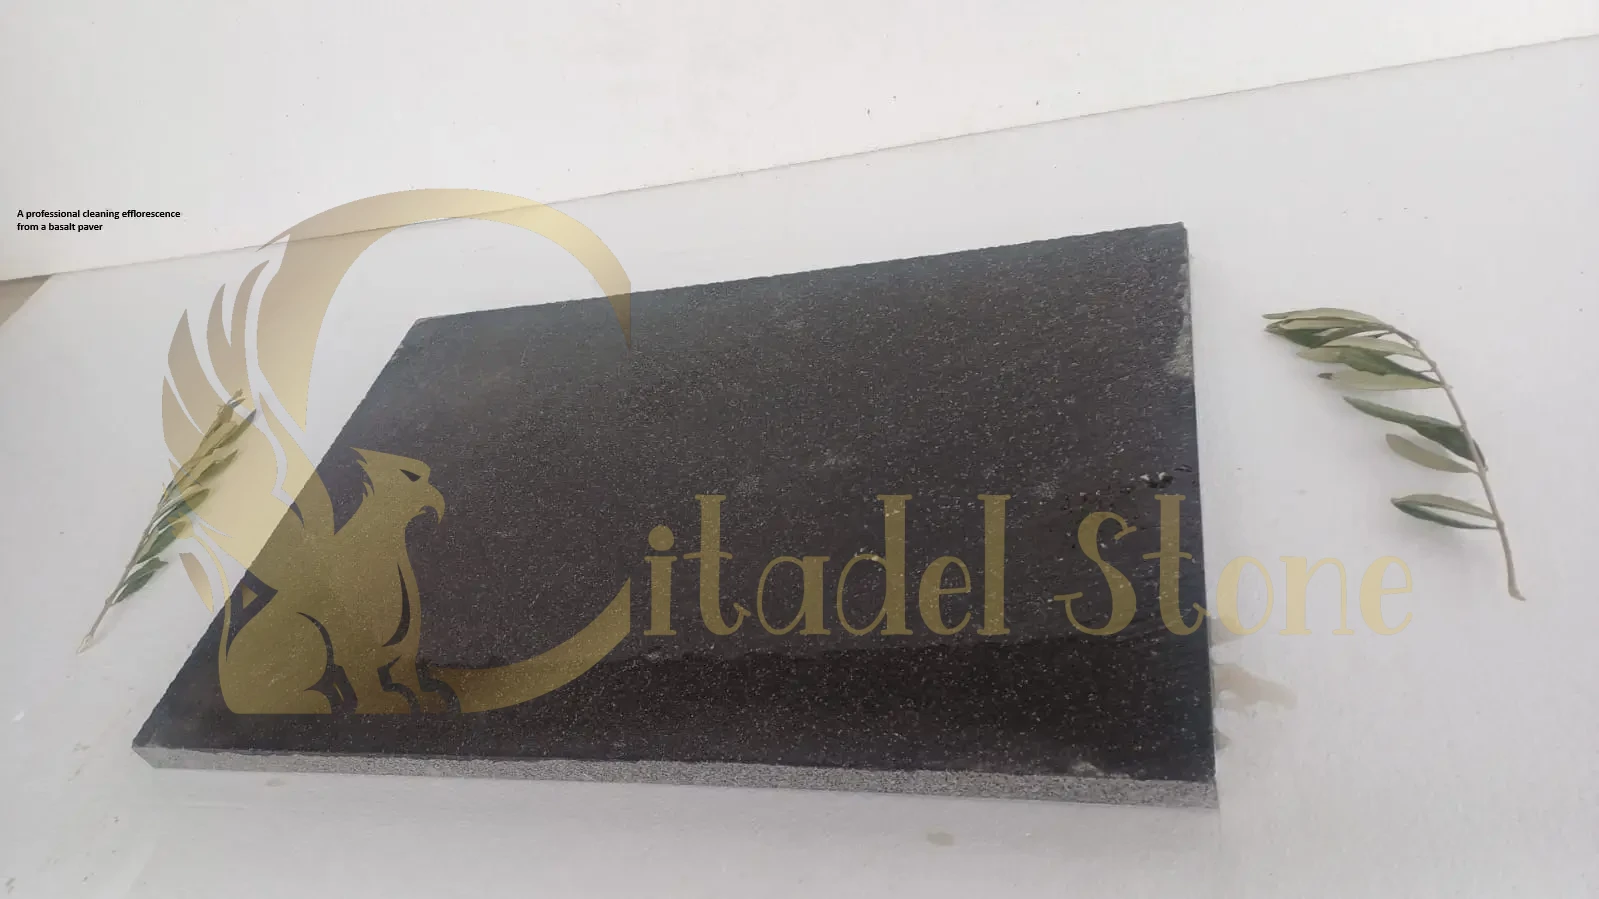
Problem 1 — Uneven / Settling Pavers (Low Spots & Trip Hazards)
Symptoms & Root Causes
Settling pavers create unsightly low spots and dangerous trip hazards. You’ll notice water pooling, visible height differences between adjacent pavers, or a “soft” feeling underfoot. Common causes include inadequate base compaction, soft or organic subgrade materials, poor drainage leading to washout, or insufficient edge restraint allowing lateral movement.
Heavy loading beyond design specifications and freeze-thaw cycles in poorly drained areas accelerate settling problems.
Step-by-Step Fix
- Mark the affected area using spray paint or chalk, extending 12 inches (30 cm) beyond visible settlement
- Remove pavers carefully using pry bars, starting from one edge and working systematically
- Excavate bedding sand to expose the base layer, checking for soft spots or voids
- Test subgrade stability by walking on it — any deflection indicates inadequate bearing capacity
- Add geotextile fabric over soft areas to prevent future mixing of materials
- Replace and compact base material in 4-inch (10 cm) lifts using plate compactor, achieving 95% Standard Proctor density
- Install 1-inch (25 mm) bedding sand layer and screed level using rigid screeds
- Reset pavers maintaining proper joint widths (2-3 mm typical)
- Compact pavers with plate compactor using protective pad
- Fill joints with appropriate sand and compact again
Time, Tools & Illustrative Cost Range
Time: 6-8 hours for 1 m² repair (including material curing) Tools: Excavation tools, plate compactor, screeds Illustrative materials cost: $45-75 per m² including replacement base, sand, and labor
Prevention Checklist
- Specify minimum California Bearing Ratio (CBR) of 5% for subgrade
- Ensure proper base depth: 6 inches (150 mm) for pedestrian areas, 8+ inches (200+ mm) for vehicular traffic
- Install rigid edge restraints anchored to stable subgrade
- Provide positive drainage with 2% minimum slope away from structures
- Compact base in lifts not exceeding 4 inches (100 mm)
Protect your investment — basalt stone slabs warranty info.
Problem 2 — Joint Sand Loss & Weed/Infill Washout
Why It Happens
Joint sand migration occurs due to surface water flow, wind erosion, inadequate edge restraint, or poor initial compaction. Heavy rainfall events and pressure washing without proper technique accelerate sand loss. Insufficient joint width or overfilled joints also contribute to premature failure.
Organic contamination in joint sand provides nutrients for weed growth, while inconsistent joint filling creates weak points for erosion initiation.
Repair Steps
- Clean existing joints using shop vacuum or compressed air to remove loose debris
- Remove weeds and organic matter using appropriate herbicide (follow label instructions)
- Check paver stability — address any loose units before proceeding
- Select appropriate joint material:
- Standard kiln-dried sand for basic applications
- Polymeric sand for enhanced stability and weed resistance
- Cementitious grout for heavy-duty commercial areas
- Fill joints leaving 1/8 inch (3 mm) below paver surface
- Vibrate pavers using plate compactor with protective pad
- Sweep and add more sand as joints settle during compaction
- Activate polymeric sand (if used) with fine mist spray per manufacturer’s instructions
When to Use Different Joint Materials
Kiln-dried sand: Cost-effective for low-traffic residential areas with good drainage. Easy to repair but requires regular maintenance.
Polymeric sand: Mid-range cost with superior weed resistance and stability. Best for moderate traffic and areas prone to washout. More difficult to repair.
Cementitious grout: Highest cost but maximum durability for heavy commercial traffic. Requires professional installation and creates permanent joints.
Preventative Maintenance Schedule
Monthly: Visual inspection for joint integrity and early weed growth Quarterly: Targeted cleaning and spot joint refilling Annually: Complete joint assessment and systematic refilling After heavy storms: Immediate inspection and emergency repairs as needed.
Start your backyard makeover with basalt tiles.
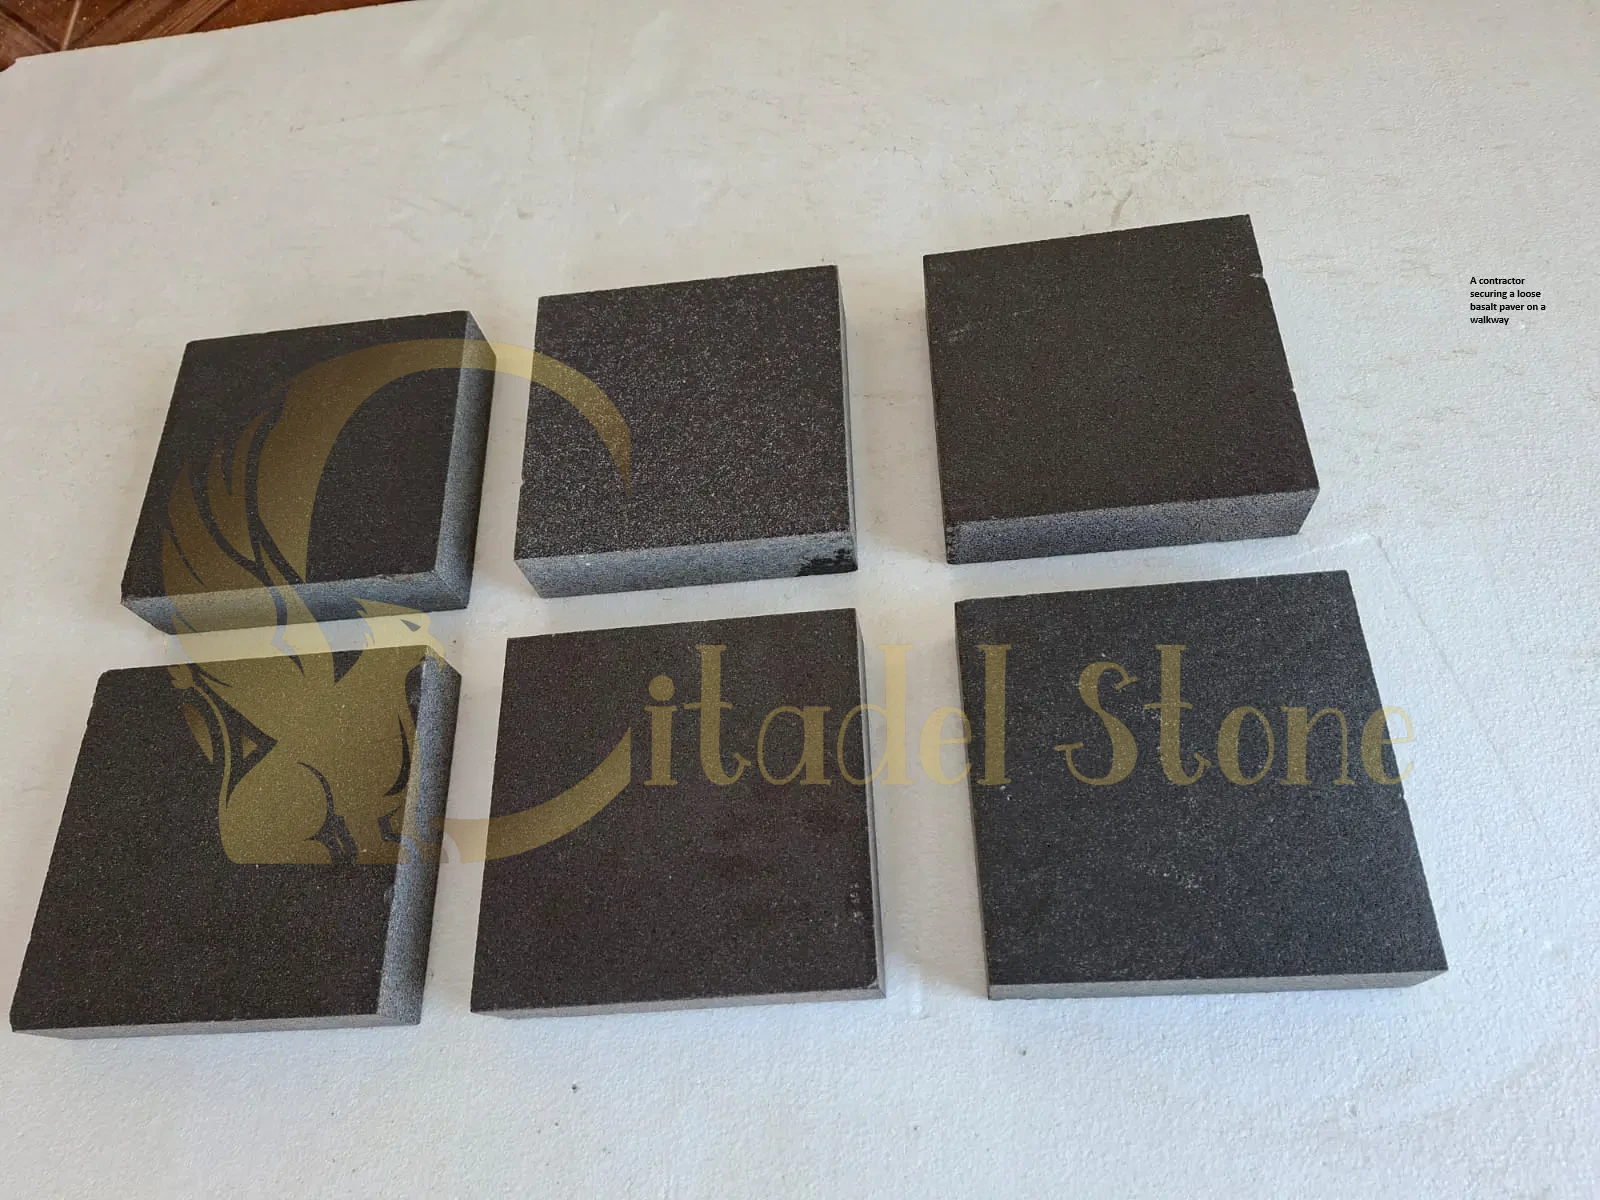
Problem 3 — Staining & Discoloration (Organic, Oil, Rust)
Identifying Stain Types and Appropriate Cleaners
Organic stains (leaves, food, beverages) appear as brown or dark patches. Use enzyme-based cleaners or oxygen bleach solutions. Oil and grease stains create dark, sometimes shiny surfaces. Apply commercial degreasers or dish soap with hot water. Rust stains appear orange-brown and require acid-based cleaners or poultice treatments.
Always test cleaners on an inconspicuous area first. Check sealer compatibility before applying any chemical treatments.
Stepwise Cleaning Procedures
For Organic Stains:
- Apply enzyme cleaner per manufacturer’s dilution ratios
- Allow 15-30 minute dwell time for penetration
- Agitate with soft-bristled brush in circular motions
- Rinse thoroughly with clean water
- Repeat if necessary after 24-hour drying period
For Oil Stains:
- Absorb fresh spills immediately with kitty litter or sand
- Apply degreaser concentrate to stained area
- Allow 20-minute dwell time without letting product dry
- Scrub with stiff brush and rinse with hot water
- For persistent stains, apply poultice overnight and rinse
For Rust Stains:
- Mix oxalic acid cleaner according to label instructions
- Apply with brush, avoiding contact with joint materials
- Allow 10-15 minute dwell time (never let dry on surface)
- Scrub lightly and rinse immediately with abundant water
- Neutralize with baking soda solution if required
Sealing Strategy
Breathable penetrating sealers preserve natural appearance while providing stain resistance. They allow moisture vapor transmission but repel liquids. Reapply every 3-5 years (illustrative interval).
Film-forming sealers create a protective barrier but may alter appearance and trap moisture. They provide superior stain resistance but require more frequent maintenance and complete removal for renewal.
Order textured black basalt tiles for textured surfaces.
Problem 4 — Efflorescence & Salt-Crystallization on Basalt
Difference: Soluble Salts vs Salt Crystallization Damage
Efflorescence appears as white, powdery deposits on the surface caused by soluble salts migrating with water movement. It’s primarily cosmetic and can be removed with appropriate cleaning. Salt crystallization damage occurs when salts form crystals within stone pores, causing spalling and surface deterioration.
Typical causes include groundwater with high mineral content, de-icing salt exposure, marine environments, or mortar/concrete with excessive lime content.
Diagnostic Tests
Simple water test: Apply distilled water to affected area. If white deposits disappear temporarily, it’s likely efflorescence. If deposits remain or surface shows pitting, suspect crystallization damage.
Laboratory analysis may be needed for persistent problems to identify specific salt types and concentrations.
Remedial Steps
- Dry brush removal for light efflorescence using stiff natural bristles
- Controlled washing with clean water and soft detergent
- Avoid acid cleaners on basalt unless specifically tested for compatibility
- Apply poultice treatment for embedded salts using absorbent materials
- Improve drainage to reduce moisture movement through the pavement system
- Reduce capillary rise by installing vapor barriers or improving base drainage
- Consider low-absorption alternatives for replacement in high-exposure areas
Preventive Specification Language
“Contractor shall provide basalt pavers with absorption rate not exceeding 3% by weight when tested according to ASTM C97. In marine environments within 1,000 feet of saltwater, absorption shall not exceed 1.5%. Pre-delivery testing certificates shall be provided for each stone lot.”
Get commercial-grade basalt floor tiles pricing.
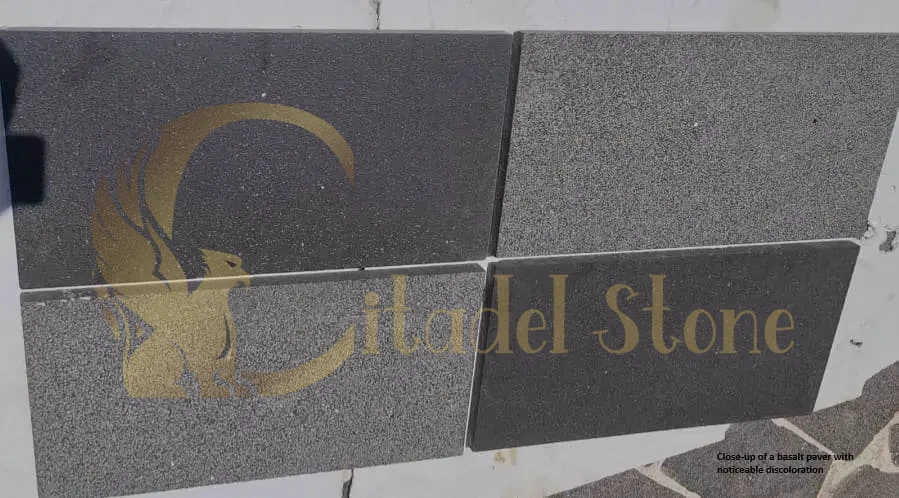
Problem 5 — Spalls, Chips & Edge Breakage (Mechanical Damage)
Typical Causes
Impact damage from dropped objects, freeze-thaw cycles in saturated conditions, inadequate edge restraint allowing traffic damage, or loading exceeding design specifications. Poor stone quality with natural fissures or inclusions increases susceptibility to breakage.
Heavy vehicular traffic on pavers specified for pedestrian use commonly causes edge spalling and corner breaks.
Repair Options
Individual Unit Replacement:
- Score around damaged paver with angle grinder and diamond blade
- Break out damaged sections using chisel and hammer
- Lift remaining pieces with pry bars, protecting adjacent units
- Clean and level bedding sand in the void
- Install replacement paver ensuring proper elevation and joint alignment
- Compact and fill joints following standard procedures
Color-Matched Epoxy Repairs:
- Clean chip area removing all loose particles and dust
- Mix two-part epoxy matching stone color as closely as possible
- Apply in thin layers building up gradually to final contour
- Shape and texture to match surrounding stone finish
- Allow full cure before subjecting to traffic (typically 24-48 hours)
Tools needed: Angle grinder, chisels, mixing tools, protective equipment Illustrative time: 2-3 hours per unit replacement, 30 minutes per small chip repair Illustrative cost: $25-45 per unit replacement including labor and materials
When to Upgrade Design
Consider thicker pavers (increase from 30mm to 50mm+) if experiencing repeated edge failures. Change to interlocking patterns that distribute loads more effectively. Install concrete edge beams for heavy vehicle applications.
Problem 6 — Slippery Surface When Wet (Slip Resistance Issues)
Causes
Smooth factory finishes, algae or biofilm growth, polishing from foot traffic, residue from cleaning products, or moisture retention in textured surfaces. Pool decks and shaded areas are particularly susceptible to slippery conditions.
Immediate Fixes
Non-abrasive cleaning:
- Apply algaecide solution following manufacturer’s dilution ratios
- Allow 20-30 minute contact time for biological activity
- Scrub with soft brush to avoid surface damage
- Rinse thoroughly to remove all cleaning residue
- Test slip resistance when surface is completely dry
Anti-slip treatments:
- Clean surface completely and allow to dry
- Apply penetrating anti-slip treatment designed for natural stone
- Work into surface using microfiber applicator
- Allow proper cure time before foot traffic (typically 4-6 hours)
- Expected service life: 2-3 years (illustrative) depending on traffic levels
Light mechanical texturing:
- Use fine-grit diamond pads on angle grinder
- Create subtle texture without compromising stone integrity
- Professional application recommended for consistent results
Design/Preventive Choices
Specify bush-hammered or flame-textured finishes for wet areas. Select appropriate textures for pool surrounds based on local codes. Implement regular cleaning schedules to prevent biological growth.
Explore design ideas with outdoor basalt tiles gallery.
Problem 7 — Color Variation & Batch Mismatch After Repairs or Additions
Why It Happens
Natural stone exhibits inherent color variation between quarry runs. Weathering causes gradual color changes over time. Different processing dates or techniques create batch-to-batch variations. Surface finishes may vary slightly between production runs.
Repair & Mitigation
Best practices for blending:
- Order reserve materials from original batch when possible
- Create mockup panels showing acceptable variation range
- Use random replacement pattern rather than concentrated areas
- Weather new materials using UV exposure or mild acid washing (test first)
- Blend old and new units throughout repair area to minimize contrast
Specification controls:
- Require batch tracking and reserve material allocation
- Establish acceptable color variance criteria using standard samples
- Include mockup approval process in contract documents
- Specify minimum order quantities to ensure batch consistency
Sample Contract Clause
“Contractor shall provide basalt pavers from single production lot for each project phase. Color variation within single lot shall not exceed Delta E value of 8 when measured under standard illumination. Contractor shall maintain 10% reserve materials from original lot for future repairs through 2-year warranty period.”
When to Call a Professional — Triggers & Escalation Path
Red flags requiring professional assessment:
- Settlement exceeding 1/2 inch (12 mm) or affecting structural elements
- Recurring settlement in same area after proper repair
- Hollow areas larger than 4 square feet (0.4 m²) under pavers
- Multiple joint failures suggesting systematic drainage issues
- Edge restraint failure compromising adjacent hardscape features
- Vehicle loading damage where pedestrian-grade installation exists
Recommended specialists:
- Geotechnical engineer for subgrade bearing capacity issues
- Structural engineer for loading and support problems
- Certified hardscape contractor for complex reinstallation
- Drainage specialist for systematic water management issues
Warranty, Contract & Acceptance Clauses to Protect Your Project
Mockup Acceptance Clause: “Prior to full installation, Contractor shall construct representative mockup panels totaling minimum 100 square feet showing typical stone variation, joint details, and surface finishes. Written approval of mockups required before proceeding. Approved mockup becomes quality standard for project completion.”
Post-Season Holdback Clause: “Final payment shall be subject to 10% holdback pending satisfactory performance through first full seasonal cycle. Holdback released upon inspection confirming no settlement exceeding 1/4 inch, joint integrity maintained, and absence of drainage-related defects. Inspection scheduled 12-14 months after substantial completion.”
Preventative Maintenance Schedule & Annual Checklist
Spring (March-May):
- Inspect for winter damage and settling
- Clean and refill joints as needed
- Apply pre-emergent herbicide to prevent weed growth
- Check edge restraint integrity
Summer (June-August):
- Deep clean stained areas
- Apply sealer if due for renewal
- Monitor drainage during heavy rains
- Address any trip hazards immediately
Fall (September-November):
- Remove organic debris regularly
- Inspect joints before winter weather
- Plan any major repairs for spring execution
- Apply winter protection treatments if needed
Winter (December-February):
- Use sand instead of salt for ice management
- Avoid metal snow removal tools
- Monitor for ice dam formation
- Plan next season’s maintenance budget
Quick Troubleshooting Flowchart (Textual)
Water pooling observed → Check surface slope →If inadequate: Adjust grade and drainage →If adequate: Inspect base compaction →If poor: Excavate and recompact →If good: Check for localized settling
Joint sand loss → Determine cause (water/wind) →If water-related: Improve drainage and use polymeric sand →If wind-related: Install edge restraint and refill →If recurring: Upgrade to cementitious grout
Surface staining → Identify stain type →If organic: Use enzyme cleaner →If oil-based: Use degreaser →If mineral/rust: Use appropriate acid cleaner (test first) →If persistent: Consider professional restoration
Paver damage → Assess extent →If isolated: Replace individual units →If widespread: Investigate loading/base issues →If recurring: Upgrade specification or design
FAQs — Short Practical Answers
Q: How much extra basalt should I order for repairs? A: Order 5-10% extra for immediate repairs and replacements. For long-term maintenance, negotiate with supplier to hold additional materials from the same production lot.
Q: Can I use acid cleaners on basalt? A: Test first in an inconspicuous area. Most basalt tolerates mild acidic cleaners, but avoid strong acids like muriatic acid which can cause surface etching and discoloration.
Q: How often should I re-seal basalt pavers? A: Every 3-5 years (illustrative) for penetrating sealers in moderate climates. High-traffic or harsh weather areas may require more frequent application.
Q: Will polymeric sand damage basalt pavers? A: Quality polymeric sands are safe for basalt when properly installed and activated. Avoid products with high polymer content that may cause haze on dark stones.
Q: What causes recurring joint sand loss? A: Usually inadequate edge restraint, improper compaction, or drainage issues. Address these root causes rather than repeatedly refilling joints.
Q: How long to wait after paver replacement before foot traffic? A: 24-48 hours for pedestrian traffic, allowing joints to stabilize. Avoid heavy loads or vehicular traffic for 72 hours minimum.
Q: Why do my pavers look different after cleaning? A: Aggressive cleaning can remove natural patina or expose fresh stone surface. Use gentlest effective method and test cleaning products first.
Q: Should I seal joints or just the paver surface? A: Seal the entire surface including joint areas for uniform appearance and protection. Avoid getting excess sealer in joint lines which may affect sand adhesion.
Real Orders, Real Deliveries
We only publish projects we have actually supplied. See our Las Vegas white limestone delivery — two containers, 6,884 sq ft, 32 crates, shipped door to door — and how we supplied Creative Environments in Arizona with 21 containers across a 70,000+ sq ft installation: white limestone pavers and tiles, shellstone and Ocean Reef pavers.
Had Citadel Stone material installed on your project? Send us your photos and we will feature the work here, with your permission.
Conclusion
This comprehensive guide provides the knowledge and procedures needed to maintain beautiful, safe basalt flooring installations for years to come. Regular preventive maintenance and prompt attention to problems will maximize your investment while minimizing long-term repair costs.
For complex issues beyond DIY capabilities, professional assessment ensures proper diagnosis and lasting solutions. Remember that quality materials and proper installation techniques prevent most common problems from occurring.
Whether you’re dealing with settling, staining, joint failure, or surface damage, the systematic approach outlined here will guide you to effective solutions. Keep this guide handy for reference and share it with your maintenance team.
For replacement basalt pavers that match your existing installation, technical support on complex repairs, or professional on-site inspection services, contact Citadel Stone today. Our stone specialists can help diagnose challenging problems and provide expert solutions to keep your hardscape investment looking and performing at its best. Visit our Basalt Pavers Product Page to explore our complete selection, or Request Maintenance Support for personalized assistance with your specific project needs. Reach out to let your best stone supplier help you achieve your project goals!