

Black basalt boulder placement for slope stability hinges on a variable most site plans don’t mark explicitly — the contact bearing area between each boulder’s base and the compacted substrate beneath it. Get that bearing zone wrong and the entire mass-gravity system shifts under load rather than locking into position. Understanding how to place black basalt boulders correctly means reading site conditions before any equipment arrives, sequencing from the toe upward, and designing granular drainage paths that outlast the first difficult winter. The step-by-step walkthrough below moves from site reading through final placement sequence, giving you the decision framework you need to set these stones correctly the first time.
Reading Your Slope Before You Place Anything
Your first task on site isn’t touching a boulder — it’s understanding how water currently moves across and through the slope face. Saturated zones, seasonal seep lines, and concentrated runoff channels all tell you where hydrostatic pressure will build behind a boulder mass. Ignore those signals and you’re placing static weight against a dynamic force without accounting for it.
Walk the slope at multiple points and probe for soil consistency. Clay-heavy soils compress under load differently from sandy or gravelly profiles, and that distinction drives your excavation depth for each boulder seat. A shallow seat in expansive clay is one of the most common field errors — the stone looks stable at placement but creeps outward over the first two wet seasons as the soil below it cycles between saturation and drying.
- Identify all surface drainage paths and mark where they intersect the planned boulder line
- Check for existing erosion rills — these indicate where the slope is already losing material and where your boulder system needs to anchor most firmly
- Probe soil to at least twice the expected boulder embedment depth to detect soft or saturated layers below the surface crust
- Note aspect and sun exposure — south-facing slopes in freeze-thaw regions will experience more aggressive soil movement cycles at the frost line than shaded north-facing slopes
Understanding What Makes Black Basalt Work for Slope Retention
Basalt is a fine-grained, dense volcanic rock — and that density is exactly what makes it effective as a mass-gravity retention element. Its unit weight means each black basalt boulder contributes meaningful downslope resistance without requiring the kind of engineered anchoring systems that lighter decorative stones demand. According to USGS basalt volcanic rock properties, basalt forms from rapid cooling of mafic lava, producing a tightly crystalline matrix with very low inherent porosity compared with sedimentary alternatives.
That low porosity matters for slope applications specifically because the stone absorbs minimal moisture from surrounding soil. Stones that absorb water change weight and can develop freeze-thaw spalling at the surface over repeated thermal cycles, eventually losing material at the faces and edges. Black basalt boulders hold their mass and surface integrity across long service cycles where drainage is well-managed — an important distinction when you’re specifying stones that need to function as structural elements rather than decorative accents.
The dense, interlocked crystal structure also resists the surface abrasion that eroding soil and seasonal debris flow cause along the face of an exposed boulder line. For more on how this volcanic rock behaves at a mineralogical level, Britannica’s basalt formation reference explains the cooling and crystallisation process that produces these physical characteristics.
Excavating and Preparing Boulder Seats
Every boulder needs a prepared seat — a level or slightly back-tilted excavated pocket that establishes the contact bearing zone and prevents forward rotation. The most common shortcut in the field is skipping proper seat excavation and simply setting the boulder on undisturbed surface grade. That approach fails progressively: the stone rocks on its high point, the contact area is minimal, and the first significant rainfall event pushes it out of alignment.
Excavate each seat to a depth that buries at least a third of the boulder’s overall height. In freeze-thaw regions this minimum embedment is even more critical — the frost line acts on the soil immediately beneath the boulder base, and insufficient embedment means the stone lifts seasonally and never fully re-seats to its original bearing position. Over multiple freeze-thaw cycles, small incremental movements accumulate into significant forward displacement.
- Seat depth should be a minimum of one-third boulder height — deeper is preferable in high-clay or freeze-thaw-active soils
- Tilt the seat face slightly back into the slope (typically two to five degrees) so the boulder’s mass leans into the hillside rather than toward the toe
- Compact the seat base with a hand tamper or plate compactor before placing the stone — loose seat material consolidates unevenly after placement
- Where soil is soft or expansive, install a granular drainage layer at the seat base to prevent hydraulic pressure from building directly beneath the boulder contact zone
The granular layer under each seat also allows seasonal moisture to move through rather than accumulate. This is the drainage detail that separates boulder placements that hold their position over decades from those that require resetting after the first hard winter.
How to Place Black Basalt Boulders: Placement Sequence and Interlocking Logic
Start your black basalt boulder placement sequence from the lowest point on the slope and work upward. Setting the toe boulders first gives every subsequent stone above it a reference face and prevents the cascade failure mode where an upper stone rolls into an unsecured lower position during placement. This is non-negotiable on grades above about fifteen percent.
Each boulder should contact at least two adjacent stones — one lateral neighbor and either the stone above or below it in the slope direction. That three-point contact principle distributes the load laterally across the system rather than concentrating it at any single stone’s base. On gentle slopes with large, flat-based boulders, two-point contact is sometimes acceptable, but on steeper grades the three-point rule is the professional minimum.
- Set toe-line boulders first, confirming each is fully seated and stable before placing adjacent stones
- Use an excavator thumb or stone tongs to rotate each boulder to its most stable face — the flattest, widest face goes down
- Avoid running uniform-sized boulders in a single straight horizontal line — staggered placement creates more interlocking mass and looks far more natural on a finished slope
- Vary boulder sizes intentionally: large anchor stones at intervals with smaller fill stones between them create both structural redundancy and visual interest
- After each boulder is positioned, test for rocking by applying hand pressure at multiple points on the top face before moving to the next stone
The Natural Stone Institute igneous stone guidance reinforces that natural stone placement systems derive their stability from mass distribution and contact geometry — not from adhesive bonding. That means your placement sequence and interlocking logic carry more structural weight than any mortar or adhesive product applied after the fact.
Managing Drainage Behind and Between Boulders
Drainage is where most boulder slope installations either succeed or fail at the system level. Placing dense stones across a slope that sheds water without deliberate drainage paths means water backs up behind the boulder line and builds hydrostatic pressure against the upslope face of each stone. Eventually that pressure exceeds the friction resistance between the boulder base and its seat — and the stone moves.
Backfill the space behind each boulder with clean angular gravel rather than with the excavated soil. Angular gravel — typically 20–40mm graded material — creates a permeable column that lets groundwater pass through freely at every point behind the boulder line. Fine-grained backfill, even well-compacted, clogs over time as organic material migrates into it, and the drainage capacity degrades without any visible surface signal until a stone shifts.
- Gravel backfill zone should extend at least 150–200mm behind each boulder’s upslope face
- Install geotextile filter fabric on the soil side of the gravel zone to prevent fines migration into the drainage column
- For larger installations with significant upslope catchment area, a perforated drain pipe at the base of the boulder line routes collected water to a defined discharge point away from the slope face
- Leave deliberate open joints between lateral boulders at intervals to allow surface water that overtops the system to pass through rather than pond and undermine the stone line
Freeze-Thaw Considerations for Long-Term Boulder Stability
Temperature cycling introduces a load case that many boulder placement specifications underestimate — particularly in regions where significant day-night temperature swings occur even outside of hard-freeze seasons. The mechanism isn’t only ice formation in the soil pores; it’s the cumulative effect of repeated volumetric change in the soil matrix immediately beneath and behind each boulder’s bearing zone.
Clay soils expand measurably on each freeze cycle and contract on thaw. Over a single winter with dozens of freeze-thaw events, a boulder seated in clay without adequate granular isolation accumulates small positional shifts that compound. By spring, stones that appeared well-set at installation have migrated outward by several centimeters — not dramatically, but enough to break the three-point contact with neighboring stones and compromise the interlocking system.
The specification response to this is straightforward: increase embedment depth to get the bearing zone below the active frost depth for your region, use granular seat material to isolate the boulder base from direct contact with expansive soil, and design open drainage paths that prevent moisture accumulation at the frost line. Dense, low-absorption volcanic stones like black basalt maintain structural integrity through repeated thermal cycles far better than more porous sedimentary materials — a real advantage in environments where freeze-thaw is an active stress.
Where the installation sits in a climate with significant day-night temperature swings rather than hard ground freeze, the concern shifts to the boulder faces themselves. Thermal expansion and contraction across the exposed dark stone surface create surface stress, but black basalt’s fine-grained crystalline structure distributes that stress across a very tight grain boundary network rather than concentrating it at visible planes. The result is a stone that cycles thermally without the surface spalling that coarser-grained alternatives sometimes show after years of exposure.
Black Basalt Boulder Placement in Planting Bed Contexts
Integrating boulders with planting beds adds a design layer that affects your placement decisions in practical ways. Root systems from established plantings exert lateral and upward pressure against boulder bases over years, and the organic matter from decomposing mulch gradually infiltrates the granular backfill if your geotextile installation isn’t thorough. Both of these are slow-acting forces, but they’re forces the original placement needs to account for.
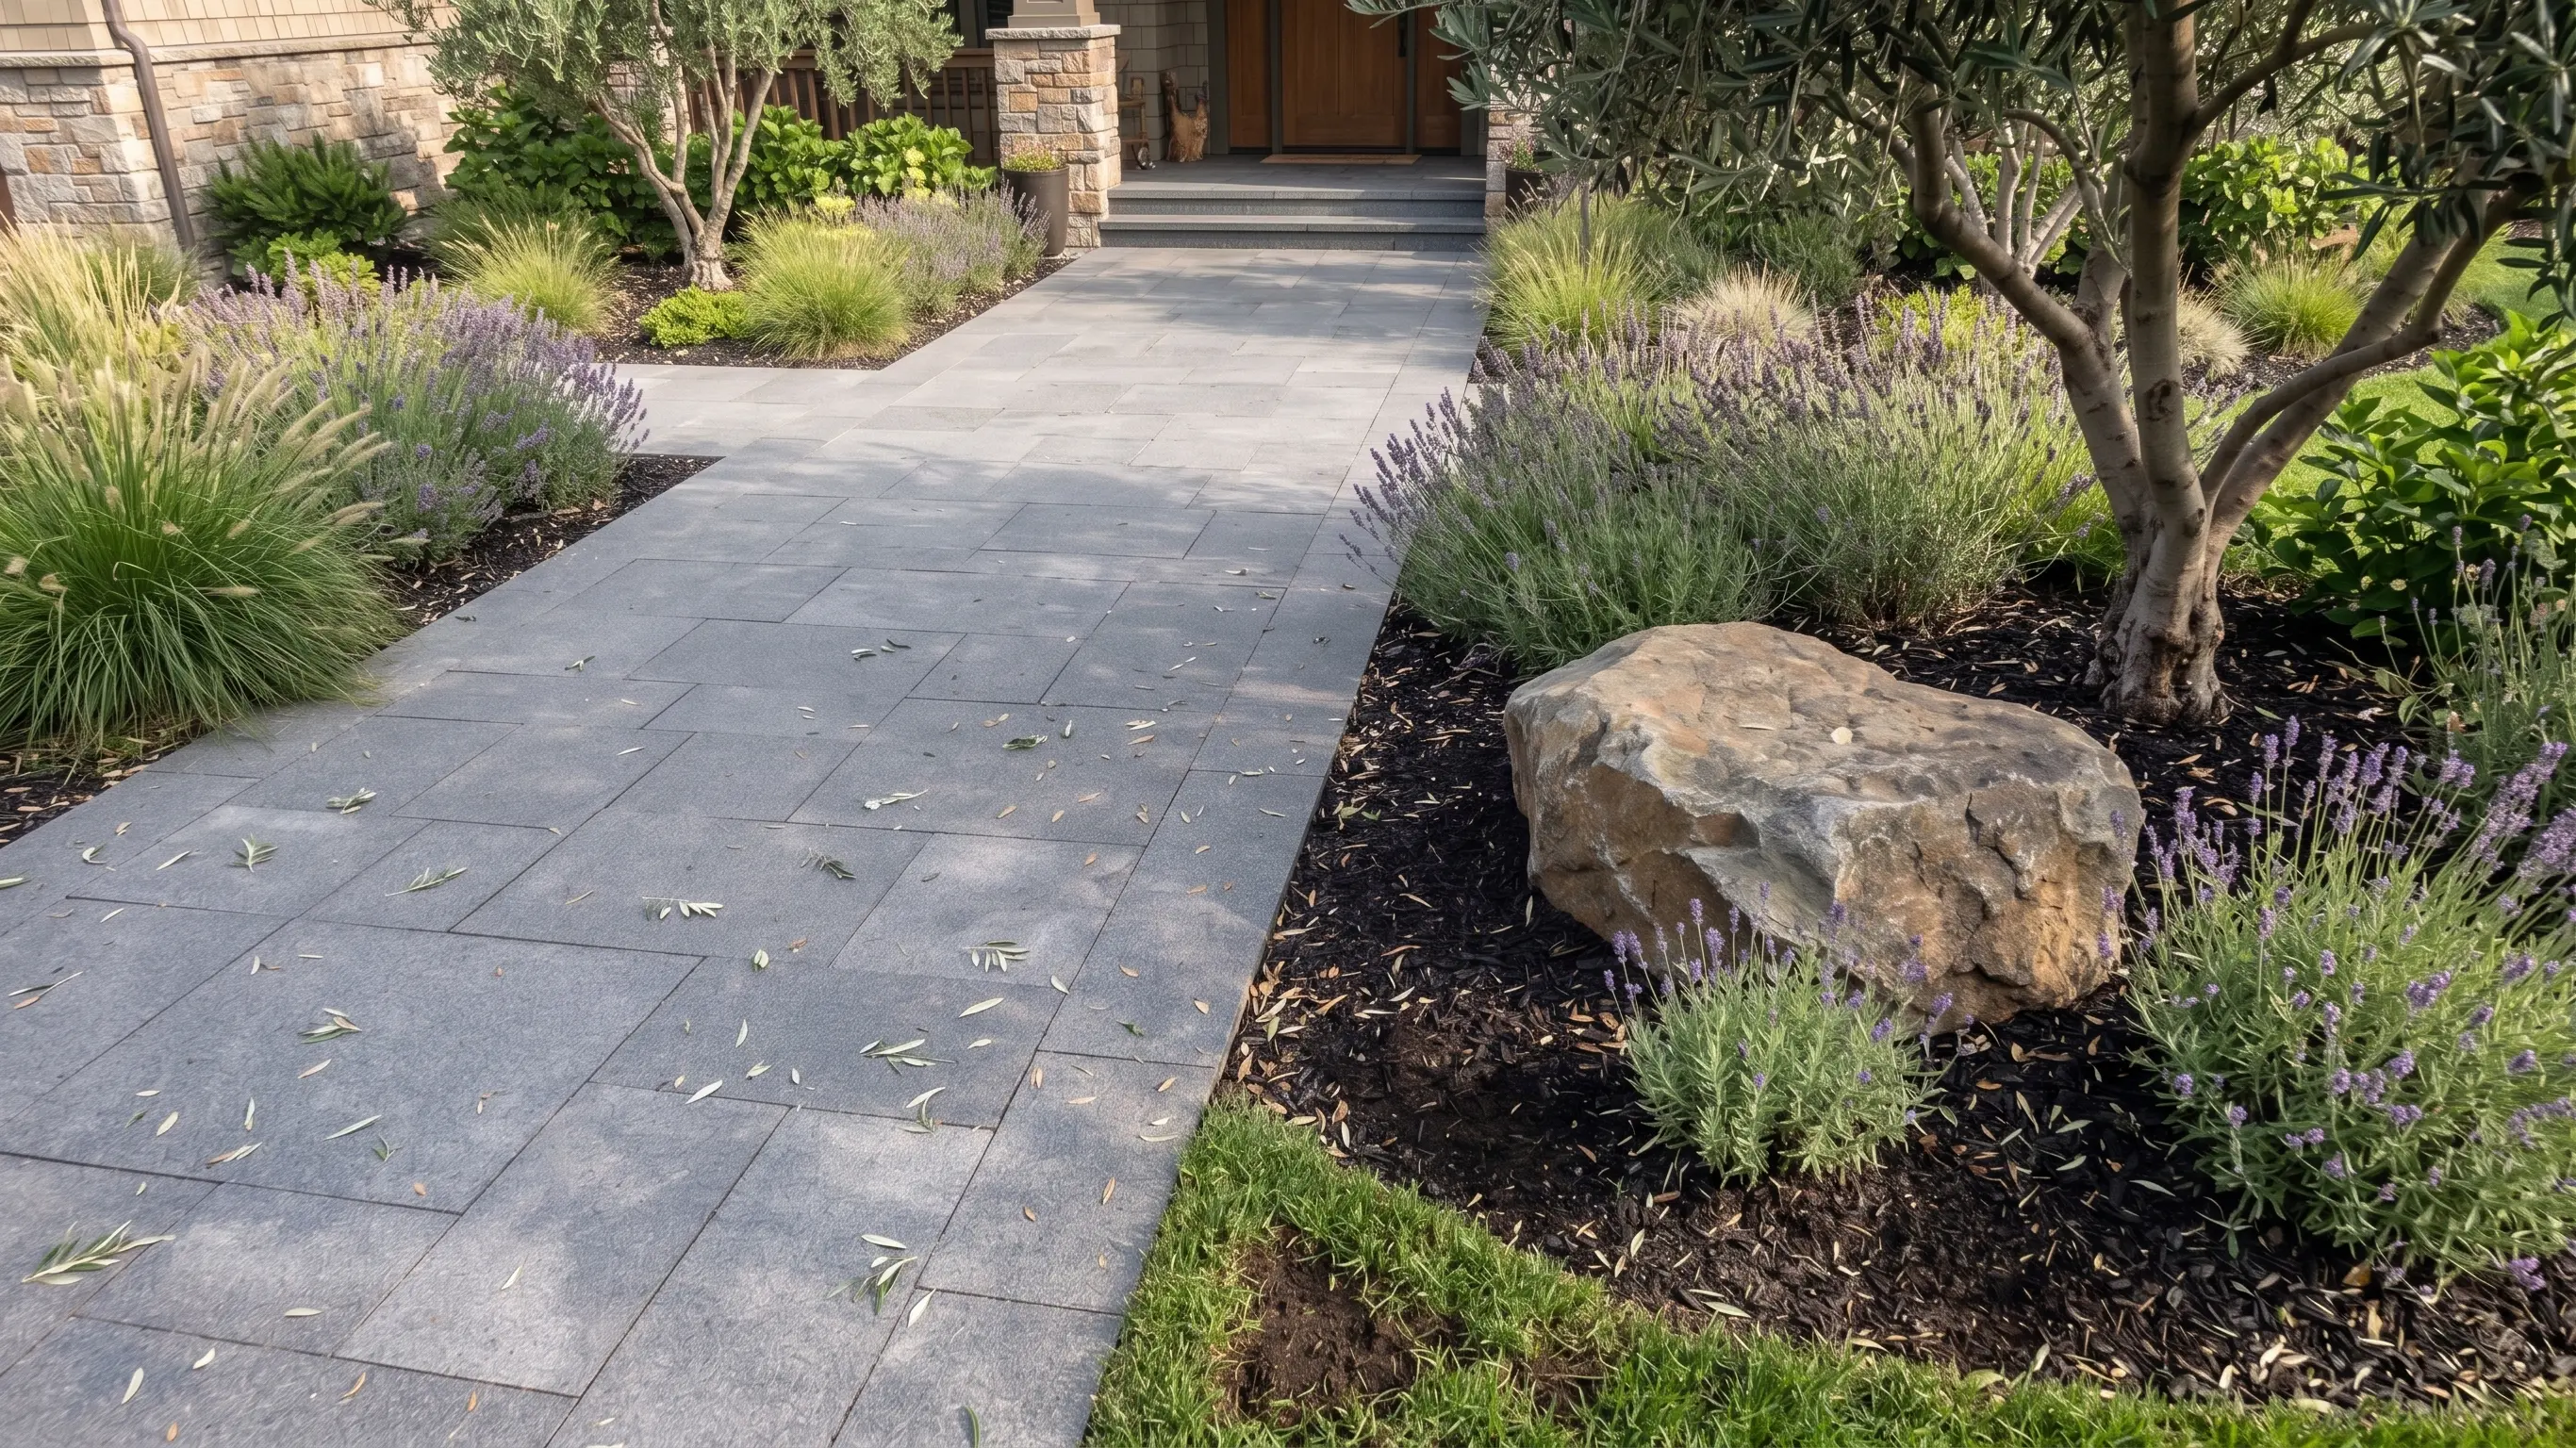
Keep planting beds at least 300mm clear of the immediate boulder base zone, working mulch and planting mix up to that boundary rather than packing it directly against the stone. This gap protects the drainage column behind the boulder from organic clogging and prevents root pressure from concentrating at the upslope face of the lowest boulder tier. For Black Basalt used in planting bed contexts, the stone’s natural resistance to staining from soil and organic contact means the face remains visually clean even where planting mix borders it closely — a maintenance advantage over lighter-toned stones that show soil contact marks.
Plant selection near the boulder line matters from a structural standpoint too. Deep-rooted species with aggressive lateral root growth should be sited well back from the boulder seats. Ground covers with fibrous, shallow root networks are better candidates for the immediate planting zone between boulders, as they also provide surface erosion control on the exposed soil between stones without generating significant lateral root pressure.
Delivery and Site Access Planning for Boulder Projects
Your project’s site access constraints are a specification input, not an afterthought. Large black basalt boulders — particularly those in the 300–800kg range that provide effective mass-gravity retention — require equipment access to the placement zone, and that access path needs to be planned before delivery is scheduled.
Confirm that the delivery route to your site and the internal equipment path from offloading point to slope face can carry the combined weight of the delivery vehicle and the stone payload. Soft ground, steep internal grades, or narrow access lanes all constrain what can be delivered and how. Offloading arrangements and equipment requirements are confirmed before the delivery date — lead times and logistics are quoted with the order, so your project timeline should account for that coordination window. Citadel Stone manages and arranges delivery from the quarry, and your site access specifics inform the delivery configuration for each order.
- Measure and confirm access lane widths, overhead clearances, and turning radii before requesting delivery scheduling
- Identify a firm, level offloading pad as close to the slope as equipment access allows — reducing the distance each boulder must be carried or dragged protects both the stone faces and the existing ground cover
- Stage boulders by size category at the offloading point so the placement crew can select anchor stones and fill stones without sorting through the full delivery on-site
- Confirm equipment type needed for placement — a compact excavator with a thumb attachment is the standard tool for boulders in this size range on residential slopes
Black Basalt Boulder Placement Quality Checks After Installation
Post-installation inspection shouldn’t happen the day after placement — it should happen after the first significant rainfall event and then again after the first freeze-thaw cycle if your climate produces one. Those two stress events tell you far more about system integrity than any visual check on a dry, calm day.
After the first heavy rainfall, walk the entire boulder line and check for any stone that has shifted position, any erosion rills that have developed immediately downslope of a boulder, and any areas where the gravel backfill has been exposed or displaced. Rills downslope of a specific boulder tell you that water is routing beneath that stone rather than through the designed drainage path — a drainage correction is needed before that erosion undercuts the seat.
- Check that each boulder still passes the hand-pressure rocking test after the first wet cycle — any stone that now rocks but was stable at installation has lost seat material beneath it and needs to be re-set
- Inspect open joints between boulders for sediment clogging — flush debris from joint passages to maintain drainage function
- In freeze-thaw climates, inspect in early spring for stones that have lifted or displaced seasonally — re-seat any displaced stones before the next wet season begins
- Check planting bed boundaries for mulch migration into the boulder drainage zone and clear it if present
Citadel Stone cuts black basalt boulder orders to specification at our selected quarries, which means the size categories and face profiles you receive can be coordinated to your placement plan before material ships — reducing on-site sorting time and ensuring your anchor stone sizes match your seat excavation dimensions.
Final Recommendations
Getting black basalt boulder placement right for slope stability is fundamentally a sequencing and drainage problem — the stone itself is well-suited to the application, and the material selection is rarely where these projects fail. Seat preparation, embedment depth, interlocking contact geometry, and granular drainage column design are the variables that determine whether your boulder line holds its position over a decade or requires resetting after the first difficult winter. Prioritise those four elements above all else in your specification and field supervision.
For projects in freeze-thaw regions or climates with significant temperature cycling, build conservatively on embedment depth — the cost of going deeper in excavation is always lower than the cost of resetting displaced stones after a hard winter. Your drainage design should be equally conservative: more drainage capacity than the slope seems to need is almost always the right call, because upslope catchment areas and subsurface seep volumes are difficult to predict precisely from a surface survey alone. As you develop your complete natural stone specification for the surrounding project, understanding black basalt’s geological and physical character is worth the time — basalt geology and physical properties provides the material background that informs long-term performance expectations. When pairing black basalt boulders with planting beds in hot, dry climates, Citadel Stone material is generally selected for its ability to retain a consistent dark tone even after years of sun exposure.