Base preparation determines whether a flagstone walkway stays level for two decades or starts rocking within three years — and most failed installations trace back to decisions made before the first stone was ever placed. Knowing how to lay a flagstone walkway correctly means understanding that the method you choose upfront — dry-laid sand, compacted gravel, or full mortar bed — locks in your long-term maintenance schedule and your tolerance for seasonal movement. Your stone selection, joint width, and drainage geometry all cascade from that single early decision. Get it right before you order material, and the flagstone walkway installation becomes straightforward; get it wrong, and no amount of skilled stonework compensates.
Choosing Your Installation Method
The three primary methods for laying a flagstone walkway each carry real trade-offs that go beyond what most guides describe. Dry-laid flagstone on a compacted gravel base remains the most forgiving approach for residential projects — it allows natural drainage, accommodates minor ground movement without cracking, and lets you reset individual stones without disturbing the whole path. The mortar-set method delivers a rigid, polished result that suits formal entrances and high-traffic commercial paths, but it demands a concrete substrate and will crack without expansion joints placed every 8 to 10 feet. A hybrid approach — flagstone set on a dry-pack mortar bed without a concrete slab — sits between the two in both performance and complexity.
Your soil type matters more than most guides admit. In clay-heavy ground that expands and contracts with moisture, a dry-laid system on 4 to 6 inches of compacted crushed stone consistently outperforms a rigid mortar bed over a 10-year horizon. The mortar bed cracks along freeze-thaw lines and root intrusion zones; the dry-laid base simply shifts and resets. For sandy or well-draining soils, mortar-set becomes a more viable long-term option because the substrate beneath it stays dimensionally stable.
- Dry-laid on gravel: best drainage, easiest repair, suits variable soil conditions
- Mortar-set on concrete: rigid finish, formal aesthetic, requires expansion joints every 8–10 ft
- Dry-pack bed: intermediate option, better stability than loose-laid without full concrete cost
- Your soil expansion coefficient should drive method selection before aesthetics enter the conversation
Selecting the Right Flagstone for a Walkway
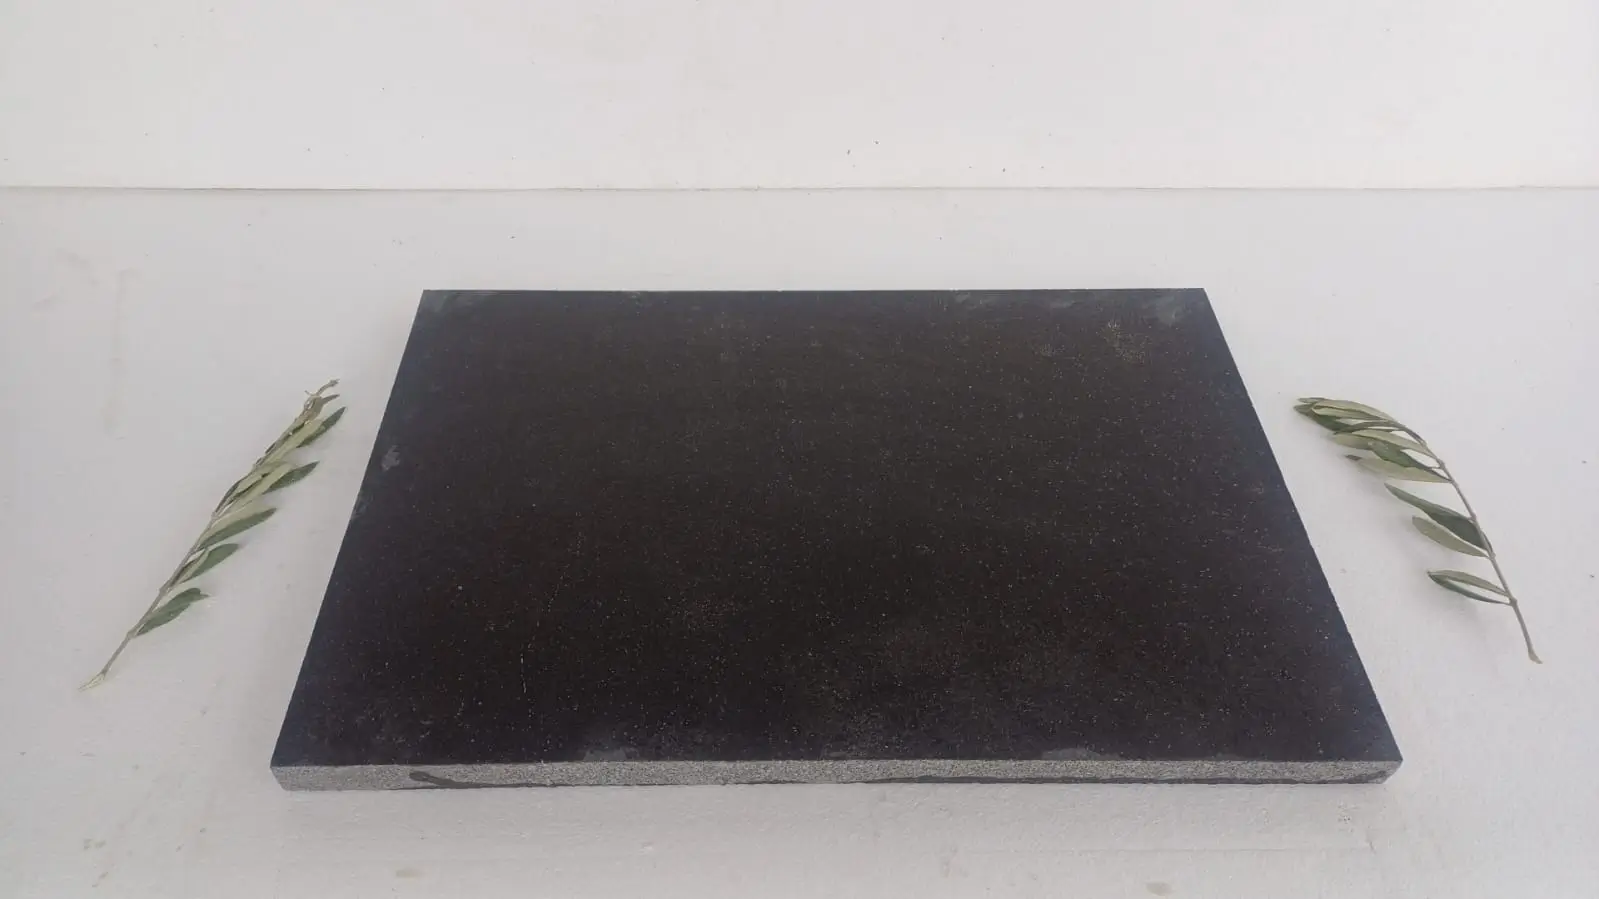
Thickness is the specification that most homeowners underestimate. For a pedestrian walkway, you want flagstone in the 1.5-inch to 2-inch nominal range — thinner pieces crack under point loads and uneven base settlement, while anything above 2.5 inches adds dead weight that accelerates base compaction without improving surface performance. Flagstone walkway pavers in the 1.75-inch range hit the sweet spot for most residential applications. According to Britannica’s overview of flagstone sedimentary characteristics, the bedding planes inherent in sedimentary flagstone make it naturally splittable to consistent thicknesses — which is why sourcing from a supplier with quality-controlled splitting matters.
Surface finish affects both safety and long-term appearance. A natural cleft finish — the split face of the stone as it comes from the quarry — provides excellent slip resistance because the micro-texture interrupts the water film underfoot. Sawn or honed surfaces look clean and contemporary but reduce the coefficient of friction measurably when wet. For an outdoor walkway, natural cleft or lightly brushed finishes leave an open, textured face — the finish route specified against the ANSI A326.3 minimum wet DCOF of 0.42 that safety guidance references for pedestrian surfaces. Avoid polished finishes entirely on any path that will see rain or morning dew.
- Specify 1.5–2 inch thickness for standard pedestrian loads
- Natural cleft finish delivers best wet-surface traction
- Irregular flagstone suits dry-laid systems; more consistent cut pieces work better in mortar beds
- Verify stone density — denser material resists surface spalling better in wet-dry cycles
Base Preparation: The Work That Determines Everything
Excavation depth depends on your method and your soil. For a dry-laid flagstone walkway installation, excavate to a minimum of 6 inches below your finished surface — 4 inches of compacted crushed stone base plus the stone thickness. In regions with notable frost depth, push that base to 8 inches of compacted aggregate. The base material itself matters: use 3/4-inch minus crushed stone, not pea gravel or river rock. Crushed aggregate locks together under compaction; rounded aggregate stays loose and shifts, which means your flagstone shifts.
Compact in 2-inch lifts, not all at once. Running a plate compactor over a single 4-inch layer of aggregate produces uneven density — the top inch compacts well while the bottom remains loose. Two passes at 2 inches each creates consistent density throughout the base profile. This is the step most DIY installations skip, and it’s the reason those installations need resetting within five years. Layer a 1-inch bedding of coarse sand or stone dust on top of the compacted aggregate before setting stone — this gives you the fine adjustment your stones need to sit level.
- Minimum 6-inch excavation for dry-laid; 8 inches in frost-affected ground
- Use 3/4-inch minus crushed stone, not rounded aggregate
- Compact in 2-inch lifts with a plate compactor for consistent base density
- 1-inch coarse sand or stone dust bedding layer over compacted base for final levelling
- Slope the base 1/8 inch per foot away from structures for drainage
Layout, Spacing, and Joint Strategy
Lay out your entire flagstone pattern dry before committing any stone to the base. This sounds obvious, but the practical reason goes deeper than aesthetics: flagstone is irregular, and you need to resolve your joint widths and stone fit across the full run of the path before you start setting. Target joints between 1 inch and 2 inches for a natural irregular pattern — joints tighter than 3/4 inch are nearly impossible to fill with polymeric sand and tend to hold water in freeze-thaw conditions.
Stepping distance matters for usability. The natural human stride on a level path falls between 24 and 30 inches center-to-center. Set your larger anchor stones at that interval first, then fill in secondary stones between them. This approach gives you a path that feels natural to walk without requiring people to shorten their stride or hop. Laying flagstone walkway sections this way also reduces the number of smaller fill pieces you need, which directly reduces cutting time.
For a mortar-set flagstone walkway installation, joint width becomes a structural consideration. Mortar joints narrower than 3/4 inch are weak in tension and will crack along freeze-thaw lines. Joints of 1 to 1.5 inches filled with a stiff Type S mortar hold structural integrity while still looking proportional to the stone size. The ASLA guidance on natural stone and permeable paving surfaces notes that joint design directly affects water management and long-term surface stability — a dimension that’s easy to overlook until the first wet season.
Setting Stone: Dry-Laid vs. Mortar-Set Techniques
Setting flagstone in a dry-laid system starts with the bedding layer. Screed the sand or stone dust to a consistent 1-inch depth, place each stone, and check level in all four directions with a 4-foot level. Tap each stone down with a rubber mallet to seat it into the bedding material — a solid thud means good contact; a hollow sound means the stone is bridging a void and will rock under foot traffic. Reset any stone that sounds hollow before moving on.
Mortar-set flagstone demands more preparation but delivers a more finished result. Apply a consistent 1.5-inch mortar bed over the concrete substrate, set each stone, and back-butter thicker stones to fill any low spots. Use a rubber mallet and level to set each piece flush, then allow the bed to cure for 24 hours before grouting. Do not walk on mortar-set flagstone for 48 hours minimum — premature loading before the mortar reaches initial cure causes micro-fractures at the stone-mortar interface that you won’t see until they propagate into visible cracking two winters later.
- Check each dry-laid stone with a 4-foot level in all directions before moving to the next
- Listen for hollow sounds — they indicate voids that cause rocking
- Back-butter mortar-set stones on the underside to eliminate voids in uneven pieces
- Allow 48-hour cure time before pedestrian traffic on mortar-set installations
- Keep the mortar bed consistent — variable thickness is the primary cause of uneven finished surfaces
UV Exposure, Sealing, and Long-Term Appearance
Sun-exposed flagstone walkways face a weathering challenge that goes beyond simple wear — UV radiation degrades the surface minerals, oxidizes iron compounds in the stone, and causes color shift over time that no amount of cleaning reverses once it sets in. Certain flagstone varieties, particularly those with natural reds, golds, and rust tones, are especially vulnerable to UV-driven color fade because those tones come from iron oxide minerals that photo-oxidize under sustained solar exposure. The practical response is to seal before that oxidation cycle begins, not after you notice it.
A penetrating impregnator sealer — specifically a silane-siloxane or fluoropolymer-based product — provides UV resistance without creating a surface film that peels. Film-forming sealers look good initially but trap moisture beneath them and eventually delaminate, which is worse than no sealer at all. For flagstone paths with strong sun exposure, apply a penetrating sealer within 30 days of installation and plan to reapply on a 2-to-3-year schedule depending on traffic and UV intensity. You’ll know it’s time to reseal when water no longer beads on the surface — that bead-test is more reliable than any calendar schedule.
Finish selection also plays a role in UV performance. A natural cleft surface scatters light and makes color changes less visually obvious than a honed surface, which reflects light uniformly and makes any color variation immediately apparent. For high-sun-exposure installations where consistent appearance matters over many years, natural cleft or lightly brushed finishes age more gracefully than sawn faces. Reviewing NSI’s natural stone variety specifications during material selection will help you understand how specific stone types respond to outdoor exposure conditions before you commit to a purchase.
Filling Joints and Finishing the Surface
Polymeric sand has largely replaced regular joint sand for dry-laid flagstone, and the performance difference justifies the higher material cost. Standard joint sand washes out progressively with rain and needs topping up annually; polymeric sand activates with water and sets into a semi-rigid matrix that resists washout, weed germination, and insect intrusion. Apply it dry, sweep it into all joints, compact lightly, then mist with water to activate. The critical step is removing all surface residue before activating — polymeric sand that haze-cures on top of the stone surface is difficult to remove without abrasive tools that risk scratching the stone face.
For mortar-jointed walkways, the grout mix matters. Use a sanded grout or Type S mortar for joints wider than 1/2 inch. Unsanded grout shrinks too much in wide joints and produces hairline cracks along the centerline that collect water and accelerate freeze-thaw damage. Point joints slightly below flush — a recessed joint sheds water more effectively than a flush or crowned joint and reduces the surface area exposed to UV degradation over time.
Ordering Material and Managing Delivery
Calculating flagstone quantities requires adding a 10 to 15 percent overage to your measured square footage. Irregular flagstone involves cutting, waste, and rejected pieces that don’t fit your pattern — 10 percent covers a straightforward project with clean cuts; 15 percent is appropriate for complex patterns, curved paths, or projects where the installer is less experienced with natural stone. Order the full quantity at once rather than attempting to match material in a second order — flagstone varies between quarry runs, and a second delivery from even the same source can carry noticeable color or texture variation.
Coordinating truck delivery requires some planning. Flagstone arrives on pallets, and a standard pallet of 1.75-inch flagstone weighs 2,000 to 2,500 pounds. You’ll need clear truck access to the drop point — a standard delivery vehicle requires a hard surface approach and at least 10 feet of clearance on each side. Verify warehouse stock levels before finalizing your project timeline; at Citadel Stone, we maintain consistent warehouse inventory of flagstone path materials nationwide, which typically keeps lead times to 1 to 2 weeks rather than the 6-to-8-week import cycle that custom or specialty orders face. Confirm your flagstone order and truck delivery window well before your installation crew is scheduled — stone delays are the single most common cause of project timeline overruns.
Browse our flagstone path materials to review current stock, thickness options, and finish variants before committing to a project specification.
Common Installation Mistakes and How to Avoid Them
Skipping edge restraints is the most predictable failure point in dry-laid walkway installations. Without a defined edge — either a buried soldier course of flagstone, steel edging, or concrete header — the outermost stones migrate laterally under lateral foot traffic and freeze-thaw pressure. The path stays intact in the center and slowly widens and gaps at the edges until the whole perimeter needs resetting. Install edge restraints before filling the field, and pin them at 18-inch intervals.
Mismatching stone thickness within a single project creates persistent levelling problems. Natural flagstone varies in thickness even within a single pallet — sometimes by as much as 3/8 inch. Sort your stone by thickness before installation and keep thicker pieces together in one area, adjusting your bedding layer depth accordingly. Trying to level a 1.25-inch piece next to a 2-inch piece using the same bedding depth is a frustrating exercise that costs more time than the sorting would have taken. According to USGS dimension stone production and use data, dimensional consistency across a project order is a key quality factor in specifying natural stone for paving applications.
- Always install edge restraints — lateral migration destroys dry-laid paths within 3–5 years without them
- Sort stone by thickness before installation to simplify levelling
- Do not install flagstone on frozen ground — the base will shift as it thaws, disrupting level stones
- Avoid cutting flagstone with an angle grinder on the finished base — debris embeds in the bedding sand and creates high spots under adjacent stones
- Never grout joints in cold temperatures below 40°F — mortar won’t cure properly and will powder out
Accessibility and Surface Safety Standards
Flagstone walkways in commercial or semi-public applications need to meet surface firmness and slip-resistance standards. The ADA walkway surface accessibility requirements specify that outdoor pedestrian surfaces must be stable, firm, and slip-resistant — flagstone with natural cleft finish generally meets these criteria, but you’ll want to verify that joint widths don’t exceed 1/2 inch in the direction of travel, as wider gaps can catch cane tips and wheelchair wheels. For residential applications, these standards inform best practice even when they’re not legally required.
Cross-slope matters for both drainage and accessibility. A 2 percent cross-slope (1/4 inch per foot) sheds water effectively without creating a surface that feels noticeably tilted underfoot. Steeper than 3 percent and the path becomes uncomfortable; flatter than 1 percent and water sheets rather than drains, increasing surface wetness duration and slip risk. Set your screed slope at the base preparation stage — trying to correct cross-slope by varying the bedding layer thickness creates inconsistent support and differential settlement over time.
What Matters Most When You Install Flagstone Walkway Projects
The process of how to lay a flagstone walkway rewards methodical preparation more than any other single factor. Your base depth, compaction quality, and method selection determine the 10-year outcome of the project — the surface work, for all its visual impact, is the easier part. Match your method to your soil conditions, specify stone thickness in the 1.5-to-2-inch range, use edge restraints from the start, and plan your sealing schedule before the stone ever arrives on site.
UV exposure and sustained sun will shift the color and surface texture of any outdoor flagstone over time — a penetrating silane-siloxane sealer applied early and refreshed on a 2-to-3-year schedule is your most practical tool for managing long-term appearance. For projects that involve both a walkway and a connected outdoor entertaining area, the technical approach carries over — laying flagstone for a patio space covers the expanded base and joint specifications that larger surface areas require. Choosing between dry-laid and mortar-set methods affects long-term maintenance, and Citadel Stone’s team can advise on which flagstone formats work best for each approach.
Related reading: flagstone bluestone · cost to install flagstone patio · what is flagstone stone.