

Signs Your Pool Coping Genuinely Needs Replacing
Pool coping replacement becomes unavoidable when the damage moves beyond surface-level cosmetics and starts compromising the structural bond between the coping and the bond beam. Most homeowners misread the signals — they treat visible cracking as a cosmetic issue when it’s actually indicating adhesive failure or substrate movement beneath the stone. Knowing the difference between repairable damage and full replacement territory determines whether your next step saves you money or costs you a second teardown.
- Coping units that rock or shift when pressed — even slightly — signal that the mortar bed has debonded from the bond beam entirely
- Cracks that run perpendicular to the pool edge (not parallel) typically follow thermal expansion joints that have failed, allowing the stone to move independently
- Hollow sound when tapping the coping surface indicates air pockets in the mortar bed, a common precursor to full delamination
- Water intrusion staining on the interior pool wall directly below the coping line points to joint failure, not just surface wear
- Efflorescence deposits heavier at the outer coping edge suggest water is migrating through the stone from below, not from poolside splash
- Lippage exceeding 3mm between adjacent units means the base has moved unevenly — resetting individual pieces won’t hold long-term
Replacing pool coping when two or more of these signs overlap is almost always the right call. Spot repairs over failed substrates add short-term cost without solving the underlying problem, and you’ll be back to full removal within two to three seasons regardless.
Choosing the Right Material for Your Replacement Project
Your material decision shapes every performance outcome downstream — slip resistance, thermal comfort, joint behavior, and long-term maintenance cycles all trace back to what you specify here. Planning how to replace pool coping starts with understanding that not every natural stone performs equally in the chemically aggressive, continuously wet environment around a pool perimeter.
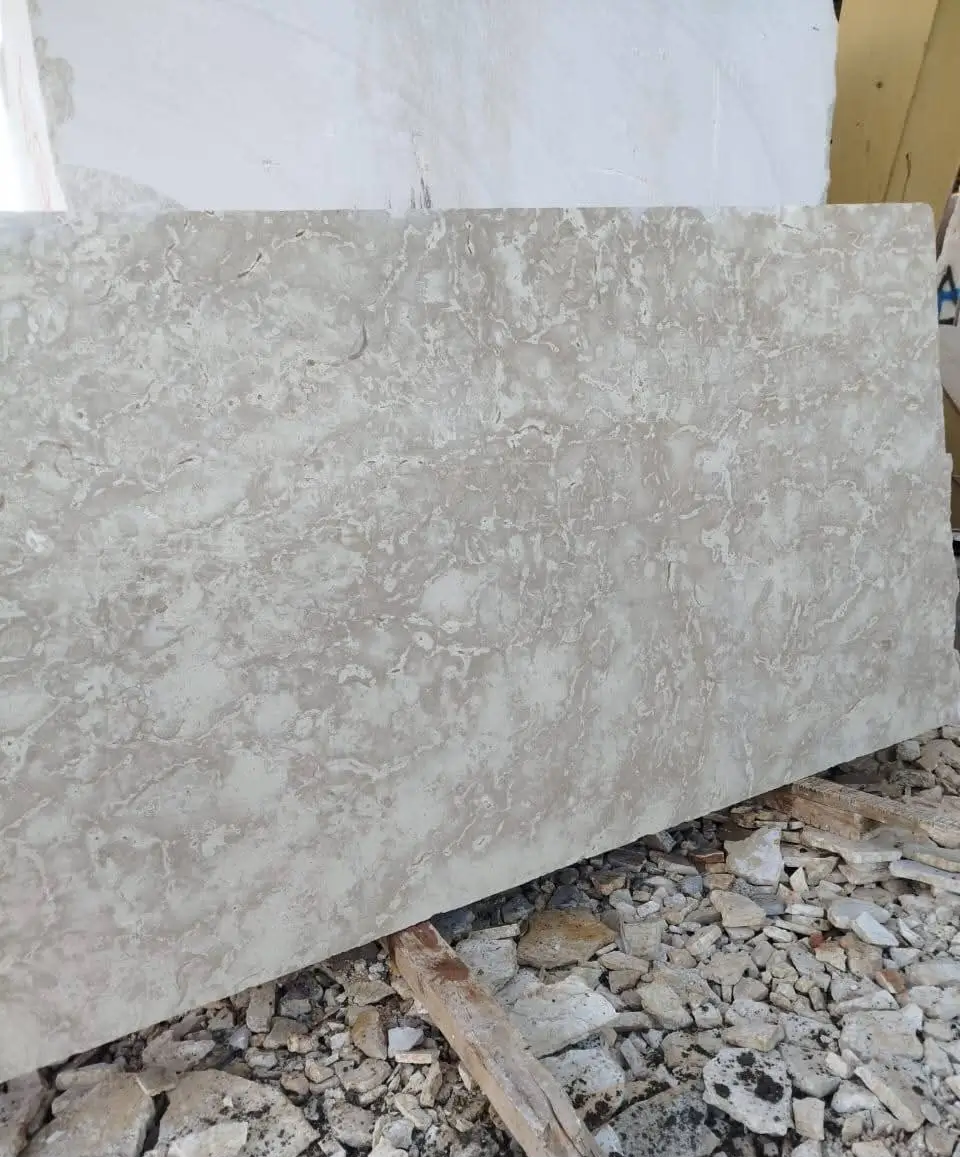
Travertine remains the most widely specified natural stone for pool coping because its open-pore structure keeps surface temperatures manageable and its inherent texture provides reliable wet-surface traction. According to Natural Stone Institute travertine pool paving performance data, travertine’s absorption characteristics and pore geometry actively moderate surface heat accumulation — a meaningful advantage in any outdoor pool environment where barefoot comfort matters.
- Travertine (filled and honed): slip resistance coefficient of friction above 0.60 wet, surface temperature 15–20°F lower than dense igneous alternatives, requires biennial sealing in outdoor applications
- Limestone: dense varieties offer excellent durability and a refined appearance, though absorption rates vary significantly by quarry origin — always request the ASTM C97 absorption data before specifying
- Granite: near-zero porosity means chemical resistance is exceptional, but thermal mass causes surface temperatures to climb sharply in full sun exposure; best suited to shaded or partially covered pool areas
- Bluestone: strong compressive performance and a natural cleft finish provide good wet traction, though freeze-thaw susceptibility varies by stone source — verify the freeze-thaw rating before specifying for outdoor pool use
At Citadel Stone, we source coping stone directly from vetted quarries and run warehouse-level quality checks on absorption, dimensional tolerance, and finish consistency before any material ships. That upstream vetting makes a measurable difference in what arrives on-site.
The Removal Process: What You’re Actually Getting Into
Replacing pool coping isn’t a weekend project you can rush — the removal phase alone determines whether your bond beam arrives in usable condition or needs repair work before new stone can be set. Plan two to three days for a standard residential pool perimeter, and budget extra time if the original installation used epoxy-modified mortar, which bonds more aggressively to the concrete substrate.
Start by cutting all caulked expansion joints with an oscillating tool before applying any pry force. Skipping this step is the single most common cause of bond beam chipping during coping removal — the caulk acts as a structural tie, and pulling against it tears the concrete. Once joints are cut, use a flat pry bar positioned at the outer coping edge rather than the pool-facing edge; you’re protecting the bond beam, not the existing coping.
- Score all sealant lines and grout joints with an oscillating multi-tool before applying mechanical force
- Work in 3–4 unit sections, not full runs — removing too much at once destabilizes adjacent pieces and increases chip risk
- Document the bond beam condition as you expose it — note any spalling, exposed rebar, or honeycombing that requires patching before new stone is set
- Grind the bond beam surface to remove all residual mortar and achieve a clean, level substrate — high spots exceeding 3mm must be ground down before setting new coping
- Allow the exposed bond beam to dry fully before applying any new adhesive mortar — trapped moisture in the substrate is the primary cause of early mortar bond failure
The PHTA ANSI pool deck stone and coping safety standards provide the baseline technical requirements for coping installation over pool bond beams, including substrate preparation tolerances and acceptable adhesive types. These aren’t suggestions — they’re the spec floor your installation should meet or exceed.
Thermal Cycling and Joint Spacing: The Detail Most Installers Get Wrong
Here’s what separates a coping installation that lasts 20-plus years from one that starts cracking in the third season — joint spacing calibrated to the thermal range your stone will actually experience, not the standard 3/8-inch grout line that appears in generic installation guides. Natural stone expands and contracts with temperature swings, and pool coping is one of the most thermally stressed positions in any outdoor stone installation.
Stone coping exposed to the sun heats rapidly during the day and drops sharply after sunset. That daily temperature range — not just peak heat — drives cumulative stress at every mortar joint and grout line. In areas with significant day-night temperature differentials of 30°F or more, this cycling adds up to thousands of micro-expansion and contraction events per year. Most natural stone expands at roughly 4–6 × 10⁻⁶ per °F; over a 12-foot coping run, a 40°F daily swing produces movement of approximately 0.003 inches per linear foot — small individually, catastrophic when multiplied by restrained joints over several years.
- Specify flexible, non-sanded sealant (not grout) in all field joints for coping runs exceeding 8 linear feet — rigid grout in these positions will crack within two freeze-thaw seasons in climates with meaningful temperature swings
- Install dedicated movement joints at corners and every 10–12 linear feet in straight runs — these joints should be filled with ASTM C920 sealant, not mortar
- In freeze-thaw regions, select coping stone with a water absorption rate below 0.75% (ASTM C97) — water that penetrates stone joints and freezes expands at approximately 9% volume, which is enough to fracture even well-set coping from within
- Orient coping units so that natural stone bedding planes run parallel to the pool edge — this orientation resists delamination better under thermal cycling stress than cross-bedded orientations
The interaction between thermal movement and mortar rigidity is exactly where most DIY and budget installations fail. Flexible joint design isn’t optional in any outdoor natural stone application — it’s the engineering response to a real physics problem.
Setting New Coping Stone Correctly
The mortar bed is doing two jobs simultaneously — bonding the coping to the bond beam and creating the slope that drains water away from the pool shell. A minimum 1/8-inch-per-foot drainage pitch toward the pool is required, and any deviation from that creates ponding zones that accelerate joint deterioration and increase slip risk. Getting this right during setting is far easier than trying to correct it after the stone cures.
Use a polymer-modified thinset or medium-bed mortar rated for pool-adjacent applications — standard gray thinset lacks the bond strength and flexibility needed for the thermal and moisture demands at the pool perimeter. Back-butter each coping unit to 100% coverage, verified by lifting a test piece after pressing it into position. Voids in the mortar bed allow water to migrate beneath the stone, and once water is under the coping, joint failure follows within one to two seasons.
- Achieve full mortar contact beneath each unit — no air pockets, no corner voids, no hollows under the nose of the coping
- Maintain consistent joint width using spacers and a laser level across the full perimeter run
- Allow full mortar cure (minimum 72 hours) before grouting or applying sealant — premature loading compresses the mortar bed and reduces final bond strength
- Apply a penetrating sealer formulated for pool environments before grouting — this protects the stone face from grout hazing and makes long-term maintenance significantly easier
- Caulk all expansion joints with a UV-stable, pool-grade sealant in a color matched to your grout — this joint handles movement so the grout lines don’t have to
Changing pool coping to a new natural stone profile requires material consistency across the full perimeter run — dimensional variation compounds with every unit set. Source new coping stone through Citadel Stone with verified dimensional tolerances and consistent finish quality to ensure the installation sets cleanly and holds over time.
Slip Resistance and Safety Standards for Pool Coping
Safety compliance isn’t optional for pool coping — it’s a liability requirement and a performance spec that should drive your finish selection before aesthetics enter the conversation. The coping is the most trafficked wet-surface transition in any pool environment, and the finish you choose directly determines the static coefficient of friction (SCOF) your installation delivers.
According to ASTM slip resistance specifications for pool coping, finish rather than stone type governs slip resistance. Wet DCOF is measured under ANSI A326.3, which sets a minimum of 0.42 for pool-adjacent surfaces. Polished finishes on limestone and travertine typically fall below this threshold when wet — honed, brushed, or tumbled finishes consistently perform above it. Verify the finish specification against wet DCOF test data for the specific stone you’re ordering, not just the general material category.
- Honed finishes: wet DCOF test report on request — the standard specification for most pool coping applications
- Tumbled finishes: wet SCOF typically 0.70–0.85 — higher traction, more textured appearance, wider joint variation due to dimensional irregularity
- Polished finishes: wet SCOF often below 0.40 — not suitable for pool coping use regardless of stone type
- Brushed finishes: wet SCOF typically 0.65–0.78 — a strong middle-ground option that maintains a refined appearance with adequate wet traction
Replace pool coping finish specifications before material is ordered — finish changes after delivery require a full reorder, and warehouse lead times typically run one to two weeks for in-stock material or four to six weeks for custom dimensions.
Cost Breakdown: What Replacing Pool Coping Actually Costs
Realistic budgeting for replacing pool coping requires separating material costs from labor and substrate repair — three variables that don’t scale together, which is where most project budgets go wrong. A tight perimeter with minimal bond beam damage costs significantly less than a project where the removal phase reveals spalling concrete that needs patching before new stone can be set.
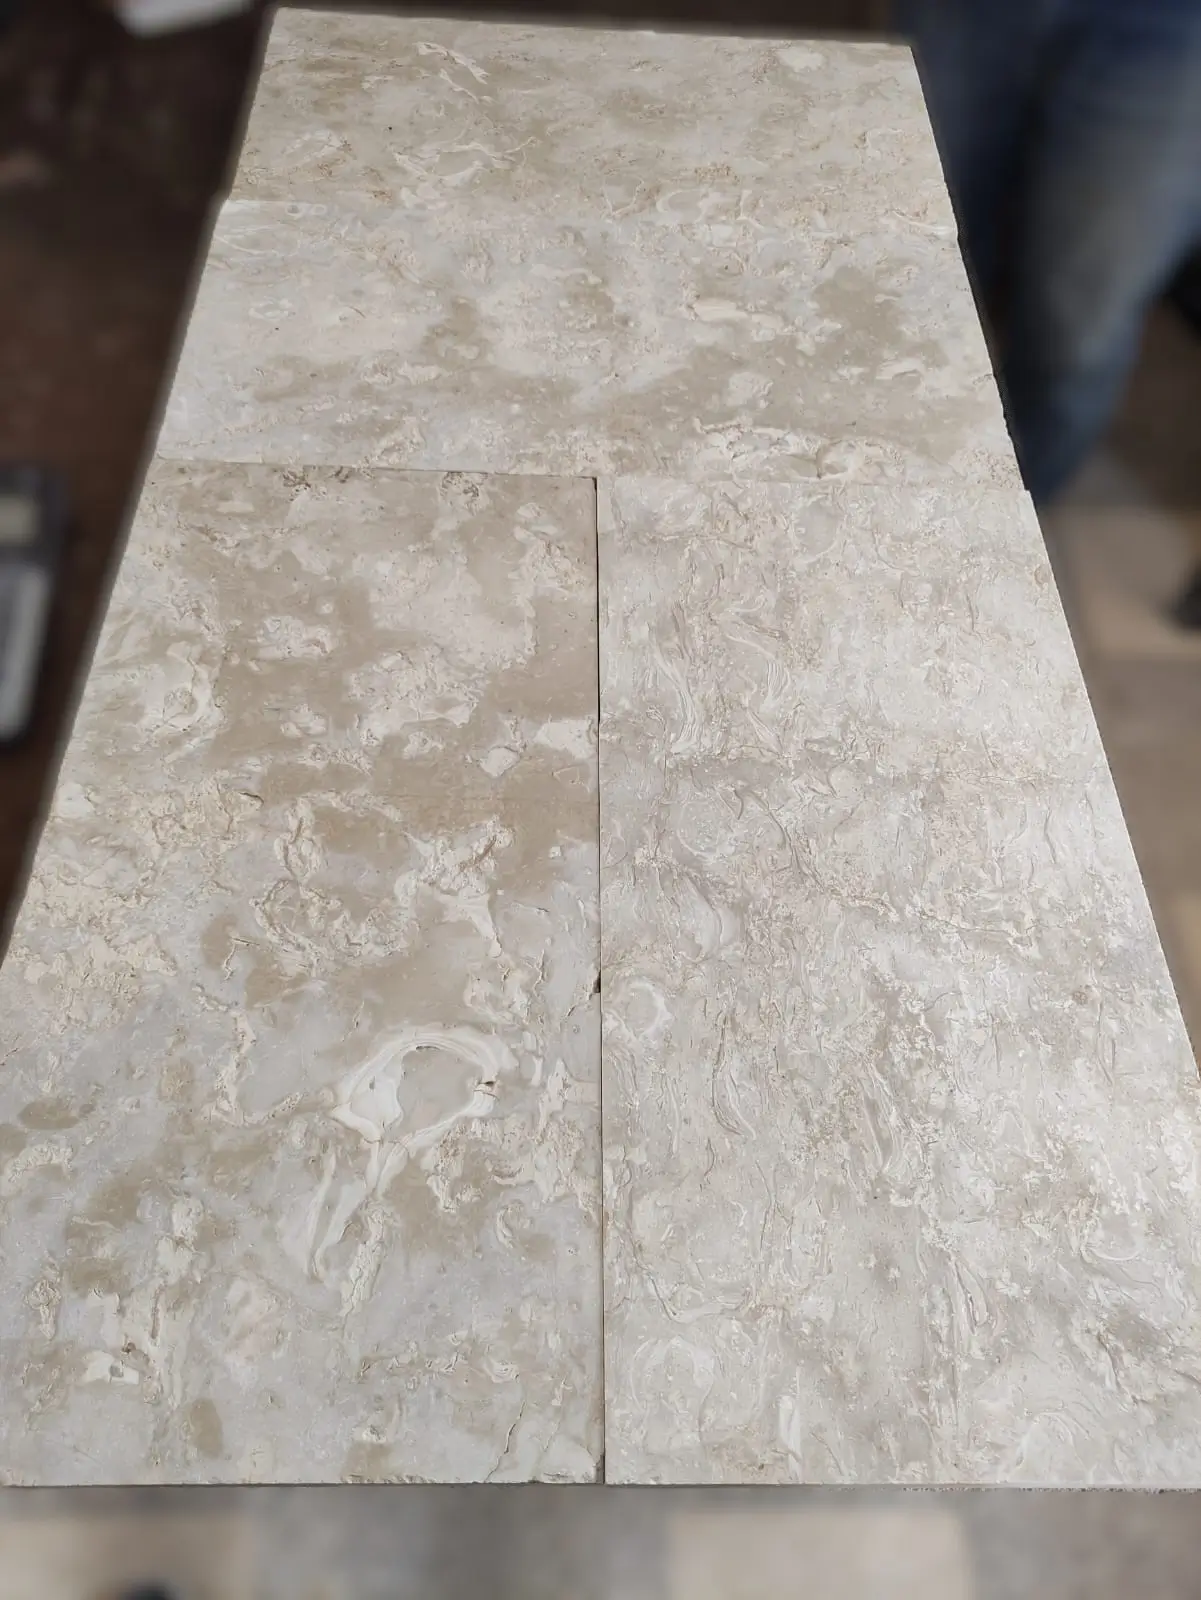
- Natural stone coping material: $15–$45 per linear foot depending on stone type, thickness, and finish — travertine and limestone sit at the lower end of this range, premium granite and custom-profiled bluestone at the higher end
- Removal and substrate preparation: $8–$18 per linear foot — increases significantly if epoxy mortar was used in the original installation or if bond beam repairs are required
- Installation labor: $20–$40 per linear foot for professional natural stone installation — higher for complex corner work or irregular perimeter geometry
- Sealant and joint materials: $300–$700 for a standard residential pool perimeter, depending on joint length and product specification
- Bond beam repairs: $15–$60 per linear foot if spalling, exposed rebar, or honeycombing is discovered during removal — budget a contingency of 15–20% of total project cost for this variable
The total installed cost for a typical residential pool perimeter (75–100 linear feet) runs $4,000–$9,500 for natural stone, with significant variation based on stone selection and substrate condition. Don’t anchor to the material cost alone — the labor and substrate variables routinely represent 50–60% of the final project total.
How to Replace Pool Coping: Getting the Full Specification Right
Knowing how to replace pool coping correctly means matching the removal approach to the substrate condition, selecting a stone finish that meets wet SCOF requirements, and building thermal movement capacity into every joint from the first unit set. The projects that fail prematurely — regardless of stone quality — almost always cut corners on substrate preparation or used rigid grout in joint positions that needed flexible sealant. Those decisions compound over time, and the second replacement cycle costs more than getting the first one right would have.
For projects where you’re weighing whether the damage warrants full replacement or targeted repair work, coping repair options for cracks and lifts covers the technical decision points between repair and replacement in detail — a useful reference before committing either direction. When full coping removal is confirmed, Citadel Stone can provide material quantities based on perimeter measurements to reduce overages and reorder delays.
Related reading: What Is Pool Coping and Why Does It Matter? · pool coping material comparison · pool coping material guide.