

Why Pool Coping Fails — and What You’re Actually Fixing
Pool coping repair starts with correctly diagnosing what caused the failure in the first place — because treating a symptom without understanding the root cause guarantees a repeat repair in two or three seasons. The bond line between the coping unit and the bond beam is where most failures originate, and it breaks down through a predictable combination of hydrostatic cycling, thermal movement, and water intrusion at the mortar joints. Understanding this helps you choose the right repair approach rather than patching over a problem that will resurface.
The three failure modes you’ll encounter most often are cracked units, lifted or displaced coping, and hollow spots where the mortar bed has debonded beneath an otherwise intact surface. Each requires a different repair strategy, and confusing them — especially treating a hollow spot as a cosmetic crack — leads to premature failure. Your first step on any pool coping repair job is a systematic tap test across every unit before you touch a single tool.
Reading Cracks Correctly Before You Repair
Crack geometry tells you more than most installers realize. Hairline surface cracks that run parallel to the pool edge — especially in natural stone coping — are almost always thermal stress cracks driven by expansion and contraction across the stone’s length. These are generally cosmetic and respond well to flexible polyurethane sealant, provided there’s no movement at the crack face when you press it. If you can feel the two faces move relative to each other, the crack is active and requires more than filler.
Diagonal cracks radiating from corners, or step-pattern cracks crossing unit joints, indicate structural movement beneath the coping — typically settlement, bond-beam cracking, or a failed mortar bed that’s allowing differential movement. Filling these without addressing the substrate is wasted effort. You’ll need to lift the affected units, inspect the bond beam, and address whatever base condition drove the cracking before resetting the stone.
- Parallel hairline cracks along the stone face — typically thermal stress, treat with flexible sealant
- Diagonal or step-pattern cracks crossing joints — indicates substrate movement, requires unit removal
- Cracks at unit corners with chipping — impact damage, often from storm debris or hail; assess depth before filling
- Full-thickness cracks with staining — water has been migrating through; inspect the bond beam below
- Cracks accompanied by joint efflorescence — salt migration from water intrusion, address drainage before sealing
According to PHTA pool deck and coping safety standards, proper joint detailing around pool coping is a key factor in preventing water intrusion that leads to both surface and structural failure. Pay particular attention to the inside radius joint — the one between the coping underside and the pool wall — which is consistently the first place water gains access to the bond beam.
The Tap Test and How to Fix Hollow Spots
Hollow spots are the most consequential failure mode in swimming pool coping repair, and they’re also the most underdiagnosed. Use a hard rubber mallet or the handle of a screwdriver and work across every unit in a consistent grid pattern — about every eight inches. A solid unit returns a dense thud; a hollow unit sounds noticeably higher-pitched and hollow, sometimes accompanied by a slight flex underfoot. Mark each hollow unit with chalk before you move to the next.
Your repair options for hollow coping depend on the extent of debonding. Partial debonding — where only a portion of the unit has separated — can sometimes be addressed with grout injection using a low-viscosity epoxy or polymer-modified grout injected through a small drilled port. Full debonding, where the unit rocks or the hollow spans more than 60% of the unit’s footprint, requires full removal and reset. Attempting to inject a fully hollow unit rarely achieves adequate bond, and you’ll be back on the deck within a season.
- Small hollow area under 30% of unit footprint — low-viscosity epoxy injection through 5mm drilled port
- Hollow area 30–60% of footprint — assess bond beam condition; injection viable if substrate is sound
- Hollow area over 60% of footprint — full removal, substrate inspection, and reset required
- Multiple adjacent hollow units — indicates systemic mortar failure; full section removal is the correct call
When resetting lifted or hollow units, your mortar bed needs to cover a minimum of 95% of the unit’s back face — back-butter the unit before setting, and use a notched trowel on the substrate to ensure full coverage. Voids in the mortar bed are exactly how the next hollow spot starts. For natural stone pool coping repair, use a polymer-modified mortar rated for wet and submerged conditions; standard Type S is not adequate for the continuous moisture exposure that pool coping endures.
Repairing Lifted and Displaced Coping
Lifted coping — units that have physically risen above their original plane — almost always traces back to one of two causes: freeze-thaw heave in cold climates where water has infiltrated the mortar bed and expanded, or hydrostatic pressure from a high water table pushing up against the bond beam. Both require different long-term solutions, but the immediate repair process is similar: careful removal without damaging adjacent units, substrate assessment, and proper reset with full mortar coverage.
Removing lifted natural stone coping without cracking adjacent units takes patience. Score the perimeter joints with an angle grinder fitted with a diamond blade before attempting to lever the unit. Work a wide chisel under the unit from multiple sides rather than forcing a single point — stone coping that costs $18–$35 per linear foot is worth the extra 20 minutes of careful removal. Once the unit is out, chip away all old mortar from both the unit back and the substrate surface down to clean material. Any old mortar left on the bond beam creates a high spot that prevents full seating of the reset unit.
- Score all joints to full depth before removal — prevents cracking adjacent units
- Remove all old mortar from both unit and substrate — high spots cause rocking and future hollow spots
- Inspect the bond beam face for cracks or spalling before resetting
- Prime porous substrates before applying fresh mortar — improves bond by 30–40% on concrete bond beams
- Back-butter the unit and apply mortar to the substrate — dual application ensures full coverage
- Set with firm pressure and check for level and alignment before mortar sets
If the bond beam itself shows cracking or delamination, repair that before setting any coping. How to repair pool coping correctly over a compromised bond beam is a question with one answer: you don’t — address the substrate first. Pool coping repair performed over a damaged bond beam will fail again within 12–18 months regardless of the quality of the mortar or the coping material. A structurally sound substrate is the single most important condition for a durable result.
Joint Repair, Repointing, and Sealant Selection
Deteriorated coping joints are one of the most common entry points for the water that eventually causes cracking and lifting. Repointing — removing failed grout or mortar from joints and replacing it with fresh material — is a repair that most pool owners defer too long. The moment you see grout crumbling, pulling away from the stone face, or showing cracks that allow a credit card to enter the joint, it’s time to repoint. Waiting allows water to migrate to the bond beam, where the real damage begins.
For joints between coping units, your sealant or grout choice matters significantly. Rigid cement-based grout is appropriate for tight joints between units where movement is minimal. For the expansion joint between the coping and the pool deck, and for the inside joint where coping meets the pool wall, you must use a flexible polyurethane or modified silicone sealant — these joints are designed to accommodate movement, and a rigid fill will crack almost immediately. ASTM standards for stone and tile joint sealants provide the performance benchmarks that govern sealant selection for wet and exterior applications.
Depth matters when repointing. Rake joints to a minimum depth of 12mm — roughly half an inch — before applying new sealant or grout. Shallow fills bond to only one face of the joint rather than both side walls, and they pop out under the first significant temperature swing. A backer rod in wider joints gives the sealant the right geometry for long-term flexibility and prevents three-sided adhesion, which prevents the sealant from stretching correctly when the joint opens.
Natural Stone Coping Repair: Getting the Material Match Right
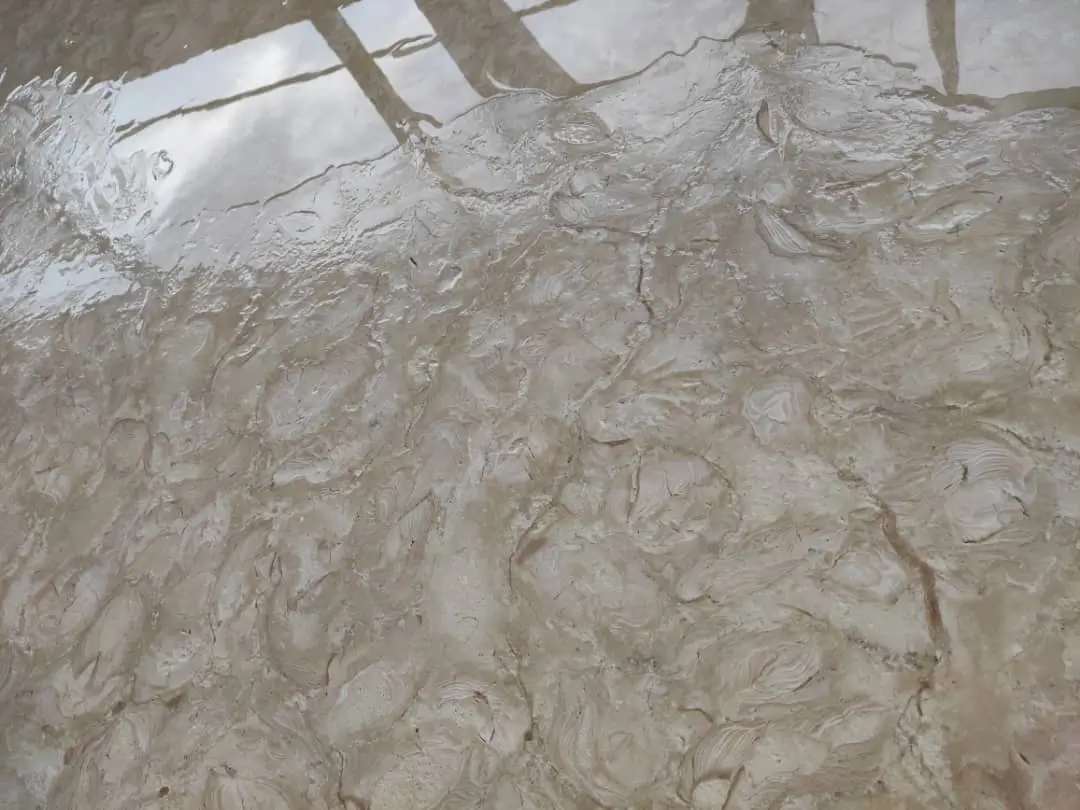
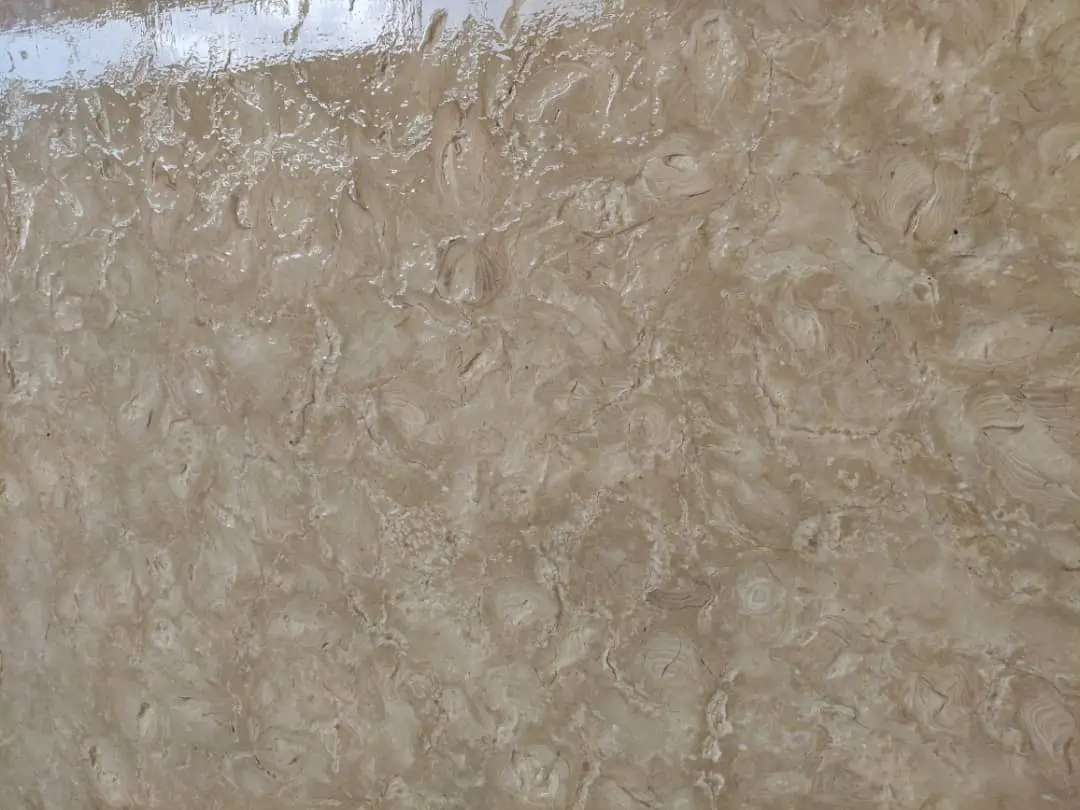
Material matching is one of the more underappreciated aspects of swimming pool coping repair. Replace a travertine unit with a slightly different batch and the color variance will be visible within a year once both materials weather to their natural hue. Natural stone varies between quarry pulls, and even the same product line sourced six months apart can show measurable tonal differences. The practical approach is to source replacement units from the same supplier who provided the original installation material — and ideally from the same quarry batch if that information is available.
For projects where the original source is unknown, bring a sample unit to your supplier and request a close match from current warehouse stock. At Citadel Stone, we keep detailed records of our stone batches and can often match coping material to a previous supply — a level of traceability that matters when you’re replacing two units in a 40-foot run and need them to blend. You can source matching coping stone from Citadel Stone with the kind of quarry-specific guidance that prevents visible patchwork repairs.
Beyond color, match the finish and edge profile precisely. A honed replacement unit in a tumbled travertine run, or a square-edge unit where the original has a bullnose, creates an installation that looks repaired rather than restored. The edge profile is particularly important because it’s what the eye reads first at pool level — even a small profile mismatch draws attention from ten feet away.
- Match stone species, color batch, finish, and edge profile before ordering replacement units
- Order 10–15% extra to account for cuts and any additional units found hollow during the tap test
- Verify warehouse availability before scheduling the repair — sourcing delays can leave the pool edge exposed
- For travertine coping repair, check that fill treatment (filled vs. unfilled) matches the original surface
Storm Impact, Wind Events, and Long-Term Joint Integrity
Severe weather stress on pool coping is a performance factor that rarely gets adequate attention until after a storm event reveals pre-existing weaknesses. Wind-driven rain at lateral pressure — particularly in sustained storm events — forces water into joint faces at angles that normal rainfall doesn’t replicate. A joint that appears sound under vertical rain can allow significant infiltration under wind-driven conditions, particularly where grout has micro-cracked or sealant has pulled away from the stone face.
Hail impact is another mechanical stress source worth evaluating during a coping pool repair assessment. Softer natural stones — particularly unfilled travertine and some limestone varieties — can sustain surface impact damage from large hail that doesn’t immediately appear structural but compromises the surface seal and accelerates weathering at the impact point. Run your hand across the coping surface after any significant hail event; pitting that you can feel is pitting that will hold water and eventually work its way deeper into the stone.
Edge restraint integrity matters here too. The adhesion between the coping unit and the bond beam needs to resist lateral loads, not just vertical ones. During heavy wind events, coping units that are already partially debonded can shift laterally — a movement that would never occur under normal pool use but becomes possible once the mortar bond has been compromised. Repointing and full-coverage mortar reset directly improves the coping’s resistance to these lateral forces, which is why thoroughness in repair matters well beyond the cosmetic result.
- Inspect all joints after major storm events — wind-driven rain infiltration accelerates failure in compromised joints
- Check for hail pitting on soft stone surfaces — surface damage accelerates water infiltration even without visible cracking
- Verify edge restraint adhesion is intact — partially debonded units can shift laterally under wind load
- Sealant at the coping-to-deck joint is the first line of defense against storm-driven water entry
Sealing Natural Stone Coping After Repair
Sealing is the step that determines how long your pool coping repair actually holds. Unprotected natural stone in a pool environment — constant chemical exposure from pool water, UV radiation, and thermal cycling — will deteriorate measurably faster than sealed stone. The right sealer for pool coping repair is a penetrating impregnator, not a topical coating. Topical coatings can trap moisture beneath the surface and peel under UV exposure; penetrating sealers occupy the pore structure of the stone without forming a surface film that’s vulnerable to mechanical wear.
Timing matters. New mortar and grout need to fully cure — a minimum of 28 days for cement-based mortars — before you apply sealer. Sealing too early traps off-gassing from the curing mortar, which causes bubbling and uneven penetration in the stone. On repaired sections, clean the stone thoroughly with an appropriate stone cleaner before sealing, removing any mortar haze, efflorescence, or chemical residue from pool water. Sealant applied over contamination bonds poorly and fails early.
According to Natural Stone Institute travertine and limestone pool paving performance data, penetrating sealers on porous coping stones should be reapplied every 2–3 years in pool environments, with annual inspection to check that water still beads on the surface. The moment water absorbs rather than beads, your seal has depleted and the stone is vulnerable. This is particularly true for travertine pool coping repair, where the open-pore structure requires more frequent sealer maintenance than denser stone types.
Planning Your Repair: Timing, Sequencing, and Supply
Repair sequencing affects both quality and cost more than most pool owners expect. The optimal window for pool coping repair is when the pool can be drained or the water level dropped below the coping line, giving you full access to the inside joint and the top face without working around water. Attempting coping repair with the pool at normal water level increases the chance of mortar contamination and prevents proper joint treatment on the water-facing side of the coping.
Lead time for replacement stone is a project variable you need to plan around. Citadel Stone maintains warehouse inventory of pool coping in commonly specified materials and profiles, which typically reduces sourcing lead time to one to two weeks — significantly faster than waiting for import stock. Verify warehouse availability before you schedule the repair crew; a two-day repair job that stalls because replacement stone isn’t available costs more in mobilization than the stone itself. Confirming stock before the pool is drained is the professional approach.
- Drain or lower pool water before starting repair — full access to the inside joint is essential
- Confirm replacement stone availability before scheduling the repair to avoid mid-job delays
- Complete all structural repairs (bond beam, hollow spots) before any cosmetic crack filling
- Allow mortar to cure fully before repointing joints — typically 7 days minimum, 28 days before sealing
- Seal the full coping run, not just the repaired sections — uneven sealing shows as sheen variation
For natural stone pool coping repair specifically, check ASTM C1527 travertine dimension stone specifications if you’re working with travertine coping and need to verify that replacement material meets the same grade and absorption class as the original. This is particularly relevant if the original installation was specified to a commercial or pool-specific standard, where absorption class directly affects long-term performance in wet conditions.
What Matters Most in Pool Coping Repair
The repairs that hold are the ones that address the actual failure mechanism, not just the visible symptom. A cracked unit that gets filled without identifying why it cracked will crack again. A hollow unit that gets injected without achieving full mortar coverage will fail again within two seasons. Successful pool coping repair requires you to read the evidence the failure leaves behind — crack geometry, hollow spot distribution, joint condition, and bond beam integrity — and respond to what the damage is actually telling you.
Material quality in the repair matters as much as technique. Undersized mortar bed coverage, wrong sealant flexibility, and mismatched replacement stone are the three specification errors that generate repeat service calls. Your repair should restore the coping to a condition indistinguishable from a new installation — structurally and visually. For new installations once repairs are complete, understanding correct installation technique from the start prevents many of these failure modes entirely; correct pool coping installation methods covers the base preparation and setting details that keep coping sound for decades.
Prioritize the repair sequence — structural first, cosmetic second, sealing last. Every step in between needs adequate cure time before the next step begins. Rushing cure times is the most common quality compromise in coping repair, and it’s the one that voids your work before the pool even refills. Bond-beam damage often accelerates when hollow coping is left unaddressed — a point Citadel Stone emphasizes when helping customers source repair material promptly.
Related reading: What Is Pool Coping and Why Does It Matter? · swimming pool coping options · Pool Coping Material Guide: Hot vs. Freeze-Thaw Climates.