Your stone veneer supply guide decisions hinge on a detail most specifiers overlook during early project phases — the relationship between face material grade and substrate compatibility. Grade A veneer adheres differently from Grade B because surface porosity varies by 15–30% between classifications, and that variation directly affects your mortar bond strength and long-term weather resistance. Understanding that distinction before you place a supply order separates projects that perform for 30 years from those that require remediation within a decade.
Stone Veneer Grades: What the Classifications Actually Mean
Stone veneer grading isn’t standardized across every quarry or supplier, which creates real confusion when you’re comparing quotes. Most reputable suppliers use a tiered system — Grade A (or Select), Grade B (Standard), and Grade C (Commercial or Utility) — but the tolerances within each tier vary based on the quarry of origin and the stone type. You need to know what you’re actually buying before committing to tonnage.
Grade A veneer is cut to tight dimensional tolerances, typically ±1/8 inch in thickness and face dimensions. Surface variation is minimal, color consistency is high, and it’s specified for feature walls, interior cladding, and exposed architectural applications where uniformity matters. Grade B allows wider thickness variation (±3/8 inch is common) and accepts more natural color movement — it’s the appropriate choice for exterior retaining wall faces, landscape borders, and rustic residential applications where character variation reads as an aesthetic asset rather than a defect.
Grade C material is irregular, frequently used for rubble fill, non-structural garden walls, or fill-facing applications where visual uniformity isn’t a requirement. Here’s what most buyers miss: purchasing Grade C material to save on unit cost and then spending time and labor sorting and fitting it on-site typically costs more than specifying Grade B from the start. The material-to-labor cost ratio shifts dramatically when your installers are compensating for irregular stock. Any stone veneer supply guide worth consulting will make this point clearly — grade selection is a labor cost decision as much as a material cost decision.
- Grade A: ±1/8″ thickness tolerance, high color consistency, architectural applications
- Grade B: ±3/8″ tolerance, natural color variation acceptable, exterior landscape use
- Grade C: Irregular dimensions, rubble and fill applications, cost-sensitive non-visible work
- Always request a grade specification sheet — not just a verbal grade description — before ordering
- Inspect warehouse sample panels before approving a production run for large orders
Veneer Formats and Cut Profiles: Matching Form to Application
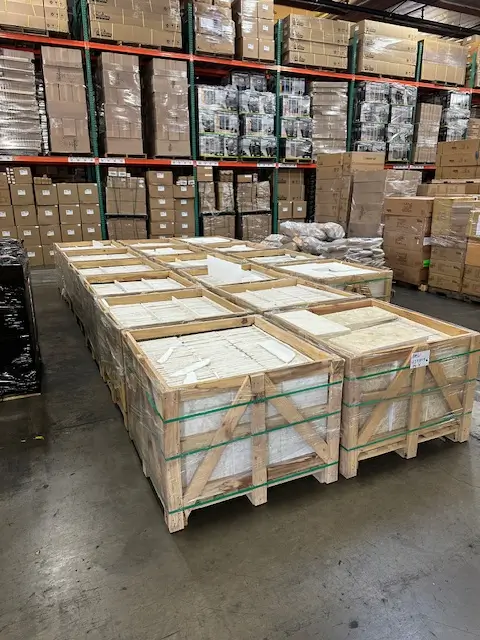
The format you specify determines installation complexity, labor time, and the final aesthetic more directly than material selection alone. There are five primary formats you’ll encounter when working with a stone supply store or national supplier: ashlar, ledgestone, fieldstone, thin veneer panels, and dimensional cut slabs. Each has a different thickness range, installation system, and structural requirement.
Ashlar cut veneer runs 2–4 inches in nominal thickness and is laid in courses, similar to brick. It requires a substantial mortar bed and proper ties to the substrate — typically metal veneer anchors at 16-inch vertical intervals and 24-inch horizontal intervals per most building codes. Ledgestone format is thinner (3/4 to 1.5 inches), designed for direct adhesive installation over concrete board or properly prepared CMU block, and creates the horizontal stacked texture that’s been dominant in residential remodels for the past decade.
Thin veneer panels — usually machine-cut to 3/4 inch or 1 inch nominal — are engineered specifically for lightweight applications where structural load is a constraint. They perform well on wood-framed walls with proper moisture barriers, but you need to verify that your weather-resistant barrier and lath system meet the requirements in IBC Chapter 21, which governs natural stone masonry and veneer installations. Skipping that verification step creates liability exposure on commercial projects and warranty exposure on residential work.
- Ashlar: 2–4″ nominal, mortar-set, metal anchor ties required at specified intervals
- Ledgestone: 3/4–1.5″, adhesive-set over concrete board or CMU
- Fieldstone: Variable thickness, traditional mortar application, higher labor intensity
- Thin veneer panels: 3/4–1″ nominal, lightweight framing applications
- Dimensional cut slabs: Custom thickness, fabricated to project specification
- Panel systems with mechanical fasteners: High-rise and commercial curtainwall applications
According to IBC Chapter 21 masonry and veneer building code requirements, anchored veneer systems must meet specific tie spacing and embed depth criteria that vary with the height of the installation above grade. Review those requirements early — changing anchor specification mid-project after framing is complete is expensive and disruptive.
Material Selection by Stone Type: Performance Trade-Offs You Need to Understand
The stone type drives performance outcomes more than any other variable in a veneer specification. Limestone, sandstone, granite, and manufactured stone each behave differently under thermal cycling, moisture exposure, and freeze-thaw stress. Choosing the wrong material for your climate and substrate context is the leading cause of premature veneer failure.
Limestone veneer performs well in moderate climates and interior applications but requires careful evaluation in freeze-thaw regions. Its absorption rate typically ranges from 3–8%, and at higher absorption levels, water ingress and subsequent freeze expansion can fracture thin veneer pieces within 5–7 years of installation. Request absorption test data (ASTM C97) for any limestone veneer you’re specifying for exterior use in regions with significant freeze cycles. The Natural Stone Institute veneer installation and wall stone guidance provides technical benchmarks that support this specification decision.
Granite veneer carries a compressive strength above 19,000 PSI and an absorption rate typically below 0.4%, making it one of the most durable options for exterior cladding in demanding environments. The trade-off is weight and cost — granite ashlar format at 3-inch thickness runs significantly heavier per square foot than limestone or sandstone alternatives, which affects your structural tie design and freight costs. Sandstone veneer offers natural color warmth and good workability but requires sealing every 3–5 years on exterior applications to prevent spalling at the face.
- Limestone: Absorption 3–8%, test with ASTM C97 before exterior freeze-thaw specification
- Granite: Absorption below 0.4%, compressive strength 19,000+ PSI, heavy freight cost factor
- Sandstone: Workable, warm tones, 3–5 year exterior resealing required
- Quartzite: High hardness, excellent weather resistance, limited color palette
- Slate veneer: Excellent cleft face texture, freeze-thaw resistant, directional installation required
Substrate and Installation System Compatibility
Your substrate selection is as consequential as the veneer material itself — and it’s where field failures most commonly originate. The three primary substrates for stone veneer are concrete masonry unit (CMU) block, poured concrete, and wood-framed assemblies. Each requires a different preparation sequence and mortar or adhesive specification.
CMU and poured concrete substrates accept veneer well when the surface has proper mechanical key. A scratch coat of Portland cement mortar (minimum 3/4 inch, cured 24–48 hours before veneer application) creates the bonding surface your setting mortar needs. Smooth concrete must be acid-etched or mechanically scarified to achieve bond strength above 50 PSI — that’s the minimum threshold most veneer manufacturers specify for warranty compliance.
Wood-framed substrates require a complete moisture management assembly: housewrap or building paper, a drainage plane, metal lath mechanically fastened through sheathing into studs at 6-inch vertical intervals, and then a scratch coat. Skipping the drainage plane on wood-frame substrates is the single most common mistake in residential veneer installations. Moisture that penetrates the veneer face and has no drainage path migrates into the framing and creates rot, mold, and structural degradation that doesn’t show up until year 5–8. By then, remediation means removing the entire veneer assembly.
- CMU/concrete: Scratch coat minimum 3/4″, cure 24–48 hours before setting
- Smooth concrete: Acid etch or scarify to achieve bond strength above 50 PSI
- Wood framing: Full moisture assembly — housewrap, drainage plane, lath, scratch coat
- Drainage plane is non-negotiable on wood-frame substrates regardless of veneer type
- Expansion joints every 20–24 linear feet horizontally and at all changes in substrate material
Sourcing Decisions, Freight Costs, and Total Project Budget
Material cost per square foot is only part of your project budget equation — and often not the largest part. Freight distance from the stone supply source to your job site directly affects your total delivered cost, and that variable shifts dramatically depending on where you’re sourcing from. Domestic stone quarried and distributed nationally typically carries a 15–25% freight premium over locally abundant material, but it also offers tighter quality control, grade documentation, and lead times measured in weeks rather than months.
The material-to-labor cost ratio for stone veneer installation typically runs 40–60% material and 40–60% labor depending on the format complexity. Ashlar and fieldstone formats are more labor-intensive than ledgestone or thin panel systems — plan for 20–35% higher installation labor when specifying irregular formats. That ratio means a $2/sq ft difference in material cost can be offset entirely by a 10% reduction in installation time through better material grading and dimensional consistency.
Reviewing all stone supplies before finalizing your specification pays dividends on large projects. A national supplier with warehouse inventory can often deliver within 1–2 weeks versus the 6–10 week lead time for imported material ordered from an overseas quarry. On time-sensitive commercial projects, that lead time difference can represent real schedule savings. Citadel Stone maintains national warehouse stock across multiple veneer types, which allows you to cross-reference material availability against your project timeline before locking in a specification.
For a thorough review of your options, Citadel Stone veneer materials covers the full range of available formats, grades, and stone types with technical detail suited to specification-level decisions.
- Freight from warehouse to site: account for 8–18% of material cost depending on distance
- Domestic stock vs. import: 6–10 week lead time difference has real schedule cost implications
- Better material grading reduces on-site sorting labor — value engineer through quality, not unit price
- Request full delivered pricing — unit cost without freight creates false comparisons
- Labor market conditions in your region affect total installed cost significantly — factor local rates early
Finish Types and Surface Specification
The finish you specify affects slip resistance, maintenance requirements, and weathering behavior as much as the base material does. For exterior wall veneer, the primary finish options are natural cleft, honed, sawn, and bush-hammered. Each produces a different surface texture and a different coefficient of friction — a specification detail that matters when veneer is used on low-height walls, steps, or any surface with potential pedestrian contact.
Natural cleft finish — the split face that follows the stone’s natural grain — provides the deepest shadow lines and the most organic visual texture. It also has the highest surface irregularity, which complicates mortar bed leveling during installation. Your setting mortar depth needs to vary more with cleft face material, so factor additional material and labor time into your bid. Honed finish gives you a flat, matte surface with tight dimensional consistency that installs faster and cleaner, but it shows efflorescence and weathering staining more visibly over time.
Sawn veneer is the most dimensionally consistent format — cut on both faces to a tight thickness tolerance — and it’s the preferred choice for contemporary architectural applications where clean joint lines are part of the design intent. Bush-hammered finish creates a mechanical surface texture that enhances bond strength when used on thicker ashlar pieces, and it performs well on feature elements that need to resist graffiti or surface marking because the textured face doesn’t hold spray paint uniformly.
- Natural cleft: Maximum texture, variable mortar depth required, highest visual character
- Honed: Matte flat surface, shows weathering staining more readily, fast installation
- Sawn: Tightest dimensional tolerance, contemporary aesthetic, clean joint lines
- Bush-hammered: Mechanical texture, strong mortar bond, graffiti-resistant surface
- Thermal finish: Flame-textured surface, high slip resistance, suitable for step nosings
Working with National Suppliers: What to Verify Before You Order
The difference between a smooth veneer project and a frustrating one often comes down to what you verified before the truck left the warehouse. National stone suppliers can provide consistent quality across large orders — but only if you build the right verification checkpoints into your procurement process. Three items matter most: grade documentation, sample approval, and delivery sequencing.
Grade documentation should accompany every significant order. You want a written specification sheet that confirms the grade classification, the allowable thickness tolerance, the surface finish standard, and the absorption test results for the specific quarry run you’re receiving. Without that documentation, you have no baseline for disputing out-of-tolerance material when it arrives on site. At Citadel Stone, our technical team provides this documentation as standard practice — it’s not an add-on request, it’s part of how we process orders for specification-level projects.
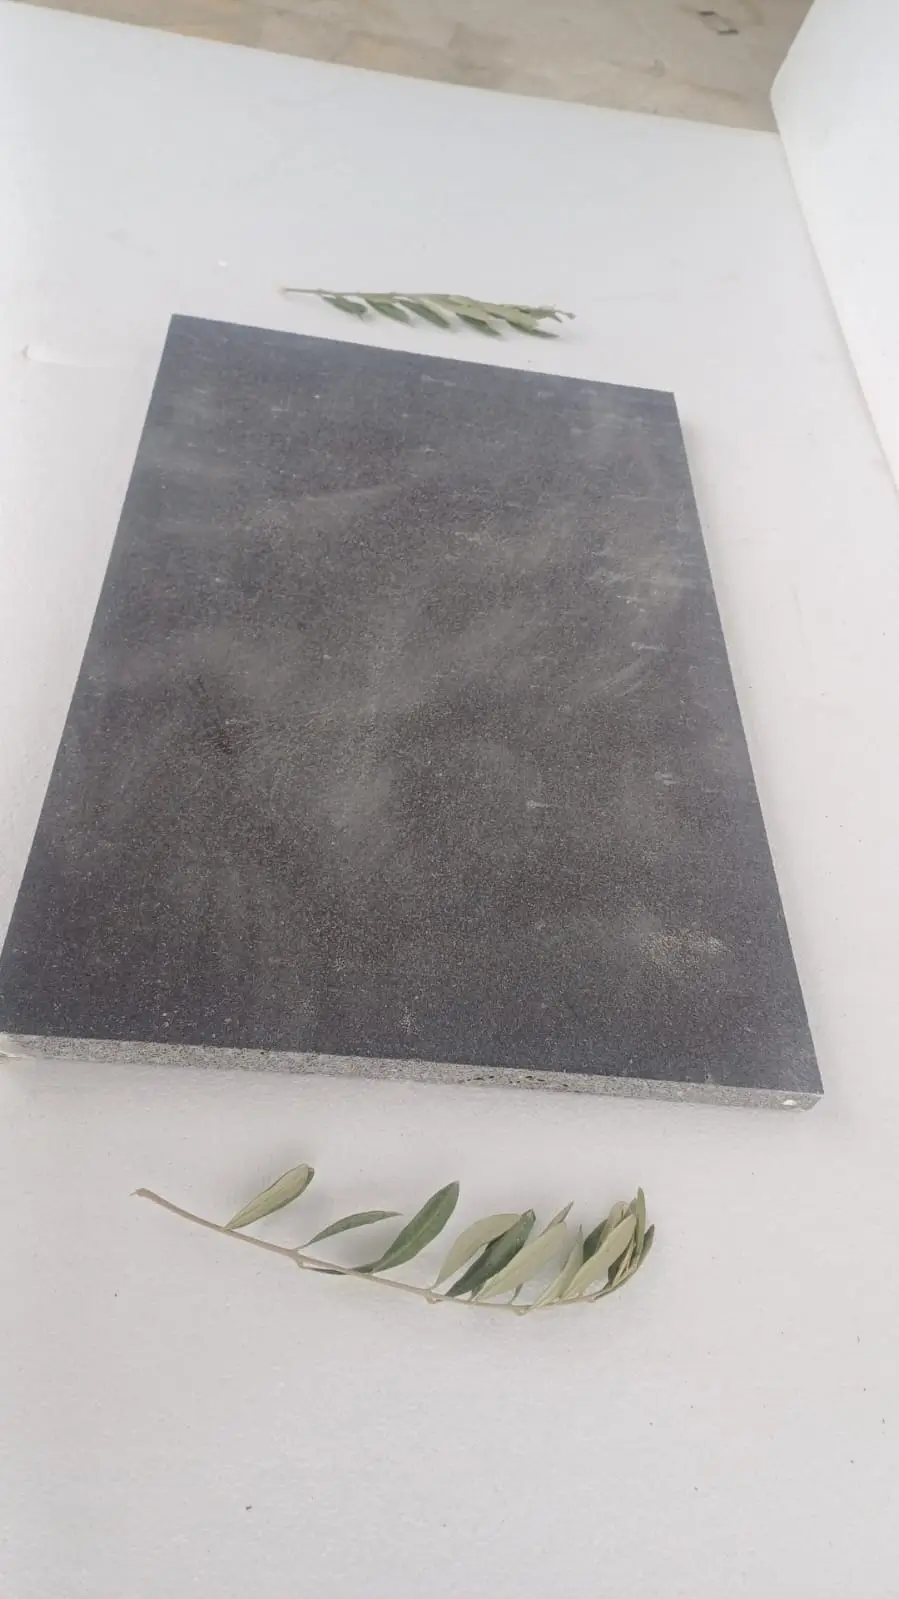
Sample approval is worth every day it adds to your lead time. Request a physical sample panel — minimum 12 × 12 inches — before approving a production order over 500 square feet. Color variation in natural stone can be significant between quarry runs, and what reads well in a small chip can read very differently across 1,000 square feet of wall face. The Masonry Society natural stone wall construction standards provide additional framework for specifying acceptable variation tolerances in your procurement documents.
- Request written grade documentation — not verbal assurance — for every order
- Approve a physical sample panel before committing to production quantities
- Confirm warehouse stock availability against your installation schedule
- Verify truck access at your delivery site — dimensional stone is heavy and crane-offloading requirements aren’t always anticipated
- Request delivery sequencing for large orders — staged delivery reduces site storage and damage risk
- Clarify return policy for over-order material before purchasing
Delivery sequencing deserves specific attention on phased projects. If your installation covers multiple elevations with different stone types or colors, confirm that the supplier can hold and release stock in the sequence your installation schedule requires. Having two different stone deliveries arrive simultaneously when your crew is staged for one elevation creates material management problems and increases breakage risk during site handling.
Mortar and Adhesive Selection for Stone Veneer
Mortar selection is a specification decision, not a field judgment. The wrong mortar type causes more long-term veneer problems than almost any other variable — and it’s frequently treated as an afterthought. Your mortar specification needs to match the stone type, the substrate, and the environmental exposure simultaneously.
For most natural stone veneer applications, Type S mortar (ASTM C270) is the appropriate specification — it delivers compressive strength of 1,800 PSI and higher bond strength than Type N, with adequate flexibility for the minor movement that occurs in exterior assemblies. Type N is sometimes specified for interior applications where compressive load is lower, but it’s marginal for exterior veneer in any region with meaningful temperature swing. Type M mortar (2,500 PSI) is appropriate for below-grade applications and retaining wall face veneer, but its lower flexibility can cause cracking in wall assemblies that experience thermal movement.
Polymer-modified setting mortars — often labeled as large-and-heavy-tile mortars — are increasingly the preferred choice for thin veneer panel installation over concrete board substrates. They provide better bond tensile strength (typically 200–300 PSI in tensile versus 50–100 PSI for standard Portland mortar) and better workability on vertical surfaces. The ASTM natural stone testing and dimension stone quality standards include compressive strength and absorption benchmarks you can cross-reference against your mortar specification to confirm compatibility with the specific stone you’re installing.
- Type S mortar: 1,800 PSI, standard exterior veneer specification
- Type N mortar: Interior applications only, inadequate for exterior thermal exposure
- Type M mortar: Below-grade and retaining wall applications
- Polymer-modified mortar: Best for thin panel systems over concrete board, 200–300 PSI tensile strength
- Never use premixed mastic on exterior stone veneer — it doesn’t perform in wet conditions
- Joint grout specification should complement your mortar — match stiffness class to movement allowance
Getting Your Stone Veneer Supply Guide Decisions Right
Completing this stone veneer supply guide process correctly from the start means locking in three decisions before any material ships: grade classification with documented tolerances, format matched to your installation system, and stone type verified against your substrate and climate exposure conditions. Those three decisions cascade through every downstream step — mortar specification, anchor design, labor estimating, and long-term maintenance planning. Rushing any of them creates compounding problems that are expensive to resolve mid-project.
Your budget planning should account for the full delivered cost, not just the per-square-foot material price. Freight, lead time, site access for truck delivery, and material-to-labor cost ratios all shift the real project economics in ways that unit pricing alone won’t reveal. Sourcing from a national supplier with warehouse stock can reduce lead times significantly and give you access to consistent grade documentation — both of which reduce project risk in ways that matter as much as cost. When evaluating all stone supply options across your current and upcoming projects, the right sourcing partner affects both schedule and quality outcomes. As you weigh those options, comparing stone supply companies gives you a structured framework for making that sourcing decision with confidence. Before committing to a veneer order, Citadel Stone provides material grade documentation that buyers can review against project tolerances and finish expectations.