Shell-based pavers are a stunning addition to outdoor spaces, blending natural elegance with rugged durability. Our enduring Ocean Reef Shellstone pavers that age beautifully over time, typically crafted from concrete or limestone with embedded shells like oyster, clam, or seashell fragments, bring a unique coastal charm to patios, driveways, and walkways across the USA. Yet, their beauty comes with a catch—over time, the shells can chip or crack due to weather, wear, or impact, marring their appearance and potentially weakening their structure.
When faced with chipped shells in pavers, homeowners have two main options: tackle the repairs themselves with a DIY approach or hire a professional for a polished fix. In this in-depth guide, we’ll explore both methods, offering practical advice, step-by-step instructions, and real-world examples. We’ll compare the costs, benefits, and challenges of DIY versus professional repairs, and include case studies from recent projects across the USA to show how these solutions play out in practice. Whether you’re a hands-on DIY enthusiast or someone seeking a flawless finish, this article will help you decide the best way to restore your shell-based pavers.
Introduction: Understanding Shell-Based Pavers and Chipped Shells
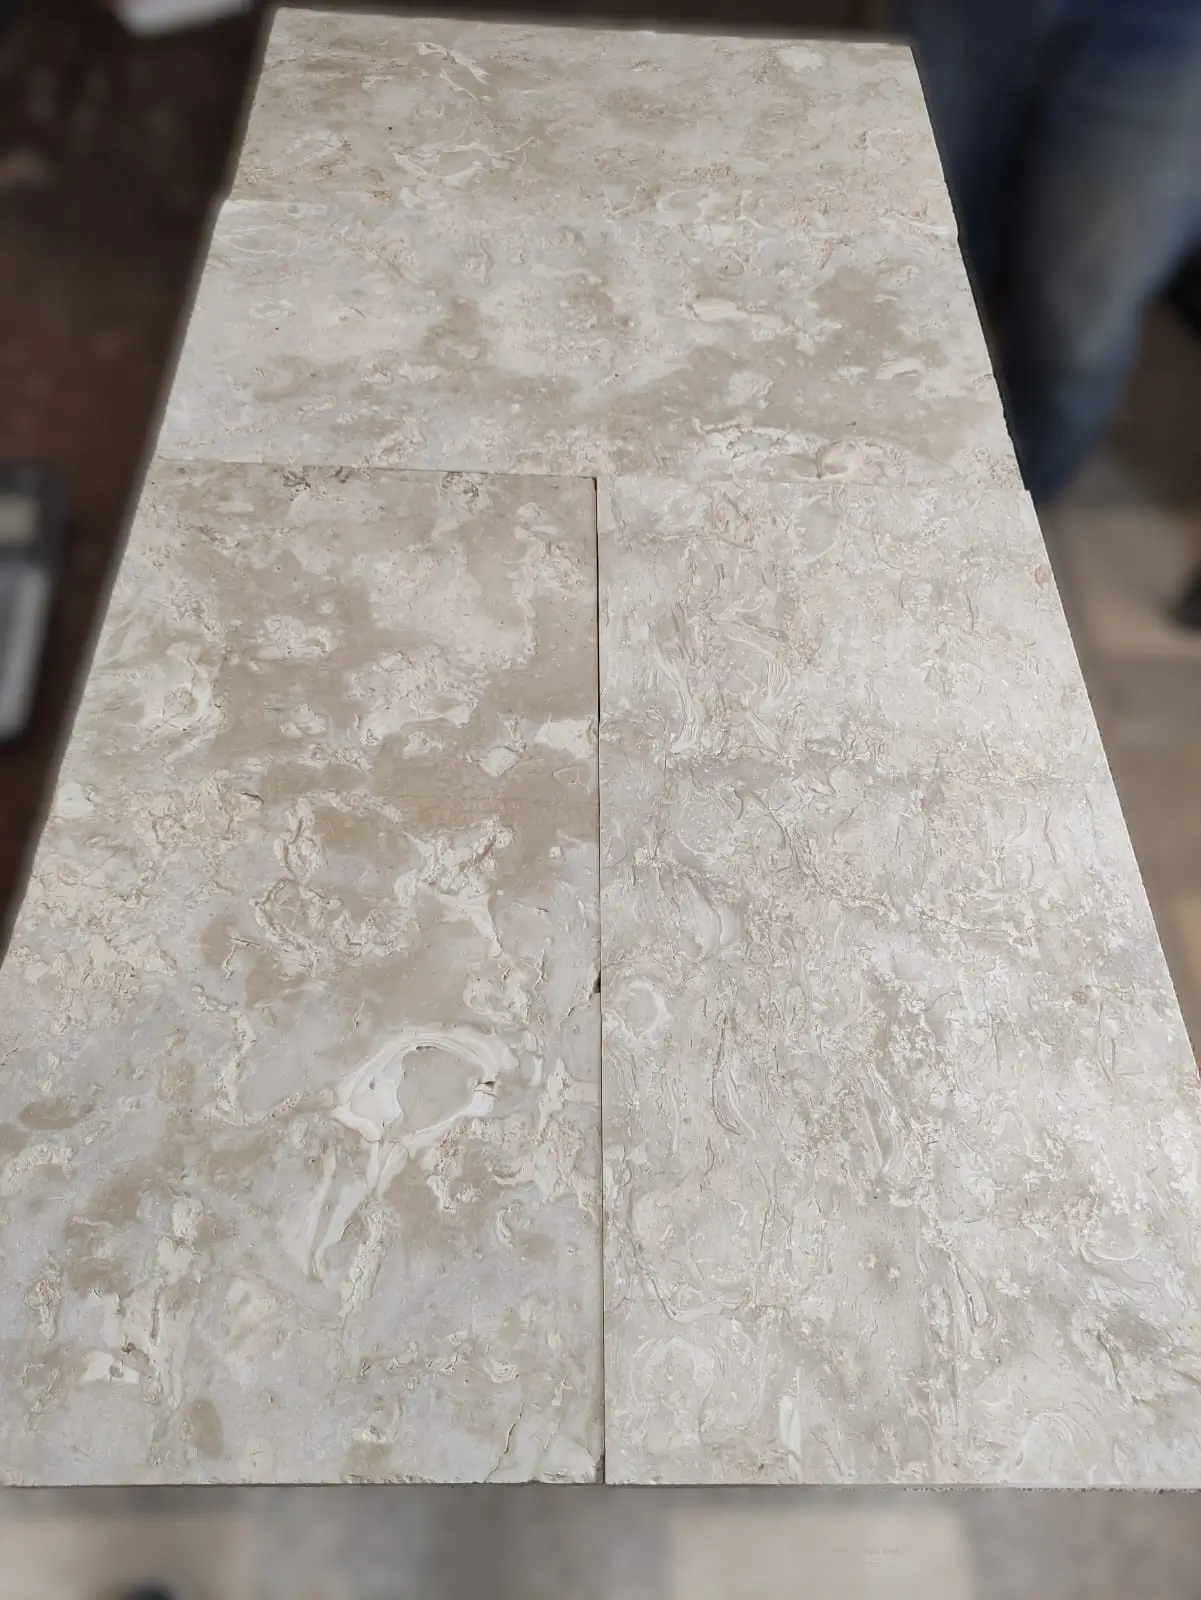
Shell-based pavers stand out for their organic texture and visual appeal. The embedded shells—sourced from nature and integrated into a sturdy base material—create a one-of-a-kind surface that enhances outdoor aesthetics. Popular in coastal regions and beyond, our precision-cut shells reef beige pavers for easy installation are prized for their ability to withstand heavy use while adding a touch of seaside sophistication.
However, the shells’ exposure makes them vulnerable. Harsh winters, scorching summers, or constant foot traffic can cause them to chip, leaving unsightly gaps or uneven surfaces. Left unchecked, these chips can worsen, allowing water to seep in and further degrade the paver. Repairing chipped shells isn’t just about looks—it’s about preserving the investment you’ve made in your outdoor space.
In this guide, we’ll break down the repair process into two categories: DIY fixes for those ready to roll up their sleeves, and professional repairs for when precision and expertise are non-negotiable. We’ll walk you through each approach, highlight when to choose one over the other, and showcase real-life case studies from across the USA. By the end, you’ll have a clear roadmap to restore your chipped shell pavers, tailored to your needs and budget.
DIY Repairs: Taking Control of the Fix
For many homeowners, repairing chipped shells in pavers is a manageable DIY project that saves money and offers a sense of accomplishment. With the right tools and a bit of patience, minor damage can be addressed effectively at home. Here’s everything you need to know to get started.
When DIY Makes Sense
DIY repairs are ideal in these scenarios:
- Small-Scale Damage: Chips limited to a few shells or shallow surface cracks.
- Budget-Friendly Goals: Avoiding labor costs keeps expenses low.
- DIY Confidence: If you’ve handled home improvement tasks before, this is within reach.
- Flexible Schedule: You can work at your own pace without deadlines.
Tools and Materials You’ll Need
Before diving in, gather these essentials:
- Safety Gear: Gloves, safety goggles, and a dust mask to protect yourself.
- Cleaning Tools: A wire brush, mild soap, and a pressure washer or hose.
- Repair Supplies: Two-part epoxy resin, mortar mix, or shell-matching filler; optional replacement shells.
- Application Tools: A trowel, small spatula, and a mixing container.
- Finishing Touches: Paver sealer and a foam brush for sealing.
DIY Repair Process: Step-by-Step
Follow these steps to repair chipped shells in your pavers:
Step 1: Evaluate the Damage
Examine the chipped shells closely. Are they surface-level blemishes or deeper cracks? Minor chips are DIY-friendly, but if the paver itself is broken or unstable, a professional might be needed.
Step 2: Clean the Affected Area
Dirt and debris can ruin a repair, so start by cleaning. Scrub the area with a wire brush and soapy water, then rinse thoroughly with a hose or pressure washer (on a low setting to avoid further damage). Let it dry for 24 hours.
Step 3: Choose and Mix Your Repair Material
For small chips, epoxy resin is a go-to choice—it’s strong and blends well. For larger gaps, a mortar mix tinted to match your paver works better. If a shell is missing, source a replacement from a craft store or supplier. Mix according to package instructions, aiming for a thick, workable consistency.
Step 4: Apply the Fix
Using a spatula or trowel, fill the chipped area with your chosen material. Press it in firmly to eliminate air pockets. If adding a replacement shell, position it carefully and embed it into the wet mix, matching the surrounding texture. Smooth the surface for a natural look.
Step 5: Cure and Harden
Let the repair set—epoxy might take 4-6 hours, while mortar could need 24-48 hours. Keep the area dry and undisturbed during this time.
Step 6: Seal for Protection
Apply a penetrating paver sealer over the repaired spot and nearby pavers. This shields against moisture and UV damage, extending the repair’s lifespan. Use a foam brush for even coverage and let it dry fully.
Pros and Cons of DIY Repairs
- Pros:
- Affordable—often under $100 for materials.
- Full control over timing and execution.
- Builds practical skills for future projects.
- Pros:
- Cons:
- Time-intensive, especially for beginners.
- Risk of mismatched colors or textures.
- Not suited for major structural damage.
- Cons:
Professional Repairs: Expertise for Lasting Results
When chipped shells are widespread or complex, professional repair services offer a reliable solution. Experts bring specialized knowledge and equipment to the table, ensuring your pavers look as good as new.
When to Go Pro
Call a professional if:
- Severe Damage: Large chips, multiple affected pavers, or underlying cracks.
- Skill Gaps: You’re new to repairs or lack confidence in the outcome.
- Time Crunch: Quick, efficient fixes are a priority.
- Aesthetic Standards: You want a seamless, high-end result.
What Professional Repairs Entail
Here’s what you can expect:
- Detailed Inspection: Pros assess damage depth and scope, recommending the best approach.
- Premium Materials: They use industrial-grade fillers, custom-tinted resins, and durable sealants.
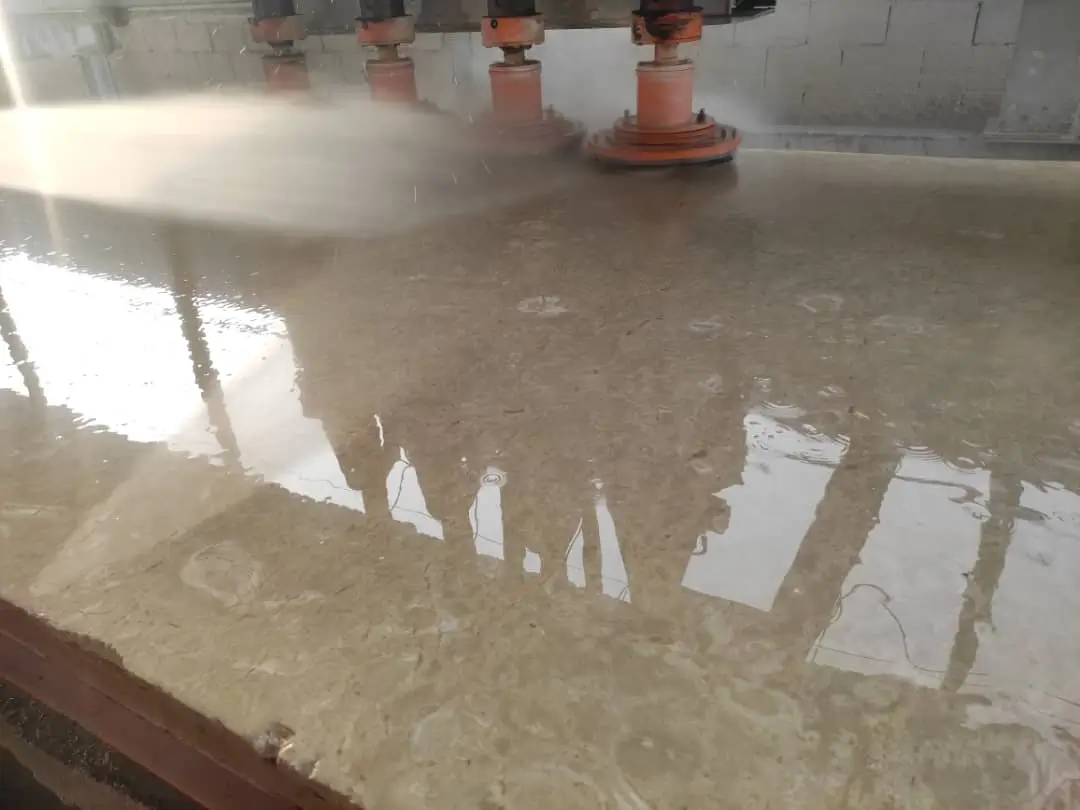
- Advanced Techniques: From shell replacement to precision sanding, they ensure a flawless finish.
- Follow-Up: Many offer warranties or maintenance tips to protect your investment.
Cost Factors
Professional repairs vary by region and job size:
- Small Jobs: $150-$400 for isolated fixes.
- Large Projects: $800-$2,000+ for extensive damage or full resurfacing. Costs reflect labor, materials, and travel, but the result is a professional-grade repair that boosts curb appeal and paver longevity.
Case Studies: Real-World Repairs Across the USA
To bring these methods to life, here are three recent examples of chipped shell paver repairs in the USA, showcasing DIY, professional, and hybrid approaches.
Case Study 1: DIY Success in Oregon
- Location: Cannon Beach, Oregon
- Scenario: A homeowner’s shell-paver patio had minor shell chips from storm debris.
- Solution: Armed with epoxy resin and a sealant, they cleaned the area, filled the chips, and sealed the patio over a weekend.
- Result: The patio regained its charm for just $60 in supplies. The homeowner noted the process was straightforward after watching online tutorials.
Case Study 2: Professional Precision in Texas
- Location: Galveston, Texas
- Scenario: A beach house driveway with shell-based pavers suffered widespread chipping from vehicle traffic and saltwater exposure.
- Solution: A local contractor replaced damaged shells, used a tinted mortar mix, and applied a heavy-duty sealant across the 500-square-foot area.
- Result: The $1,500 repair took two days and left the driveway pristine, with a one-year warranty included.
Case Study 3: Hybrid Effort in North Carolina
- Location: Wilmington, North Carolina
- Scenario: A coastal property’s walkway had a mix of minor shell chips and a few deeply cracked pavers.
- Solution: The owner handled small chips with a DIY mortar mix, while a pro repaired the cracked pavers with new shells and reinforced filler.
- Result: Total cost was $700 ($50 DIY, $650 pro), blending affordability with expert quality. The walkway now looks uniform and robust.
Comparing DIY vs. Professional Fixes: Which Is Right for You?
Choosing between DIY and professional repairs hinges on several factors:
Cost
- DIY: Low upfront cost ($20-$100), but potential redo expenses if mistakes occur.
- Professional: Higher initial investment ($150-$2,000), offset by durability and warranties.
Time
- DIY: Hours to days, depending on skill and scope.
- Professional: Typically 1-3 days, with minimal disruption.
Quality
- DIY: Good for small fixes; results vary with experience.
- Professional: Consistent, high-quality outcomes with expert finesse.
Best Fit
- DIY: Minor chips, budget constraints, or DIY enthusiasts.
- Professional: Extensive damage, time sensitivity, or premium aesthetics.
Tips for Long-Term Paver Care
Prevent future chipped shells with these maintenance habits:
- Regular Cleaning: Sweep debris and rinse with water monthly.
- Seal Annually: Reapply sealant to protect against weathering.
- Avoid Heavy Loads: Limit vehicle traffic or sharp impacts.
- Quick Fixes: Address small chips early to prevent spreading.
Conclusion: Restoring Your Shell-Based Pavers
Repairing chipped shells in pavers is a practical way to maintain their beauty and function, whether you opt for a DIY fix or a professional overhaul. DIY repairs offer affordability and hands-on satisfaction for minor issues, while professional services guarantee precision and durability for bigger challenges. The case studies from Oregon, Texas, and North Carolina demonstrate that both approaches—or a mix of the two—can yield impressive results tailored to your situation.
By weighing costs, time, and desired quality, you can choose the path that best suits your needs. Act promptly, maintain diligently, and your rustic Shellstone pavers for a warm and inviting look will continue to enhance your outdoor space for years to come. Ready to get started? Grab your tools or call a pro—your pavers deserve it.
Exploring the Versatility of Shellstone Products
When it comes to enhancing outdoor spaces, the versatility and aesthetic appeal of Shellstone products are hard to rival. Our shell Stone – nature’s masterpiece for your spaces, a natural stone primarily composed of fossilized shell fragments, is increasingly favored for its unique textures and rich history. Not only is it durable and weather-resistant, but it also lends an air of sophistication to any project, making it a popular choice for homeowners and landscapers alike. Below, we’ll explore six distinct types of Shellstone products, each offering unique characteristics and applications for various landscaping and architectural needs.
1. Seashore White Limestone
Our seashore White pavers are among the most popular choices for patios, walkways, and driveways. Their durability and slip-resistant surfaces make them ideal for outdoor environments. Available in various sizes and colors, these pavers can transform any backyard into a stunning oasis. Their natural aesthetic complements both modern and traditional design styles, adding a touch of elegance to outdoor spaces while ensuring functionality.
2. Seashell Coral
Our Seashell Coral pavers are ideal for indoor and outdoor applications, Seashell coral tiles are perfect for flooring, backsplashes, and accent walls. They are usually cut into various sizes and finish options, allowing for a range of design flexibility. The unique patterns and textures of Shellstone tiles make them a fantastic choice for creating a luxurious and natural atmosphere inside your home. Their natural resistance to moisture makes them particularly suitable for bathrooms and kitchens.
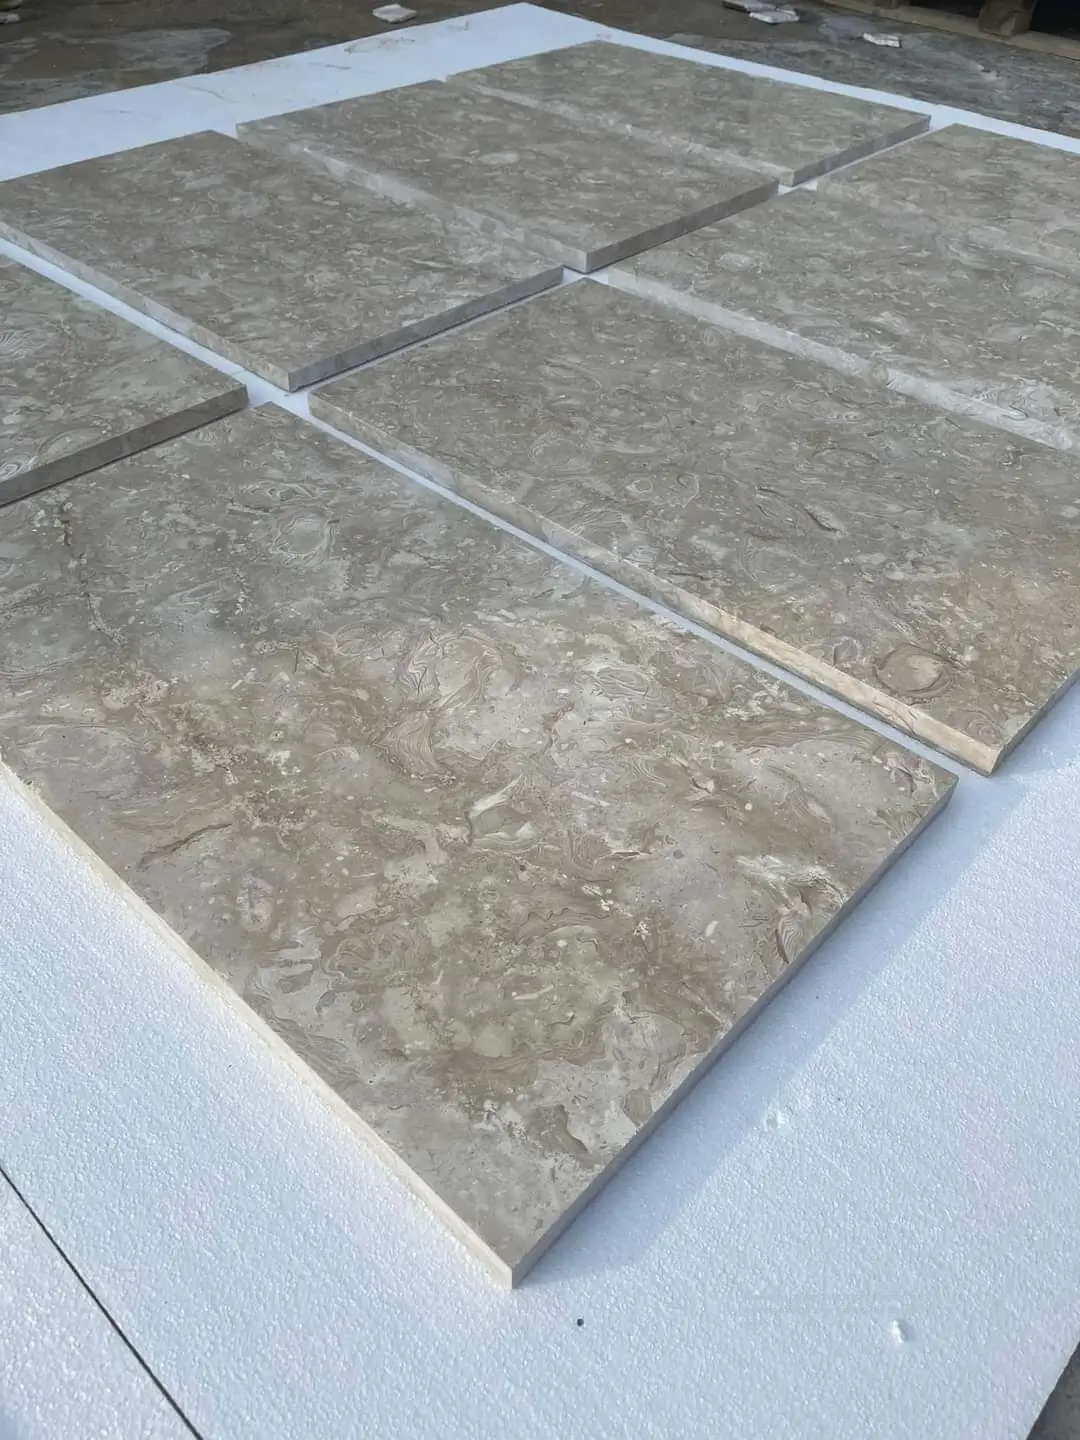
3. Oyster Grey Limestone
Our sophisticated Oyster Grey Limestone coping is an essential element for swimming pools, providing both functionality and visual appeal. These coping stones create a clean edge around the pool, ensuring safety while adding an elegant touch. The natural textures of Oyster Grey coping provide excellent traction when wet, making it a secure choice for swimmers. Available in different styles and finishes, Shellstone coping can enhance the overall aesthetic of your pool area.
4. Ocean Reef White
If you’re looking to add a naturalistic element to your landscape, our elegant Ocean Reef White tiles are an excellent choice. These large, rugged stones can act as focal points within gardens, paths, or water features, providing a striking contrast to lush greenery. Beyond their aesthetic appeal, Shellstone boulders can also be used for practical purposes, such as creating retaining walls or defining property lines, all while maintaining a natural and organic look.
5. Laguna Shellstone
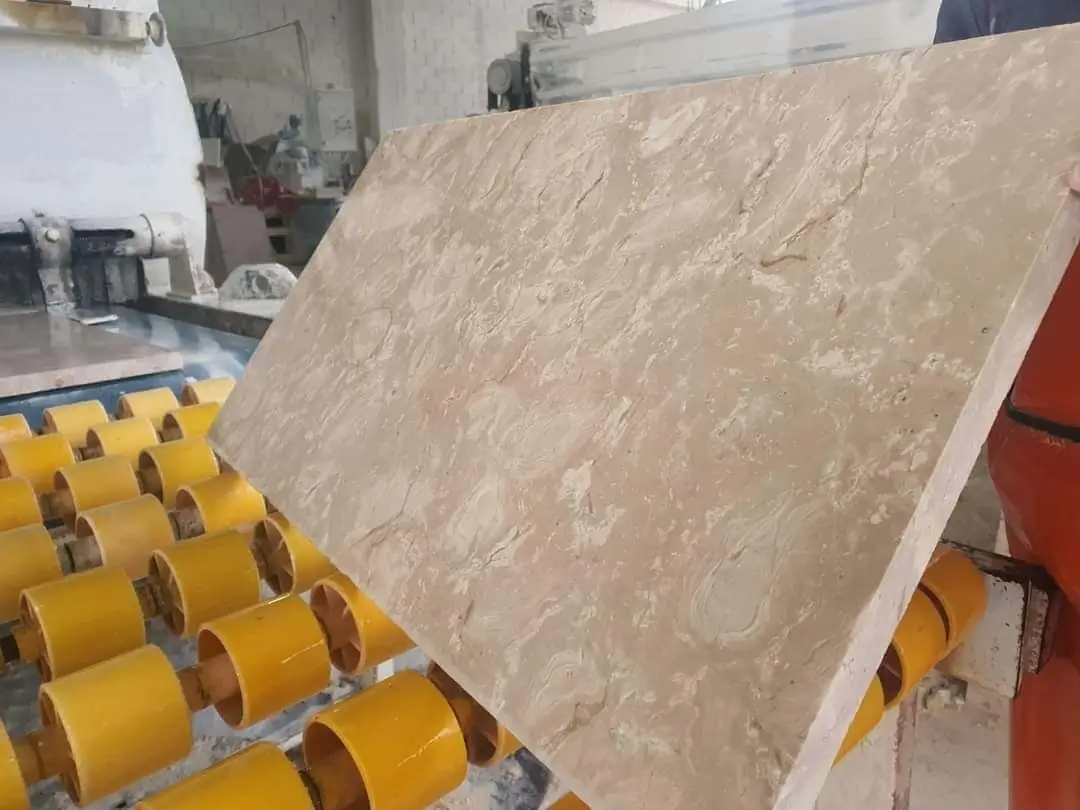
Our superior Laguna Shellstone pavers are ideal for creating countertops, tables, and outdoor kitchen surfaces. With their unique textures and colors, they can enhance any culinary space, making meals more enjoyable when surrounded by natural beauty. Durable and easy to clean, Laguna Shellstone slabs are perfect for both indoor and outdoor entertaining, offering an ideal combination of style and practicality for your cooking and dining experiences.
6. Caribbean Shellstone
For those looking to make a significant visual impact, our durable Caribbean Shellstone is an excellent choice. This product allows homeowners to wrap their interiors or exteriors in the timeless beauty of Caribbean Shellstone, creating a dramatic effect. Whether used as an accent wall in a living room, a striking exterior facade, or to complement a fireplace, Shellstone wall cladding adds texture and depth, making any space feel more inviting and sophisticated.
In summary, Shellstone products come in various formats, each tailored to enhance both functionality and aesthetics in different environments. From the durability of Shellstone pavers to the luxurious appeal of Shellstone slabs, each product serves a unique purpose while showcasing the natural beauty of this exquisite material. By incorporating Shellstone elements into your next project, you can achieve a stunning transformation that not only elevates the presence of your space but also adds long-lasting value. Whether you’re designing a tranquil outdoor retreat, a stylish indoor gathering area, or a simple enhancement to your existing architecture, Shellstone products provide the versatility and elegance needed to breathe new life into your surroundings. With their timeless appeal and robust characteristics, Shellstone is indeed a fantastic choice for those looking to create beautiful and enduring spaces.